Project Paper Weight

I got home last night to this.

2012-06-04_17-45-09_908.jpg


In short order with the plasma, cutoffdisc and sawzall was left with this hacked up shell.

2012-06-04_18-58-06_612.jpg


After cutting a peice of box tube to fit, reforming some of the plates and welding on the plate I had to remove to get to the vertical support I was left with this.

2012-06-04_20-03-37_857.jpg


I need to make a couple of plate caps, clean up the bracket I cut off and burn it back on moved over and I need to cut the and rotate the ram truss tube I cut off to reroute it to the new upper link mount position, then it's ready to go back in.
 
Coolest build thread Ive been privileged to read in a long time.

Quite a compliment, thank you.

I know I am a little late but did you look at getting an aftermarket pan?

Yea, I did. Cost was really the determining factor, $400 buys a lot of my time from myself.

Between the dog trying to off himself and the ensuing recovery mixed with a wedding that absorbed Saturday in its entirety I'm not much farther along.

2012-06-10_16-55-15_829.jpg


Axle is ready to be tossed back in.

2012-06-10_16-56-02_47.jpg


Note the lack of symmetry of the ram truss tubes displaying the amount the right link mount moved over.

2012-06-10_18-15-55_847.jpg


Still have to finish the accesory bracket and bolt up the alternator to see, but the engine crossover tube might bolt right up.

2012-06-10_18-16-08_809.jpg


Replacement manifold is thread on as well, thanks PacFab!
 
Some little stuff gets done during the week.

The steam port needs to be sorted. Stock plastic tanked radiator obviously doesn't have a port for it, so it will need to be routed to either the LP of the water pump or inline with the radiator hose. In any case, I hate barb/clamp fittings. To adapt to something else I took the crossover coolant manifold and snipped it.

2012-06-11_14-56-37_293.jpg


Bandsaw at home still isn't running. It's nice to have a small toolroom of manual machines and most importantly here, a bandsaw, that they let us play in at work hacking up the nice stuff our real machine shop sends us:crazy:

Toss the thing in the mill, drill, tap, chamfer. Simple stuff, but it's progress.

2012-06-13_17-59-29_883.jpg


This next update is something that I thought about for a bit. I ordered a bracket to mount the pump, when it came it in it became apparent that the pump they use has a slightly different bolt pattern.

2012-06-13_18-08-05_806.jpg


So the dilemma was, is two bolts enough, should I fix it. Knowing I would think about it all the time even if it worked fine, I just fixed it.

I cut a 1/4" tube cap from the tab pile in half, chamfered both weld edges on both parts. Then I took off alot of the zinc on the bracket so I wasn't sick later. I made 4 total passes on each side to fill to convex as I had chamfered about .100. Running ~90a, 1/16 thoriated W with 1/16 ER70 filler.

Hit the welds with a flap disc, drilled/chamfered my new hole and filed the edges back a little. Could have fill the hole, but it's really not neccesary.

2012-06-13_18-51-26_607.jpg
 
I got the axle back in the truck even if I wanted to be in the pool staying cool instead.

2012-06-16_12-54-20_33.jpg


Had to pop the passenger upper link out of the truck and bust the jam nuts loose to collapse it to fit.

2012-06-16_13-14-33_156.jpg

2012-06-16_13-14-50_107.jpg


Lots of clearance at full bump. Should more than account for frame deflection when it hits the stops (factory 1/2t frame rails are noodles, I swear).

2012-06-15_14-57-31_60.jpg

2012-06-18_08-14-58_92.jpg


Took the oil cooler diverter block out and cut the hardlines off (there were kinked). Milled the bosses down to get the remaining tube fittings out, except one of them decided to prematurely leave its home, hence the damage to the face in pic 1. It jammed up the end mill to the block and kicked it sideways in the vise. No matter, faced it to get the depth to the threads down. Drilled the ports to .563 and tapped it to 3/8NPT for the 3/8NPT to -8 adapters.

2012-06-17_13-03-17_142.jpg


The t-case adapter and clocking ring got a lot of scotchbrite time. Going to use gaskets this time and hope for perfect sealing and less mess the next time I pull the combination.

2012-06-17_13-39-24_507.jpg


Lastly the adapter fittings for the tranny cooler hsowed up so I pulled the factory ones and put them in.
 
2012-06-18_18-31-04_93.jpg


Last night it was time to fix the transmission pan bolts. The previous owner drilled all the threads out and put in 5/16-18 helicoils...or tried at least. He both forgot/neglected to knock out the tang and used bolts just long enough to hit the tang. The combination reulted in several back out a couple threads, one stripping completely and one galled bolt that sheared the head :(

The two types of offenders:

2012-06-18_18-31-11_258.jpg


Broken bolt.

2012-06-18_18-31-18_994.jpg


Threadless oversized hole/bad helicoil.

2012-06-18_18-49-29_508.jpg


Broken stud was an easy fix. Cover in a couple layers of aluminum foil, bust out the welder and a 1/2" nut and blaze it on. Turned right out and the helicoil itself is fine.

2012-06-18_18-31-56_434.jpg


The other holes needed these, externally threaded key locking inserts, commonly called by a tradename: Timsert.

2012-06-18_18-58-44_211.jpg


Pretty basic really, drill and tap the hole to a standard thread proscribed by the size of the internal thread and wall thickness of the insert selected. Countersink the lip to allow it to go below flush and thread the insert in.

2012-06-18_19-02-58_239.jpg


Then using the tool supplied, drive the locking tabs into the base material locking the external threads in place. Done!

Planning to switch back to a stock sheetmetal pan as well.
 
Don't mind me, just cutting up more parts...

2012-06-21_14-19-38_445.jpg


2012-06-21_14-33-01_437.jpg


Did I need that? Well at least I have campfire goodies now.

2012-06-21_18-17-04_214.jpg


Phew, I didn't need it.

2012-06-22_07-38-41_344.jpg


Ready for some finish filing after rough contouring and for me to plot my exit (or inlet) hole for the suction supply hardline to the pump.
 
Haha no I just have a lot to learn. What wiring harness did you go with for the gen iii?

It's a Current Performance harness.

Step forward, step backwards, sigh.

In our last installment we left our intrepid hero needing a stock transmission pan to replace his deep sump cast aluminum unit as a result of draining the pickup during steep climbs.

Apparently the only current production 80e pans don't fit pre 97 80e's.

2012-06-24_19-32-01_470.jpg


New 97+ pan, notice the ramp at the back?

2012-06-24_19-31-52_239.jpg


See the diagonal tube headed back across the picture?

In the post 96 transmissions GM moved the return cooler port to the back of the 80e instead of pairing the output and inlet at the front. The goal was to keep the rear planetaries better lubricated. Previously they used an internal lube tube (the diagonal in two pictures above) to accomplish a similiar function. With the internal tube gone they redesigned the pan and ramped the back to absorb the volume the tube took up. Hence late pans don't fit early transmissions.

I managed to locate an early pan in a city close by on ebay. Had that gentleman drop it in the mail for delivery today. With the pan on I'll install the transmission and BU54 converter.

In other news, I finally welded in the plug for the old feed hole on the power steering pump and threaded in the plug on the other feed hole.

2012-06-26_13-41-21_194.jpg


The idea is that I may in the future need to add even more incoming volume to keep the pump balance happy, so threadedin a pipe plug allows me to modify tht in the future.

2012-06-26_20-10-42_797.jpg


Lastly I put the pump back together using a crosssection diagram to get orientation right as I took it apart to long ago to remember everything 100%.

2012-06-26_21-35-35_39.jpg


Working on reservoir supply tube routing in the next few days.
 
Haven't done a lot recently, but hoping to pick up quickly here.

2012-07-01_19-06-43_924.jpg


Accesory bracket and accesory bolted in. Crossover tube doesn't clear the alternator, going ot have to owkr that out.

2012-07-08_19-46-56_236.jpg


Routing the PS pump feed line was a pita as it's -12 and inbetween the belt and fan (yes the mech fan is staying for the time being). Luckily a hard 90* off the pump followed by a 90* swept fits around everything. Hopefully the hard 90* flows well enough.

2012-07-03_12-46-08_384.jpg


Tranny is in for the time being. It's a pain lifting that thing and then getting it in without an extra pair of hands to work the jack but it's in there. I found I was missing on eof the alignment dowels so now that I have that in hand I have to back the tranny off and hope freezing the sucker gets in in with a light tap.

Working on the PS cooler mount this evening and probably tomorrow so I can put all these darned expensive fittings to use.
 
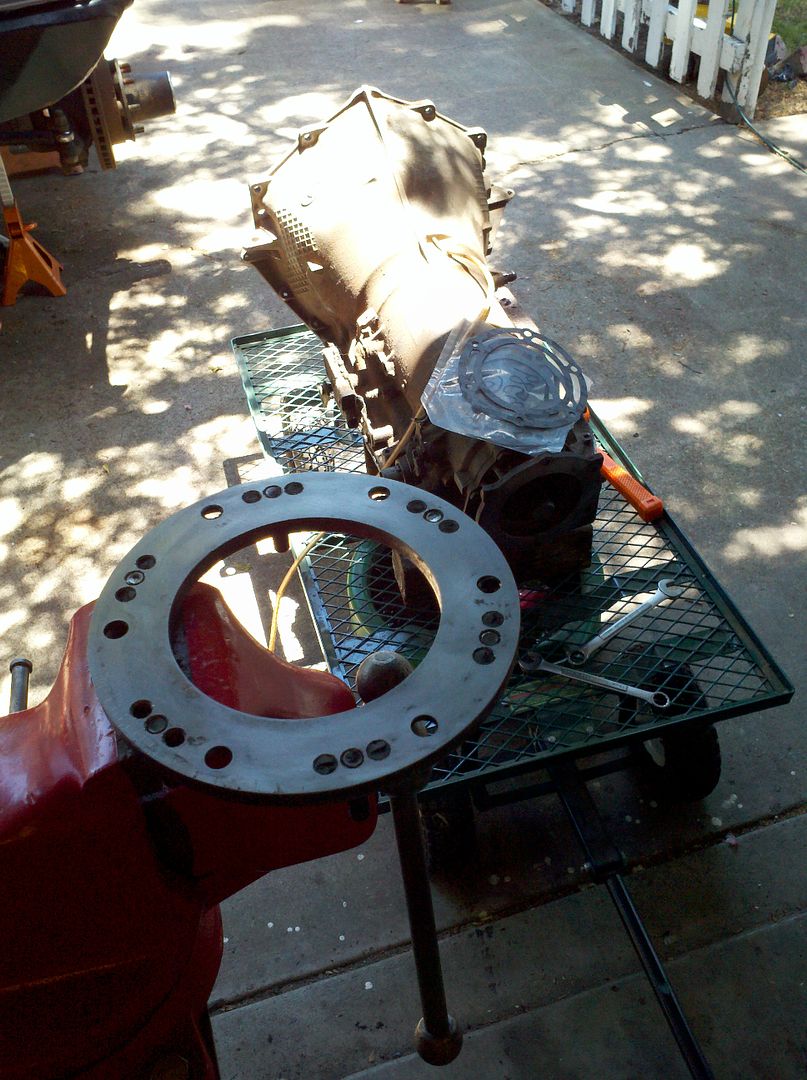
Busy weekend of progress.

2012-07-14_14-44-58_501.jpg


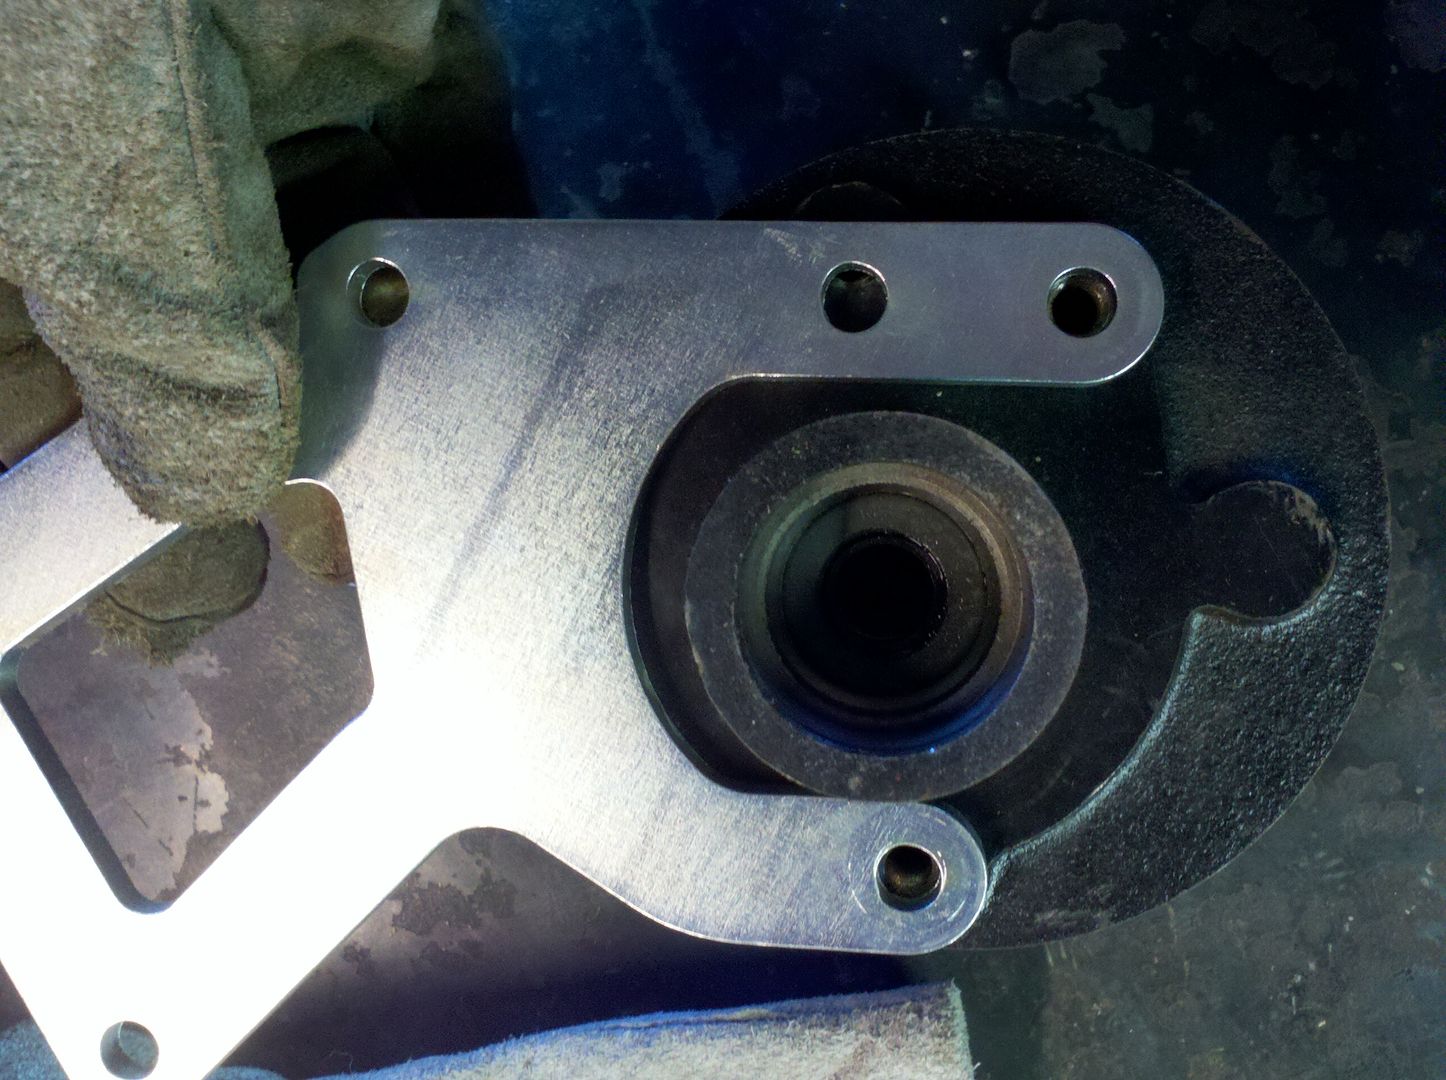
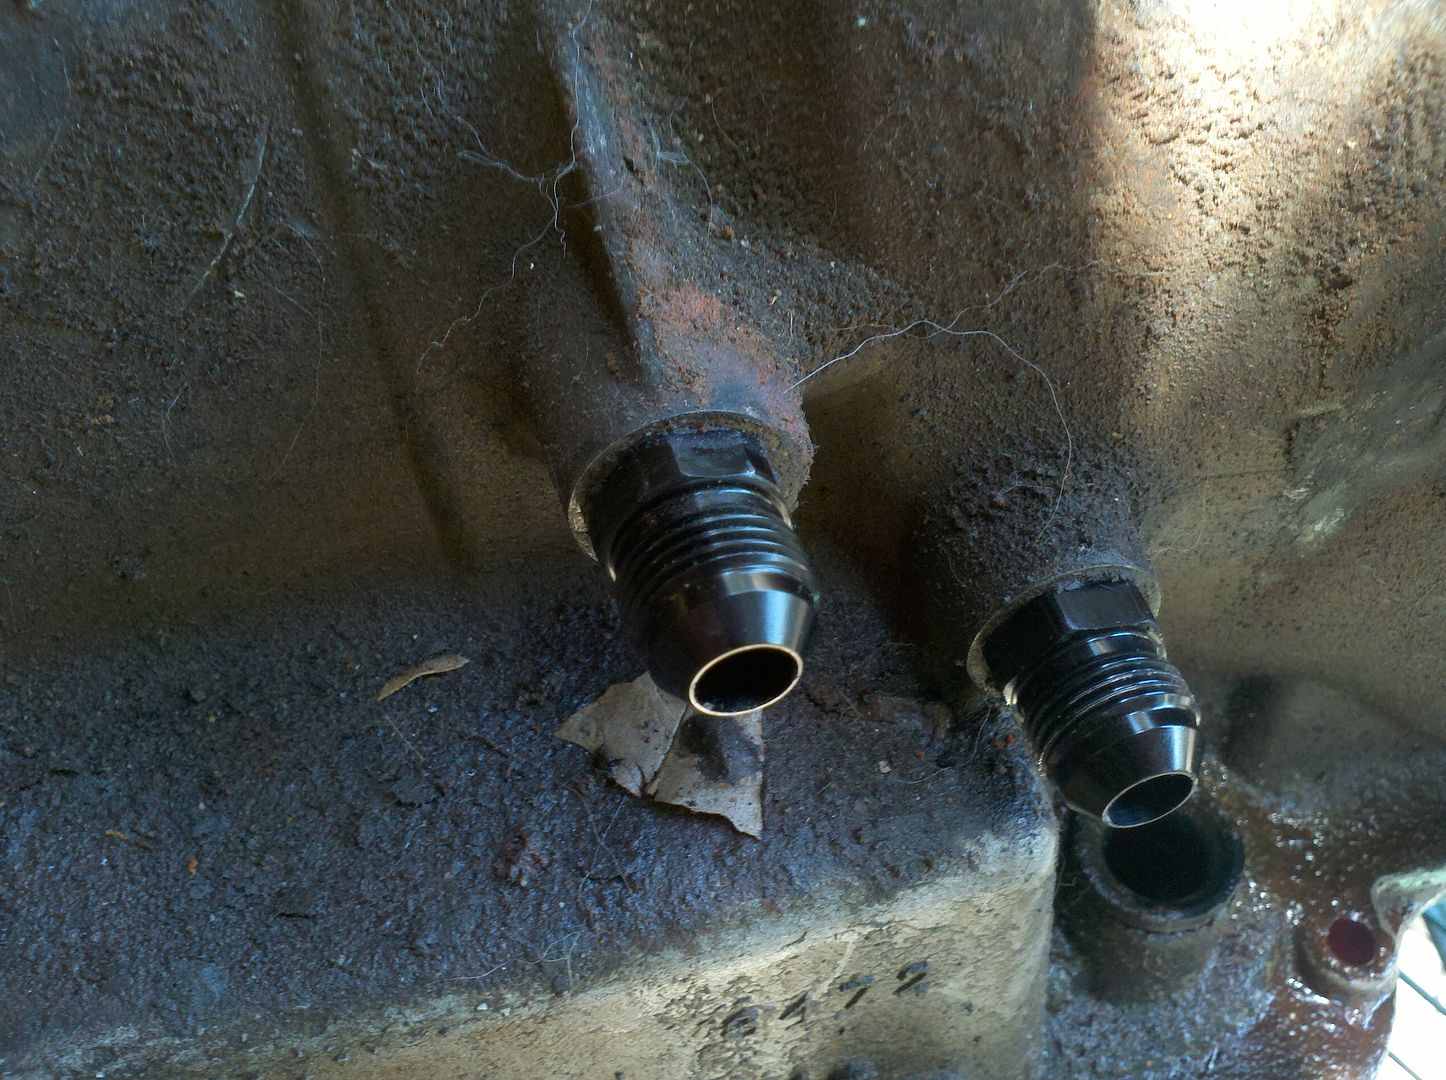
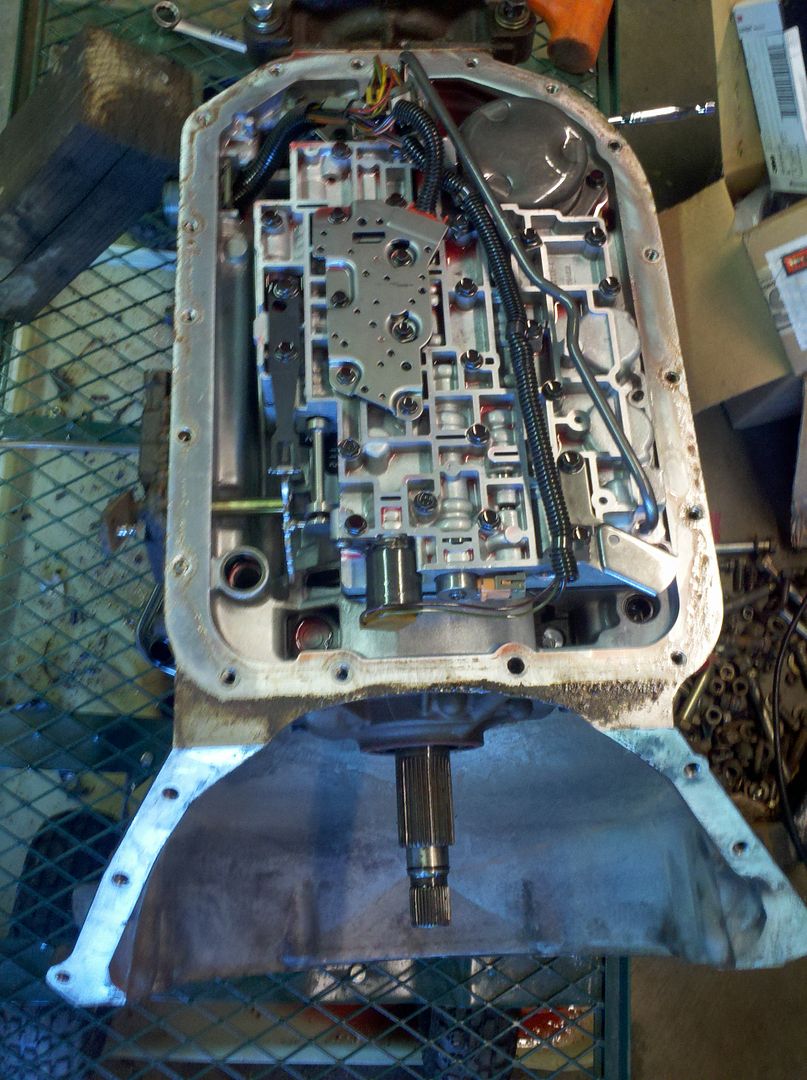
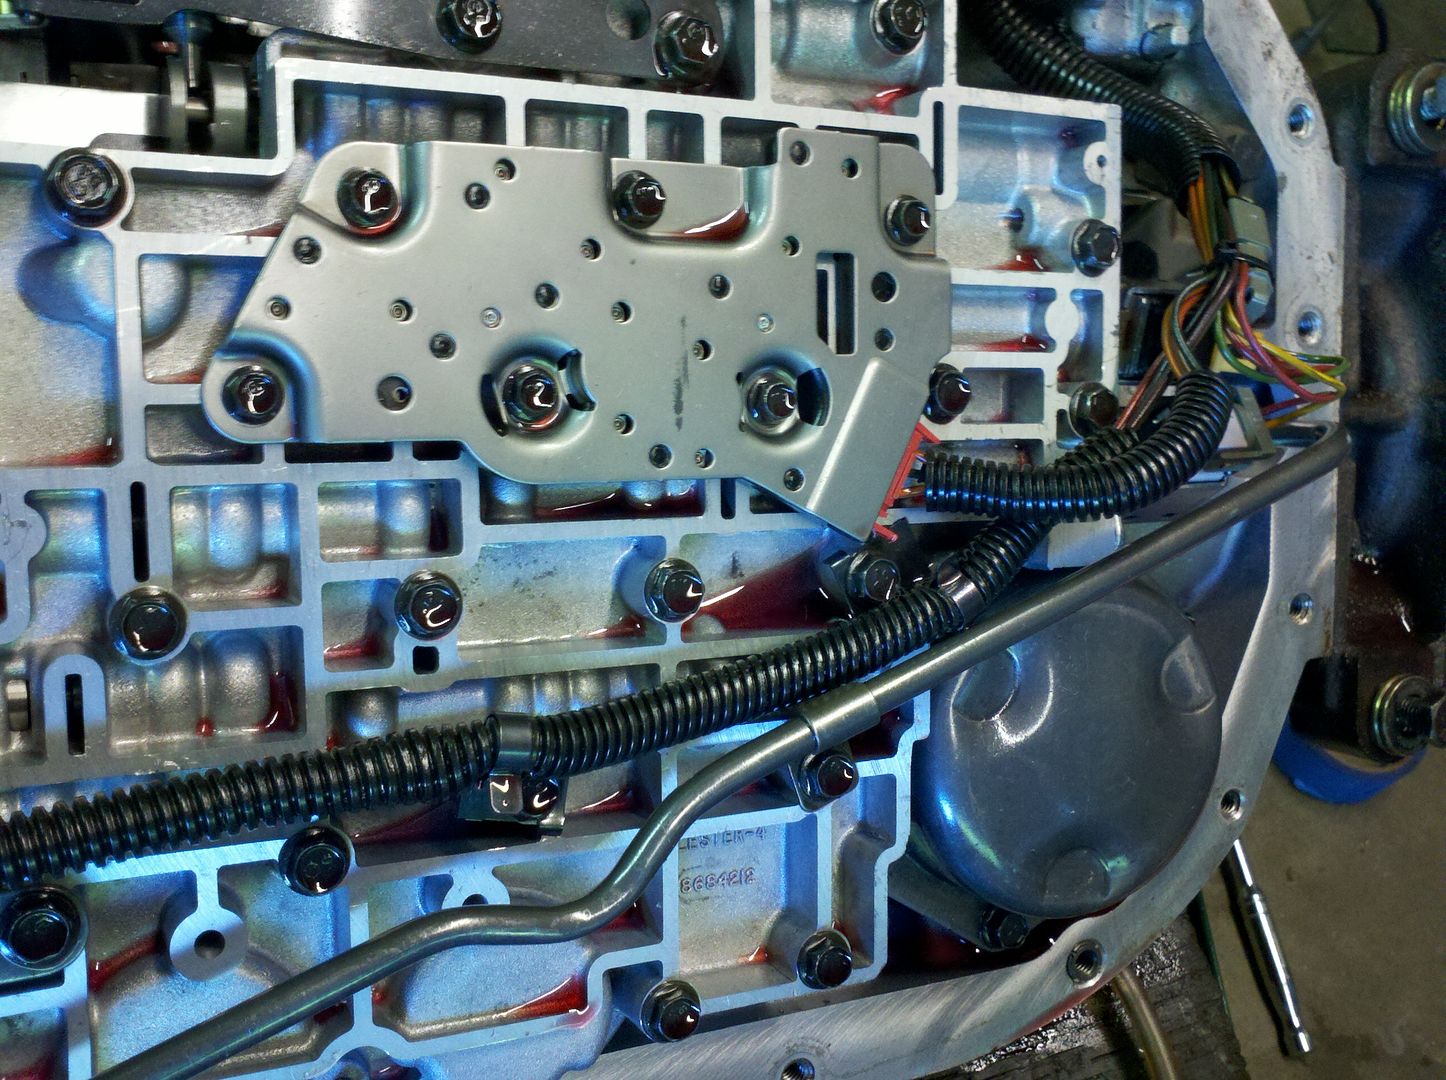
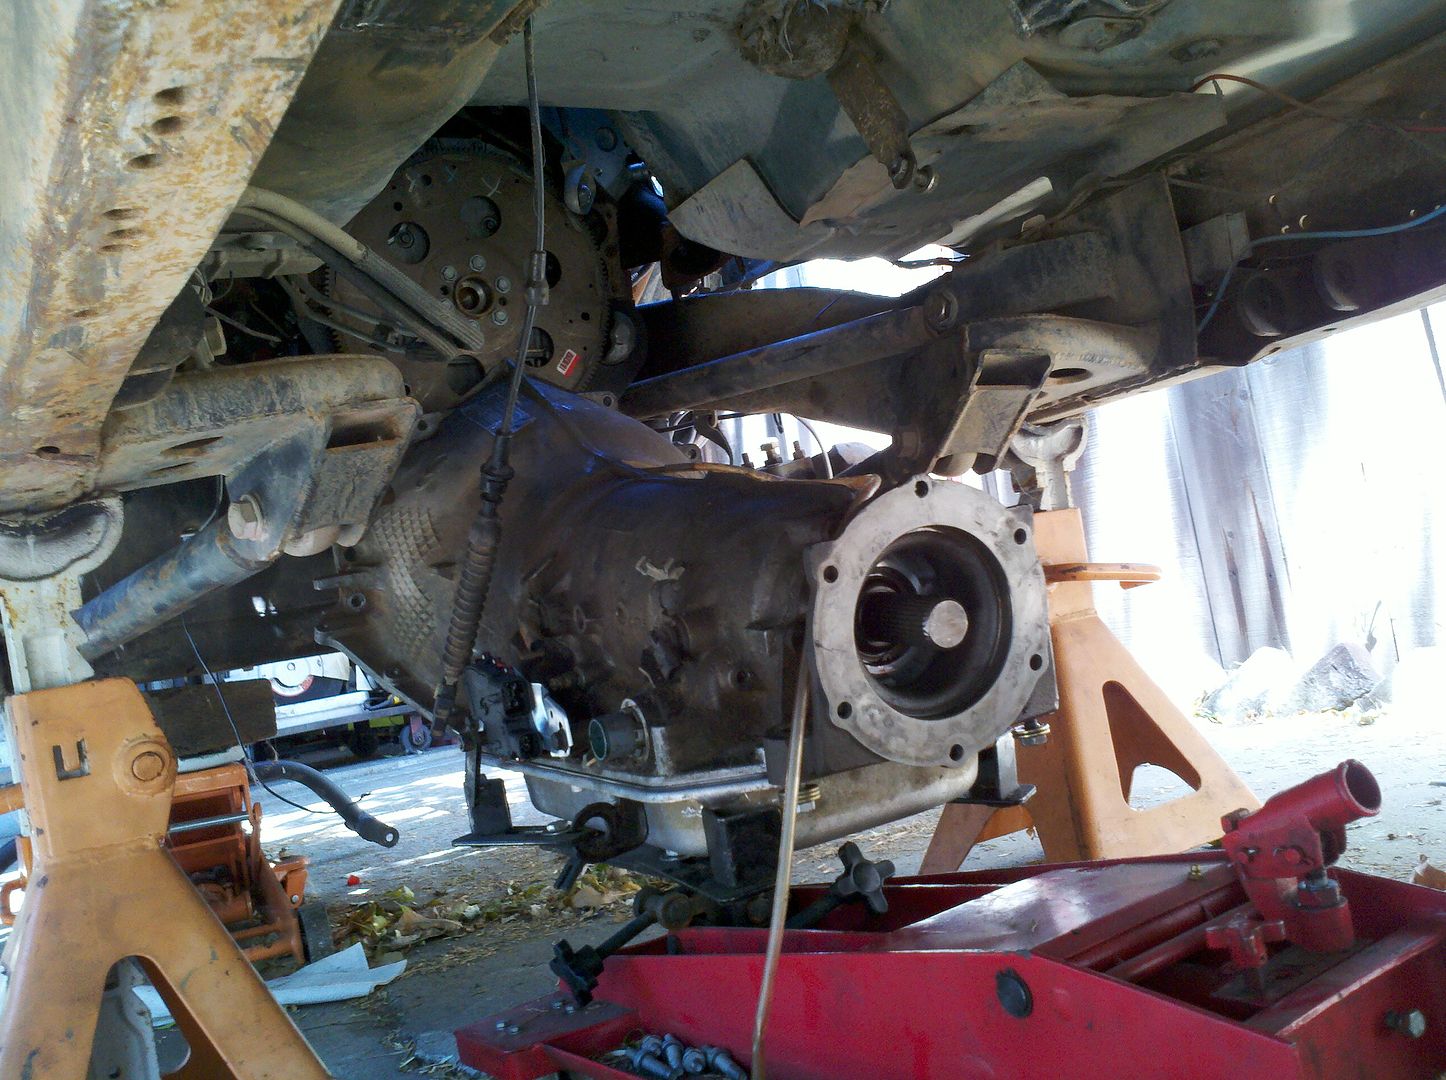
Started by pulling the tranny off to put in the replacement dowel pin, shortly followed by tossing the t-case in behind it after cleaning the wee out of the FHCS that mount the clocking ring as well as the t-case mating surface and blind tapped holes so the Locktite would bite. Two gaskets and consistent torque and it may seal this time.

2012-07-14_14-44-30_806.jpg


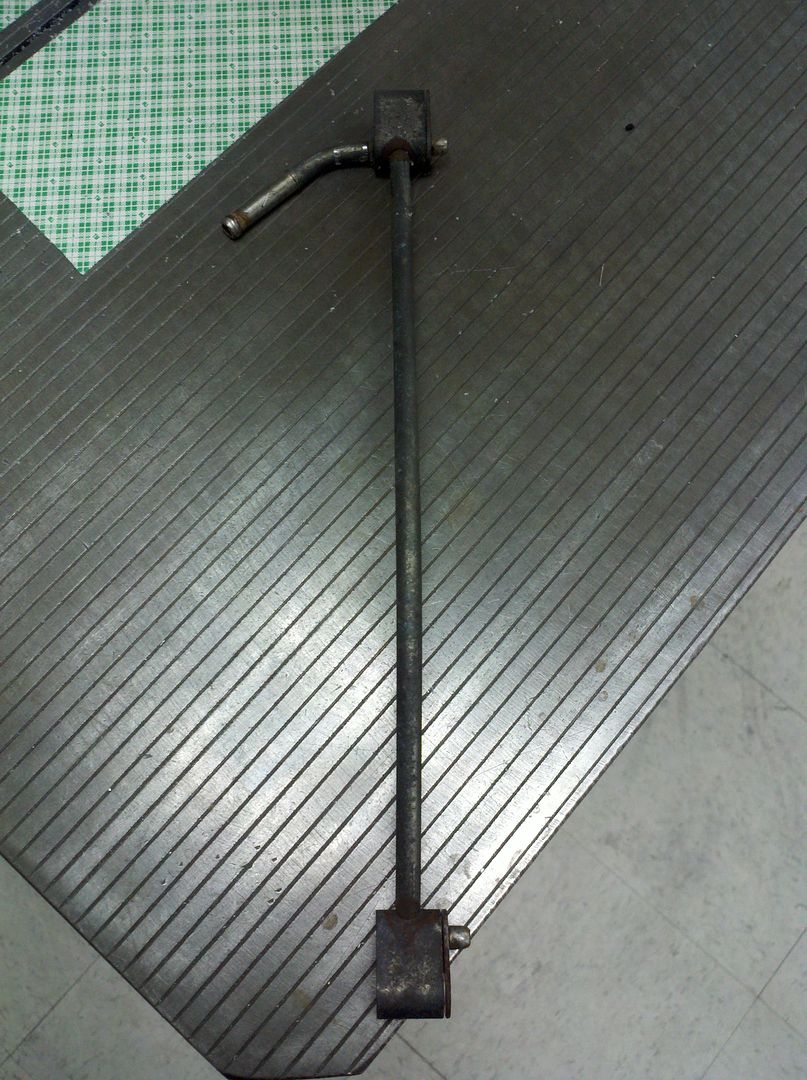
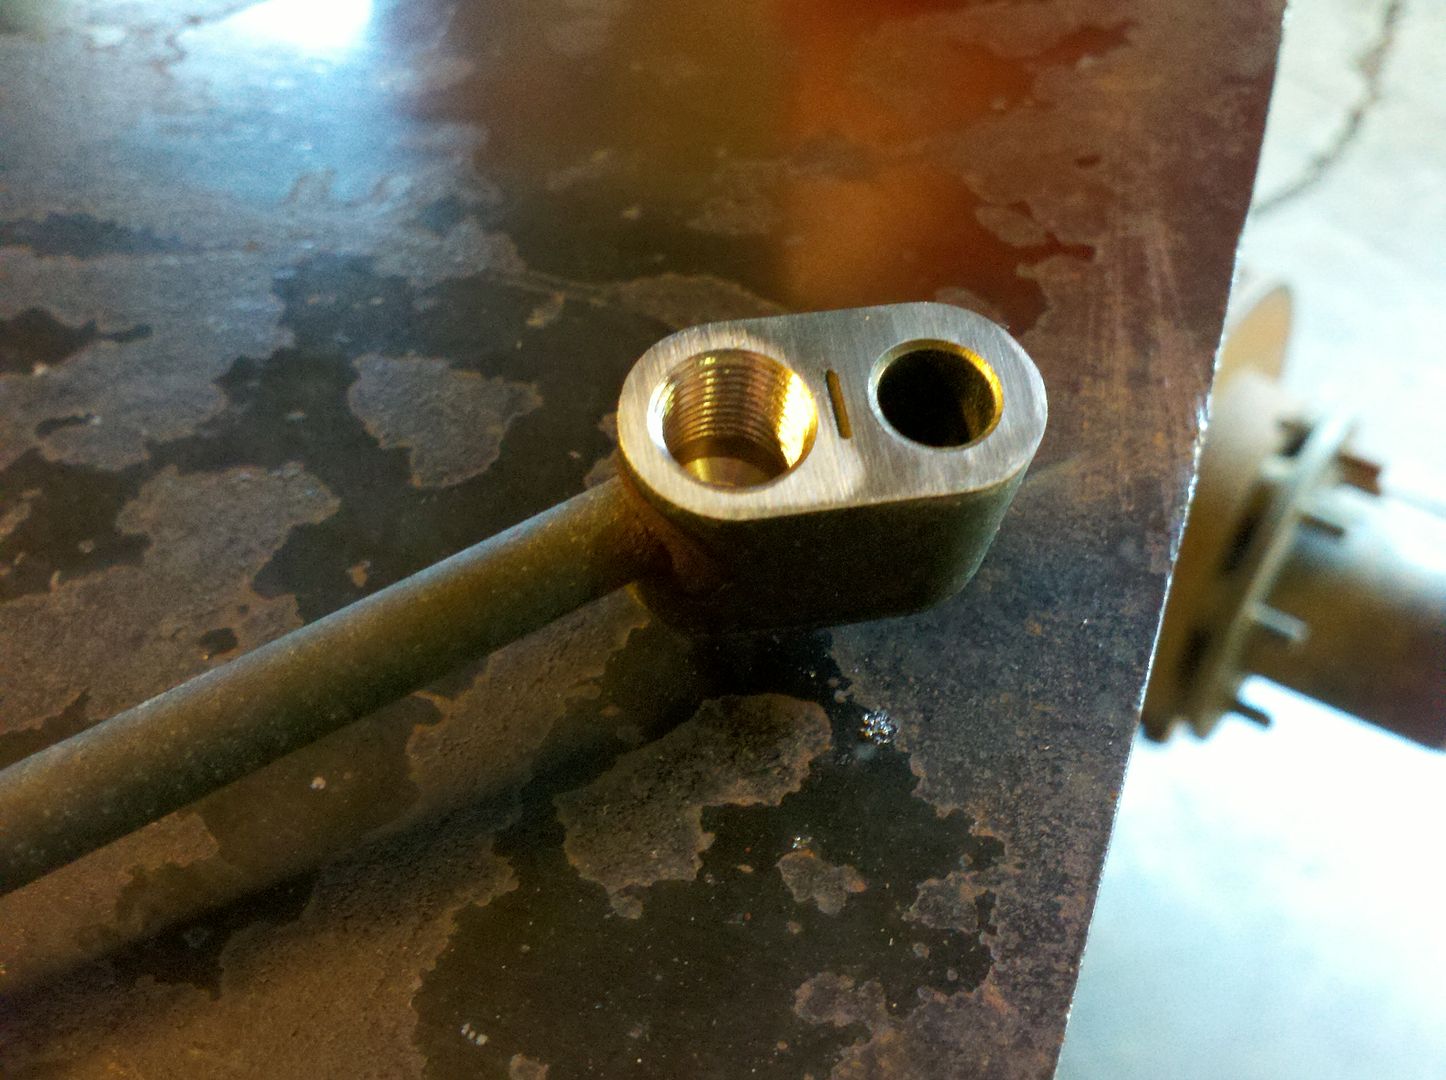
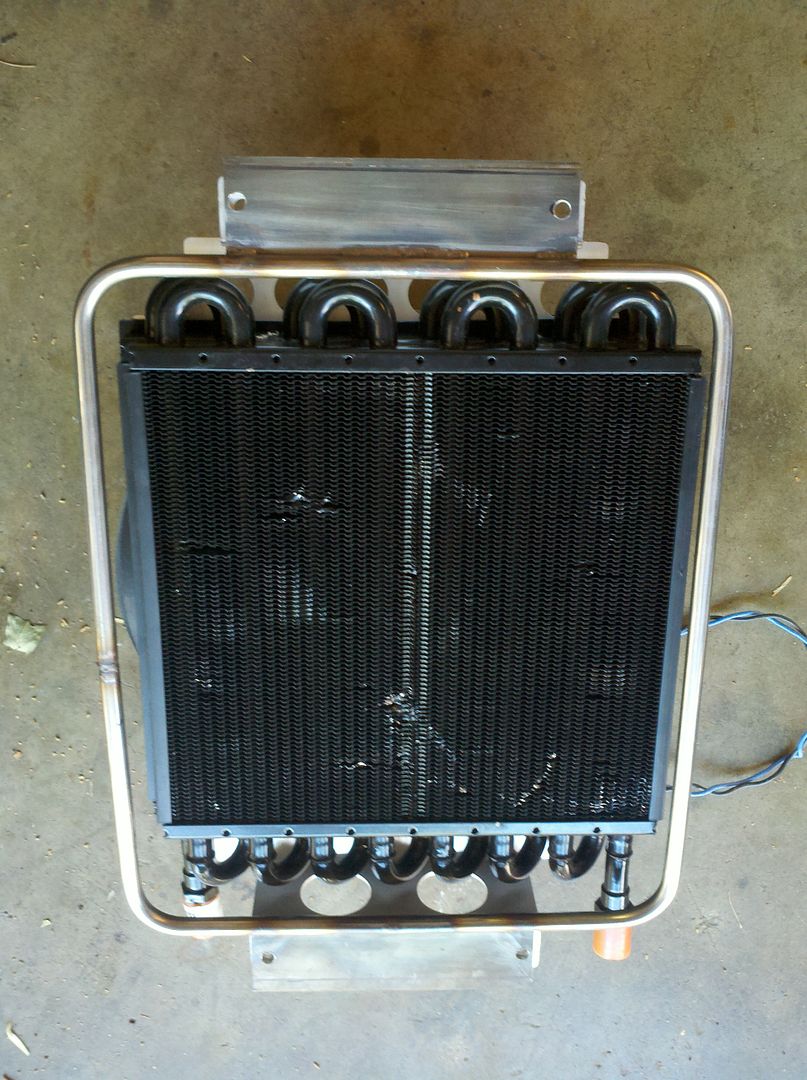
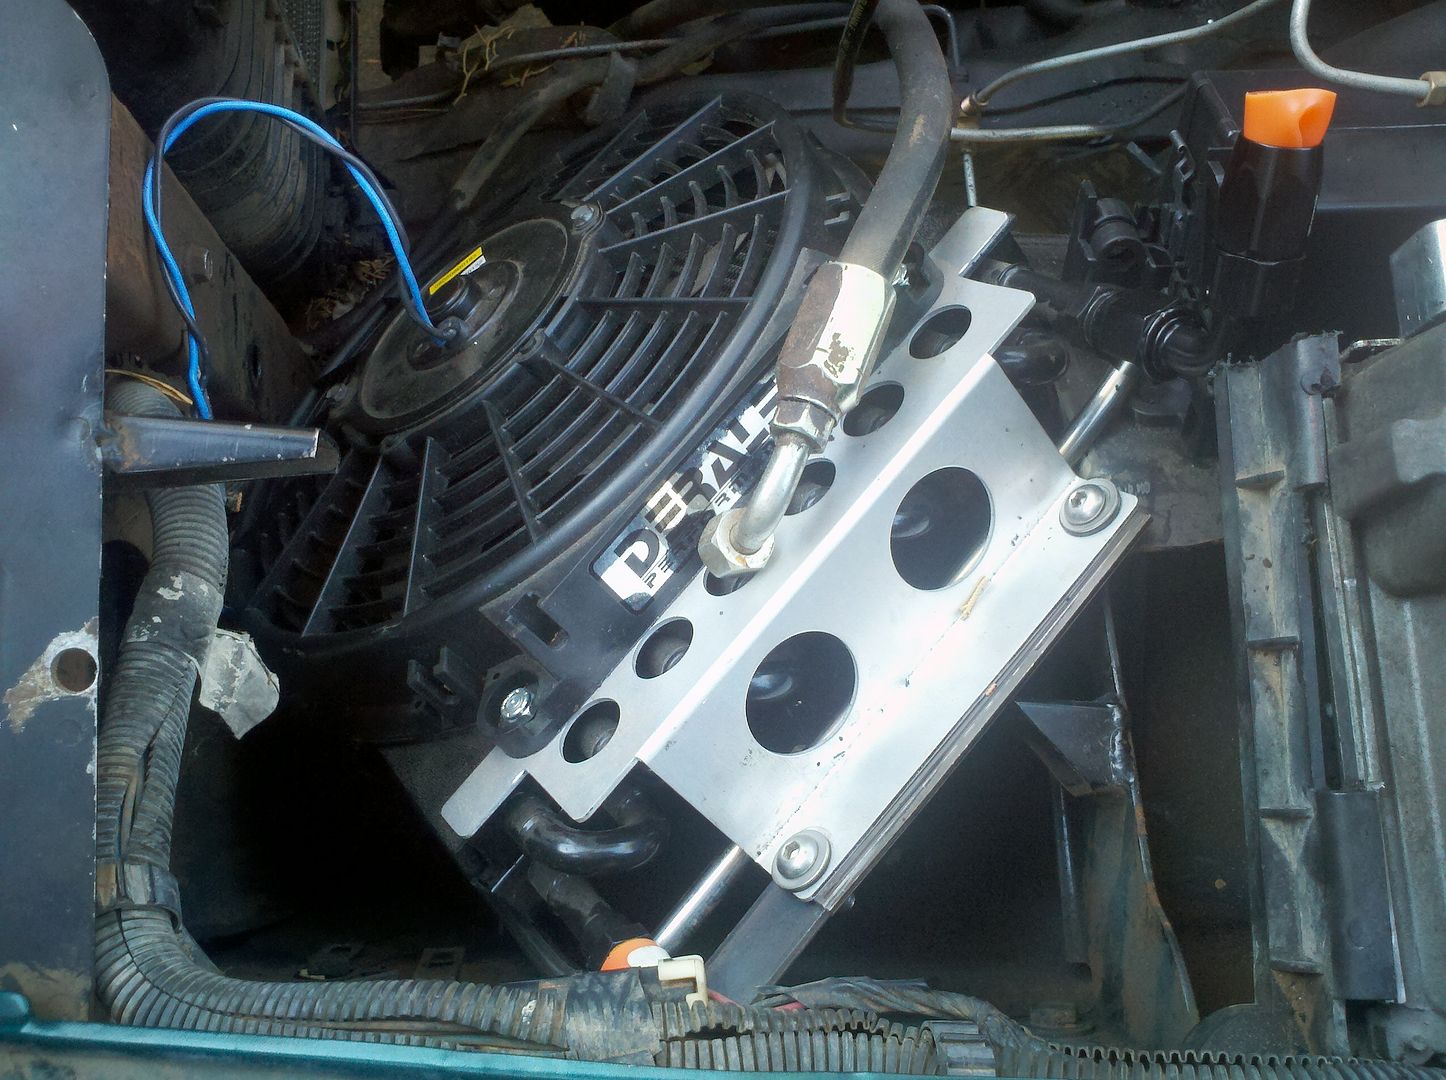
Bent some leftover tube and welded some thin plates to make a mounting frame for the cooler.

2012-07-14_15-34-32_350.jpg


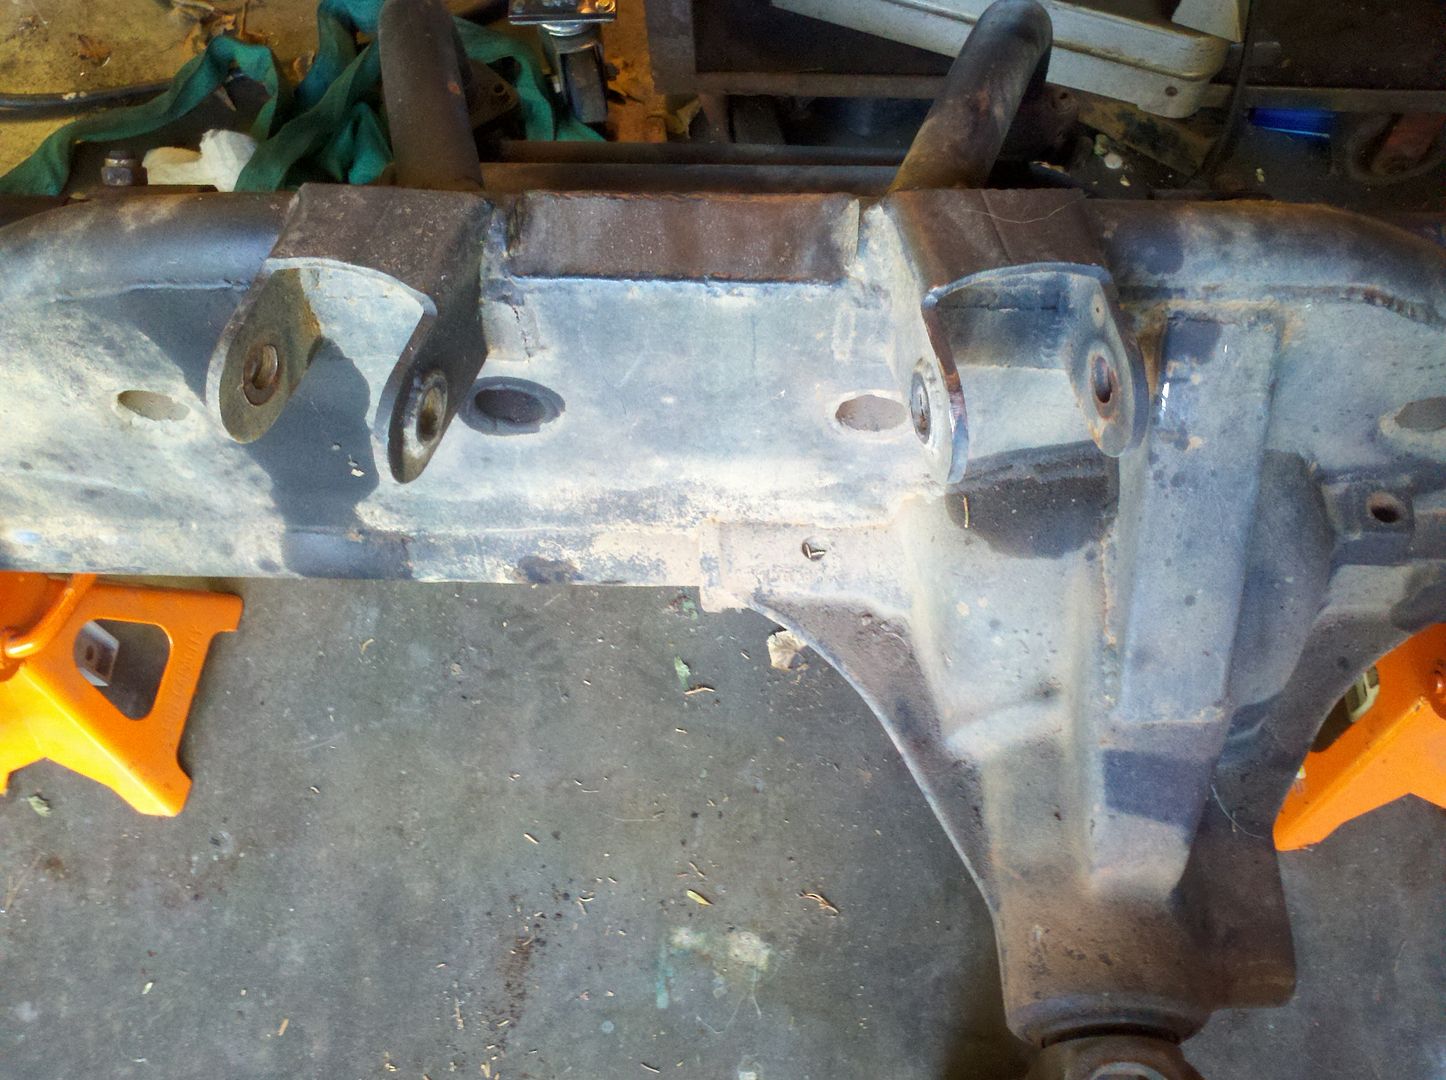
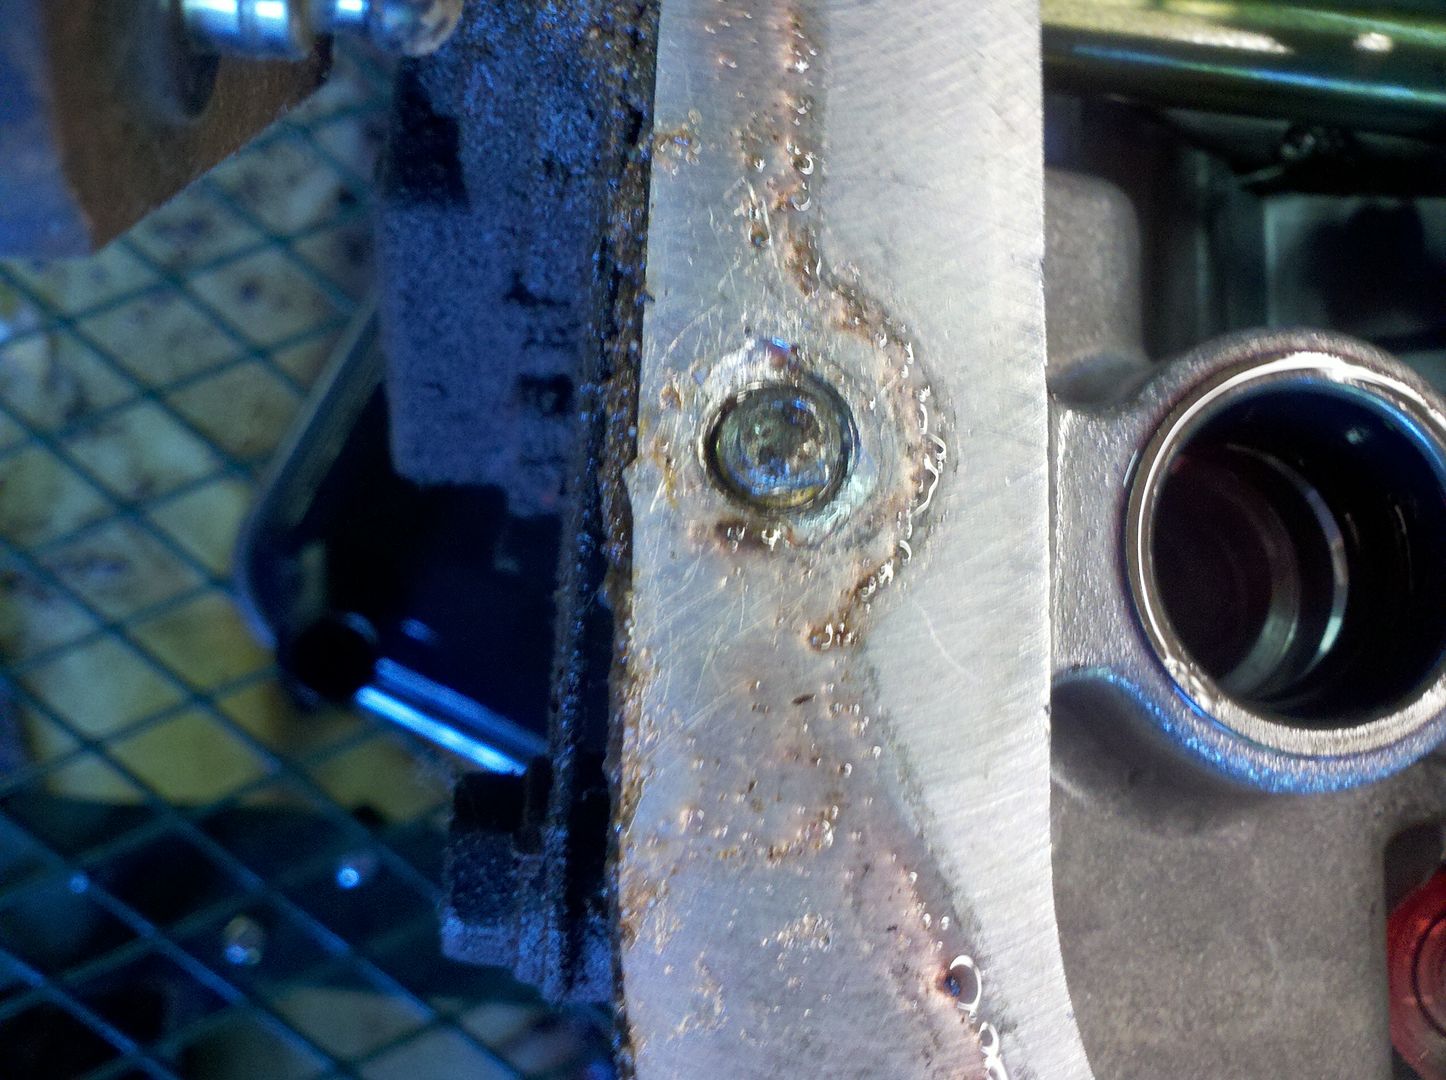
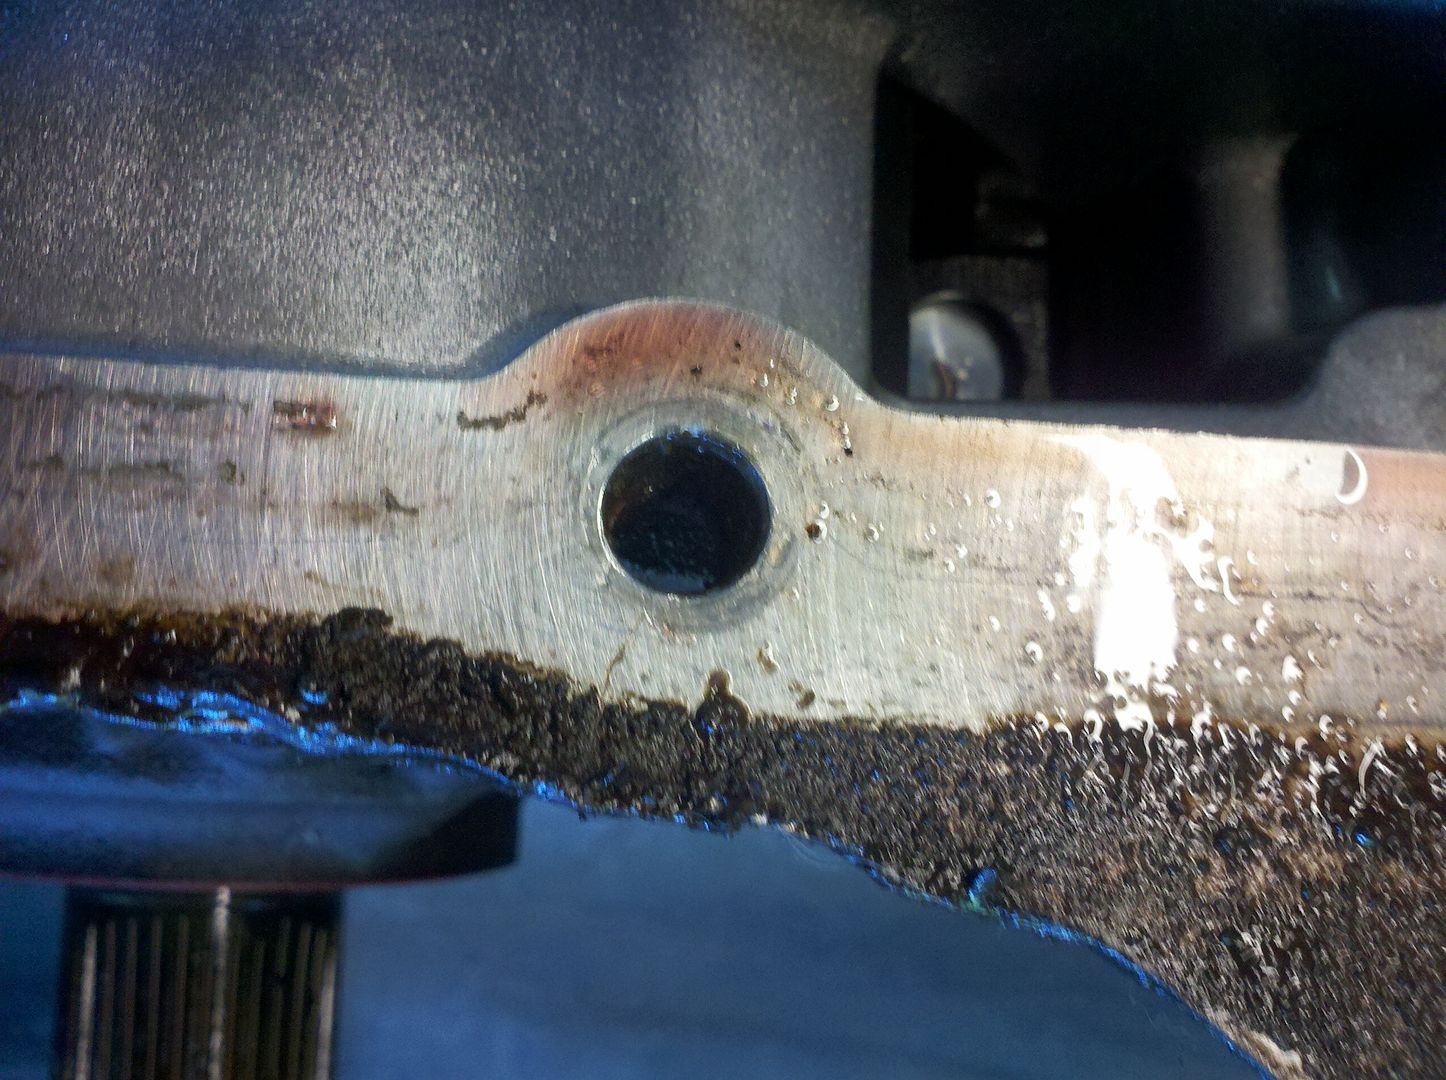
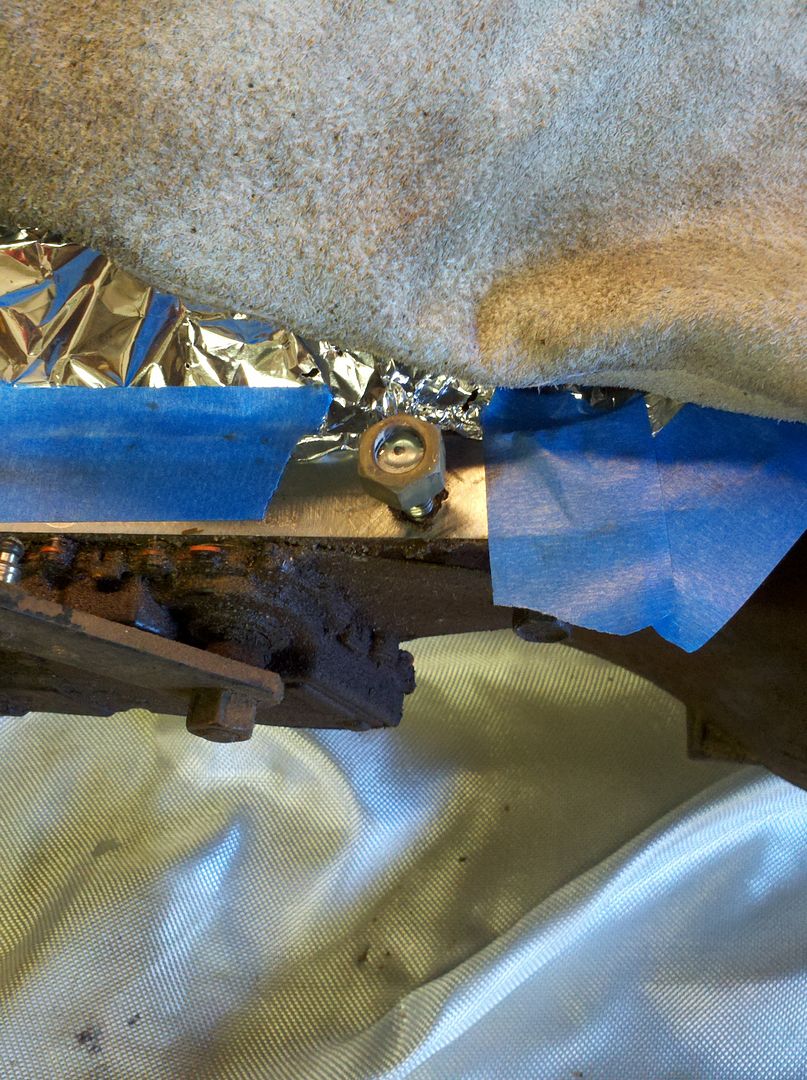
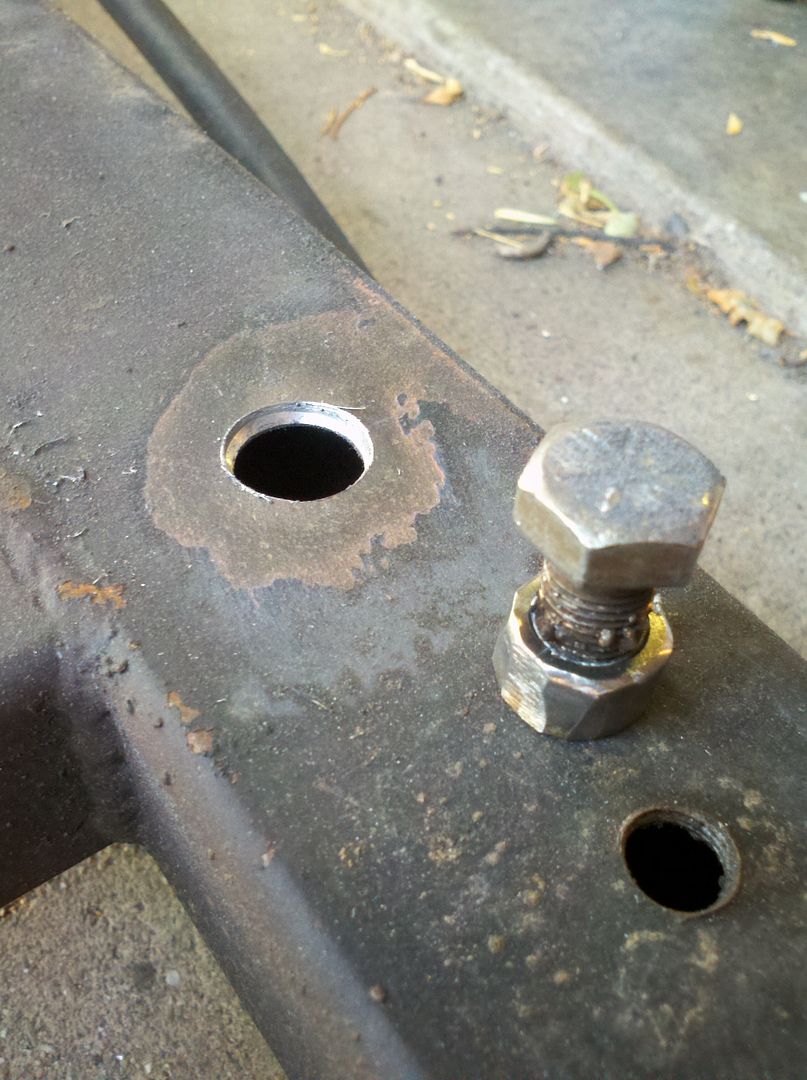
The belly crossmember had previously just been tapped to 1/2-20 through the 1/8" wall. Enough strikes on the cap screws holding the skid plate on meant a lot of stripped holes.

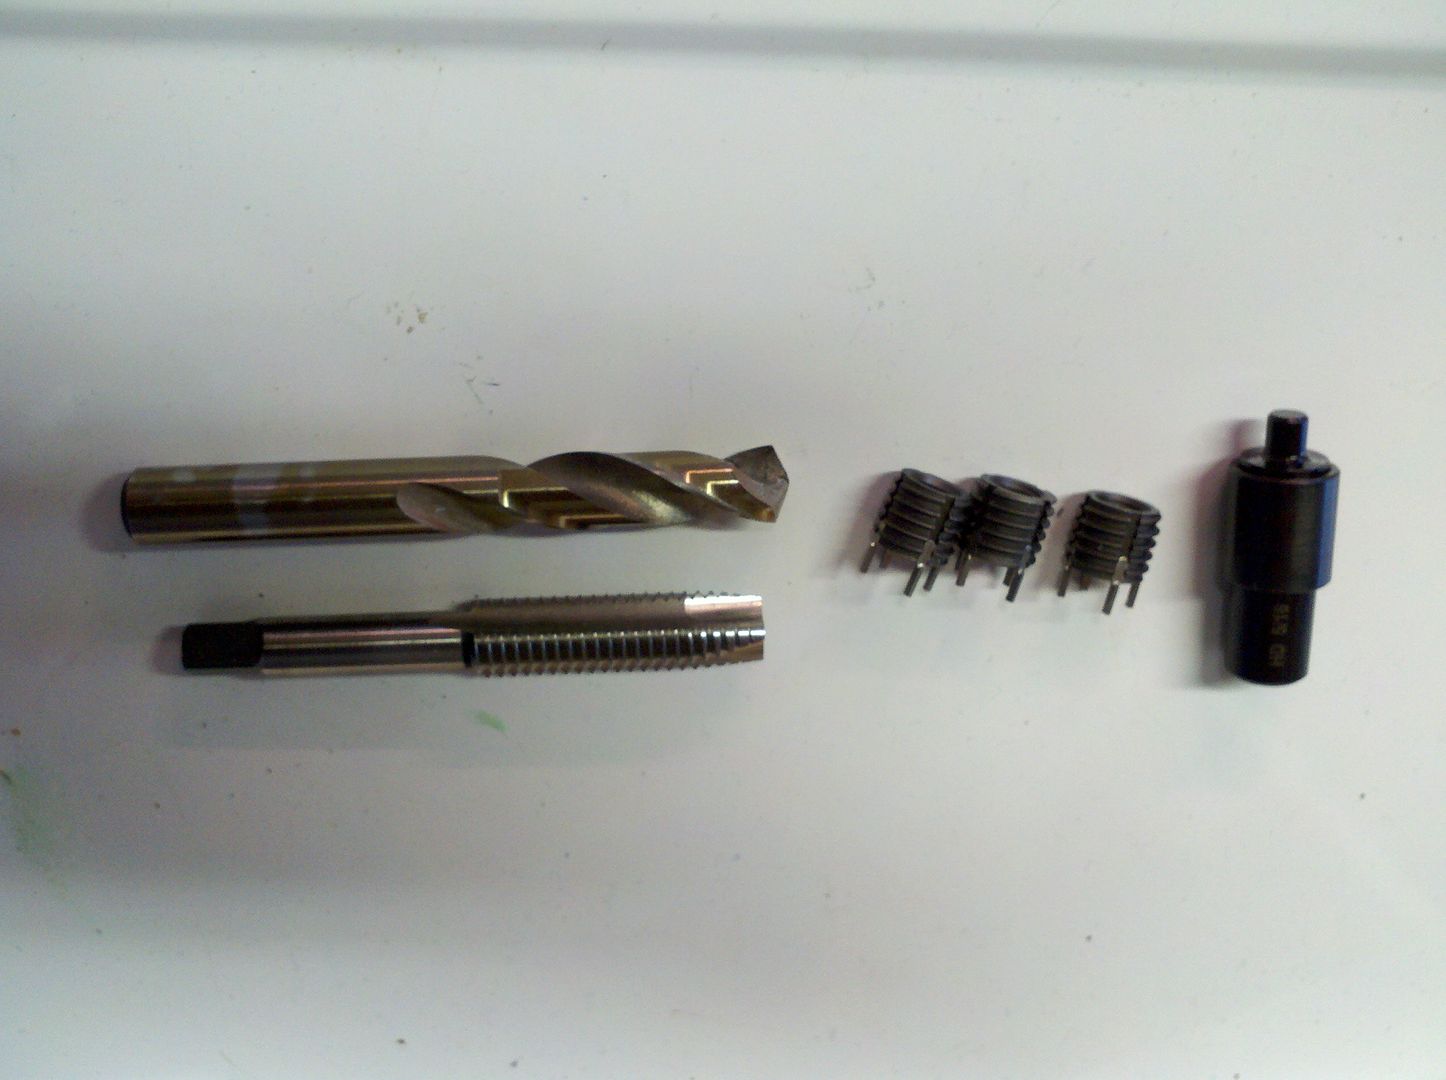
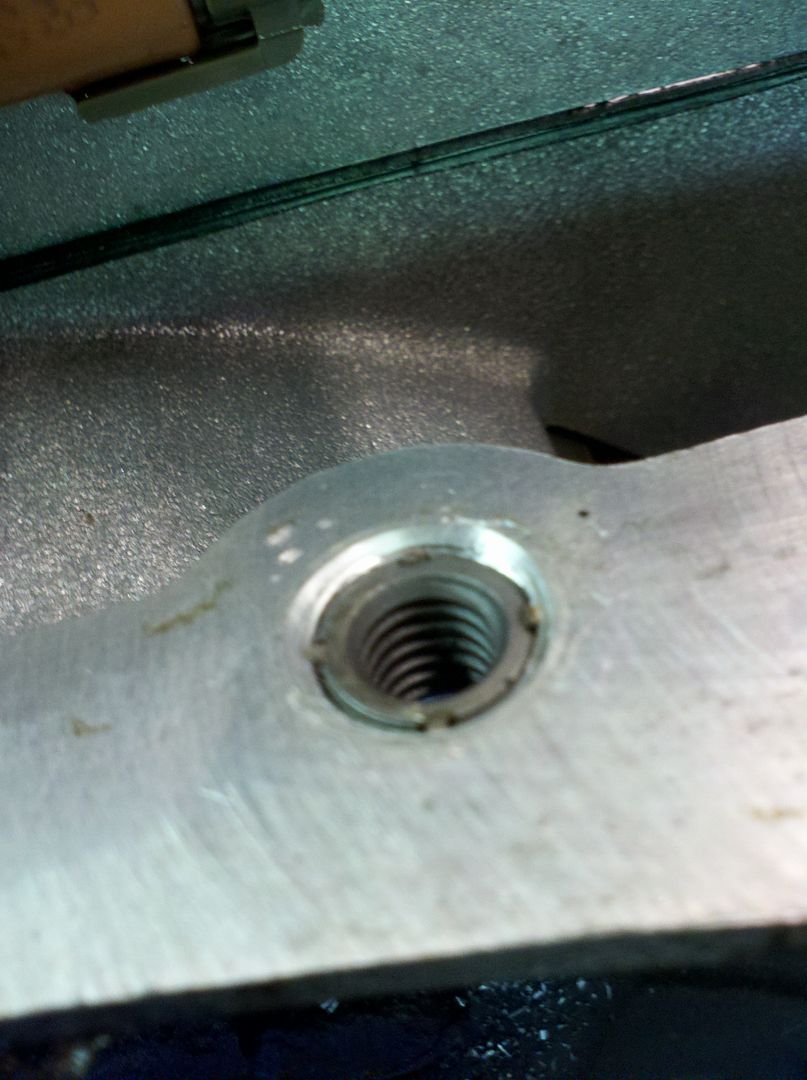
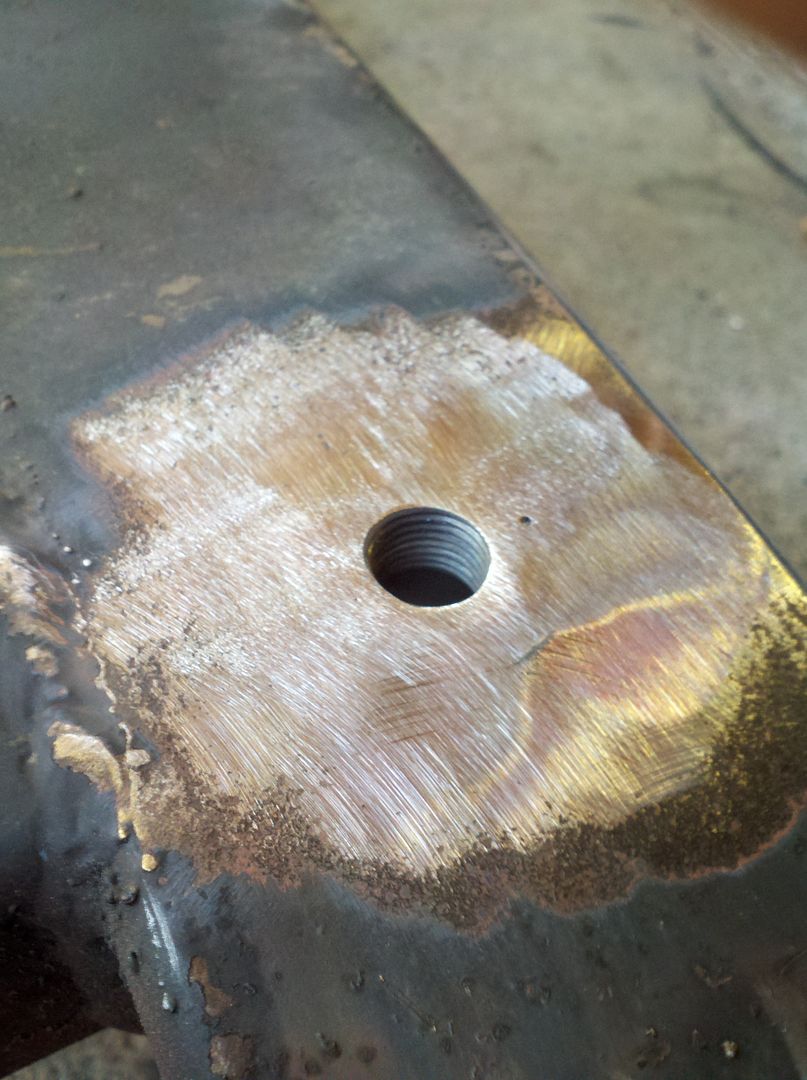
To fix it I needed to devise an easy way to weld some nuts in. The simplest solution I had was to grind the points on the nuts down a touch to make them 12 points basically. Then I opened the threaded holes up to 3/4" and took a chamfering tool and chamfered until the 3/4" lip was .005-.015'ish thick. I threaded the modified nuts onto a fully threaded bolt and used a hammer on the bolt to drive the nuts in. The 12 external points just broached through the chamfered edge resulting in a press fit that held them in place and I had good void to fill with weld so I didn't feel bad grinding them flat.

2012-07-14_15-40-13_749.jpg


All done, repeat 6x.

2012-07-15_10-53-24_675.jpg


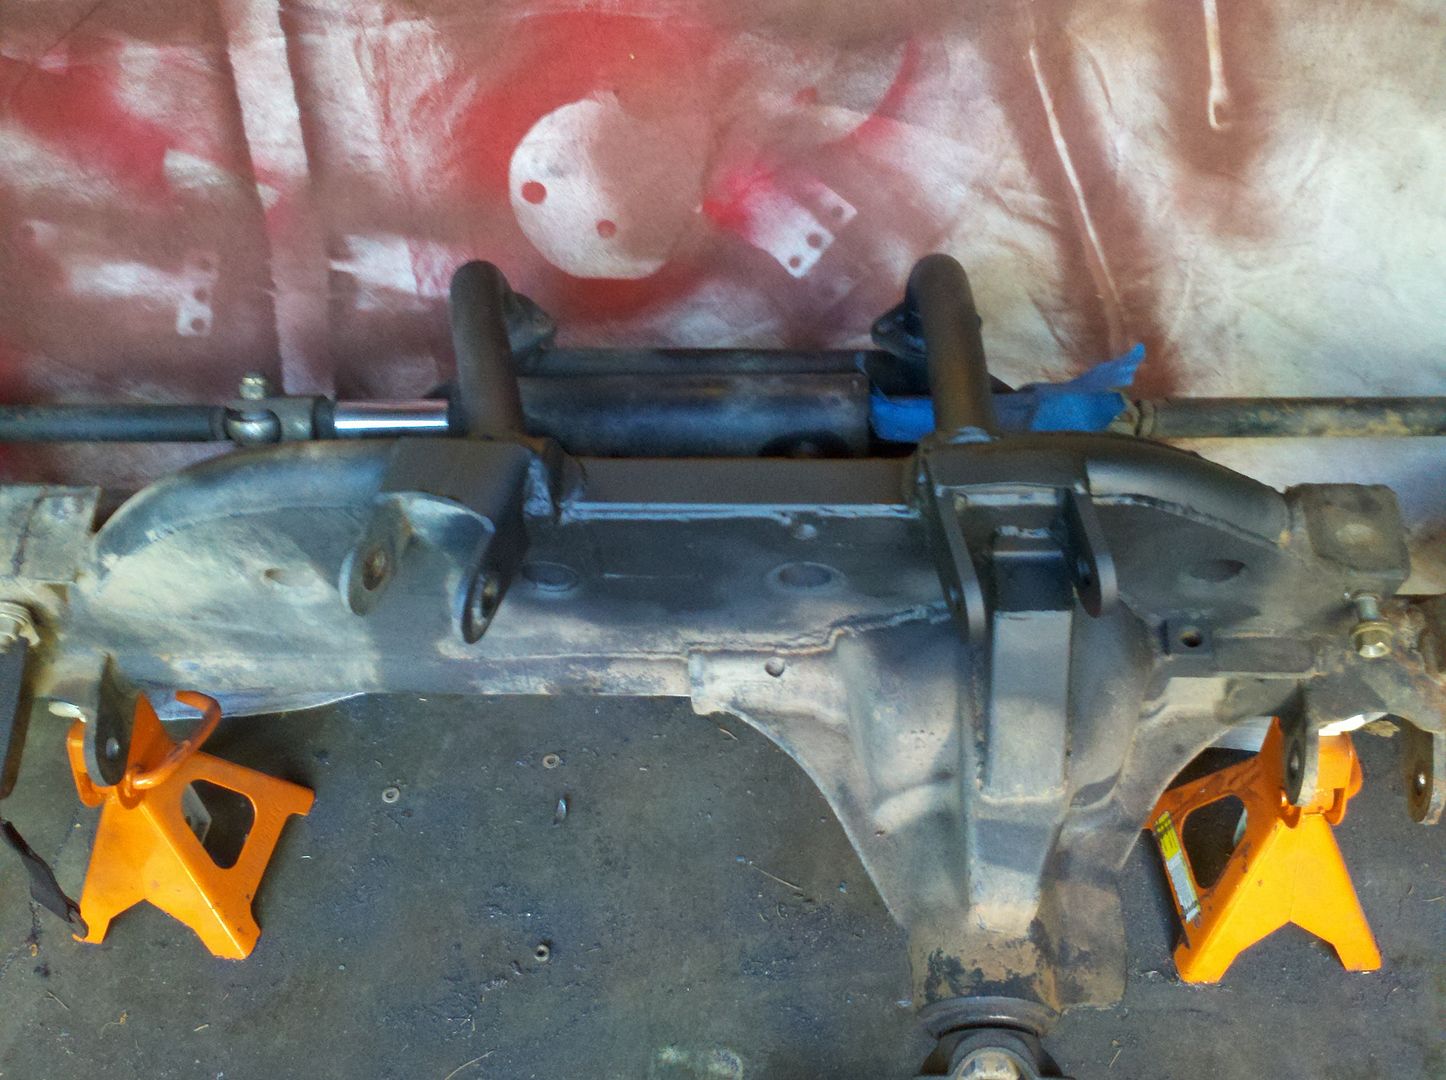
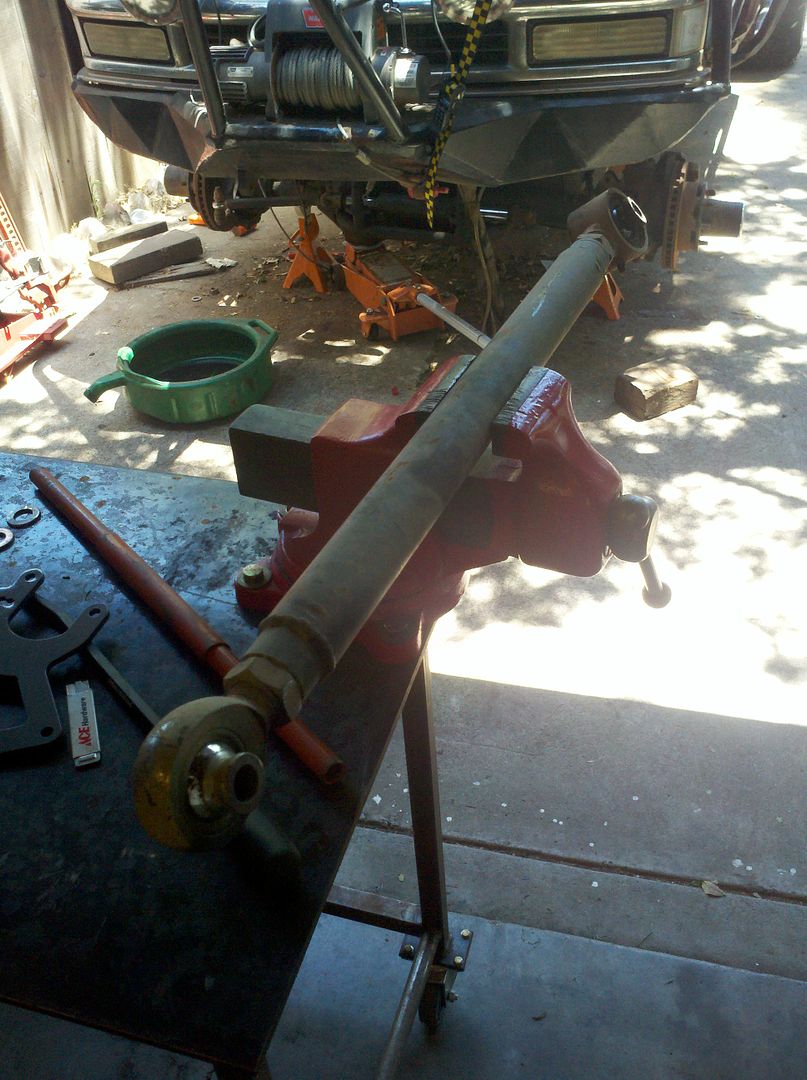
Then I went to put the frame in...lets just say I called it a night on Saturday. Seems the adapter plates moved the drivetrain forward 1-1/2"s.

2012-07-15_18-12-41_969.jpg

2012-07-15_18-12-46_516.jpg

2012-07-15_18-12-54_625.jpg

2012-07-15_18-13-05_516.jpg


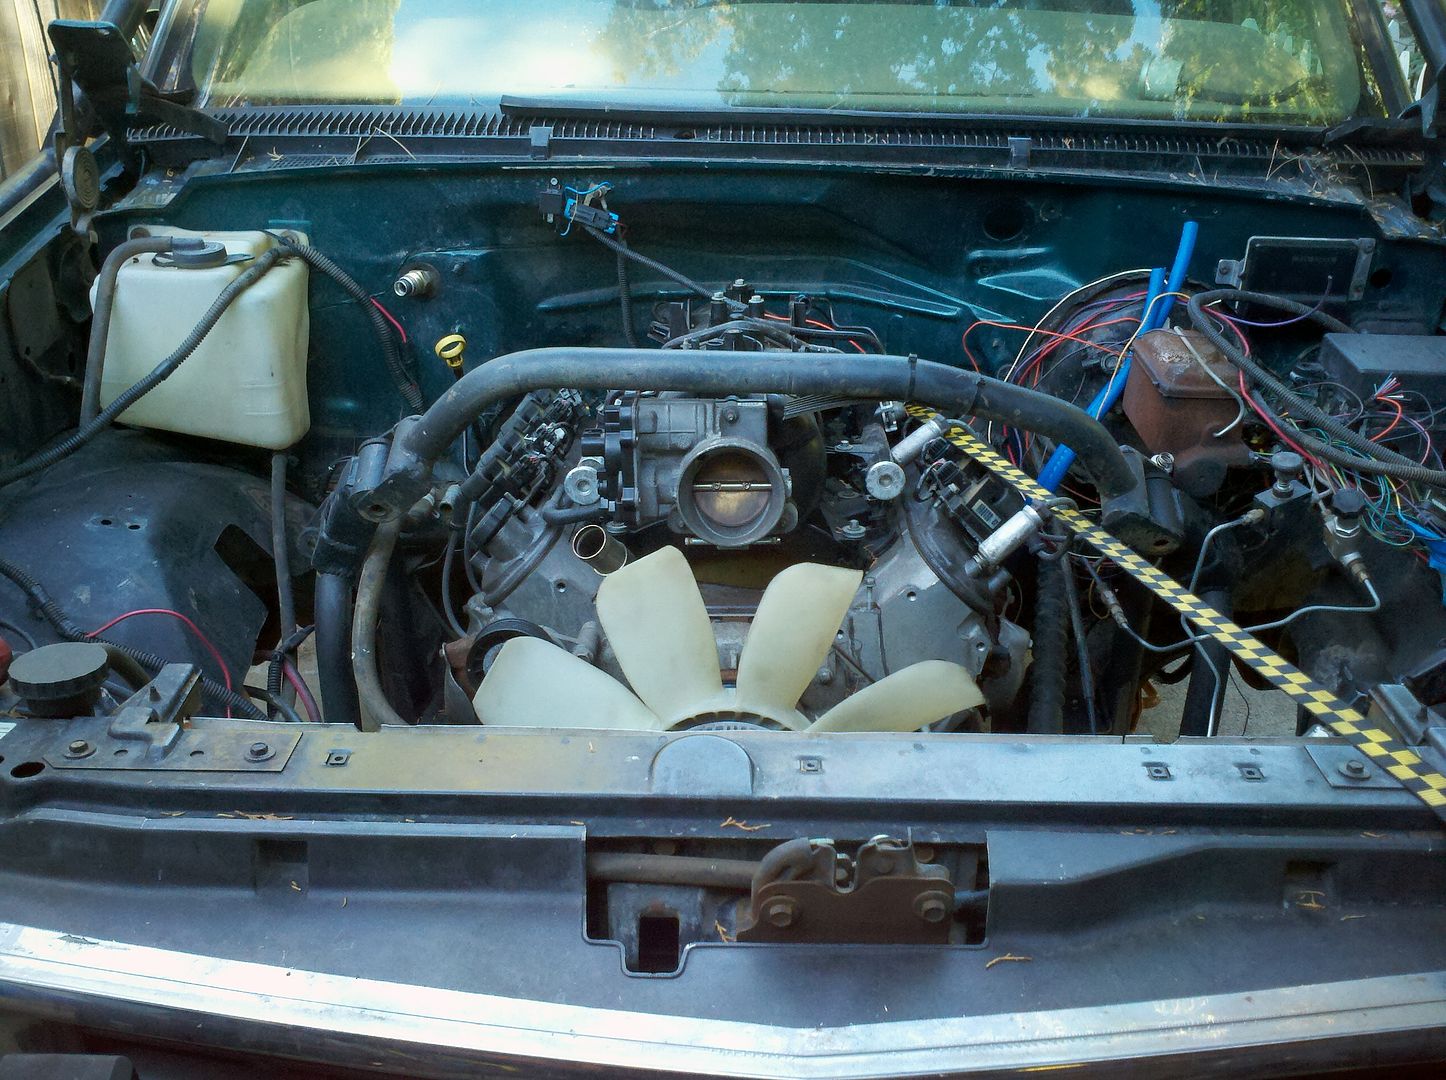
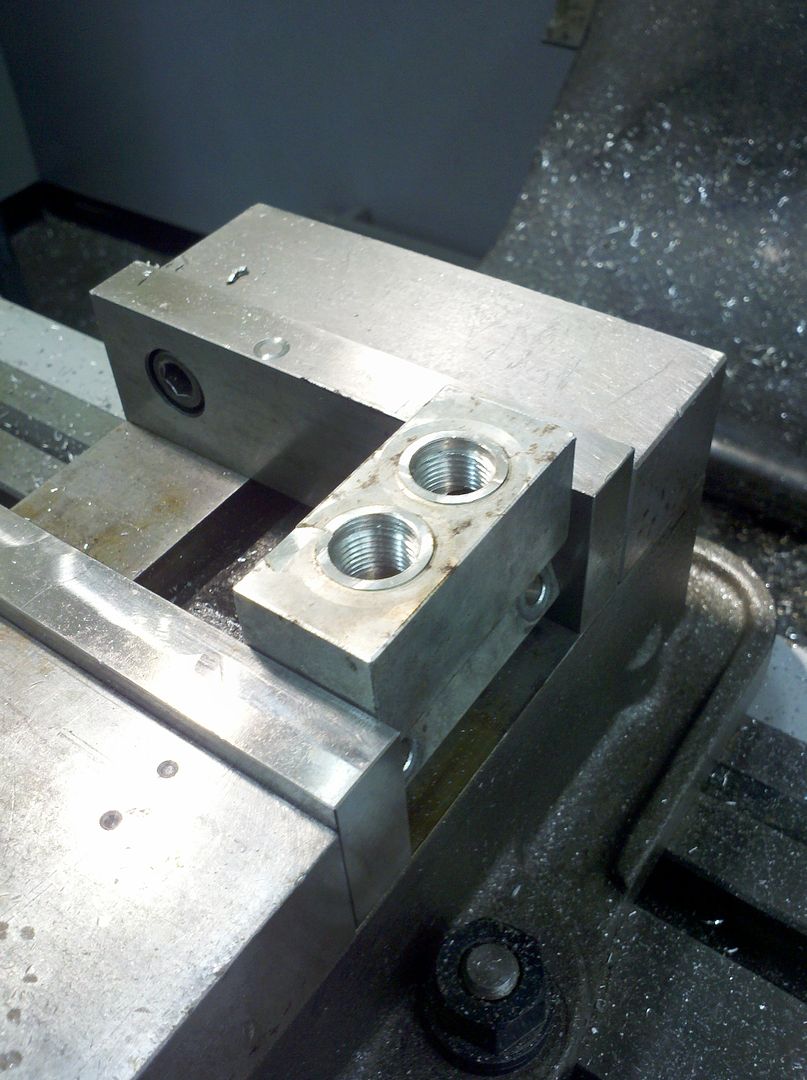
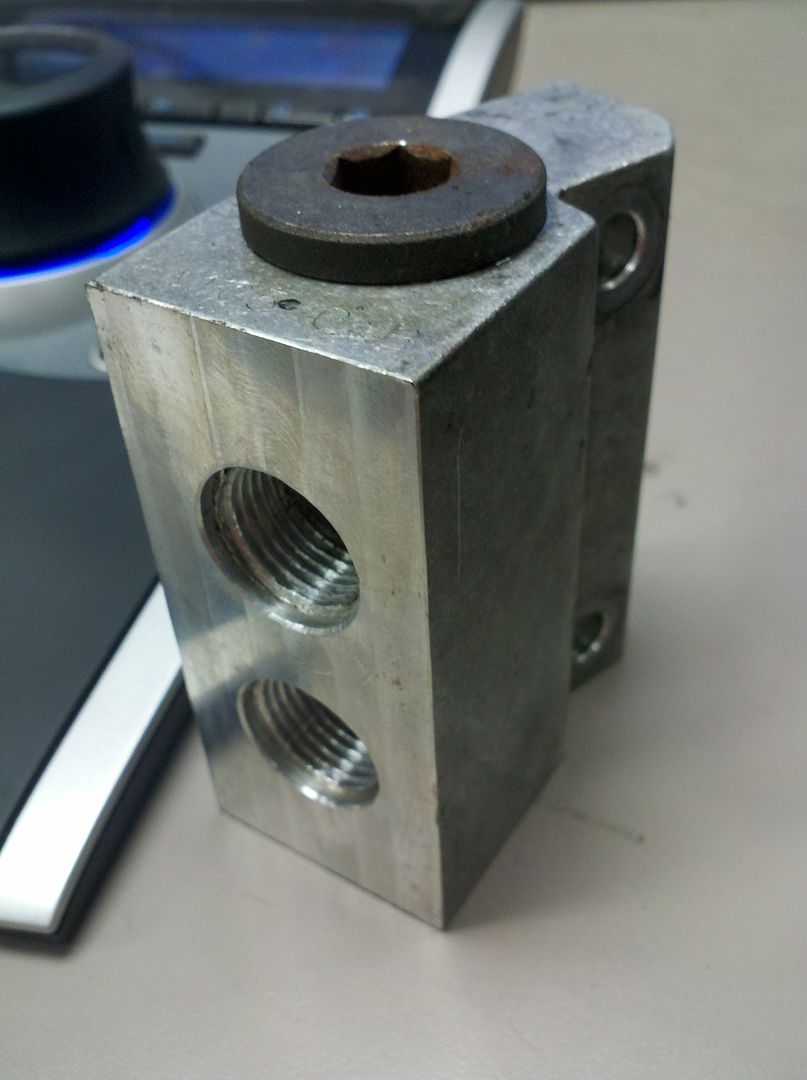
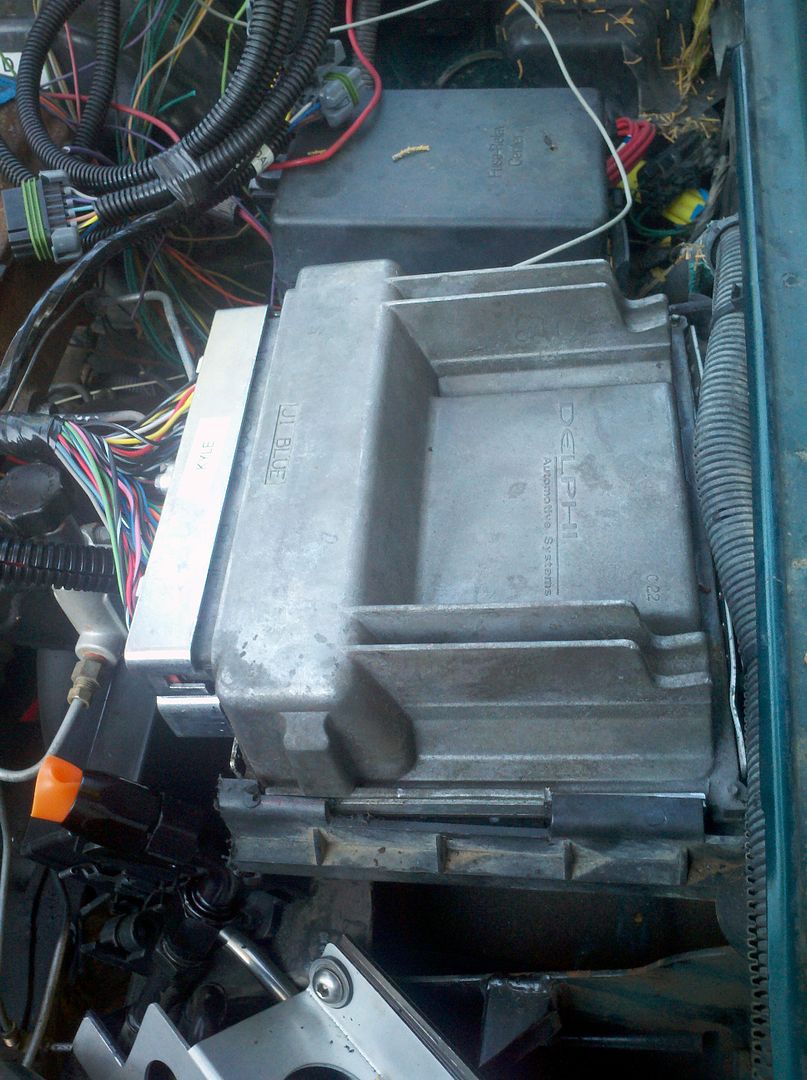
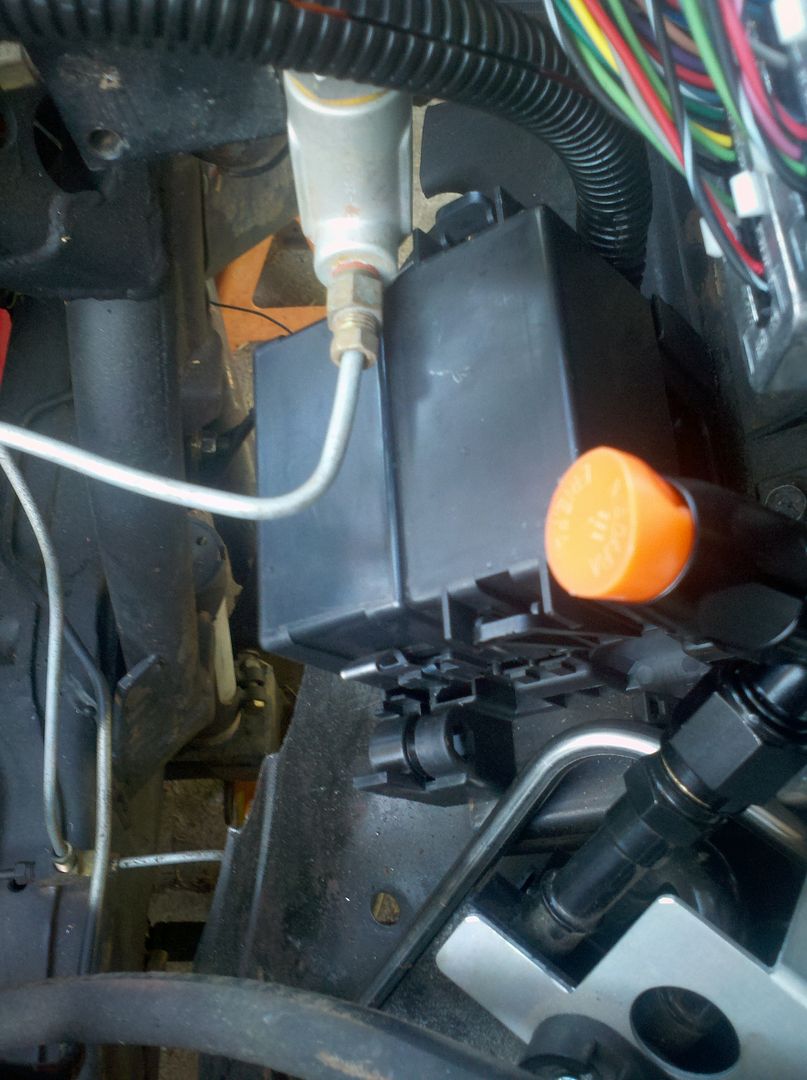
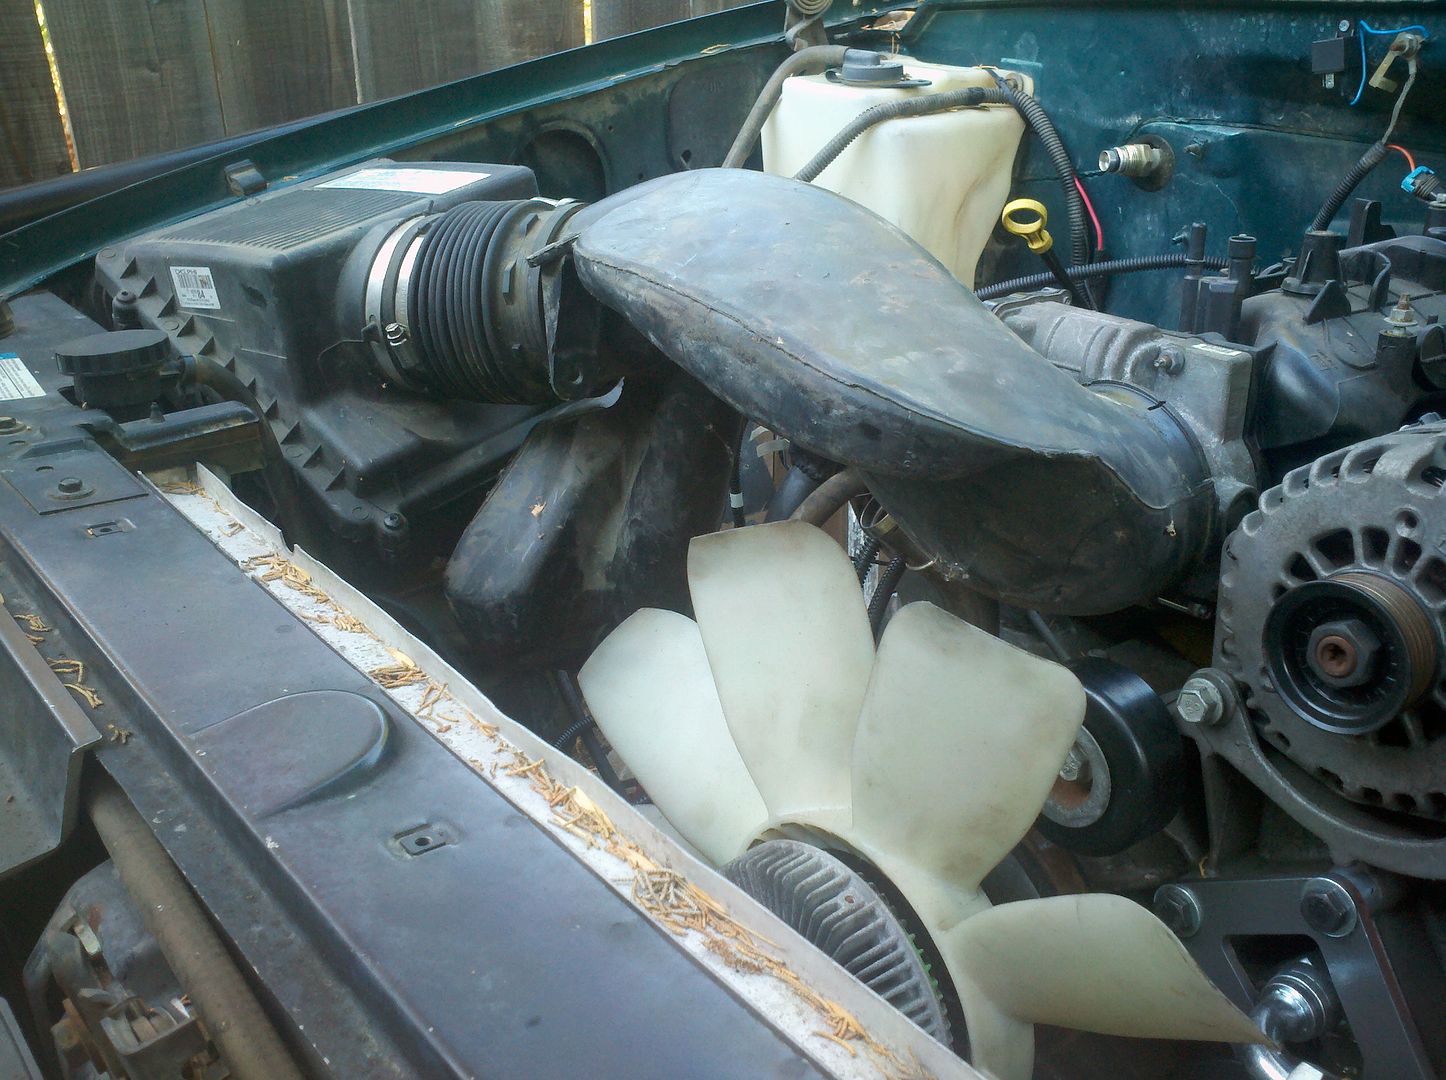
Kevin came out Sunday, mostly so his wife could go hang out in the pool with my significant other, but partially to give me a hand. He knocked out a cooler mount, modded the ECM mount for the early LS computer, got the relay block mocked up waiting on hardware and mocked up the factory'ish intake and helped me decide to just relocate the battery tray. Thanks buddy.

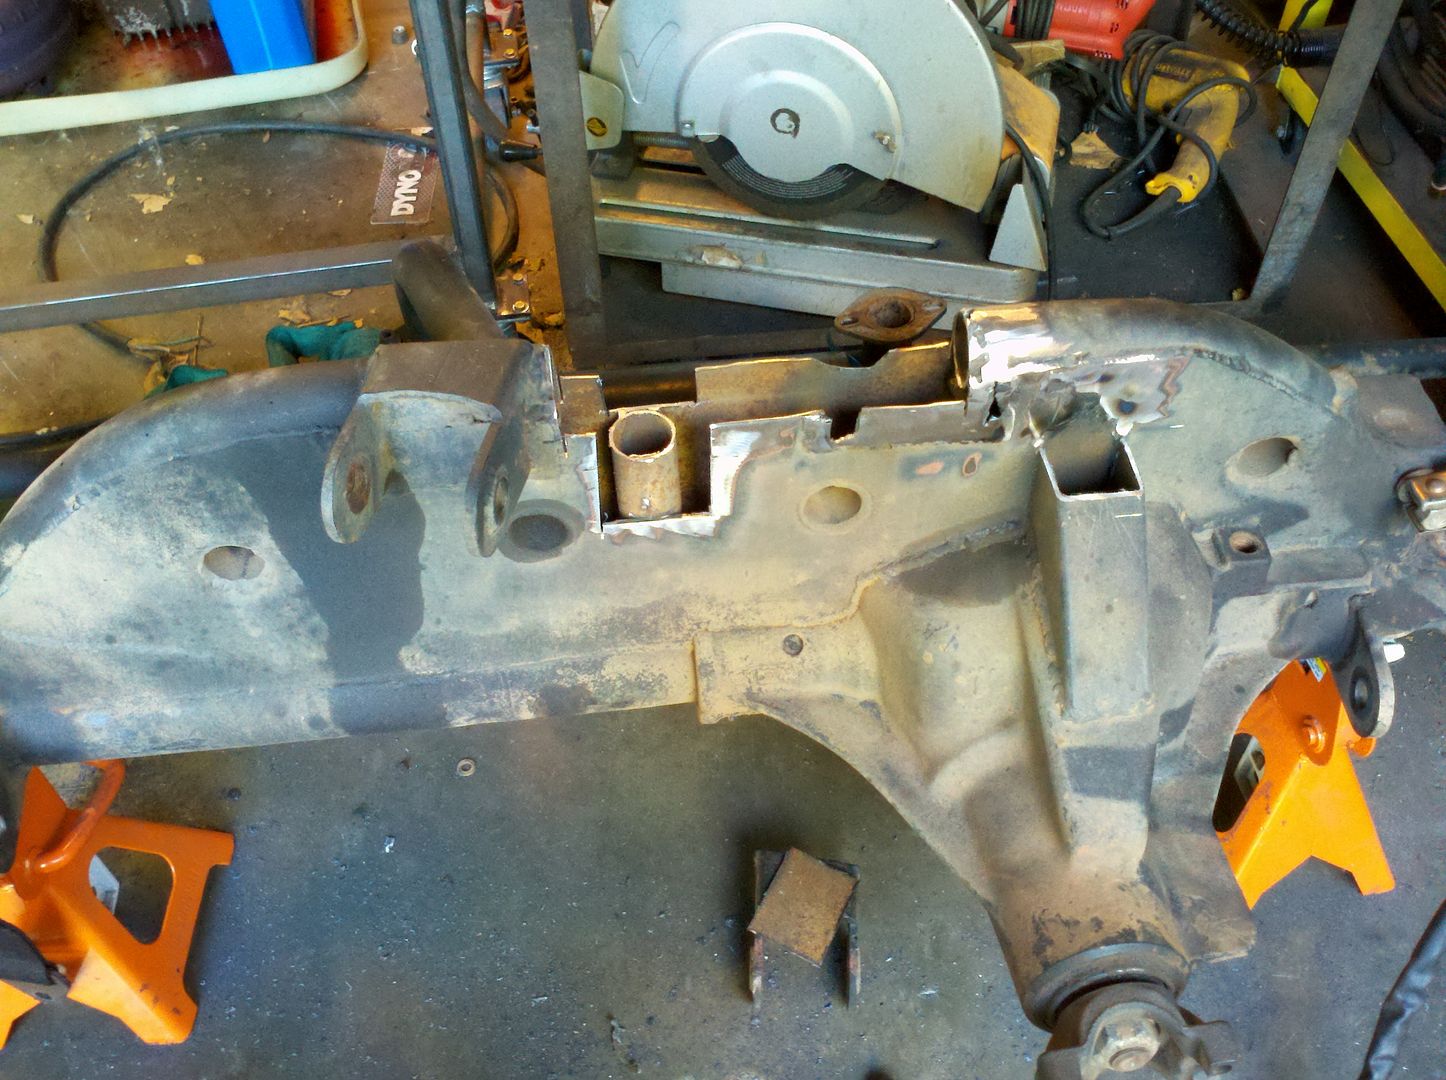
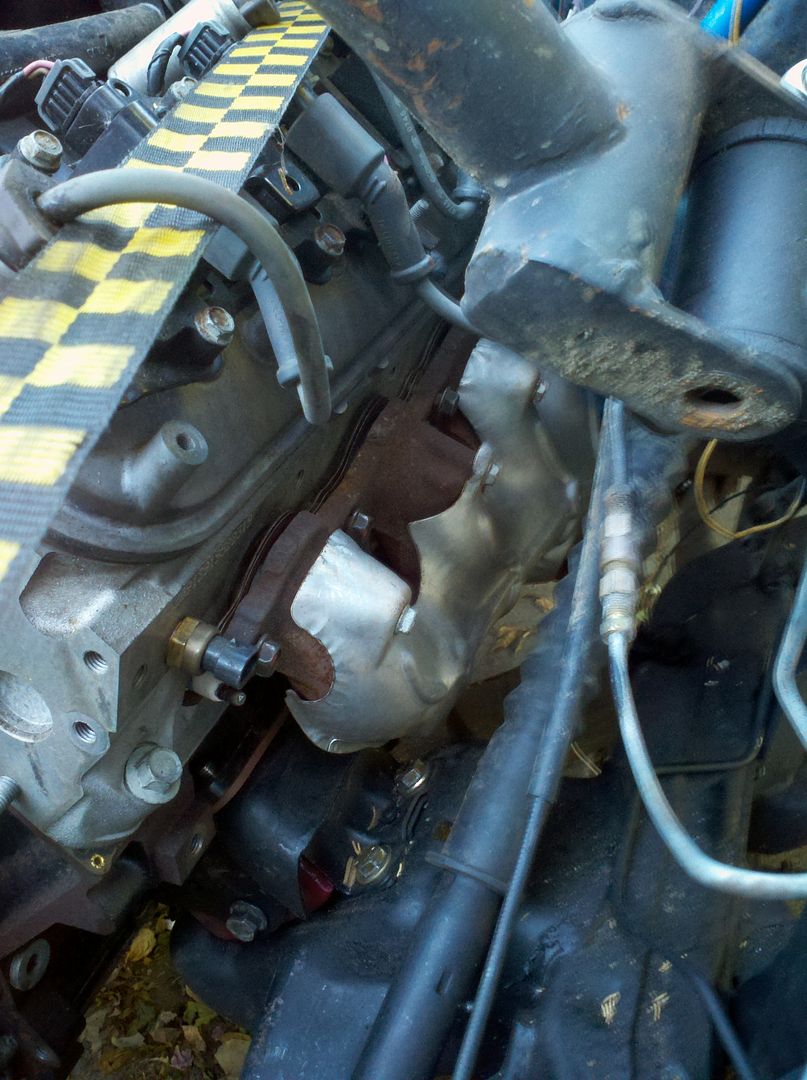
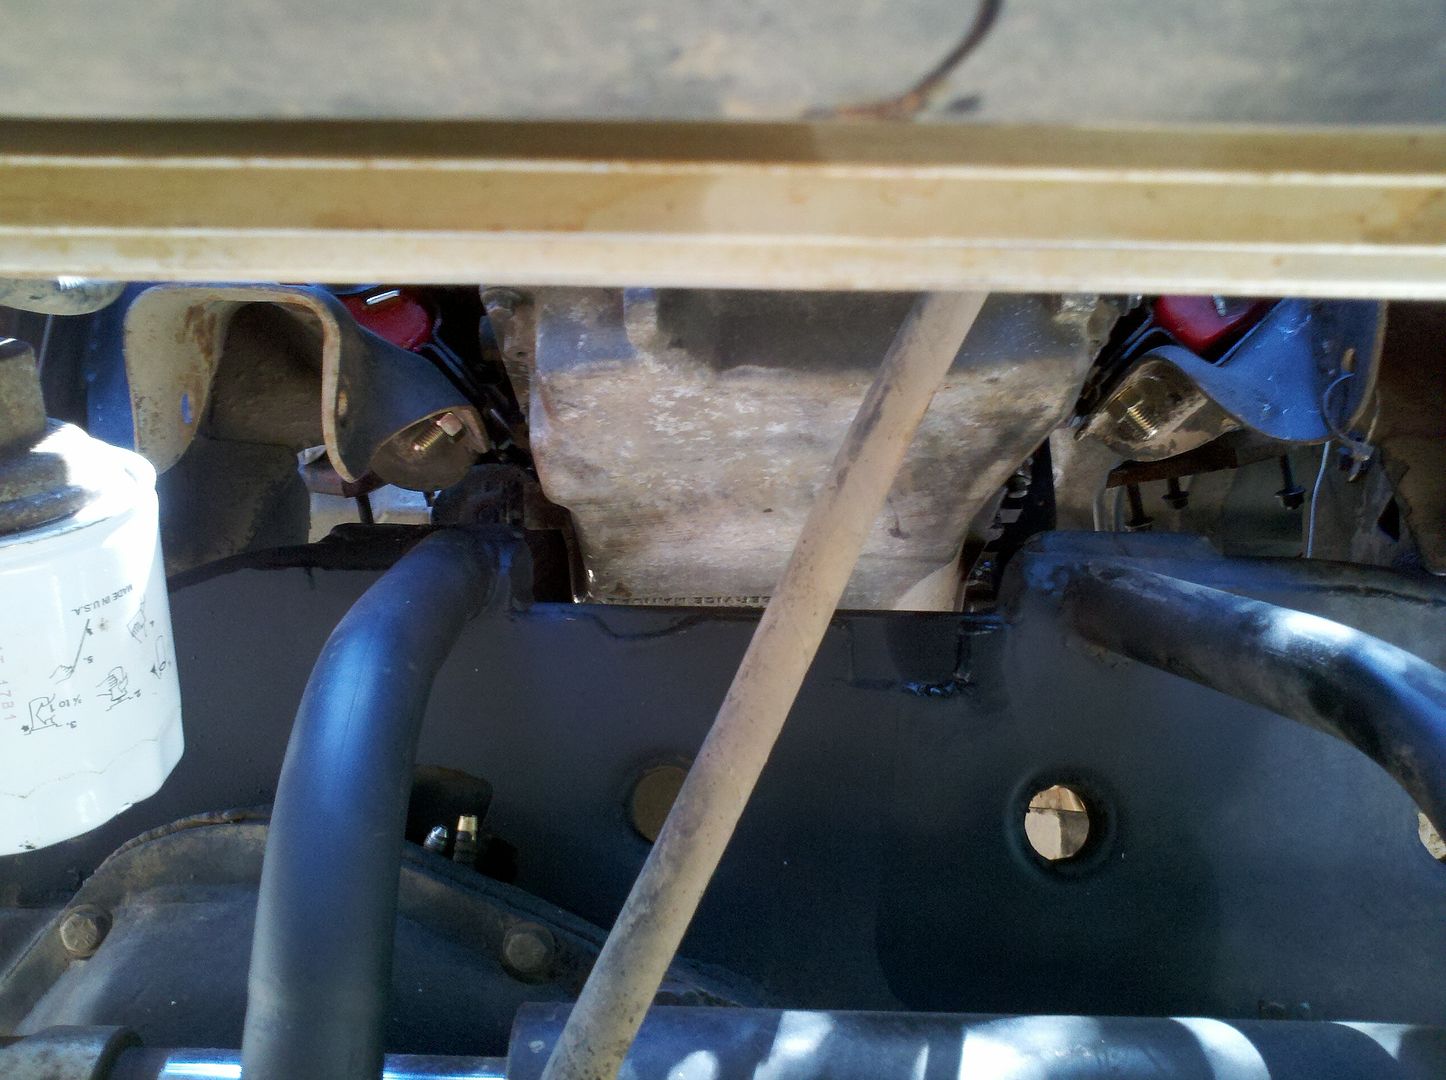
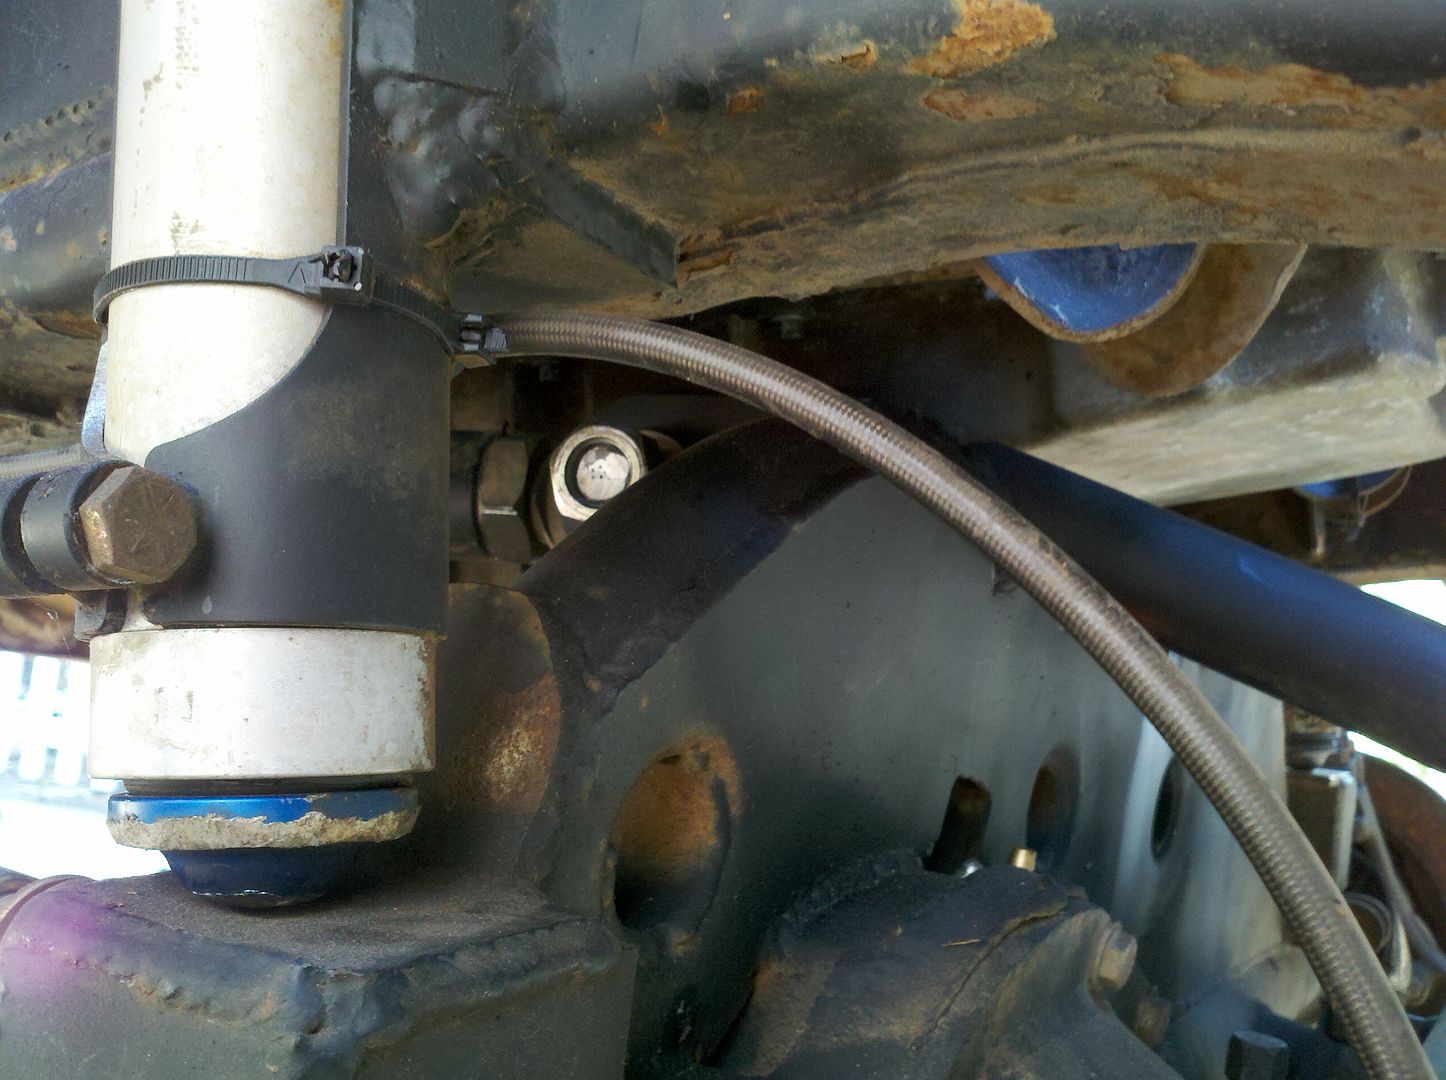
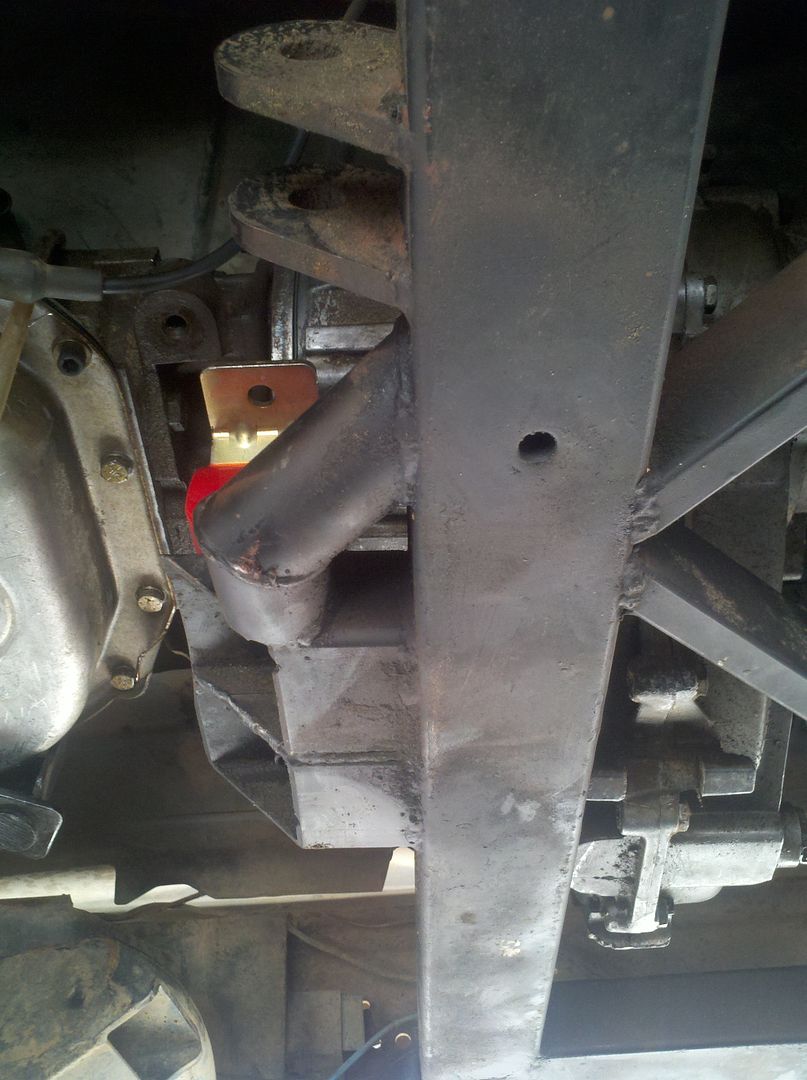
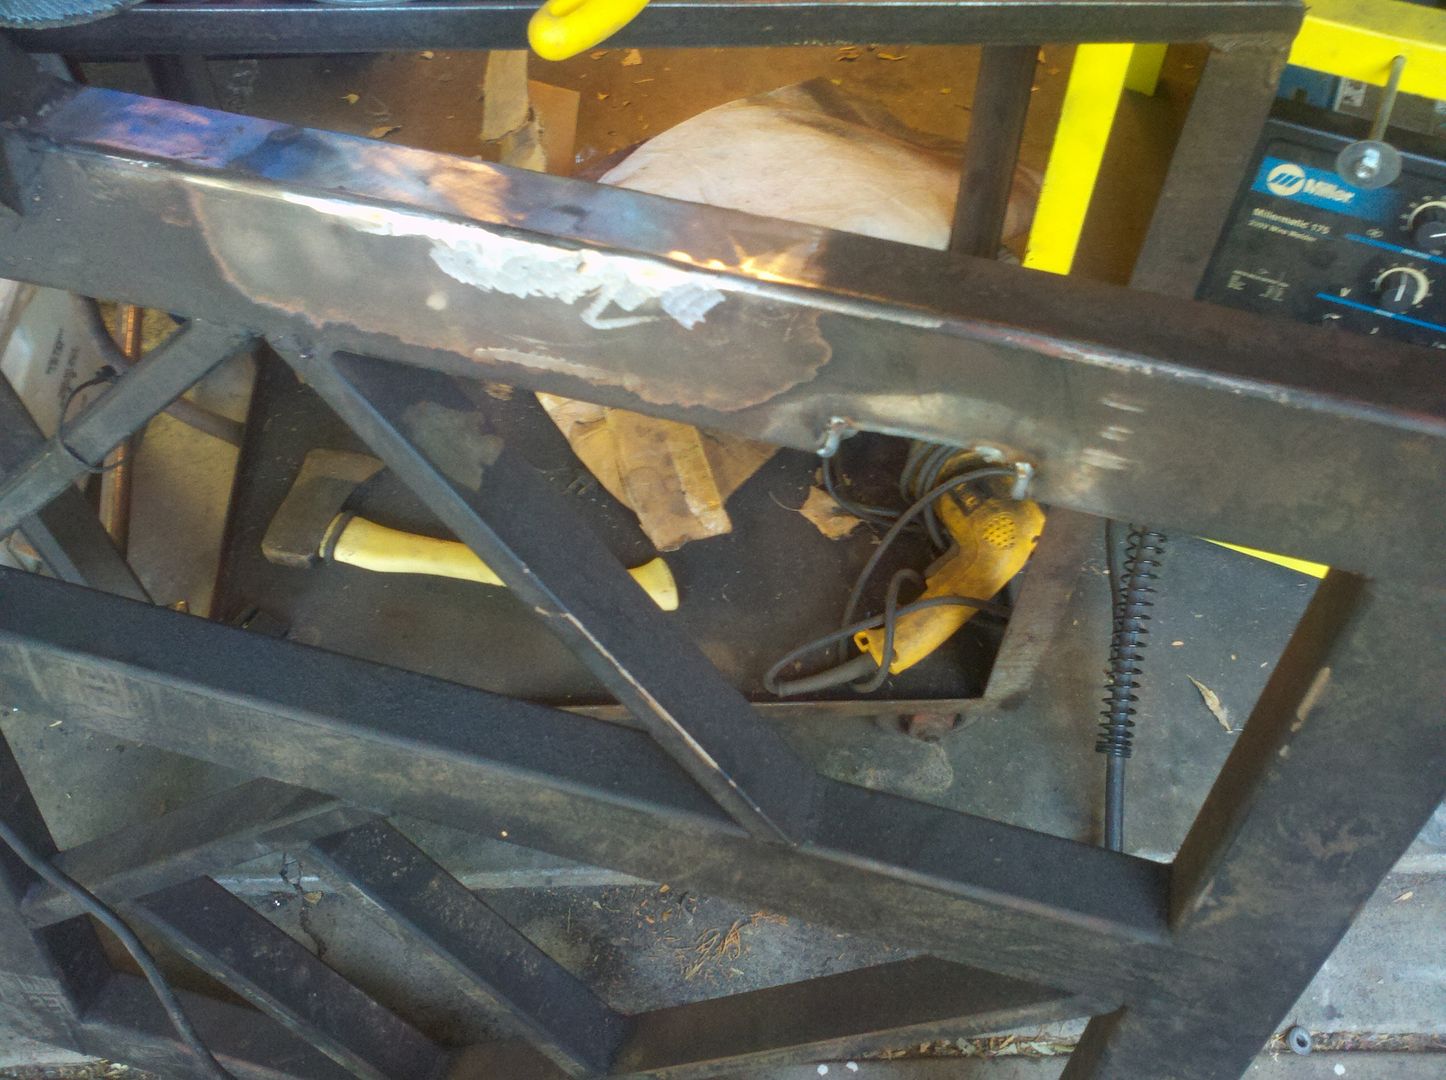
While he was doing that I was trying to fix the issues that the motor mount plates created. The t-case was hitting the back of the front 2x3 piece of tube and the ghetto mounting foot for the tranny adapter wasn't long enough.

2012-07-15_18-13-19_125.jpg


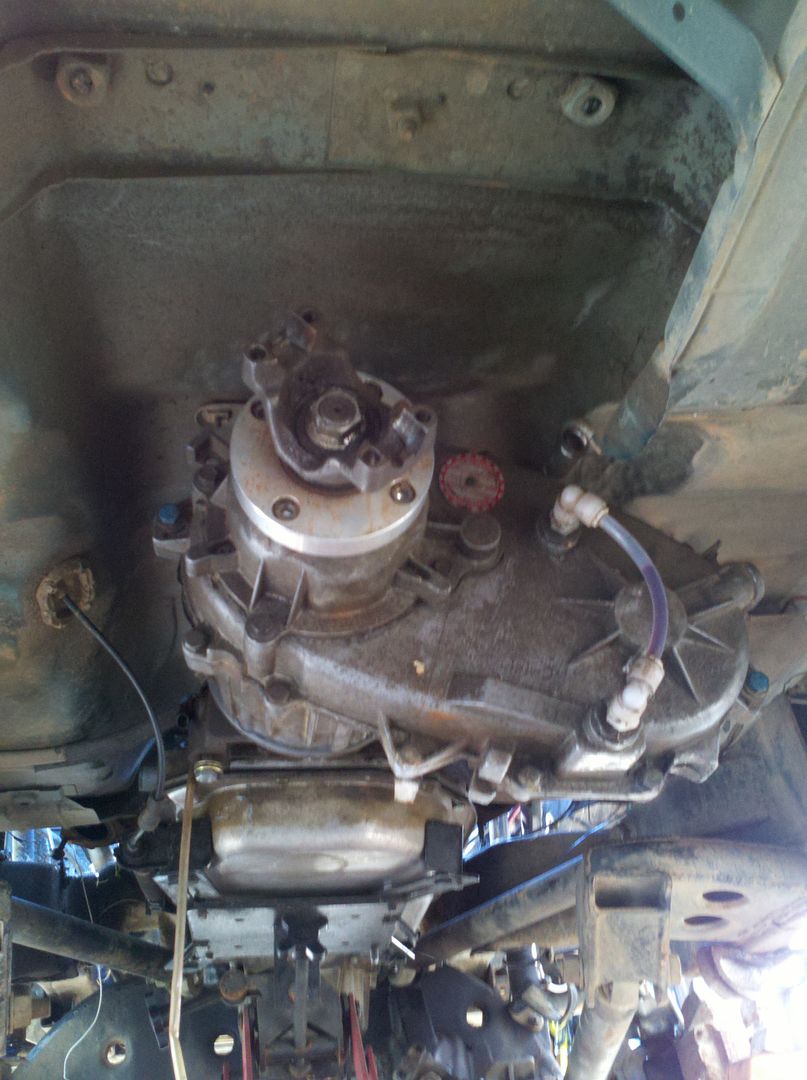
I notched and plated in the relief for the t-case a well as removed the entirety of the ghetto mount.

2012-07-15_20-00-16_131.jpg


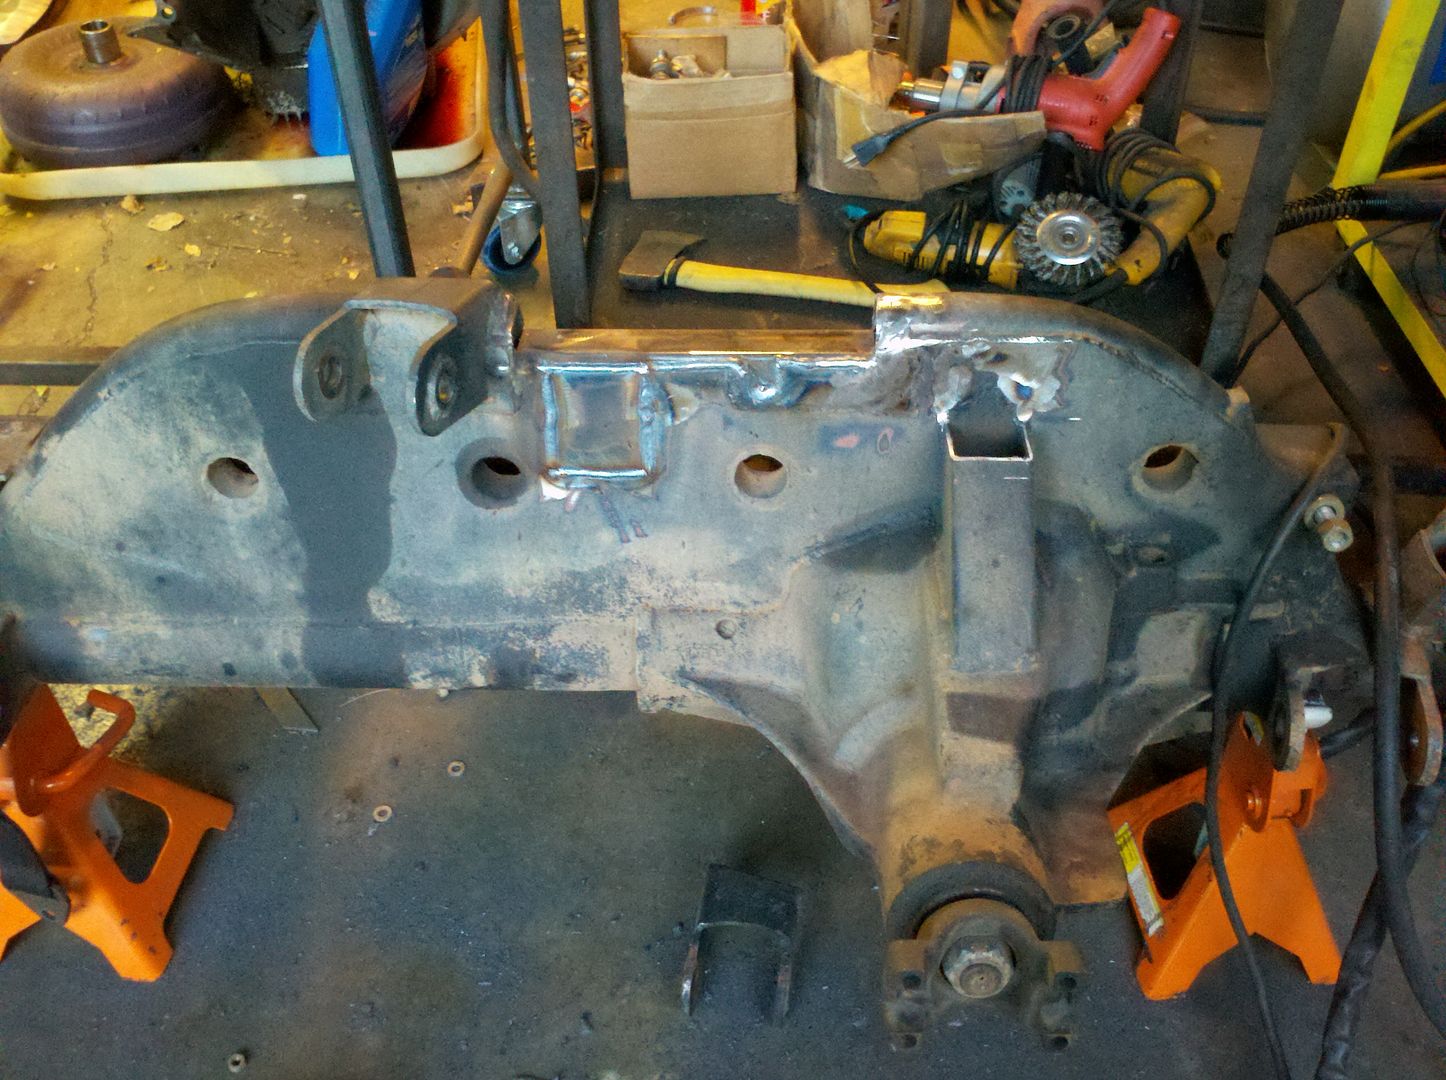
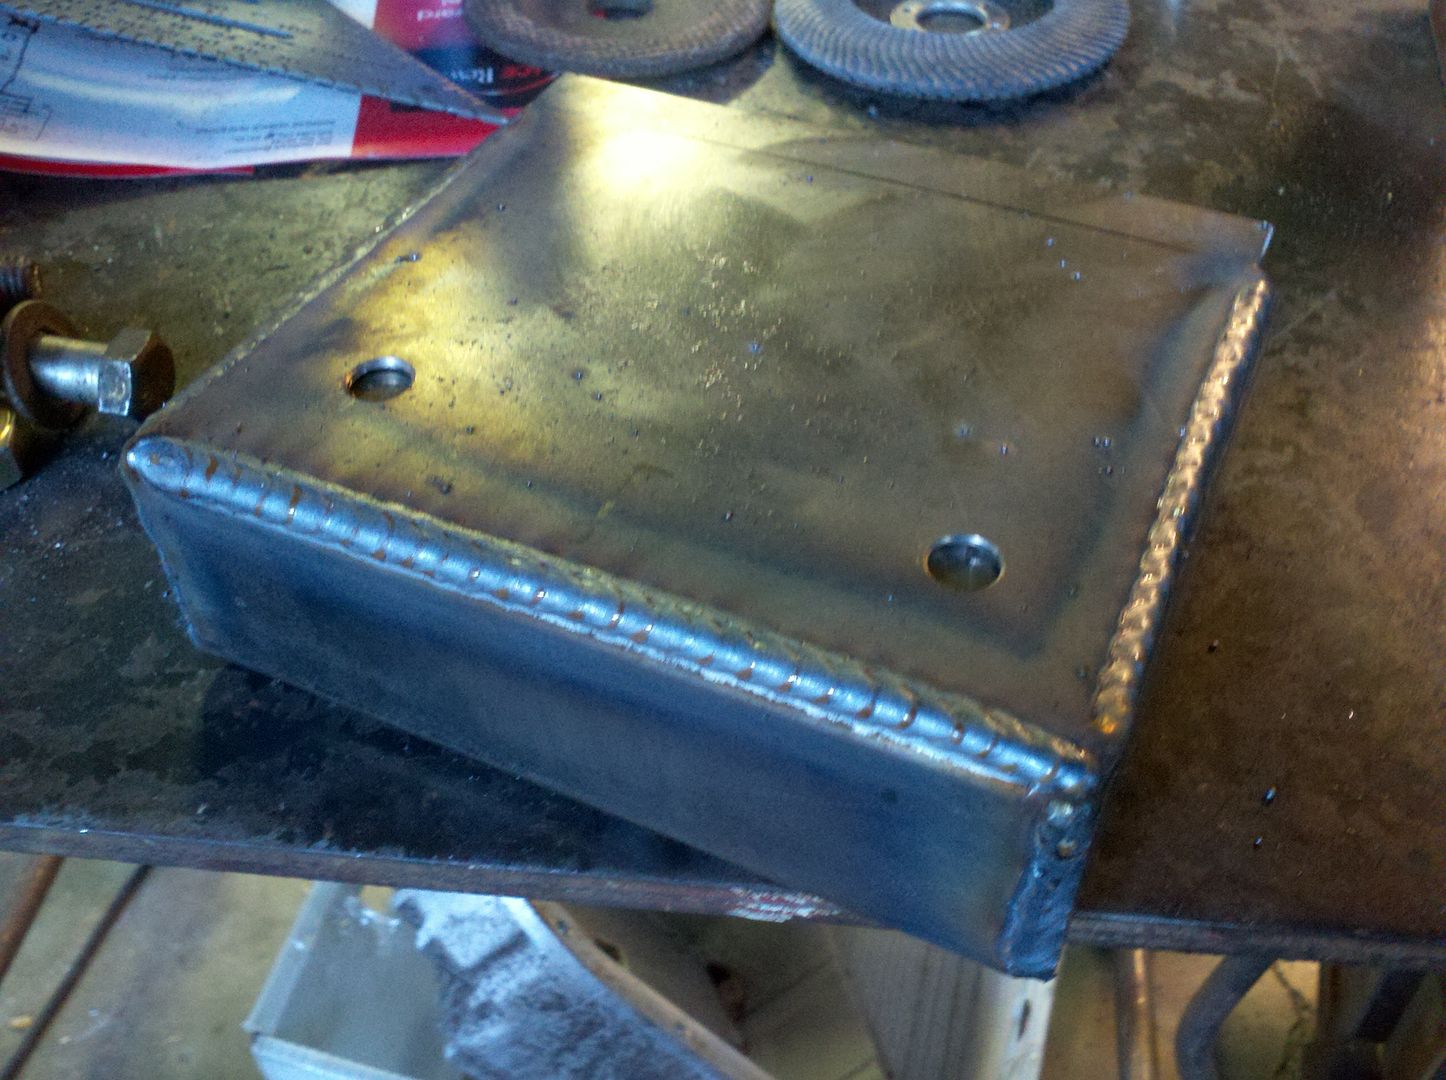
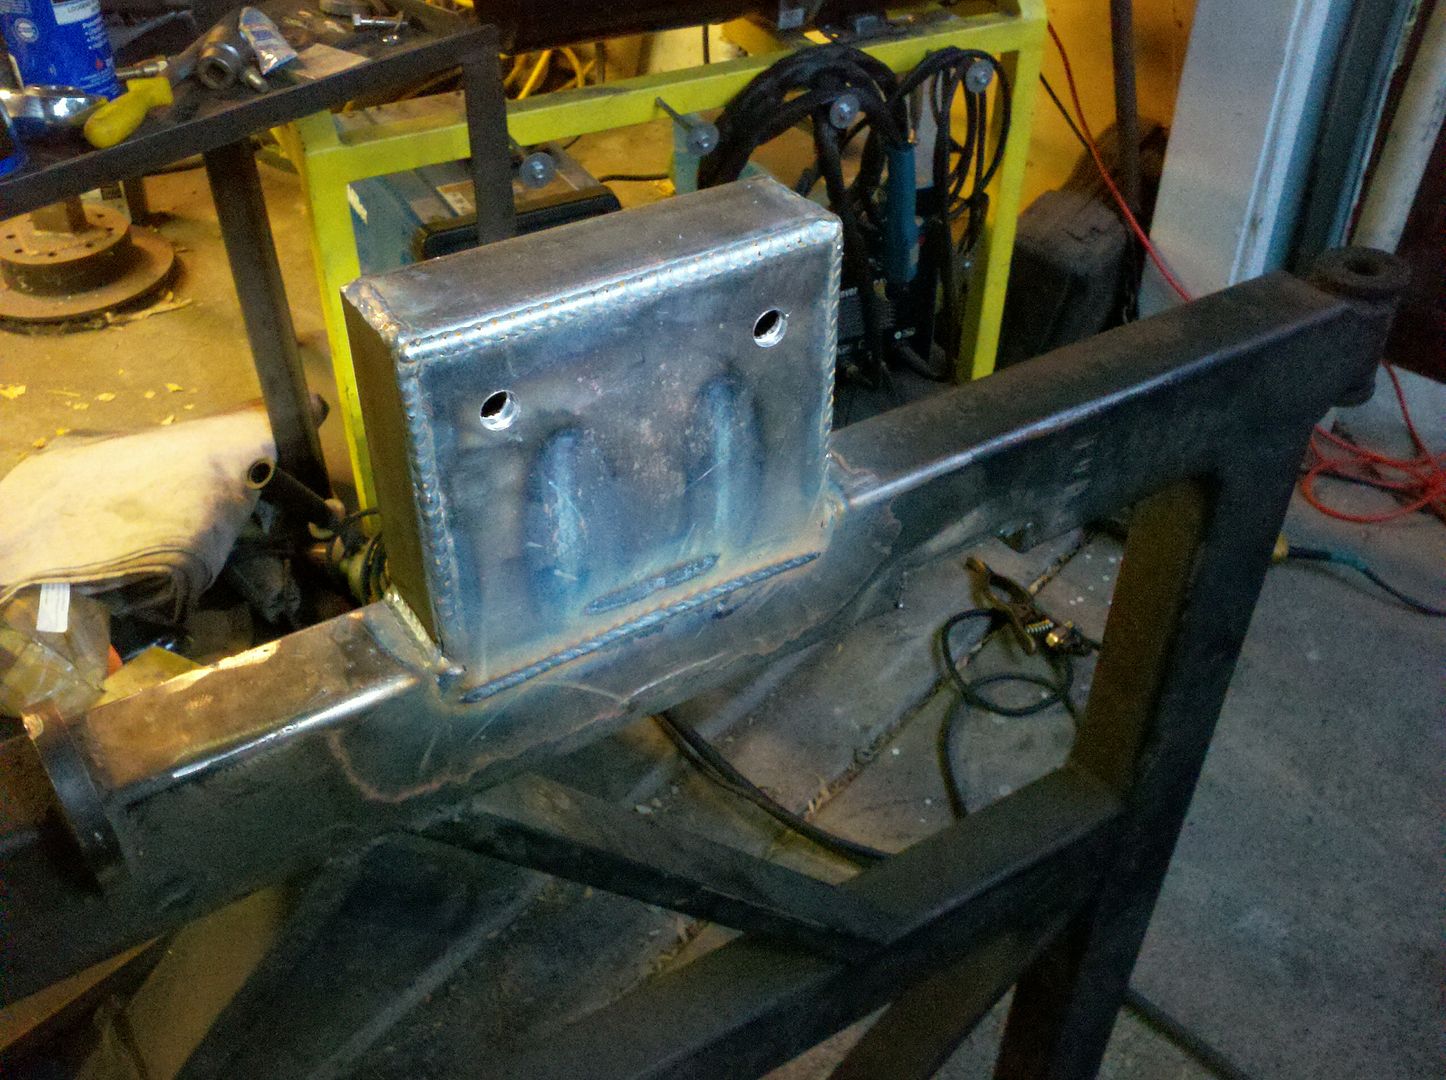
I cut a piece of 1/8" laying around for a cover plate and integral shim, then made a C out of some 2x2 .120 and burned it all together and made my top side holes with counter bores on the back side for clearance.

2012-07-15_20-34-21_771.jpg


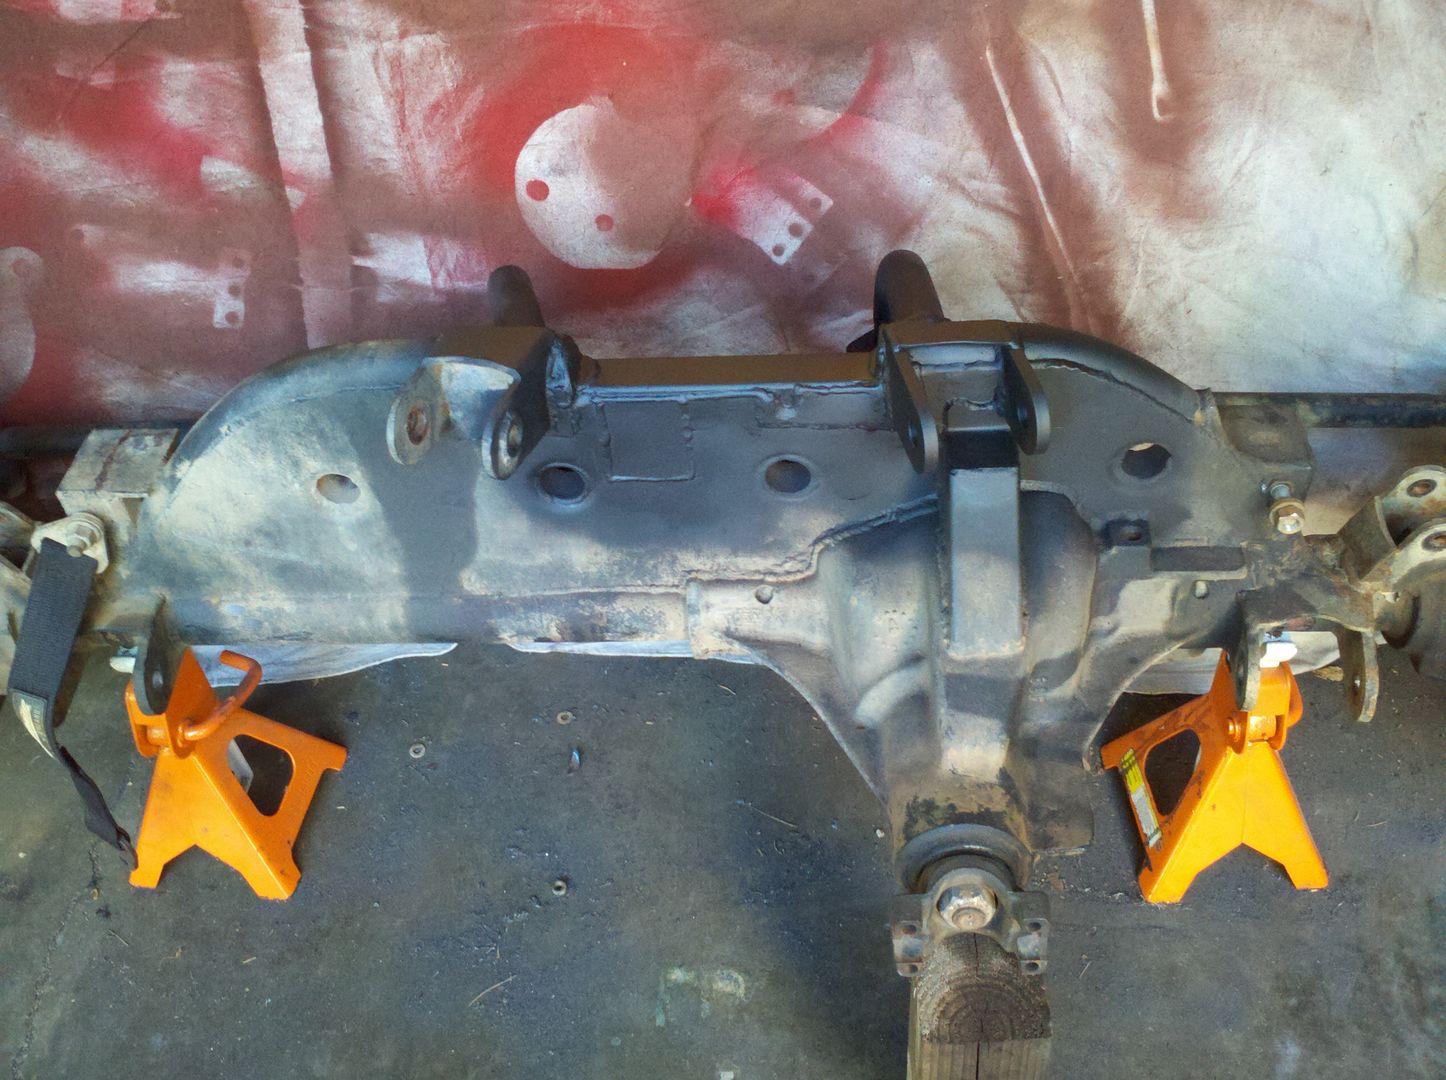
Finished it off later last night after everybody had left by blazing it on. Now lets just hope my tape measure operating skills are up to par, eek.