You are using an out of date browser. It may not display this or other websites correctly.
You should upgrade or use an alternative browser.
You should upgrade or use an alternative browser.
Project Paper Weight
- Thread starter bggrnchvy
- Start date
BadassBlaze
New member
Kyle, the truck is an inspiration. Seeing all the fab work done mostly at home in a driveway give me lots of hope. Spent a little bit tonight going through and carefully looking at every picture, just to catch all the attention to detail. Love the truck, and its a big part of why I want a full size Chevy to wheel. Just such an awesome rig... Hope one day a couple of us Texans can make it out and wheel with you.
Totally impressed with the time and craftsmanship that has went into this truck. Plus it's pretty bad ass you got to use a crane.
It's a pretty handy tool. It has to be totally disassembled for a rebuild soon itself for a rebuild. What do you lift the crane boom off with?
Yesssss, thanks for taking the time to go through everything and make this thread. I've always loved your truck, in every stage of it's life.
:five: Thing took like 4 hours to compile, but I have it saved as a Word document for the future at least:crazy:
fucking awesome...and this says it all
Jason was ahead of his time.
Kyle, the truck is an inspiration. Seeing all the fab work done mostly at home in a driveway give me lots of hope. Spent a little bit tonight going through and carefully looking at every picture, just to catch all the attention to detail. Love the truck, and its a big part of why I want a full size Chevy to wheel. Just such an awesome rig... Hope one day a couple of us Texans can make it out and wheel with you.
Thank you Cory, it's definitely been an adventure.
That trip would be quite a haul for you, but if you ever get the want, Moab is only a couple days away and we're there every other year:thumbsup:
Holy crap, I knew you had some work into it but dayum I had no idea how awesome it is! Bitch is bad. :whoa:
From beginning to end in one place, it certainly does convey the amount of work well, I admit that.
BadassBlaze
New member
Thank you Cory, it's definitely been an adventure.
That trip would be quite a haul for you, but if you ever get the want, Moab is only a couple days away and we're there every other year:thumbsup:
I'm never scared of a drive. I usually go to Colorado 2x a year to snowboard and thats a 14-15hour drive. Whats a couple more hours. When will you be going back to Moab?
I'm never scared of a drive. I usually go to Colorado 2x a year to snowboard and thats a 14-15hour drive. Whats a couple more hours. When will you be going back to Moab?
September 23-29.
With some help from Jason via text I got the wires I need for the new harness located (TCC brake signal, switched 12v and 12v constant) and a bit more of the extras sorted and removed. I need to finish so I can powerwash the engine bay and drop the new motor in.

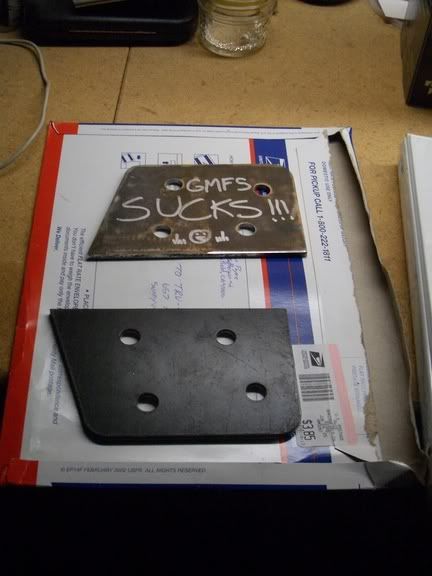
I blasted all the motor mount plates/tranny supports as they pretty rusty and I didn't want to put some new greased poly mounts onto that surface.

PSC bracket showed up. I have to cut up the alternator/PS pump bracket to fit it, which would be great if I had a working vertical bandsaw...damn. I'll bring it into work tomorrow and give it a trim on the DoAll.
I blasted all the motor mount plates/tranny supports as they pretty rusty and I didn't want to put some new greased poly mounts onto that surface.
PSC bracket showed up. I have to cut up the alternator/PS pump bracket to fit it, which would be great if I had a working vertical bandsaw...damn. I'll bring it into work tomorrow and give it a trim on the DoAll.
Spent the weekend camping on the beach so the only work that got done was in the later hours of Sunday.
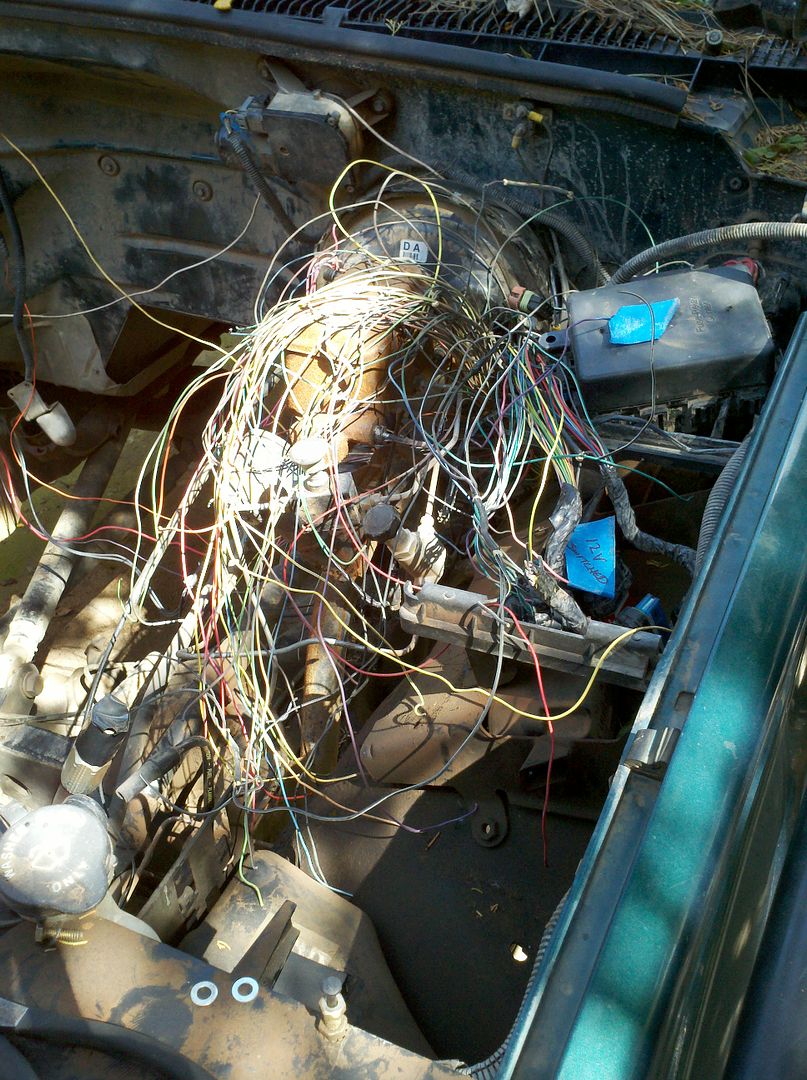
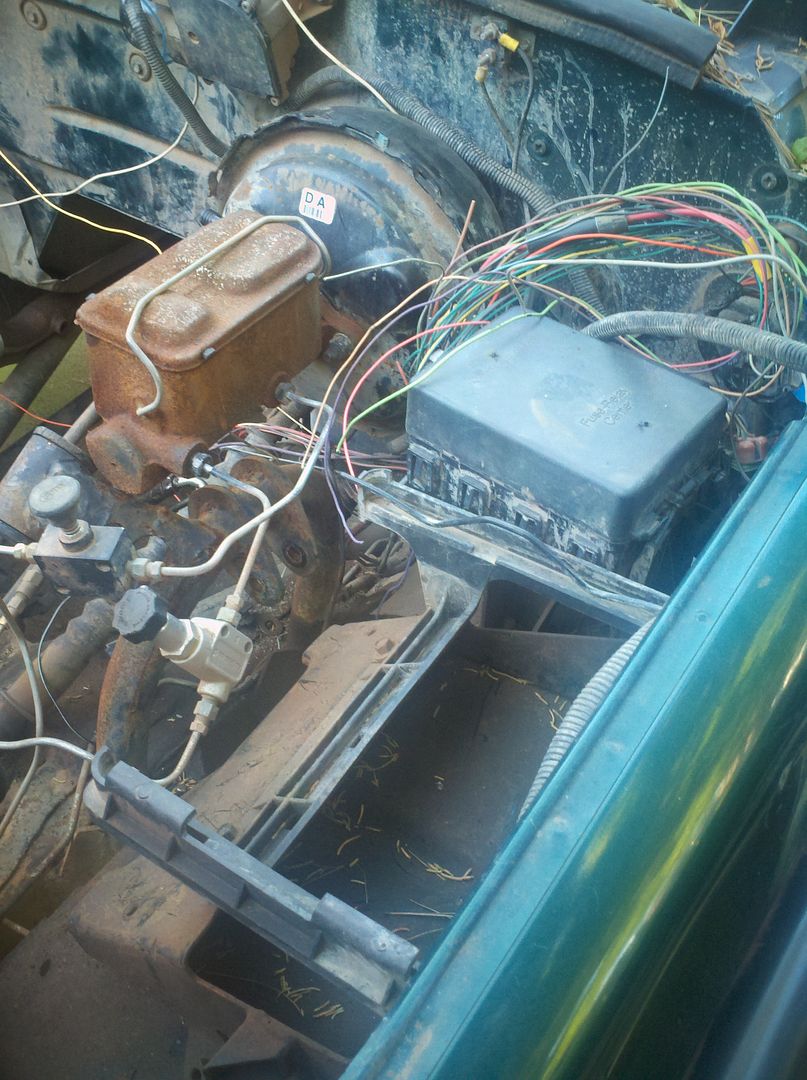
Wiring is almost cleaned up. Removed the cruise control module, what was left of the aftermarket alarm, and the trailer brake controller wiring. Wiper arms got pulled and the wiper motor is unbolted form the firewall but I need to get the cowl off to seperate the mechanism.
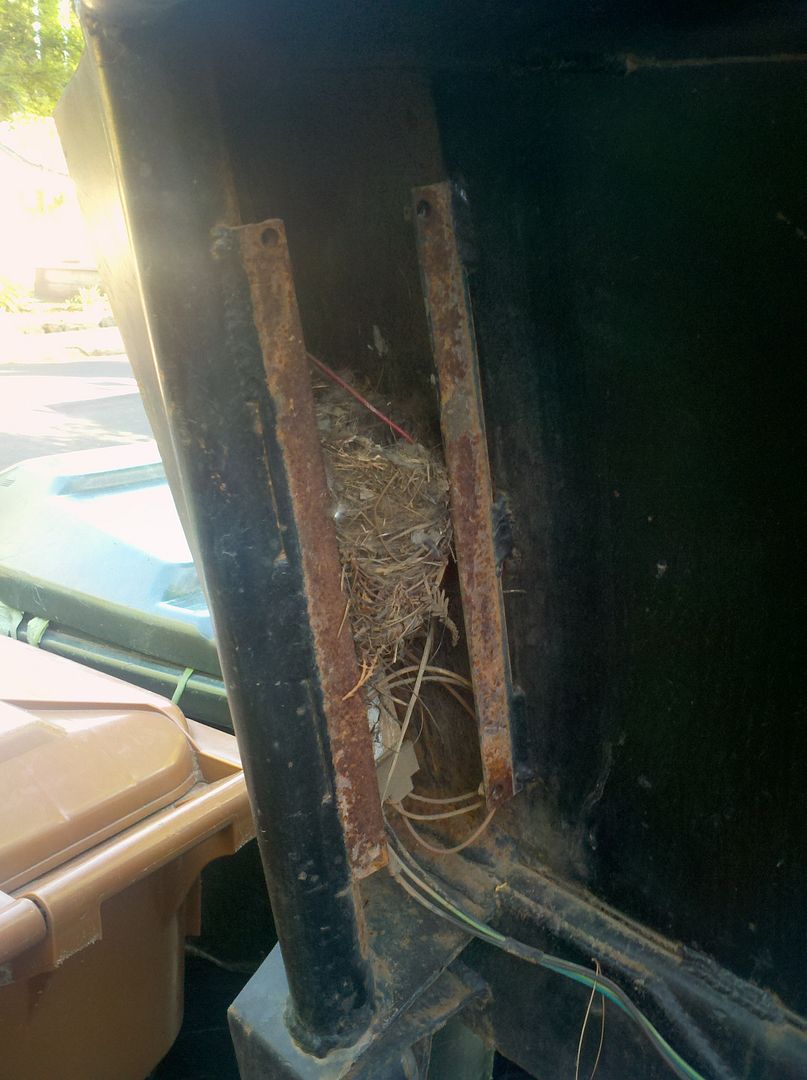
Speaking of nests...realized I hadn't taken care of my tailght wiring issue. Long defunct bird nest, joy.
Wiring is almost cleaned up. Removed the cruise control module, what was left of the aftermarket alarm, and the trailer brake controller wiring. Wiper arms got pulled and the wiper motor is unbolted form the firewall but I need to get the cowl off to seperate the mechanism.
Speaking of nests...realized I hadn't taken care of my tailght wiring issue. Long defunct bird nest, joy.
Finished deleting the wipers, cleaning out the cowl (which is apparently a dirt/debris trap) and getting it all bolted back together.
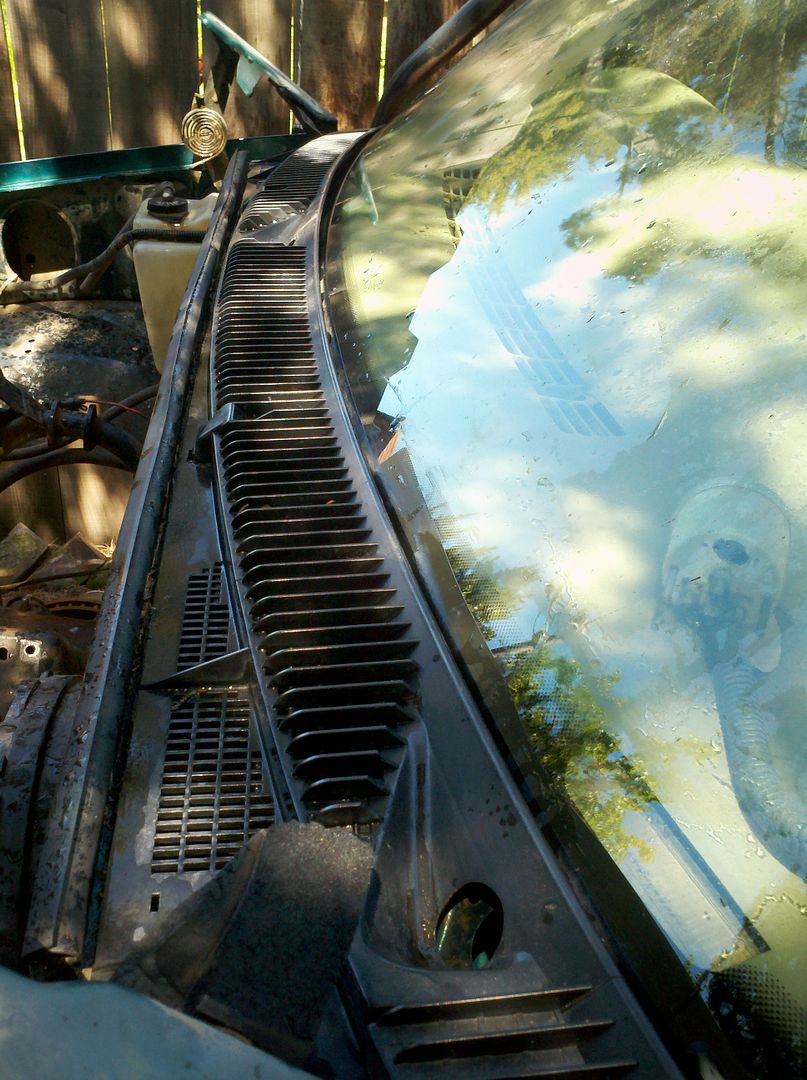
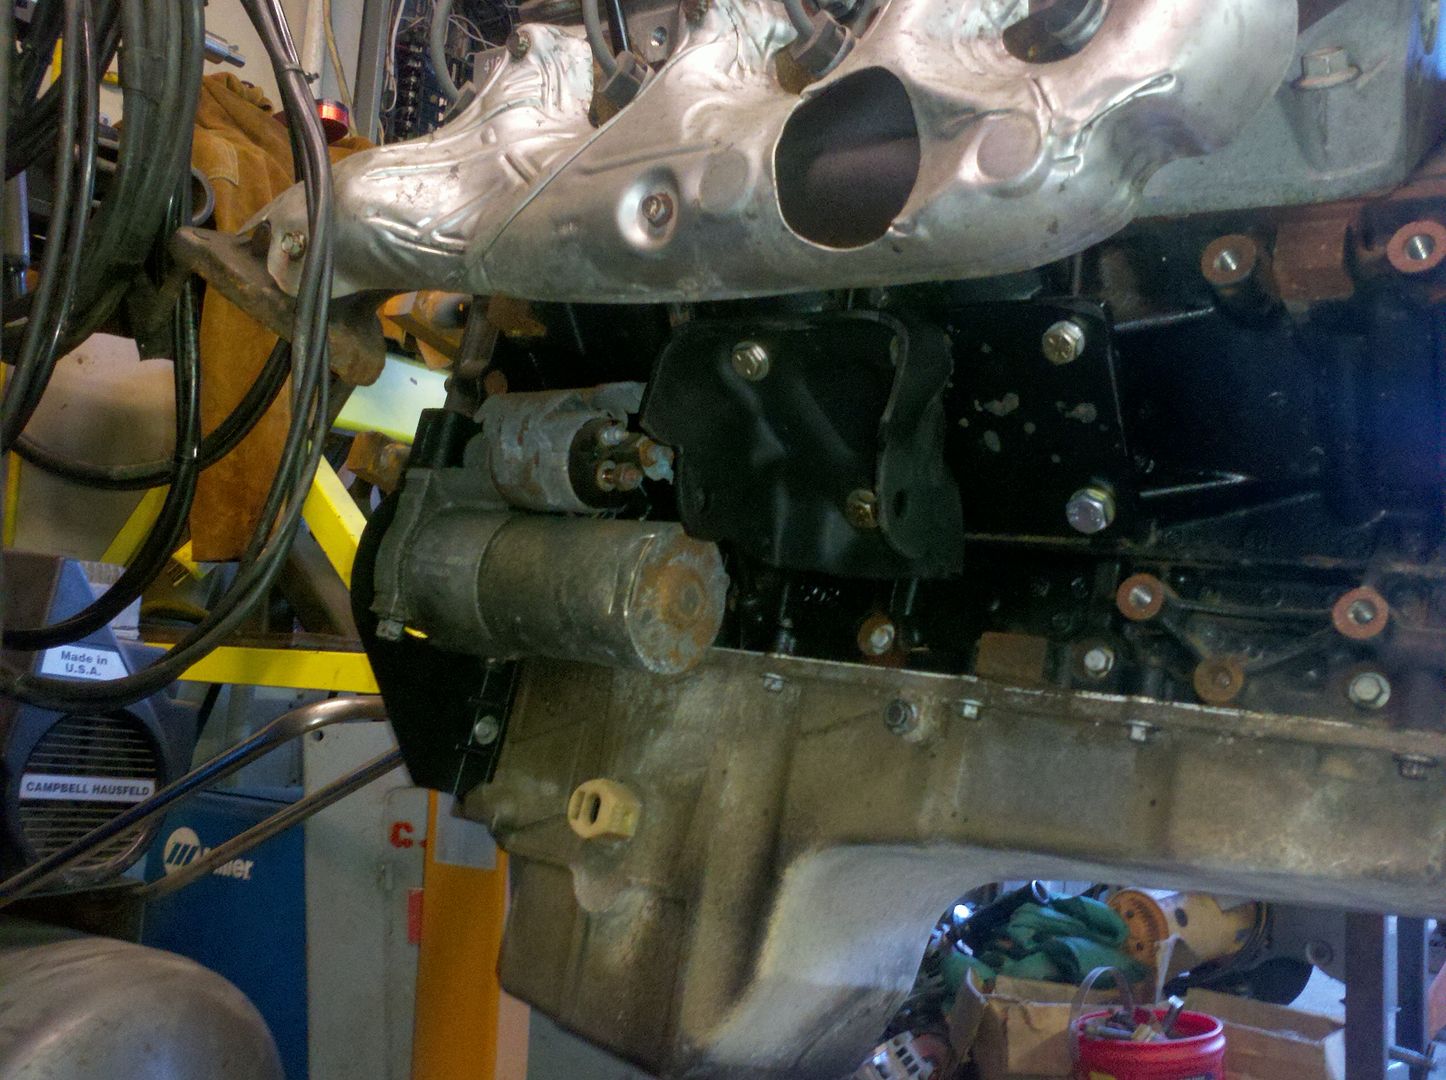
Finished removing AC lines and got the radiater bolted back in as well. Motor mount adapter plates are on the block, but I have to cut the bellhousing support plates back as they interfere with the LS starter. I've got some power washing to do, but I'm hoping to put the motor in Saturday morning.
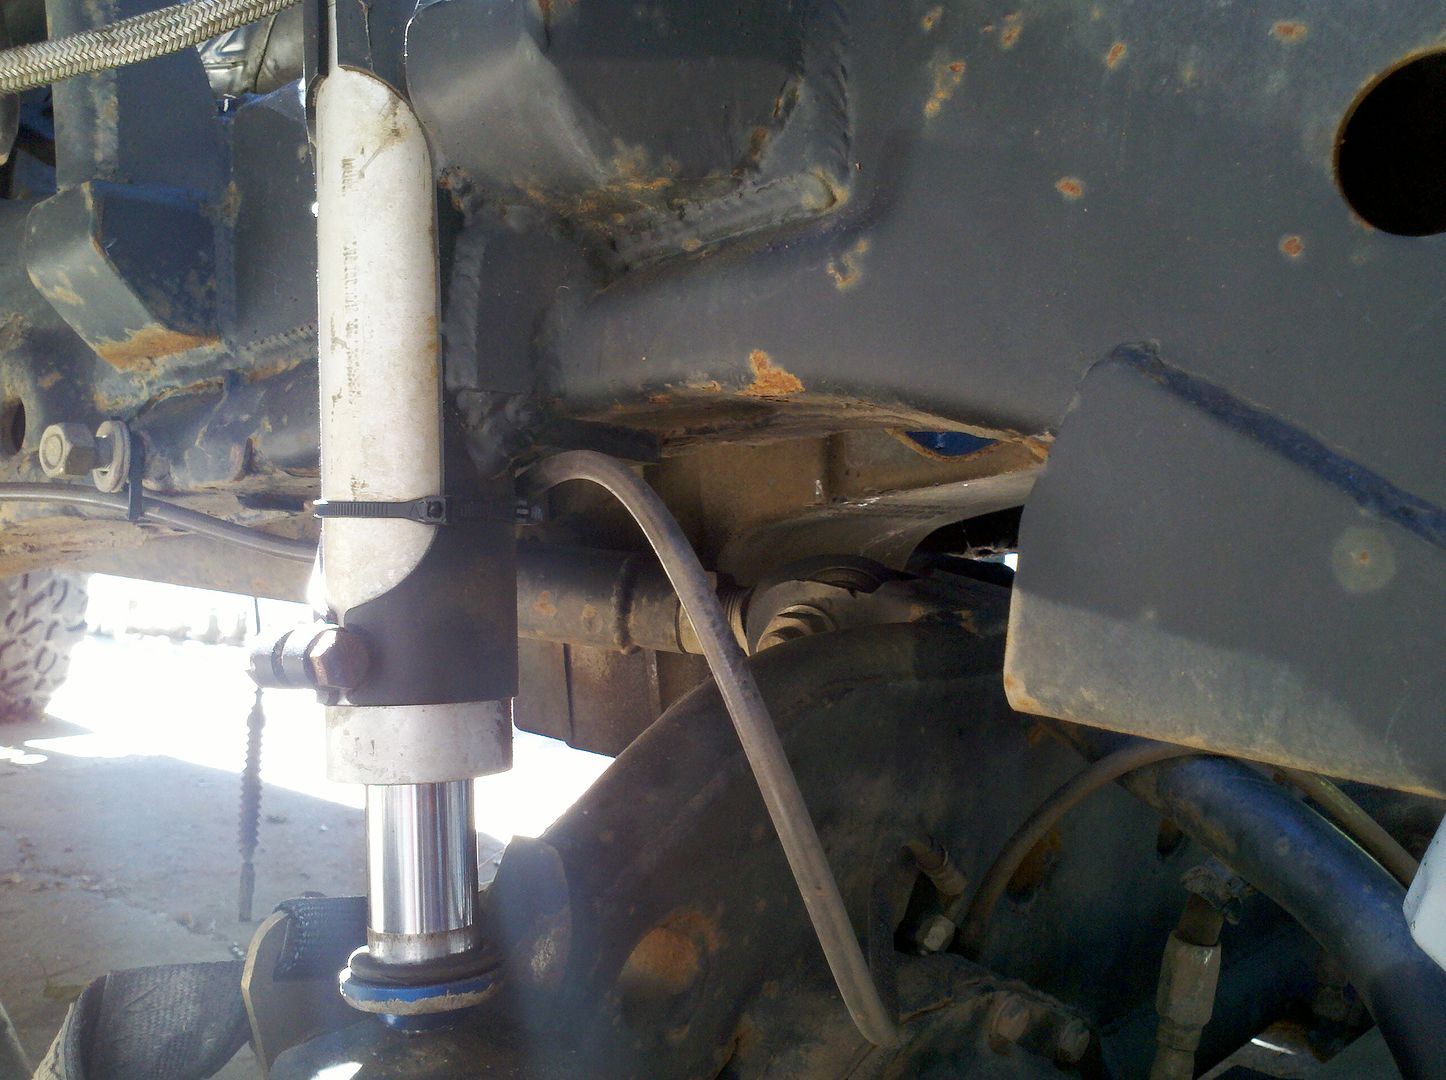
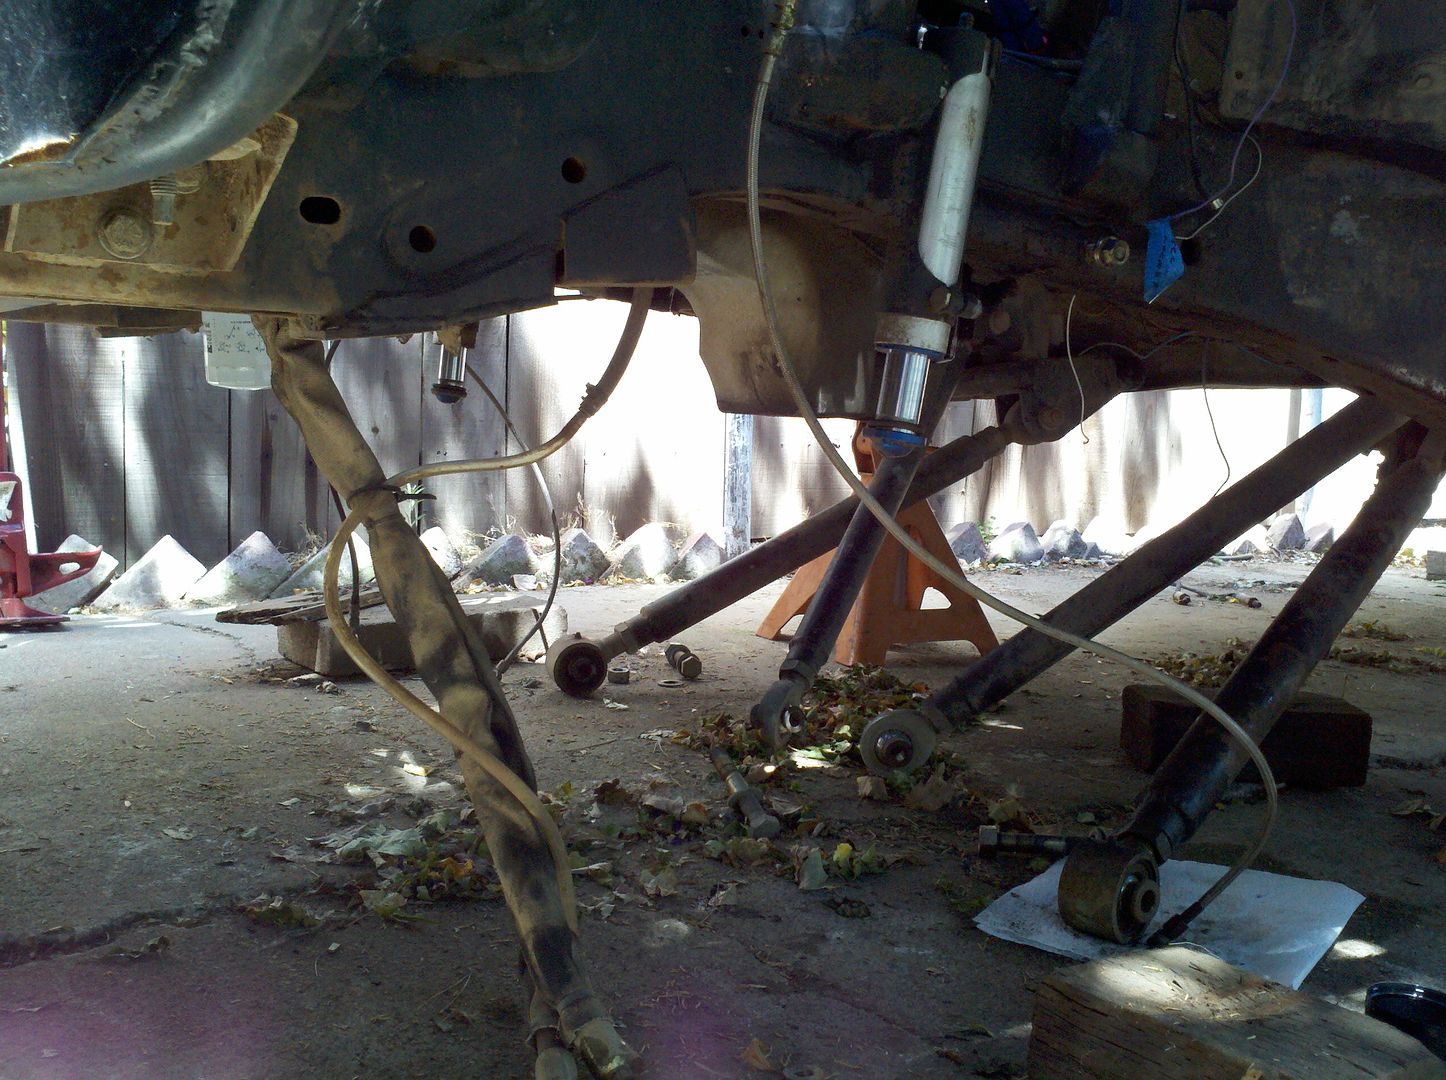
On a side note, I toyed with my kingpin adjusters to see if I had a worn bushing that gave me sudden deathwobble headed back to the trailers on the Rubicon trip.
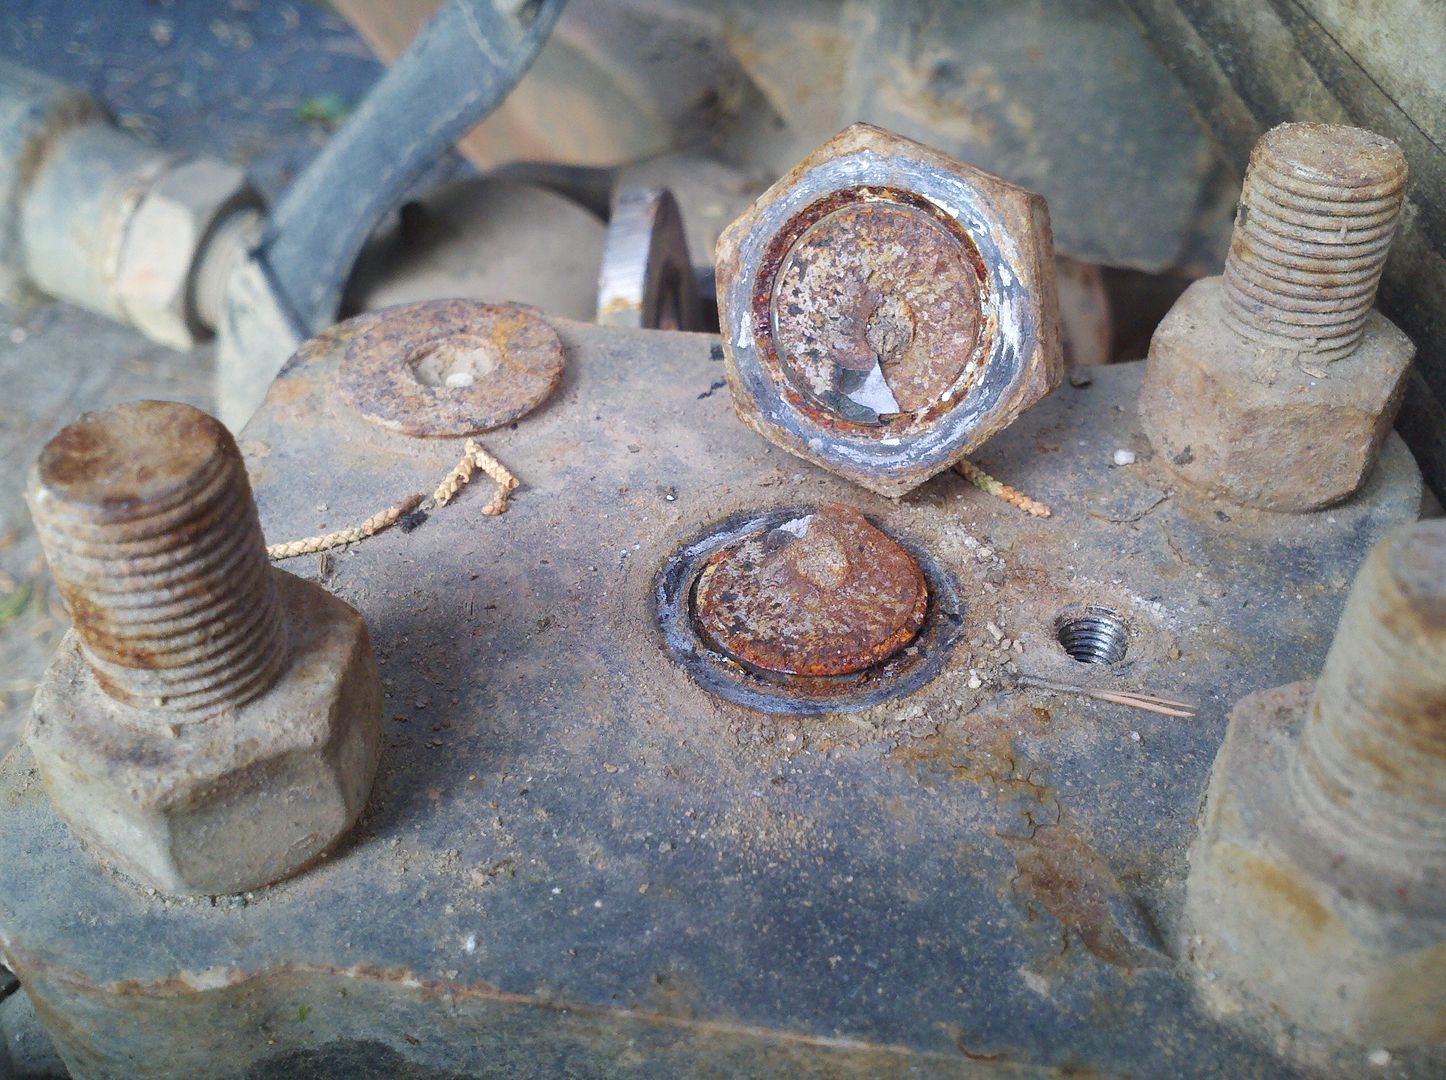
It would seem the stud sheared almost all the way through and killed the preload on the bushing.
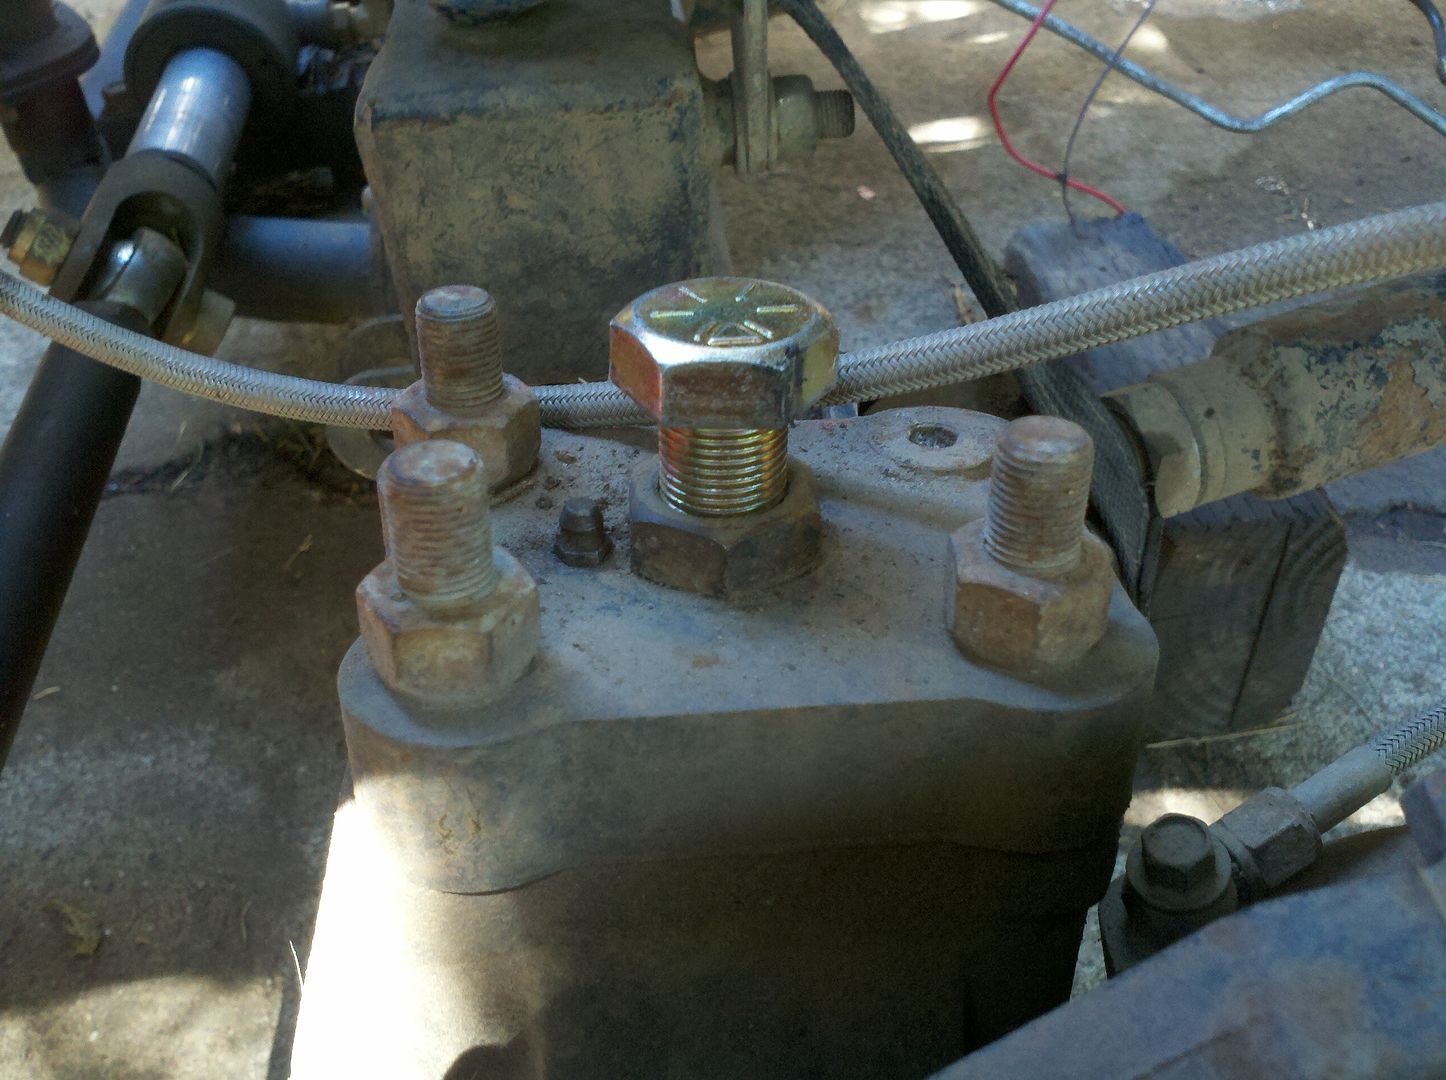
2" 3/4-16 bolts were the shortest I could easily source locally. I couldn't find 3/4-16 cup point set screws like were previously in there. Would have liked a 1/4" longer unit to move the base of the internal allen out of the plane that's in tension, but these will effectively do the same thing.
Finished removing AC lines and got the radiater bolted back in as well. Motor mount adapter plates are on the block, but I have to cut the bellhousing support plates back as they interfere with the LS starter. I've got some power washing to do, but I'm hoping to put the motor in Saturday morning.
On a side note, I toyed with my kingpin adjusters to see if I had a worn bushing that gave me sudden deathwobble headed back to the trailers on the Rubicon trip.
It would seem the stud sheared almost all the way through and killed the preload on the bushing.
2" 3/4-16 bolts were the shortest I could easily source locally. I couldn't find 3/4-16 cup point set screws like were previously in there. Would have liked a 1/4" longer unit to move the base of the internal allen out of the plane that's in tension, but these will effectively do the same thing.
BadassBlaze
New member
Why delete the wipers? And are you planning on no AC? or just removing them and reworking later?
Why delete the wipers? And are you planning on no AC? or just removing them and reworking later?
Windshield has some slag embedded in it and it just tears the wipers up and smears everything making them useless. Haven't used them in years as a result and they plus the windshield washer reservoir are just extra weight. Not to mention the paint was flaking off the arms and they needed to be painted.
AC hasn't worked since 05 either, needed to replace the dryer and flush the system from a compressor frag and never did. Since the new motor needs a compressor relocation or frame notch, it's just got removed. I won't lie, AC would be nice, but trying to simplify this at some level to get it running before I burn it to the ground.
this truck has always made me happy in my panties. its looking sweeter and sweeter.you planning on linkin the rear one day or just running it like it is?
This truck will probably never see a rear 4-link. I'd have to chop the frame off behind the cab to really make the most use of it and then I'd be rebuilding the tube bed I already have. I'd be halfway to the buggy these parts are going into at some point but still heavy and wide.
Badass build, funny how a lift and 33s snowballed into this. I really like how you matched your interior fab work to your seats, not the extior color of the truck
Yea, sometimes I wish I'd have stopped at one of the multiple stages to be honest.
The interior color was a pain to match, but I'm really pleased with how it turned out.
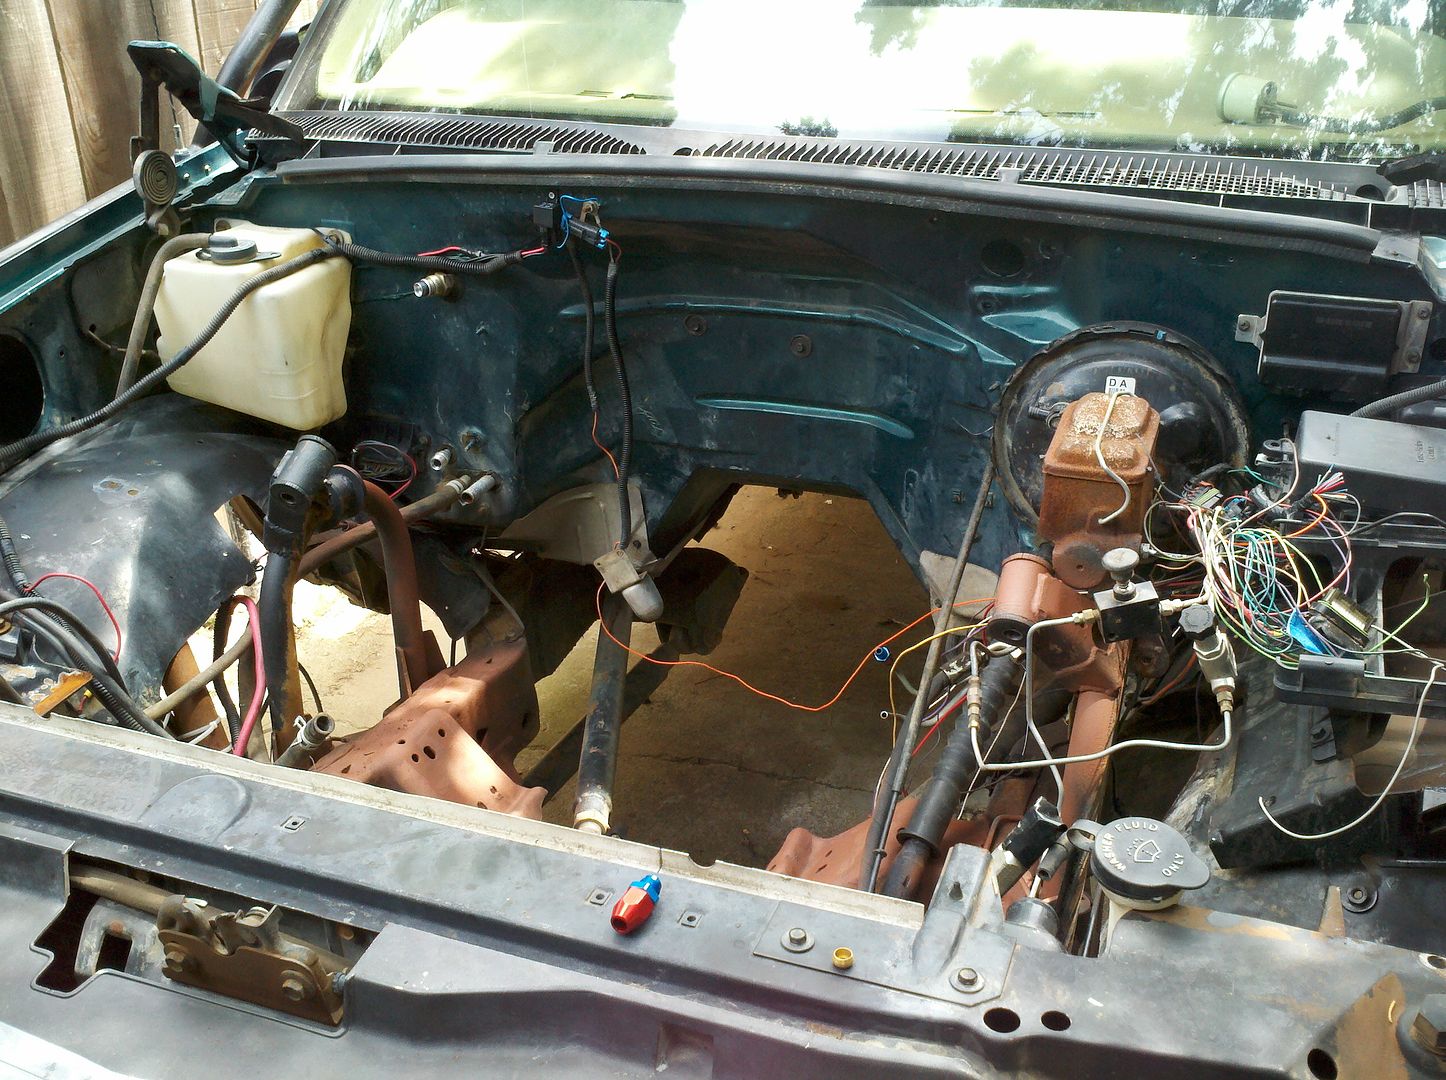
Pressure washed.

Painted and motor mounts installed.
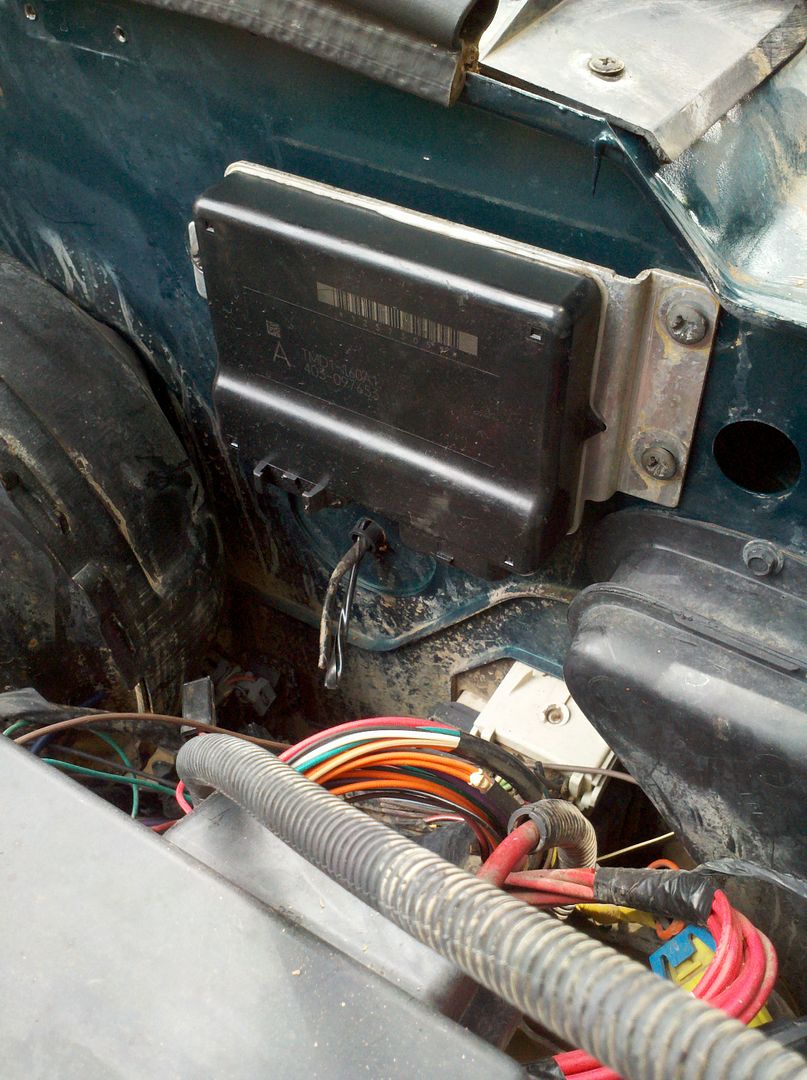
TAC module in place of cruise control as Mr. Howerton brought ot my attention.
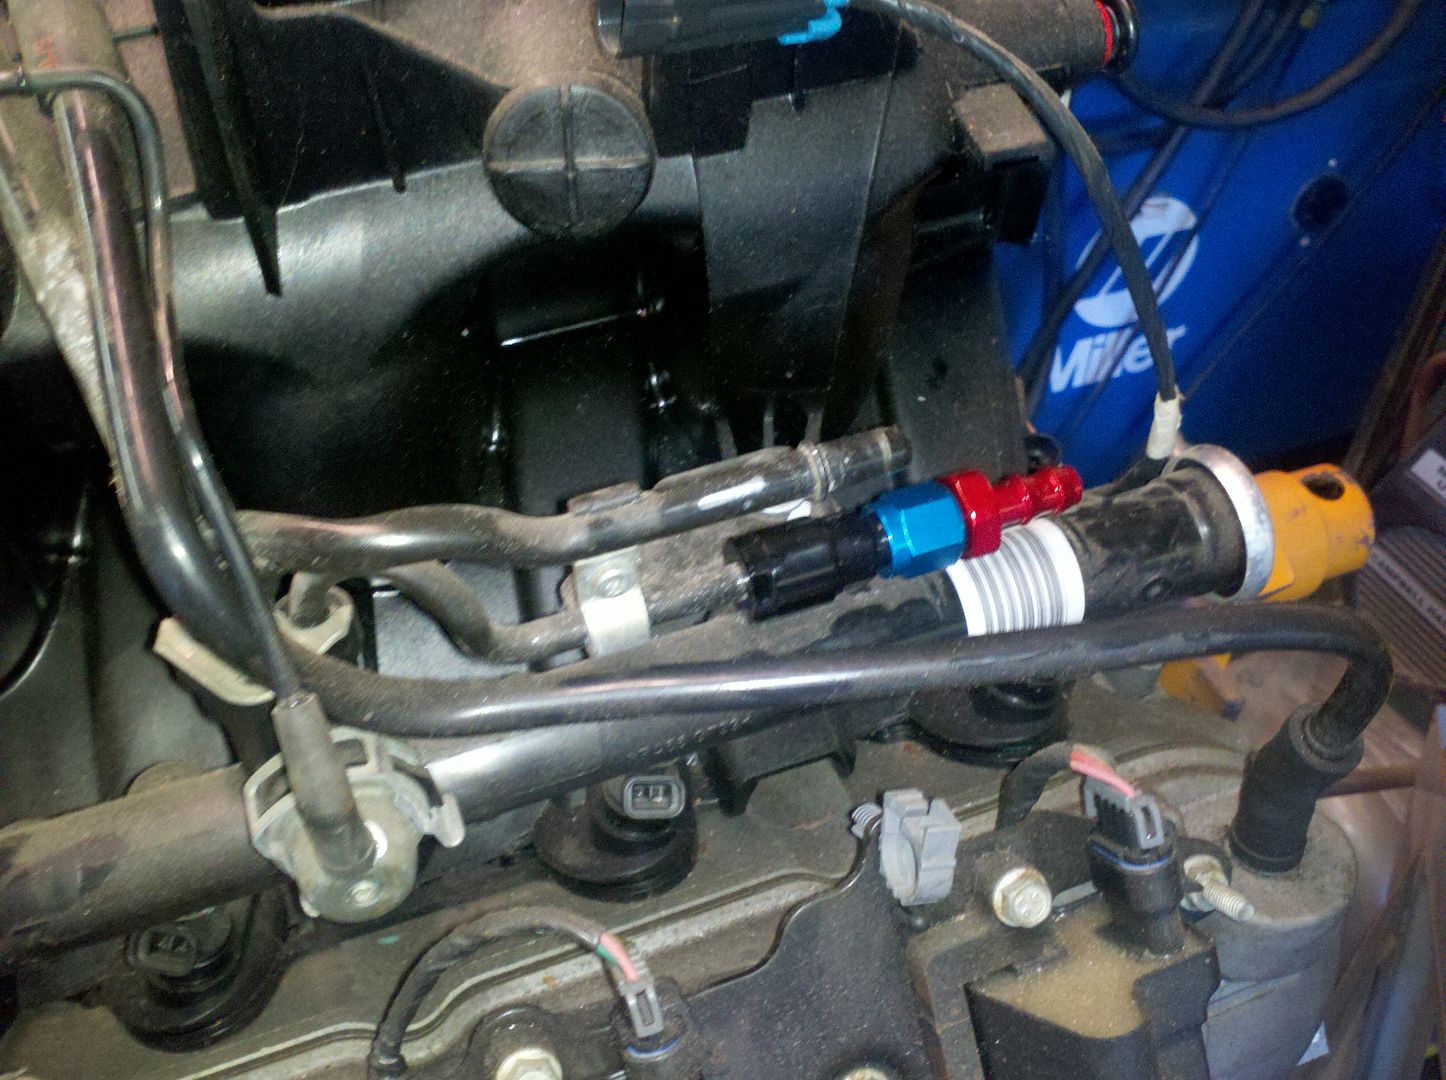
One of two fuel rail adapter fittings installed. The other has the right male adapter for 3/8", but the backing nut is for 5/16". Clamping it in a mill today to fix that.
Exhaust is alo now missing and chopped into little peices in the backyard, Brandi's truck has new brakes and Jetta has new brakes.
Trying to finish the pump and accesory bracket this week to have the motor and maybe the tranny in this weekend, provided I get the shift kit done on the spare valve body.

Got a new ferule and put the fuel hoses on as they are easy access.
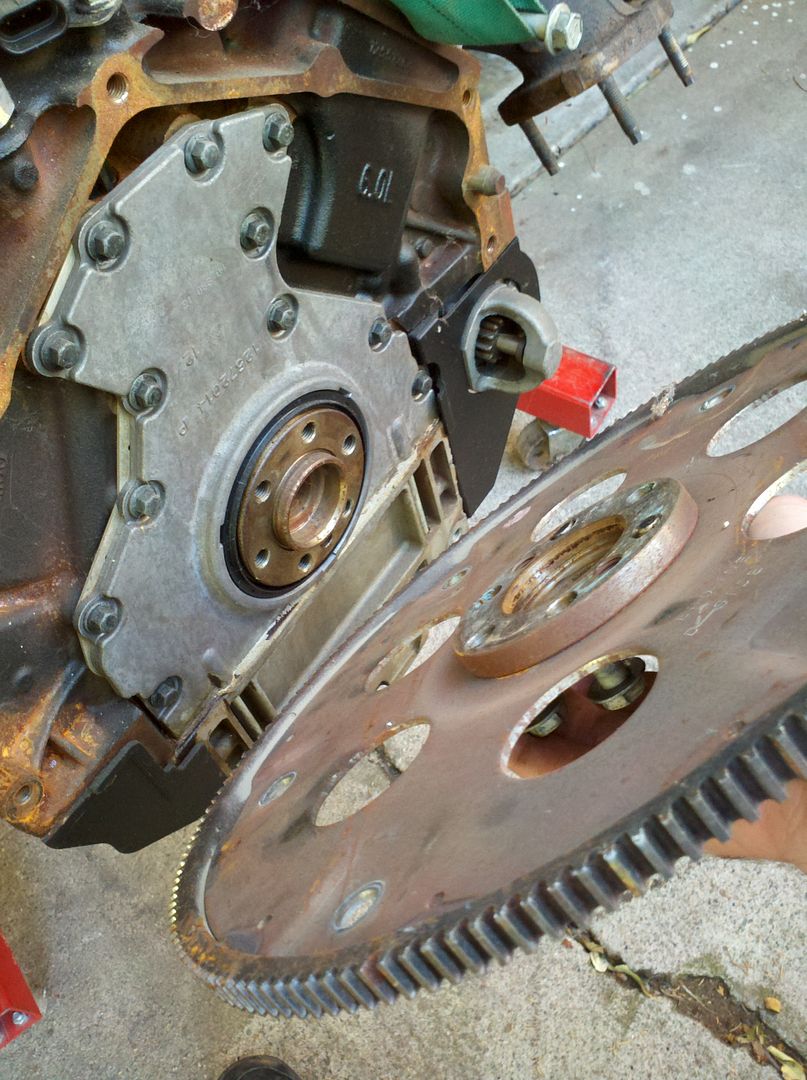
Got the motor off the engine stand and put on the LQ4/80e flexplate with spacer on.
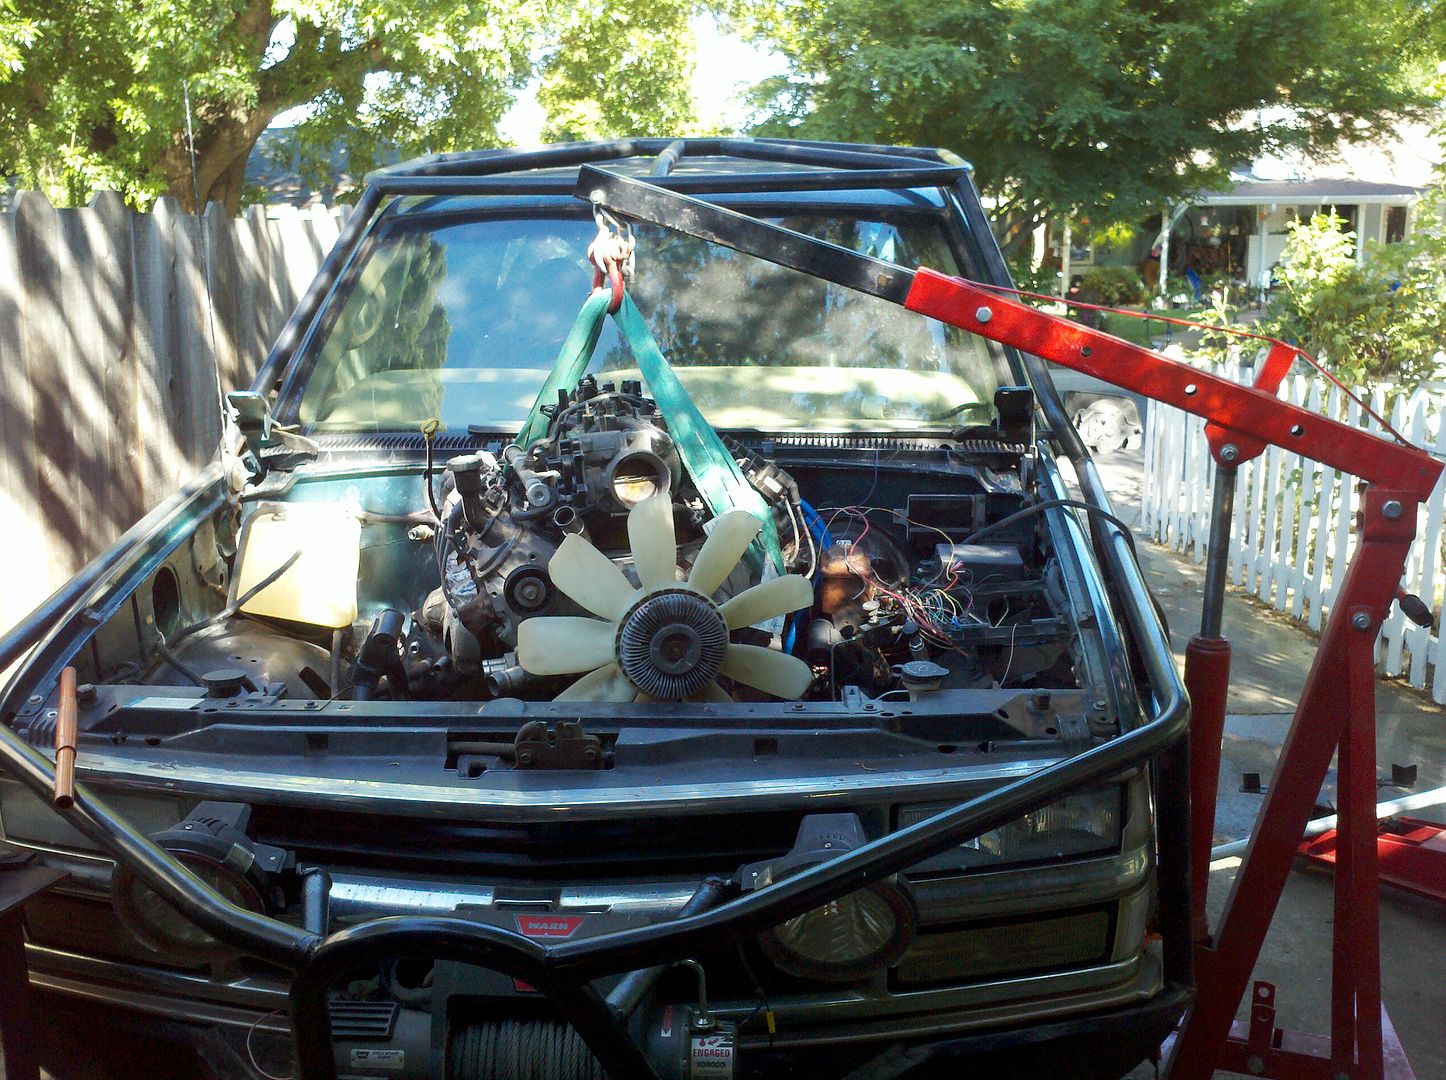
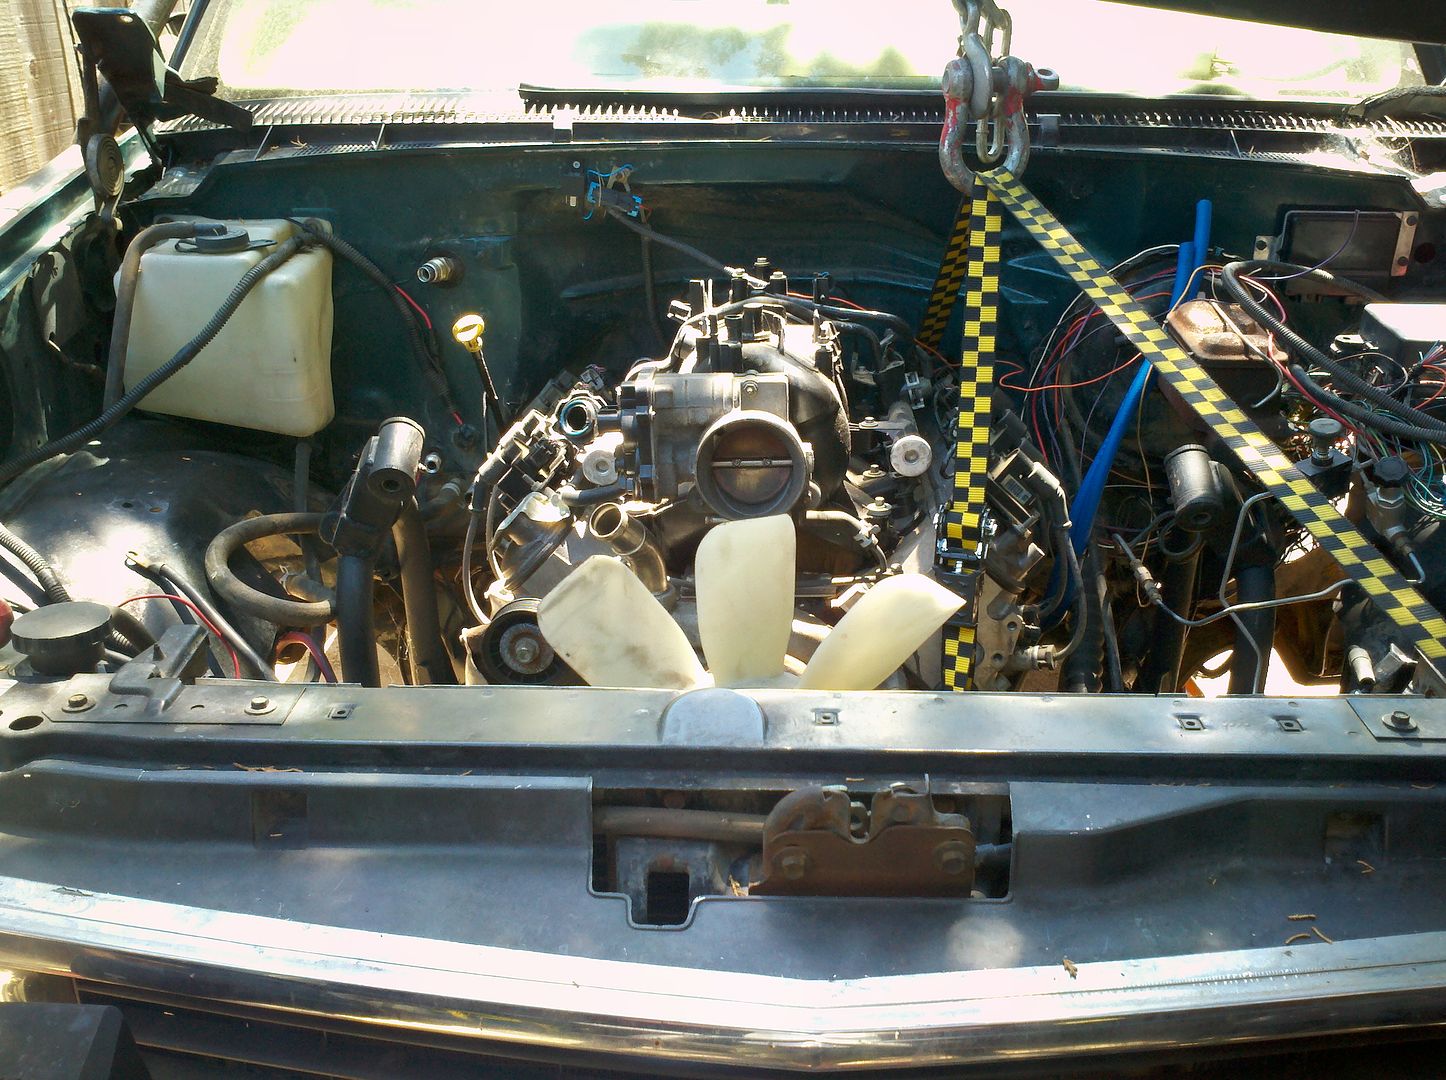
Had to screw around getting it in from the side. Even the small front hoop prevents the hoist from getting close enough. I had to try and hold it forward and at 90* to where it would naturally hang as I tried to slowly lower it in.
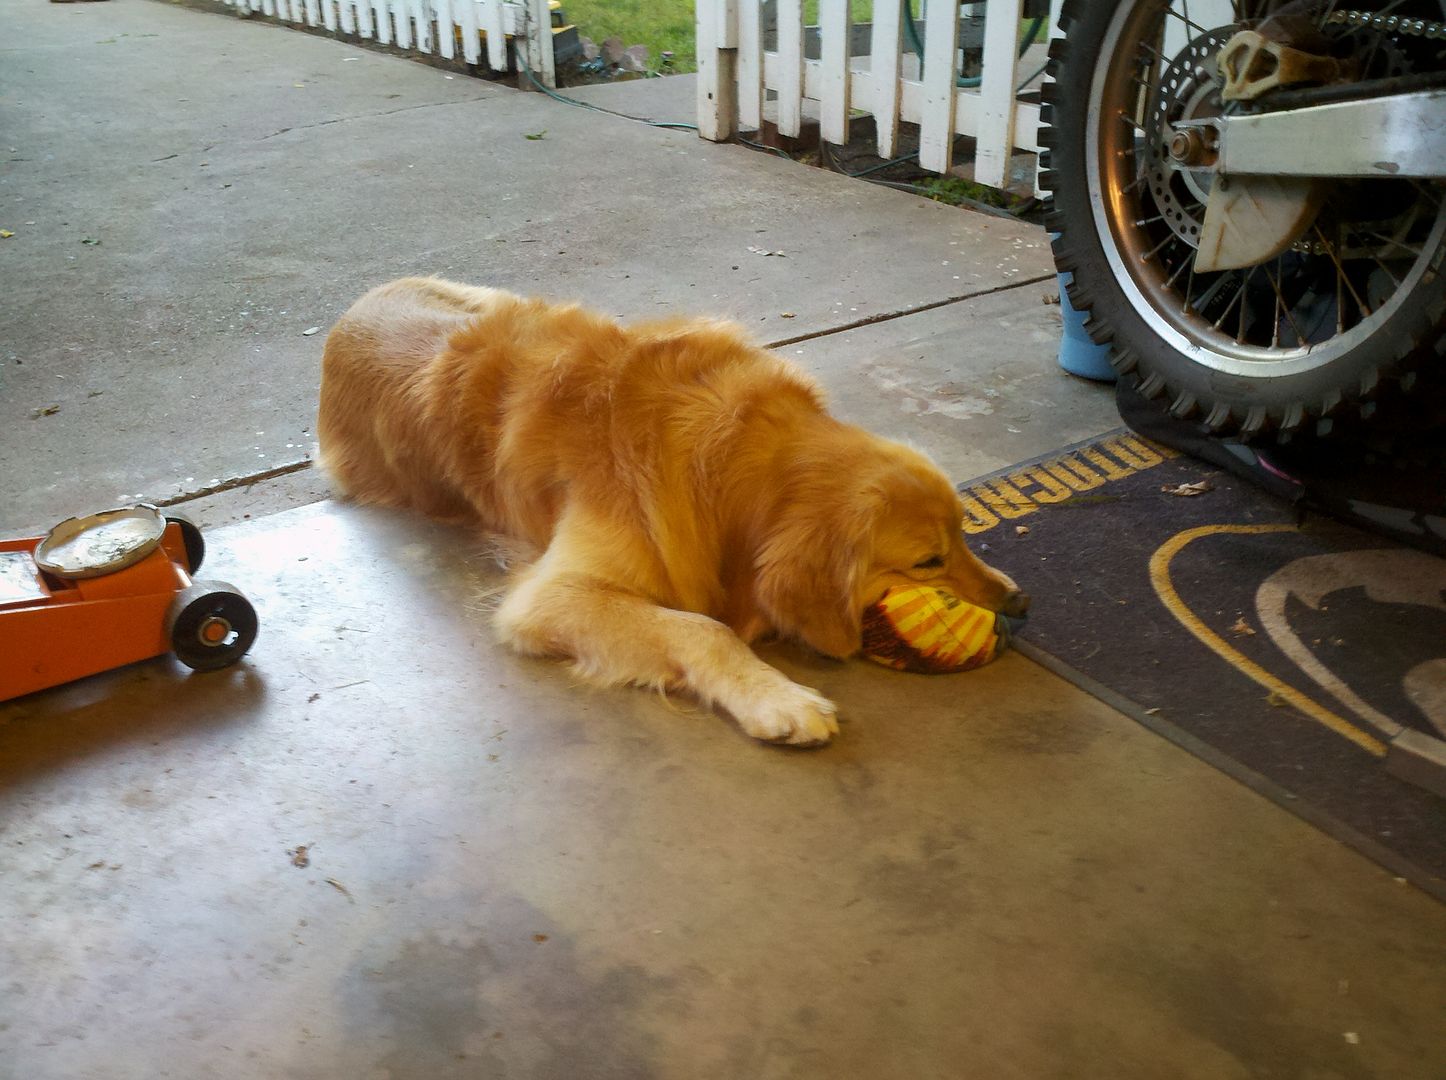
The dog was very helpful.
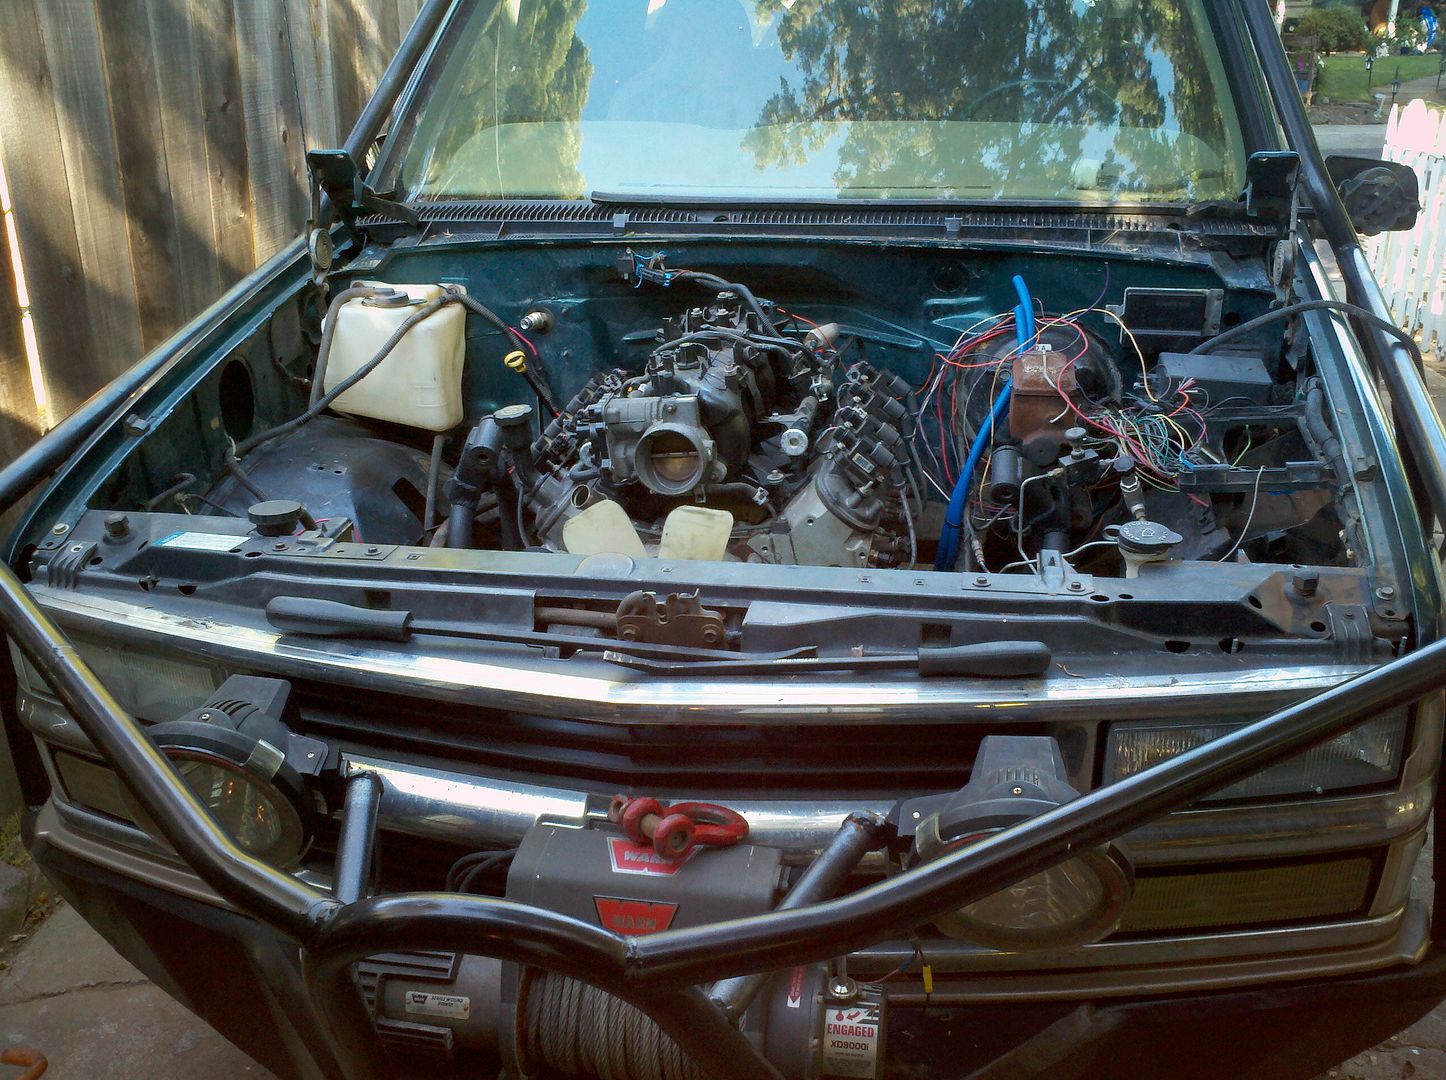
As it sits.
Driver exhaust manifold is off as the bent stud proved to be a royal pita. Hoping to score another as the stockers look to be a good fit. Long tubes would probably hit the link mounts.
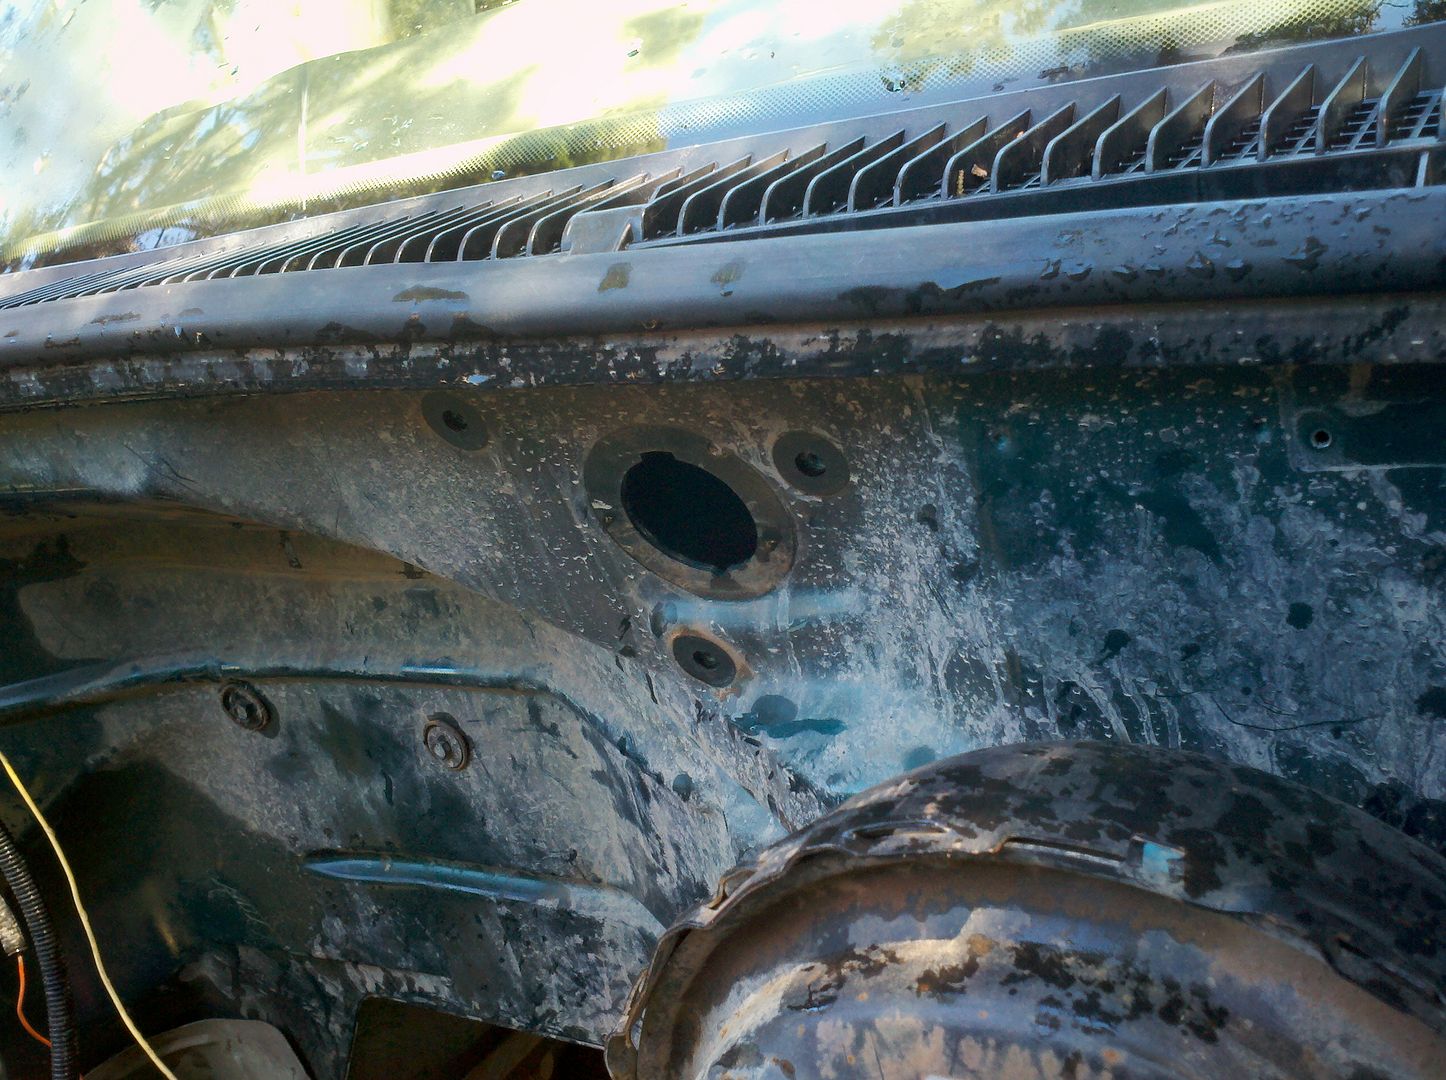
Trying to get something done last night I went to mockup the PS cooler. Realized I had left the washer reservoir in the truck which doesn't help much being without a nozzle set. After reomving that I starting getting ideas.
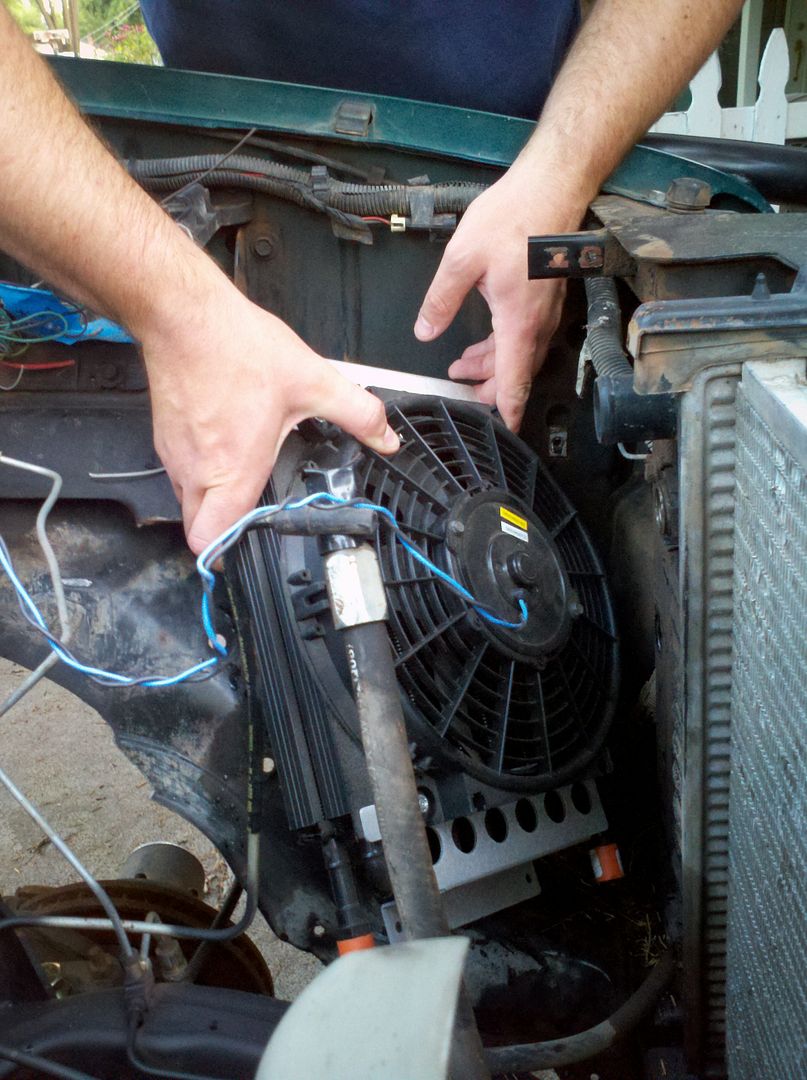
Ideas lead to holes.
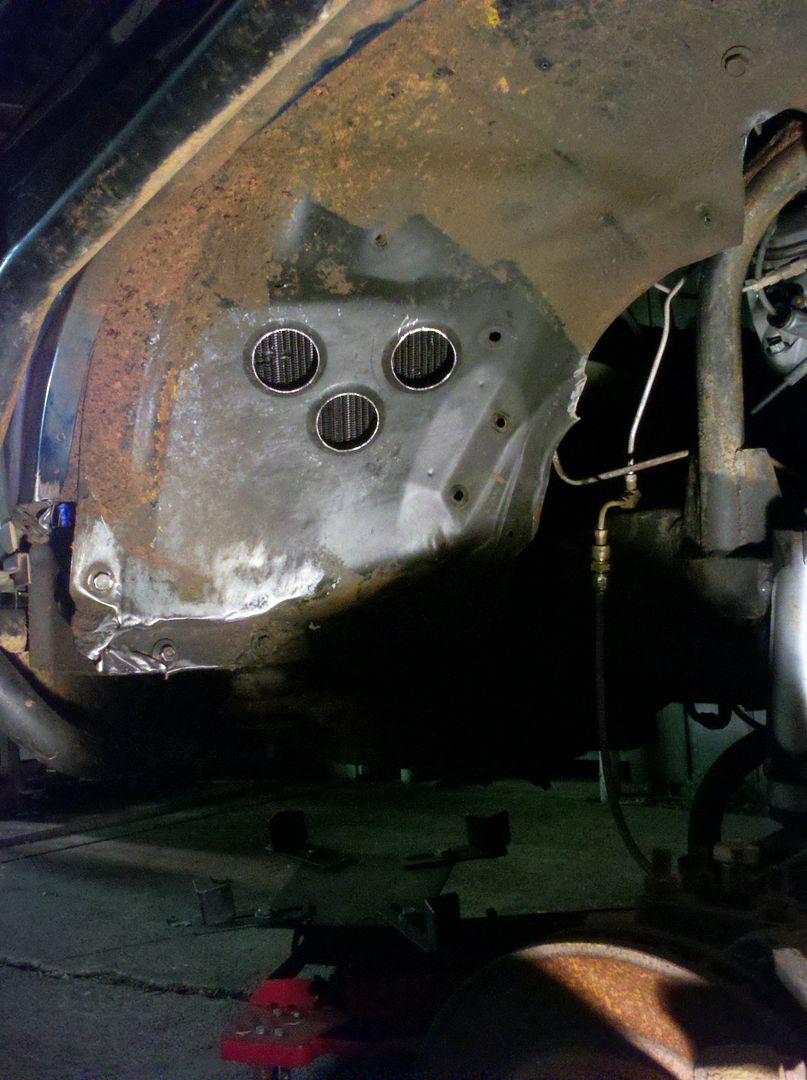
Still need a few more, some better edge cleanup (half round file on sheetmetal late at night is bad for neighbor relations) and of course to build a framework to hold the cooler.
Ideas lead to holes.
Still need a few more, some better edge cleanup (half round file on sheetmetal late at night is bad for neighbor relations) and of course to build a framework to hold the cooler.
One step forward, two back.
After much frusteration and working the ratchet straps, I managed to get the motore bolted in after pulling it out to reorient the motor mounts (damned Energy supension putting tabs on the molded blocks). Both bolts in and the motor is where she needs to be.
Unfortunately as I tried to put the motor in at full bump, it doesn't fit. You can see where the pan and passenger upper link mount made contact. I had to lift the truck off the bumps to get the motor to fit fully.
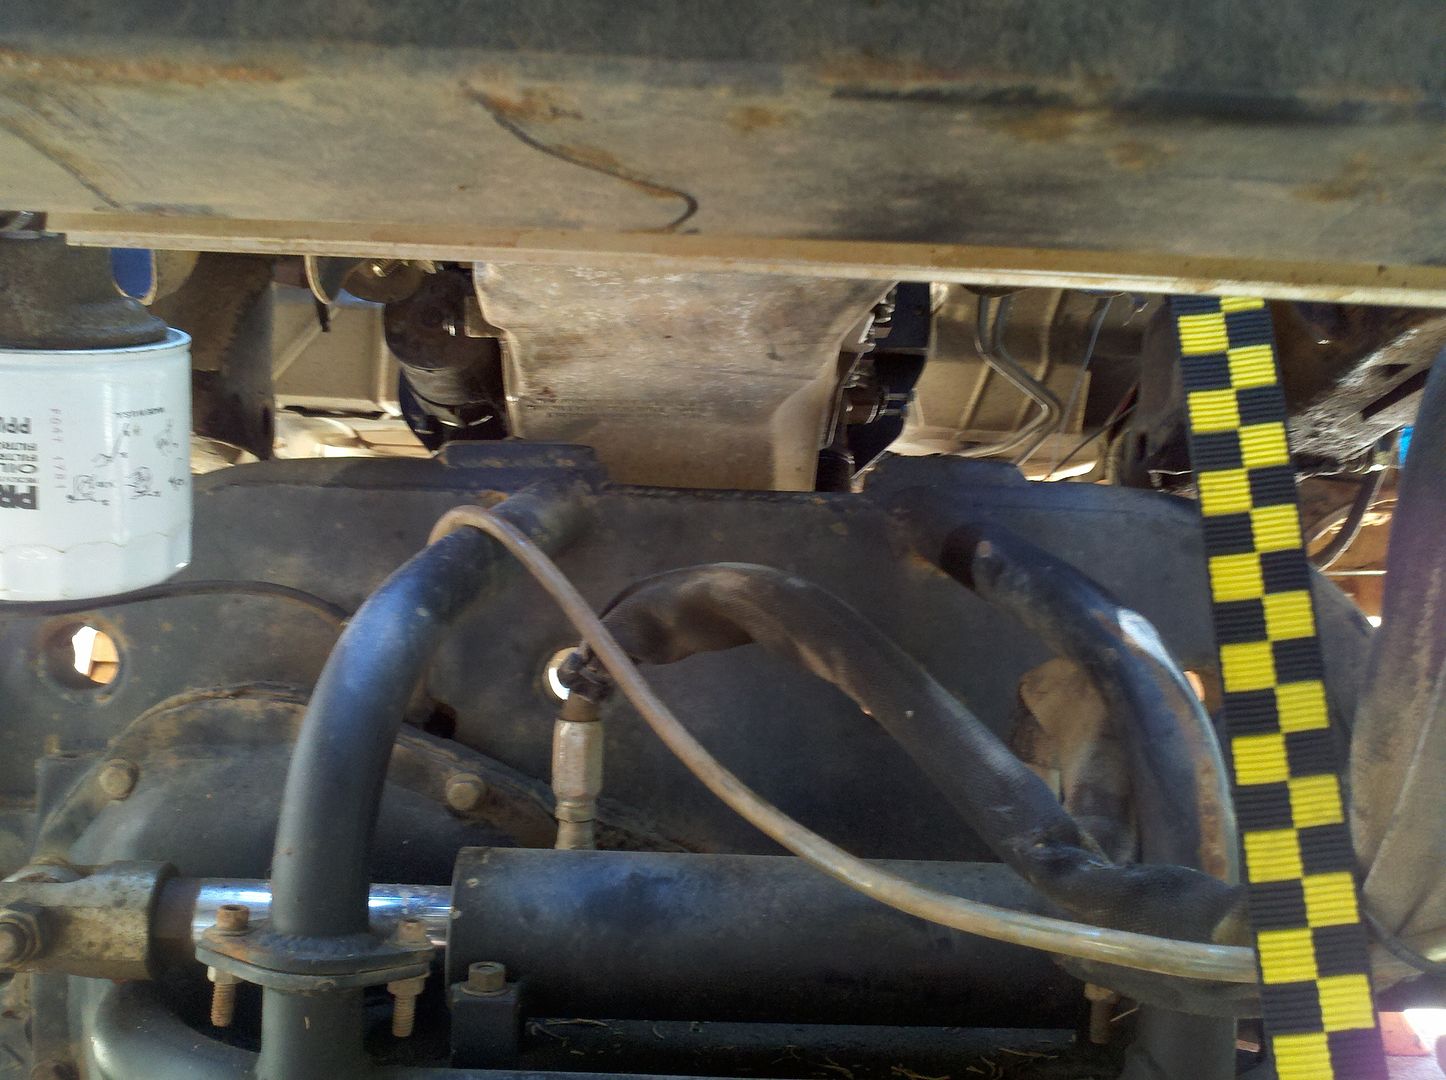
The offset of the drivetrain hosed me. I had enough clearance with the L31, but the low hanging block and blocky pan are forcing me to mod the truss.
Backwards we go.
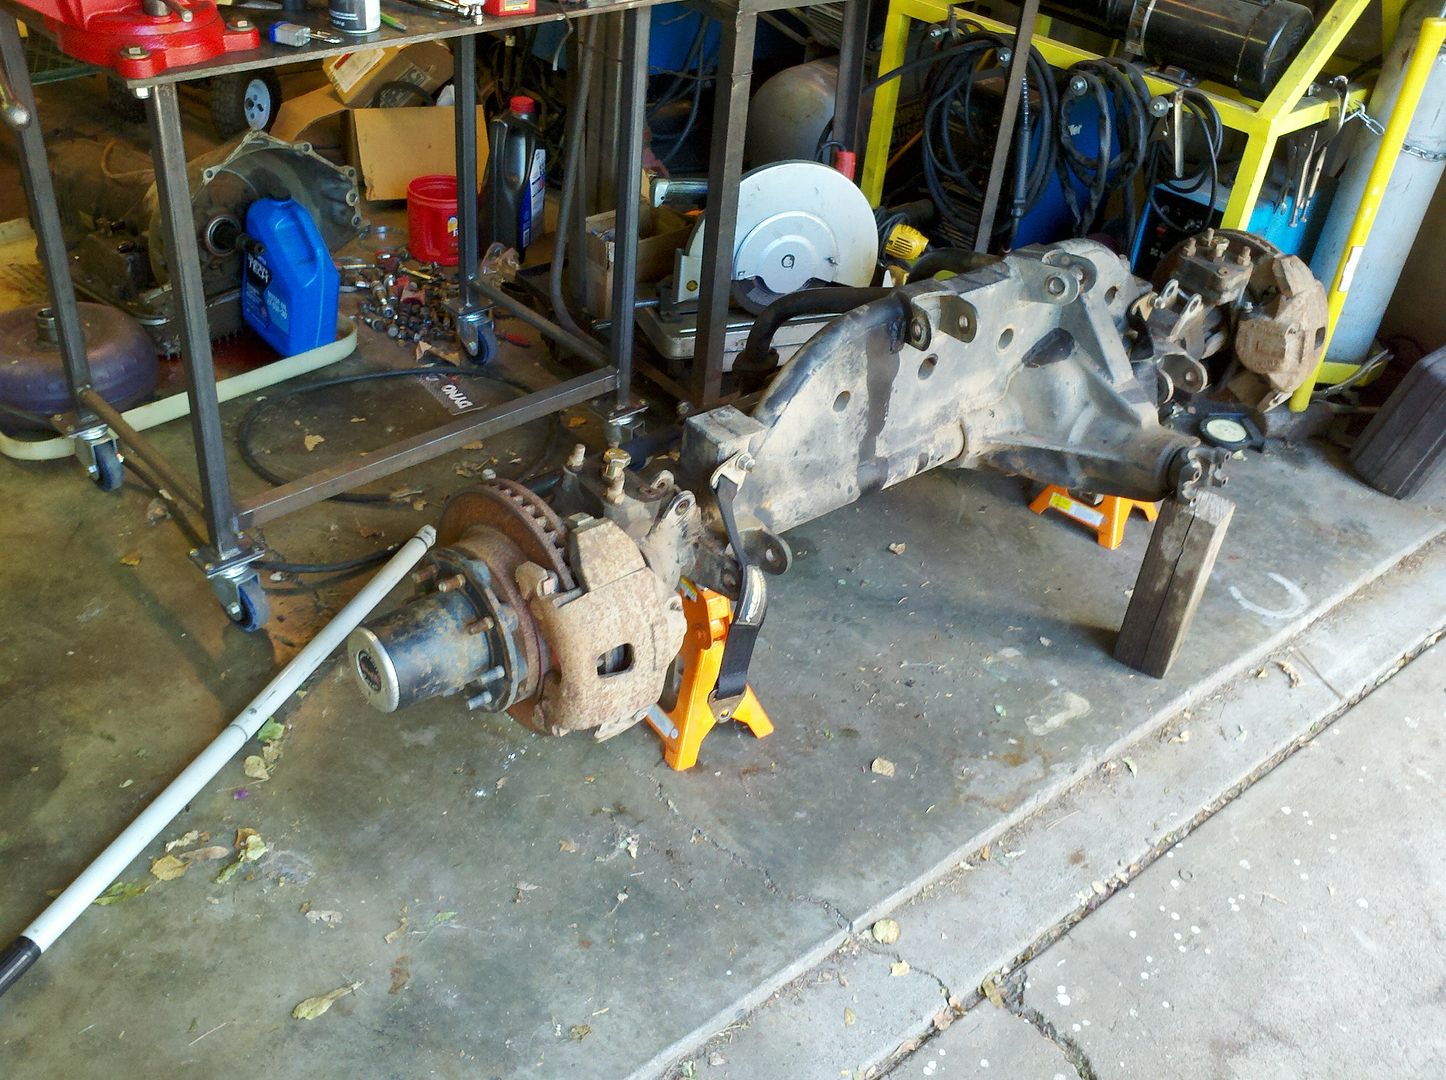
Plan is to remove the passenger link bracket, clearance the pumpkin support and burn a new one on 2.5" over. I'll also move the truss notch over to match for an extra .5" of clearance to account for the frame rails twisting on impacting the bumpstops.
After much frusteration and working the ratchet straps, I managed to get the motore bolted in after pulling it out to reorient the motor mounts (damned Energy supension putting tabs on the molded blocks). Both bolts in and the motor is where she needs to be.
Unfortunately as I tried to put the motor in at full bump, it doesn't fit. You can see where the pan and passenger upper link mount made contact. I had to lift the truck off the bumps to get the motor to fit fully.
The offset of the drivetrain hosed me. I had enough clearance with the L31, but the low hanging block and blocky pan are forcing me to mod the truss.
Backwards we go.
Plan is to remove the passenger link bracket, clearance the pumpkin support and burn a new one on 2.5" over. I'll also move the truss notch over to match for an extra .5" of clearance to account for the frame rails twisting on impacting the bumpstops.