My 1993 RCSB Build.

Pierced

OBS Outcast.
May 25, 2012
59
0
0
Bossier City, LA
Copied from my build thread on another forum.

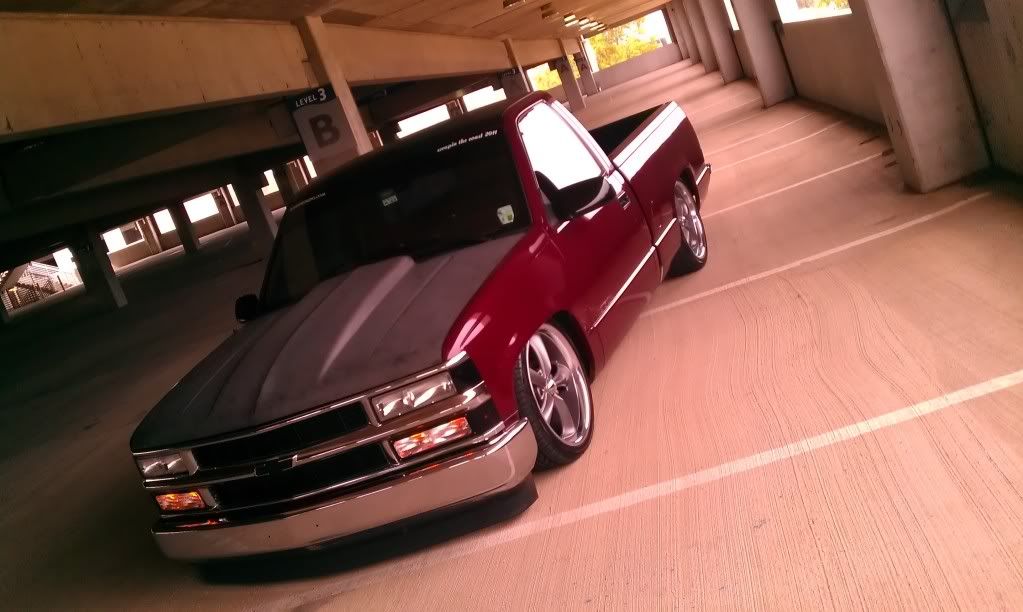
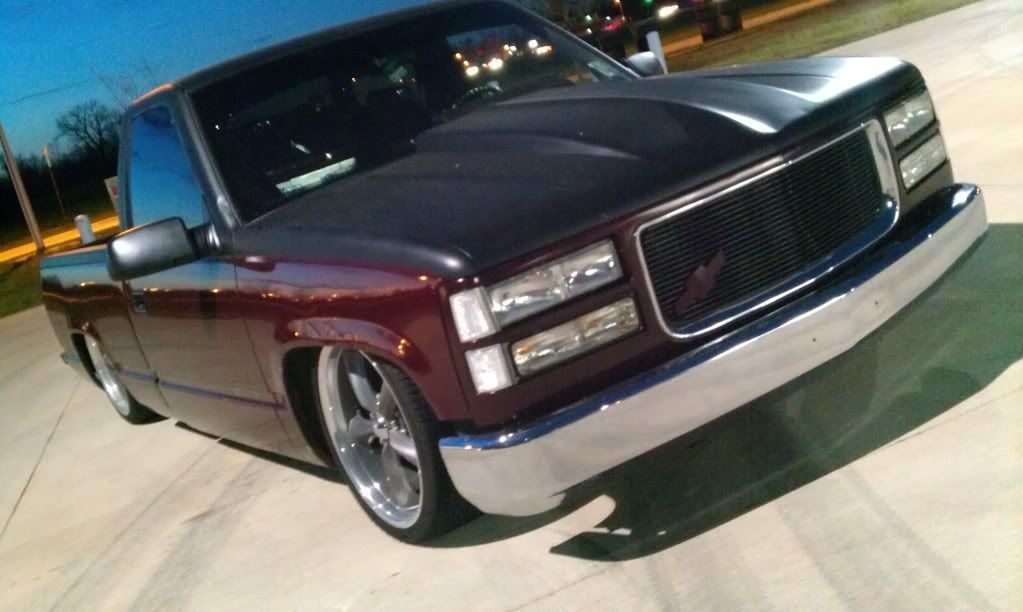
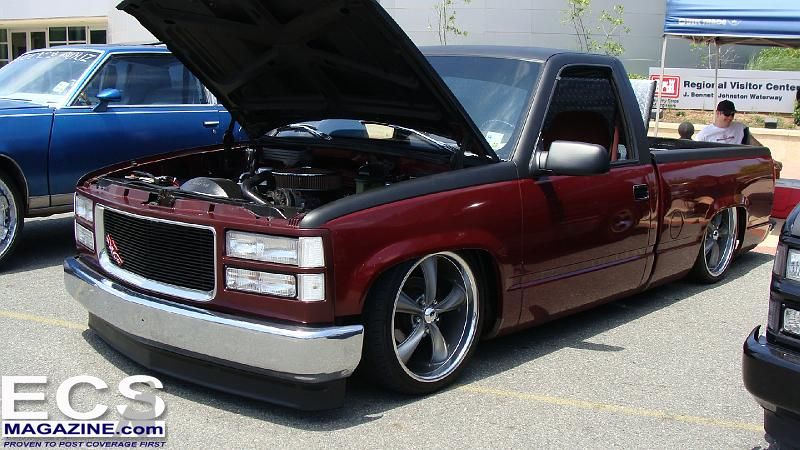
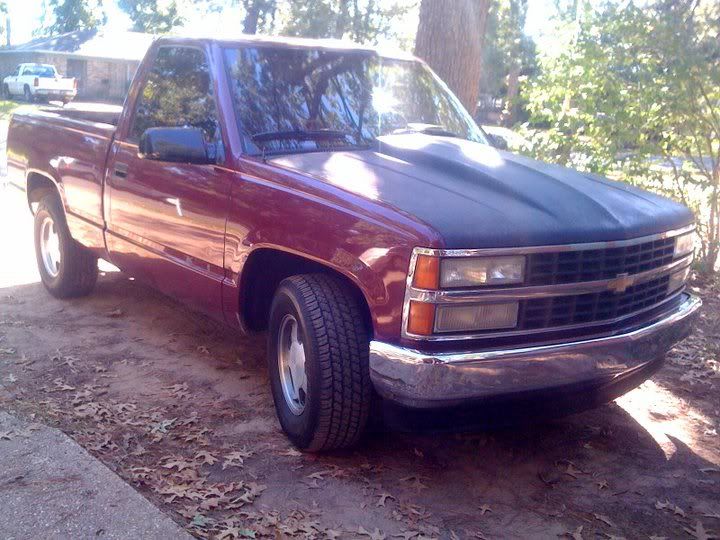
Heres my 1993 RCSB daily driver/project.


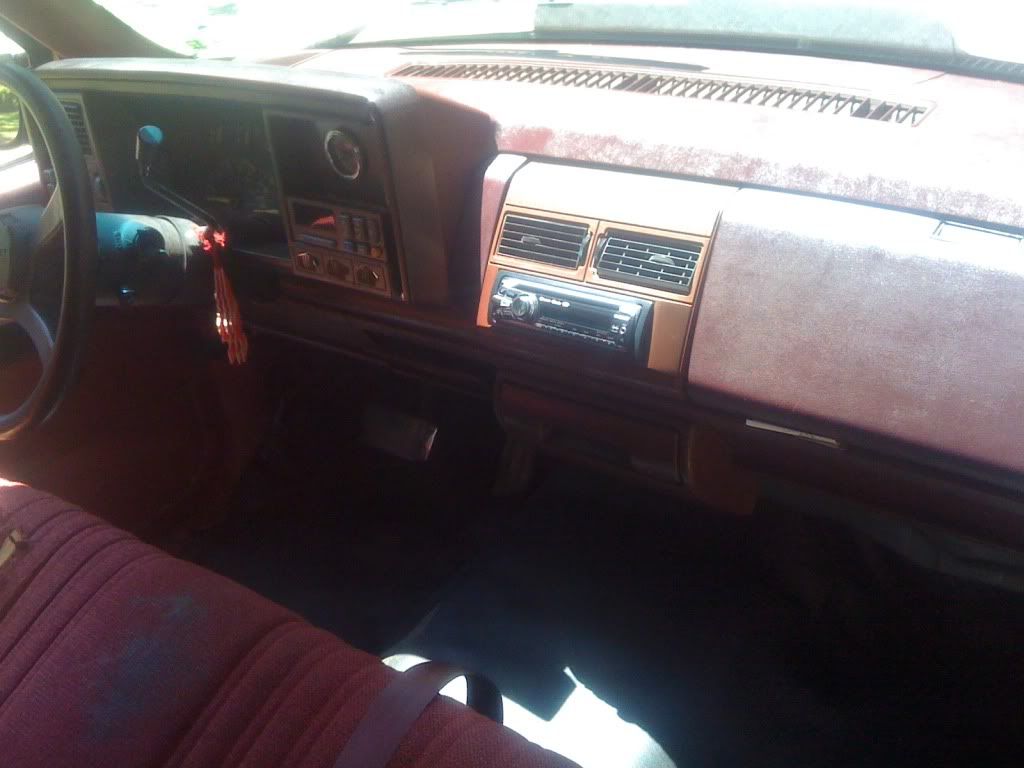
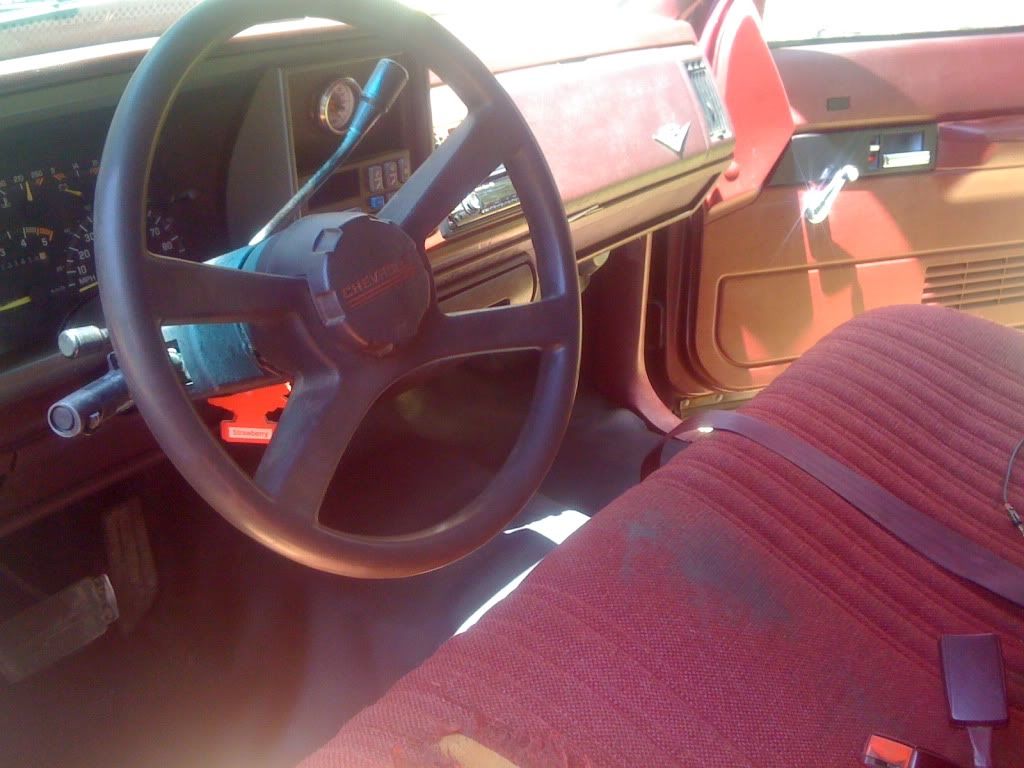
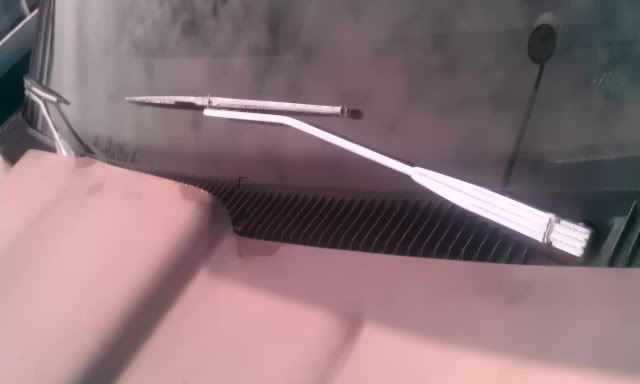
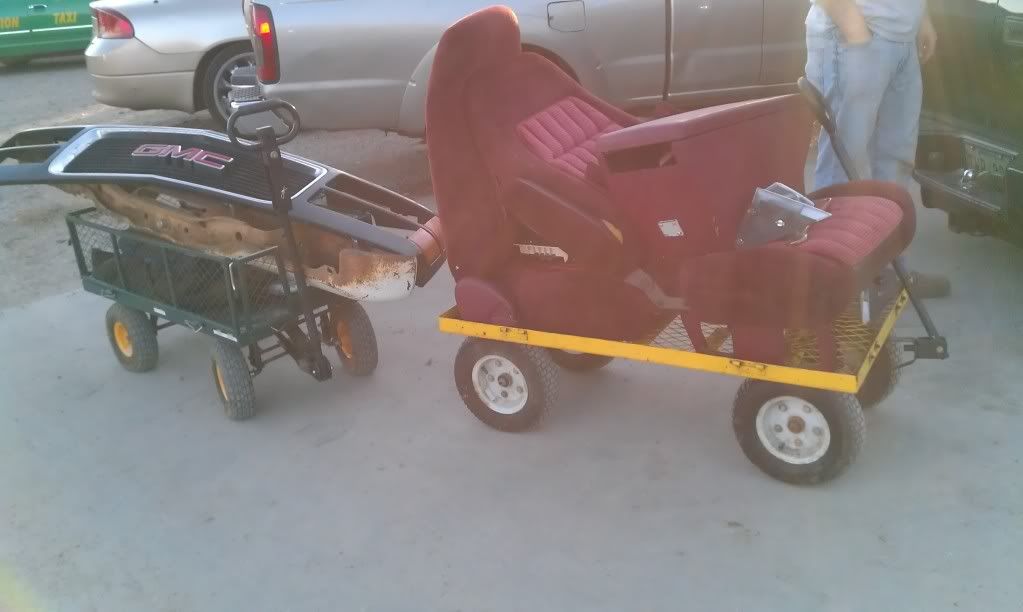
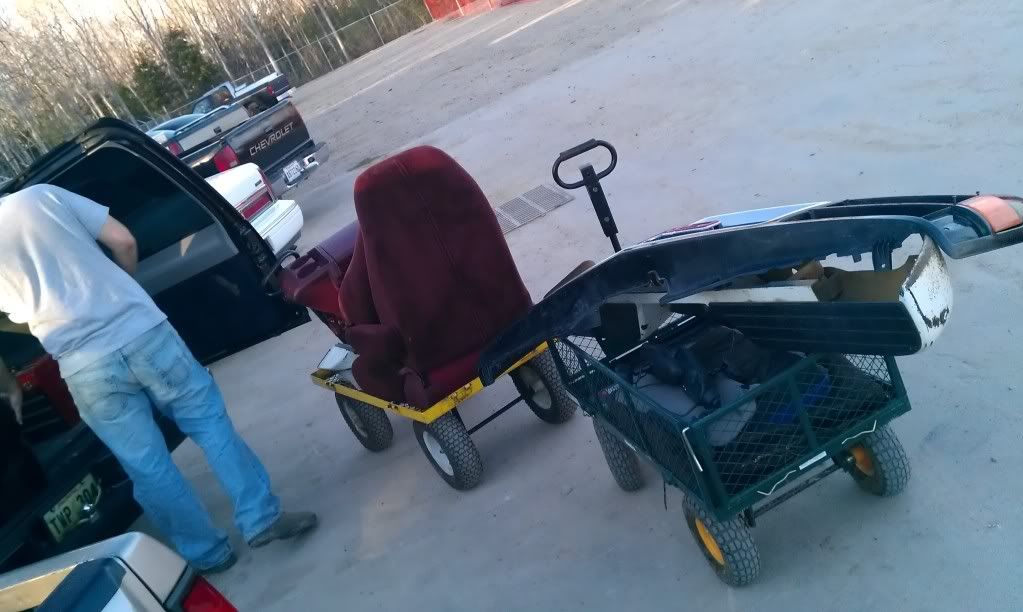
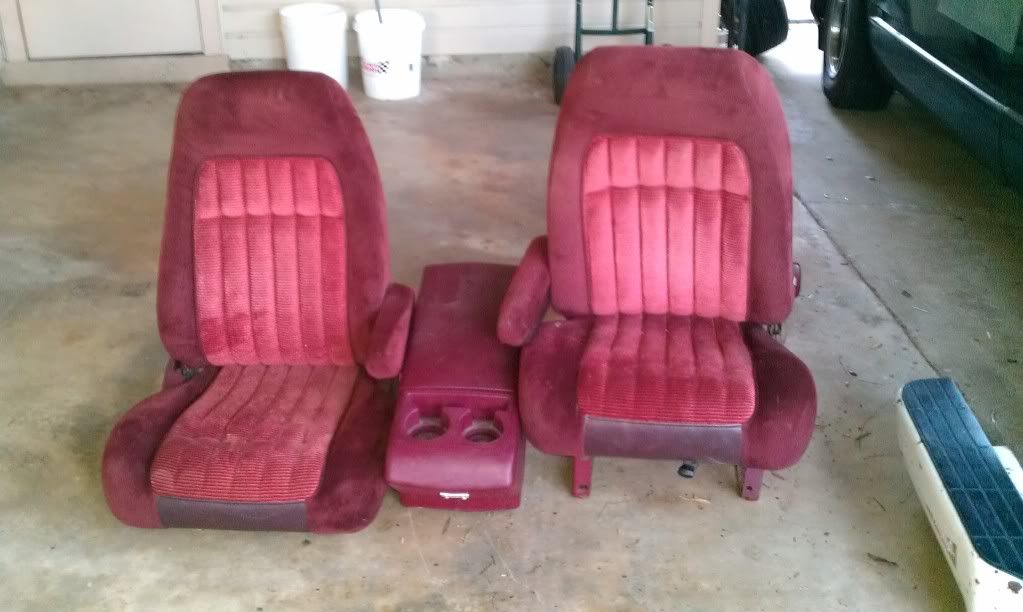
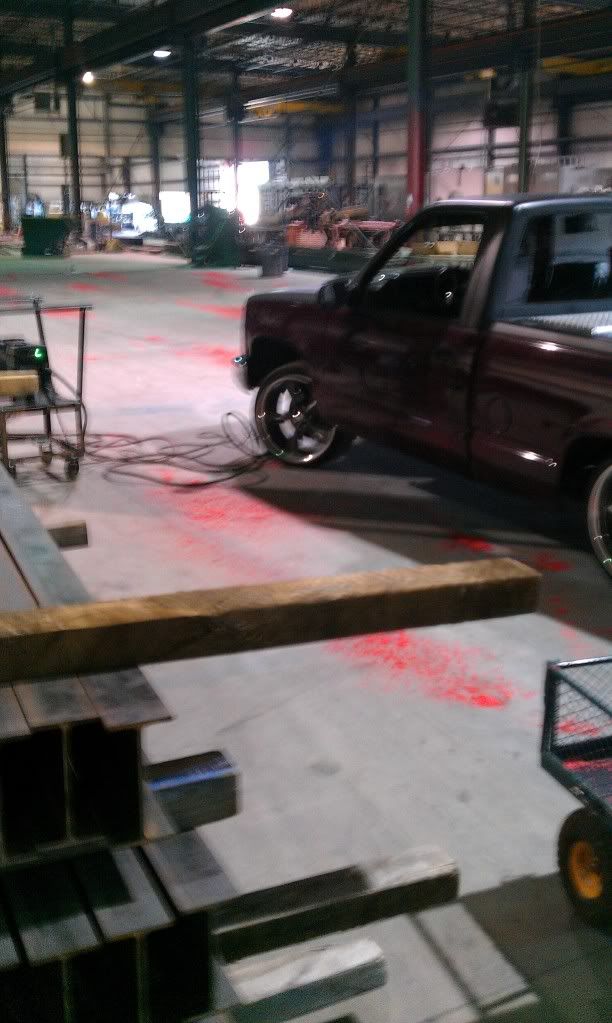
some pictures of how it started out when my buddy had it.

Picture006Medium-2.jpg


IMG_4981.jpg


IMG_4979.jpg


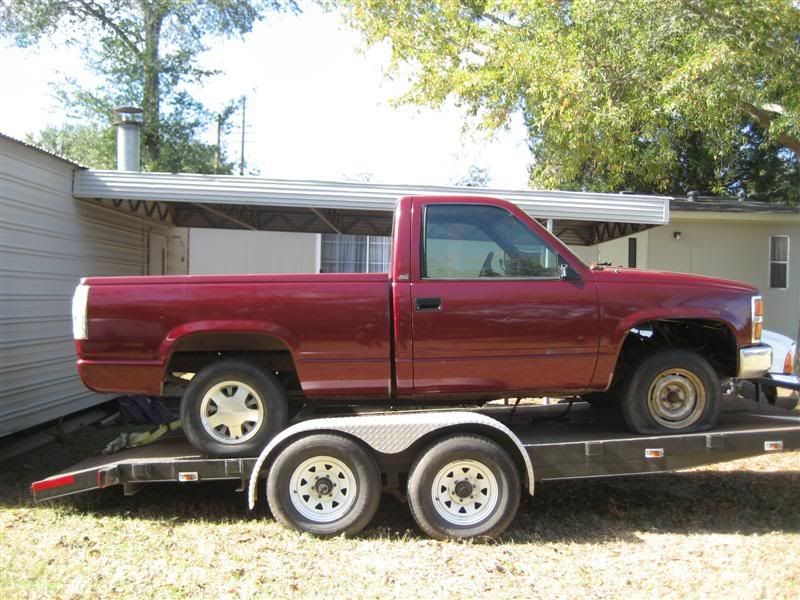
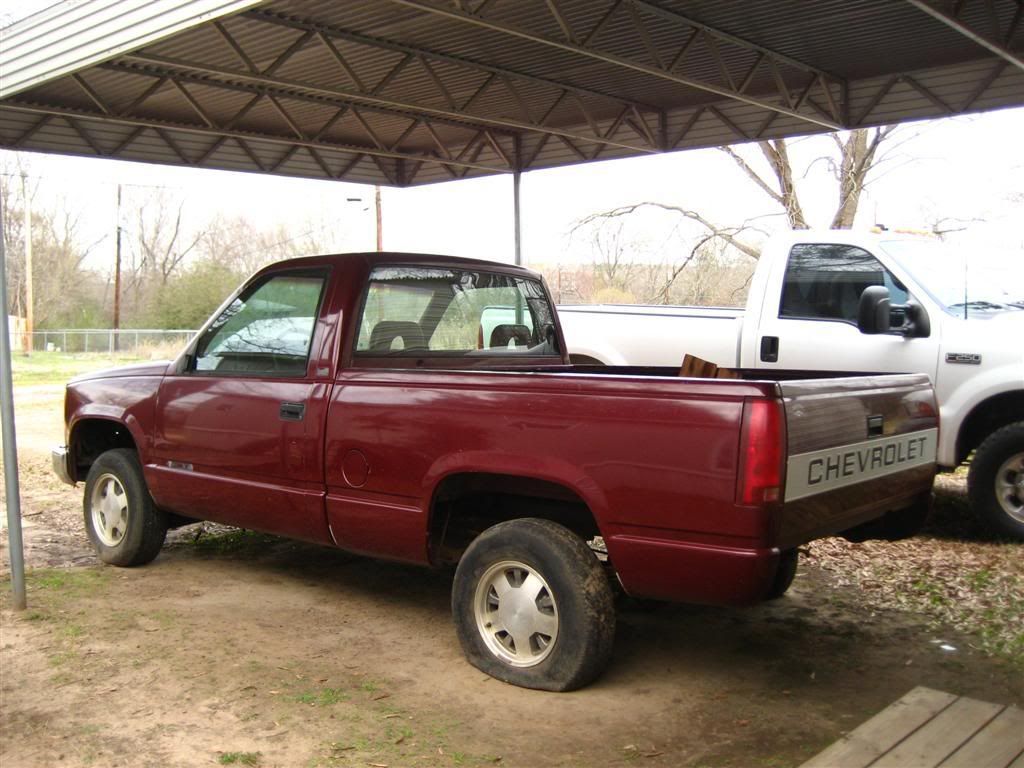
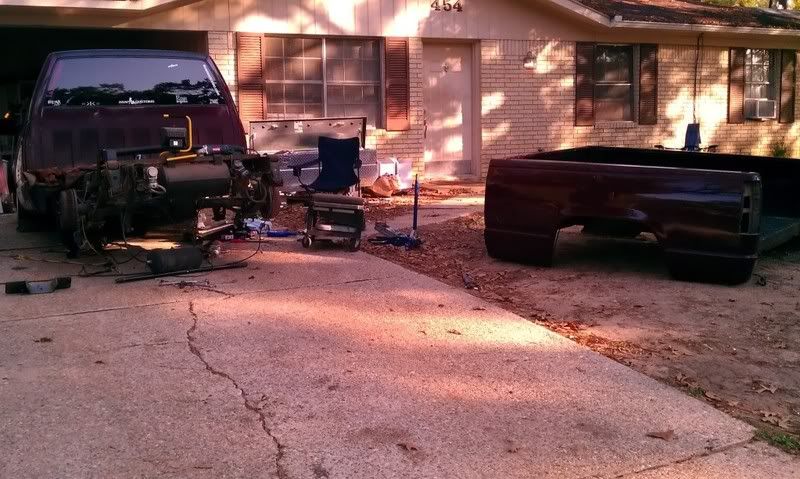
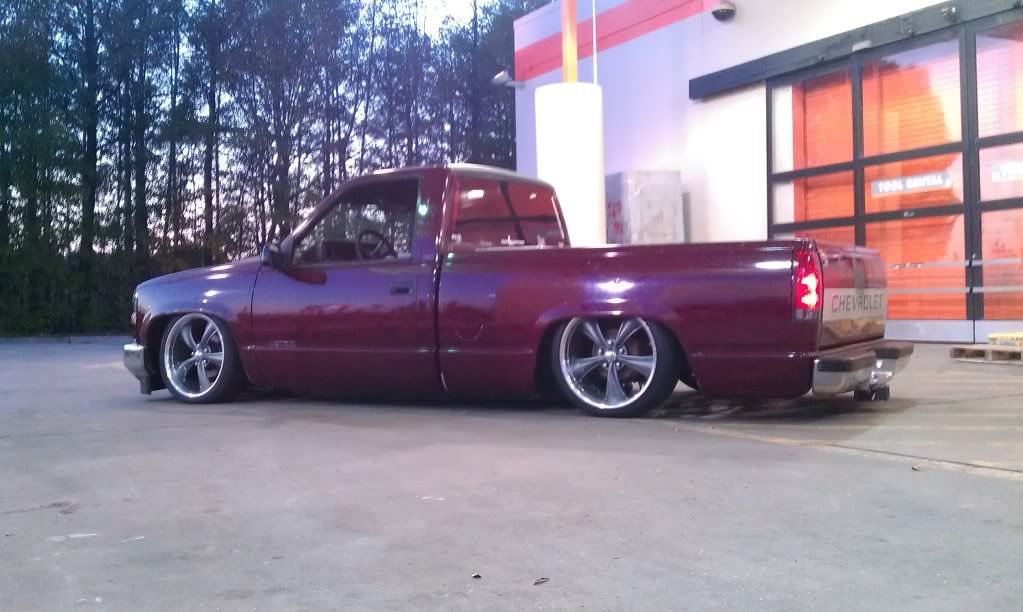
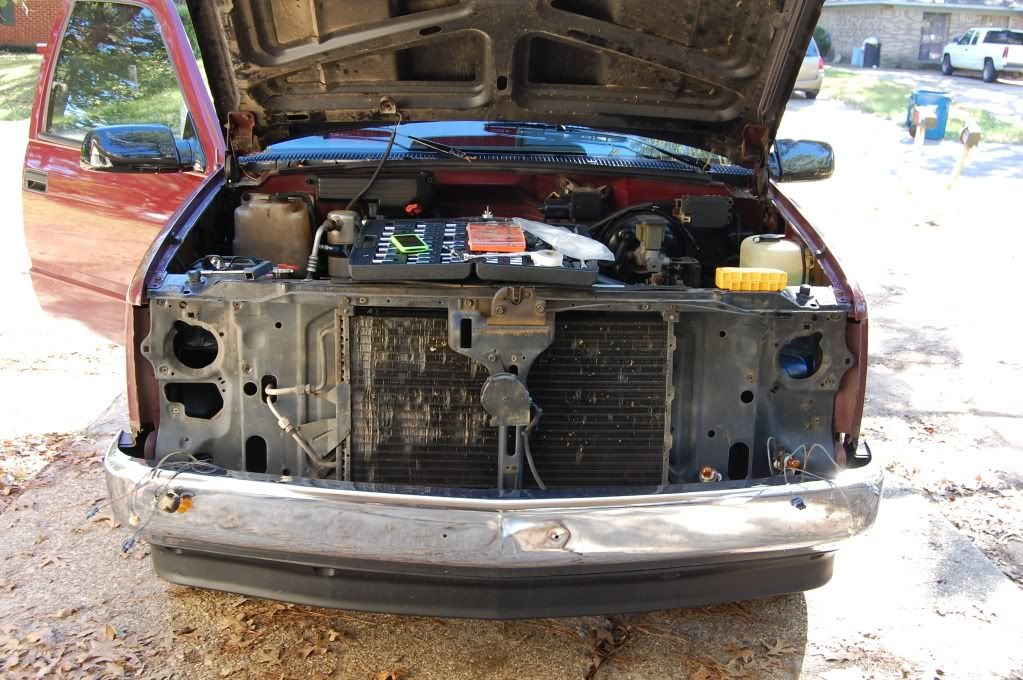
Then to this is how it looked when I got it.

IMG_5252Medium.jpg


l_bff1eb9c0a55.jpg


71916_451616563506_501533506_5614074_55223_n.jpg


DSC_0533.jpg


DSC_0534.jpg


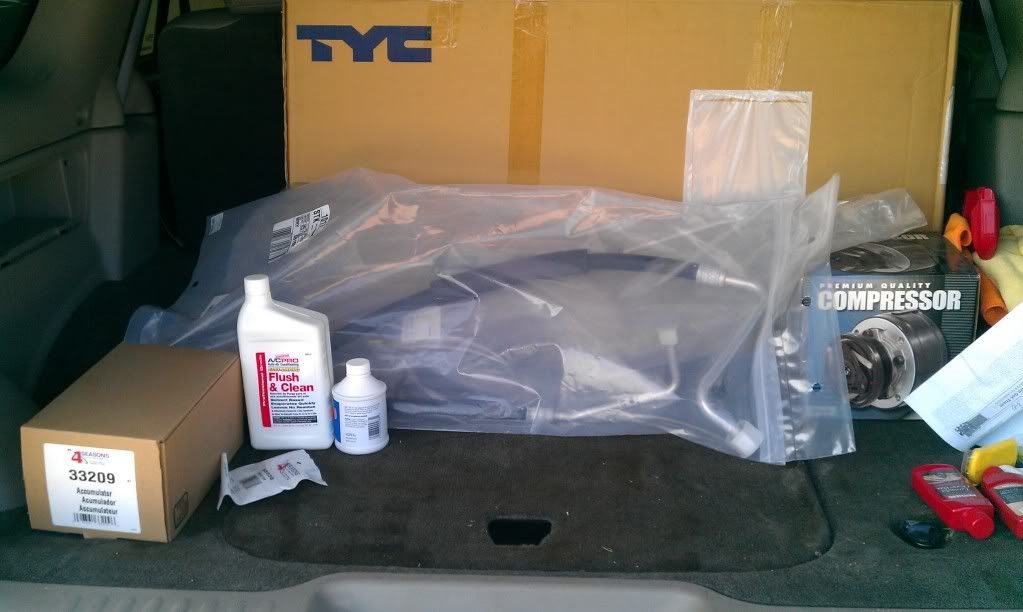
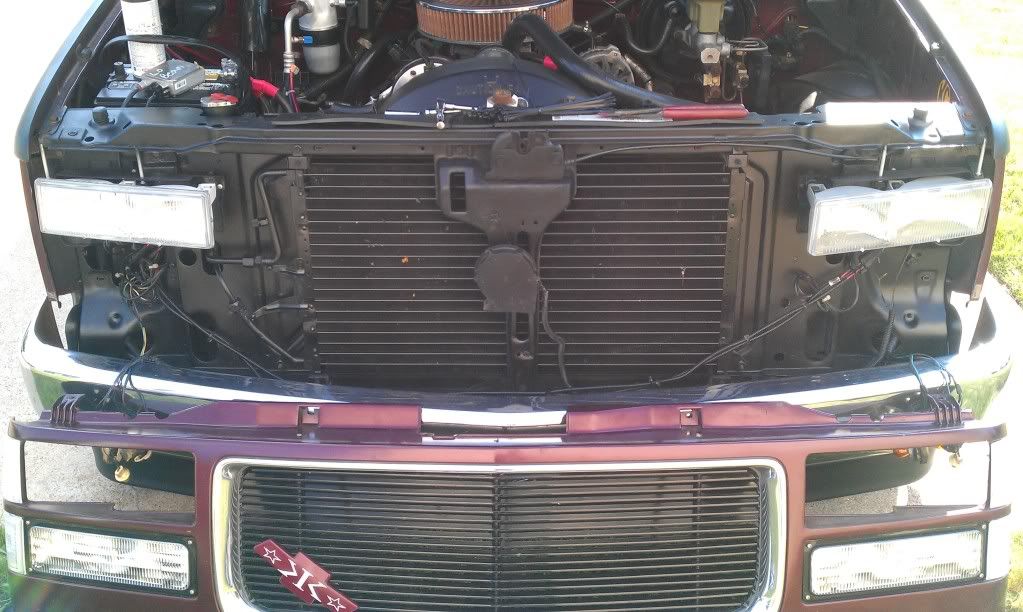
Need a new condenser looks like.

DSC_0537.jpg


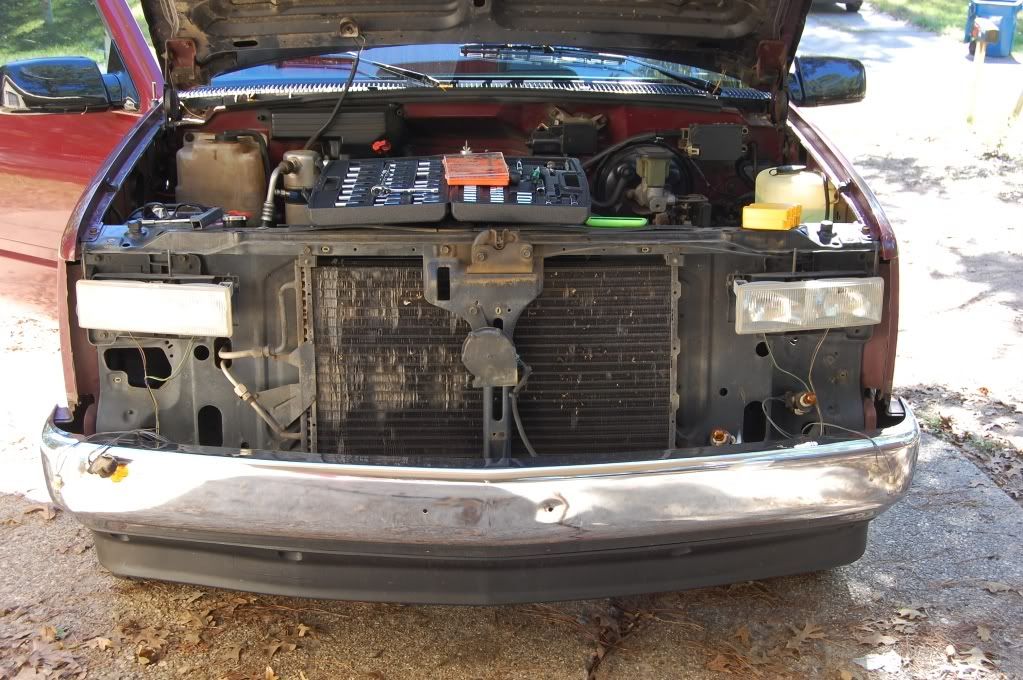
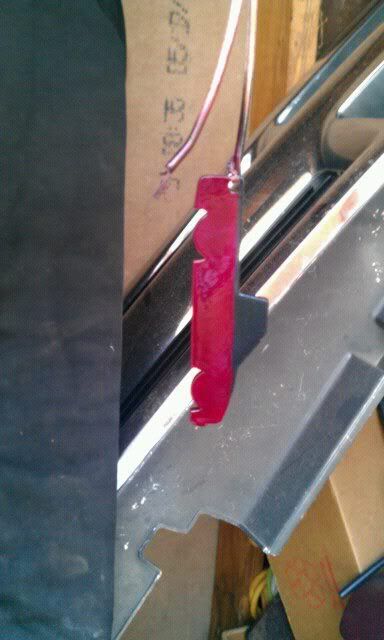
Yes my bumper lights are ziptied in lol. That was only so I could get to work ran out of time that night workin on it.
DSC_0540.jpg


DSC_0544.jpg


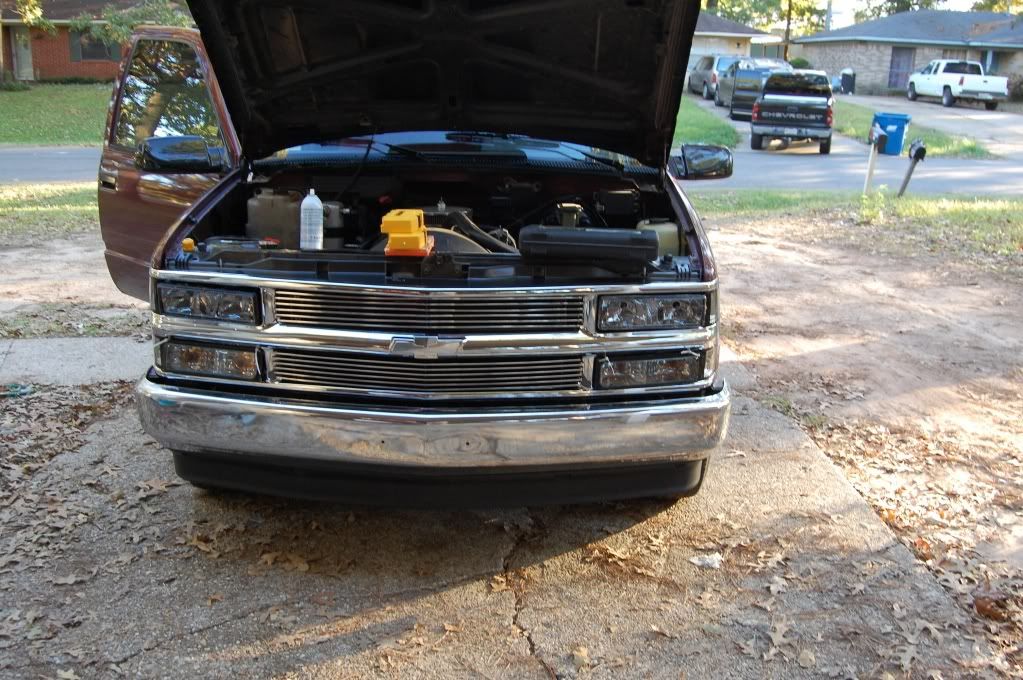
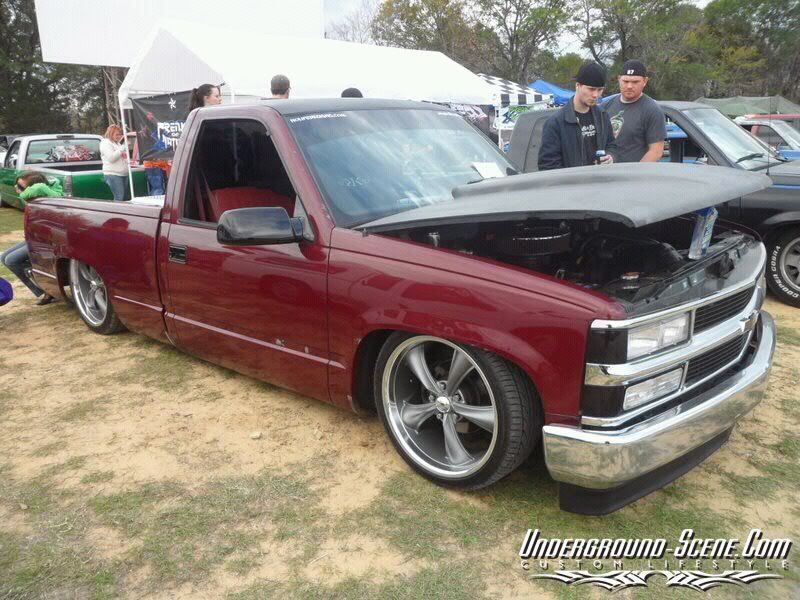
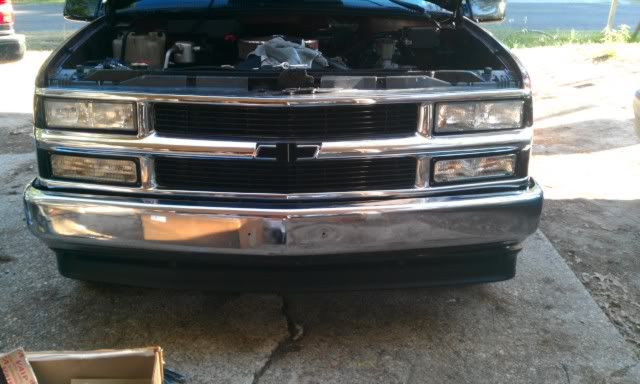
Ended up having to put the stock headlights in because the shitty ebay ones stuck out all bug eyed and retarded.

DSC_0548.jpg


DSC_0536.jpg


77837_469891223506_501533506_5887380_5471000_o.jpg


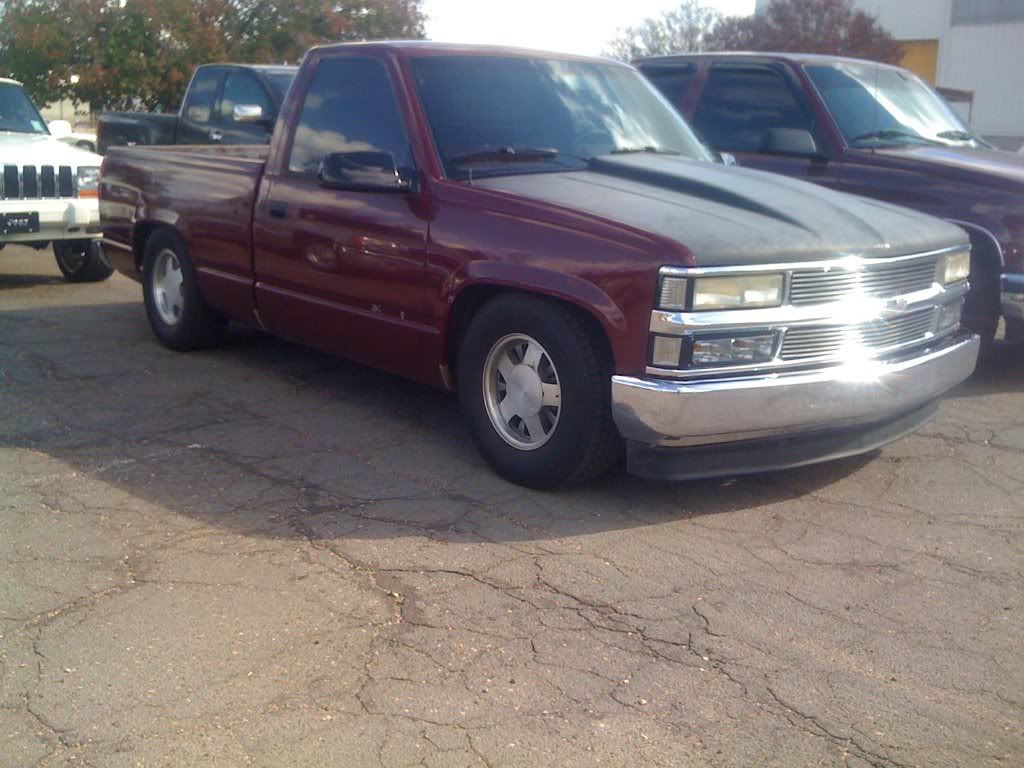
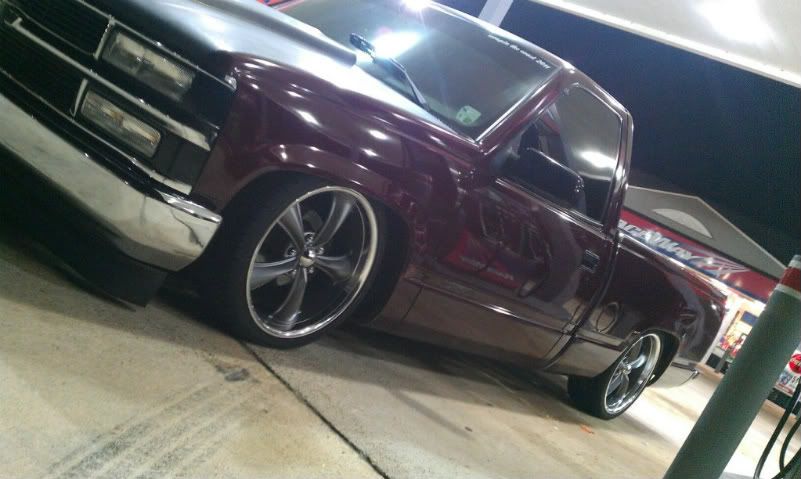
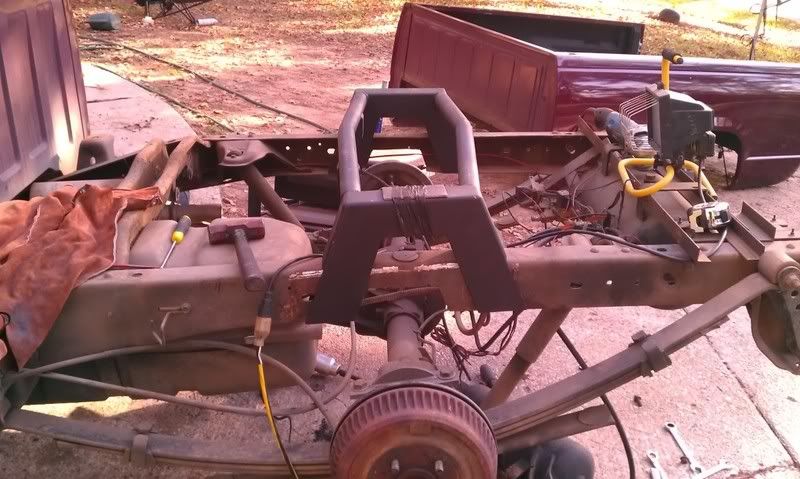
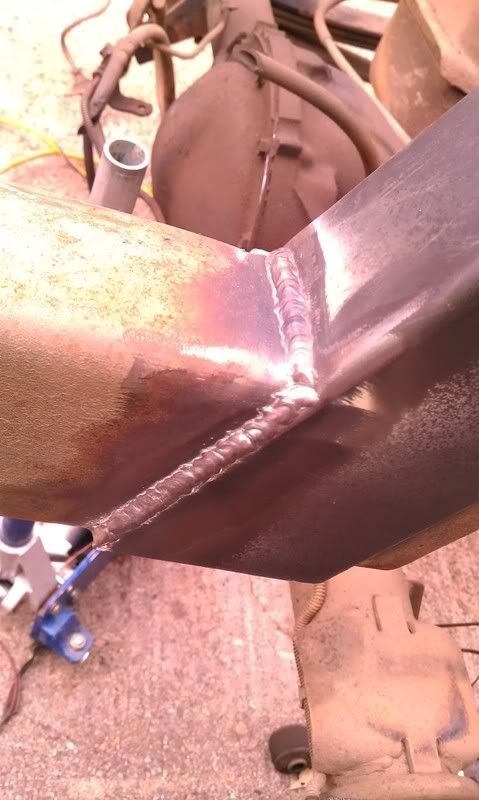
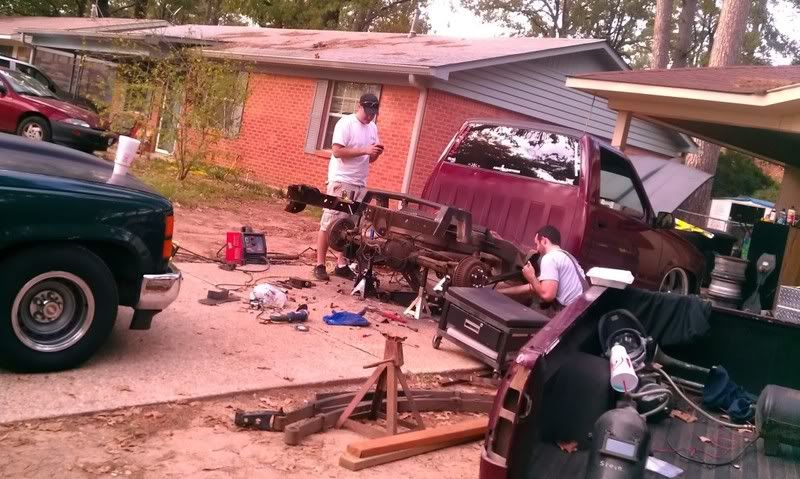
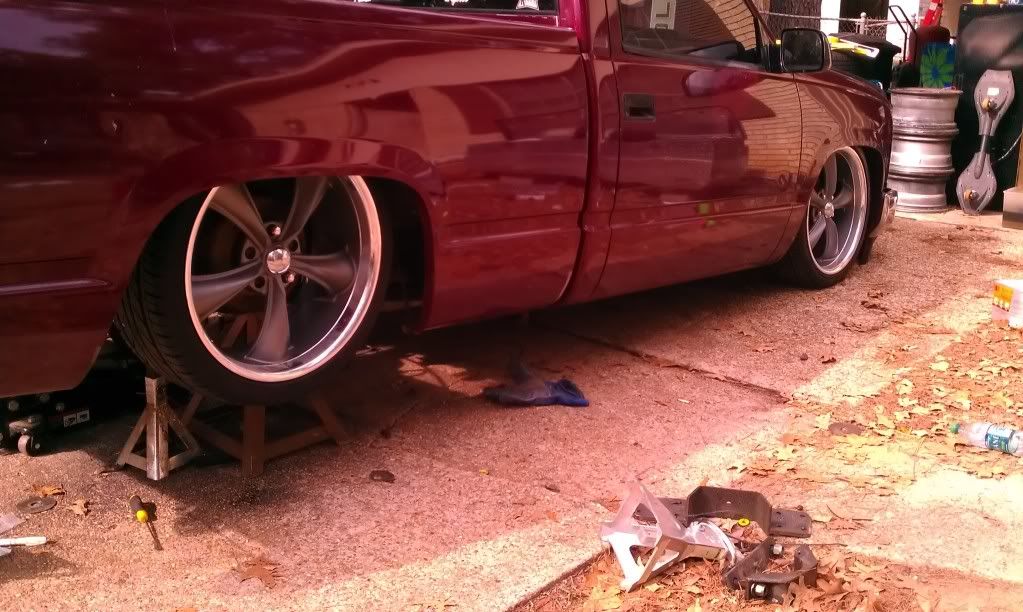
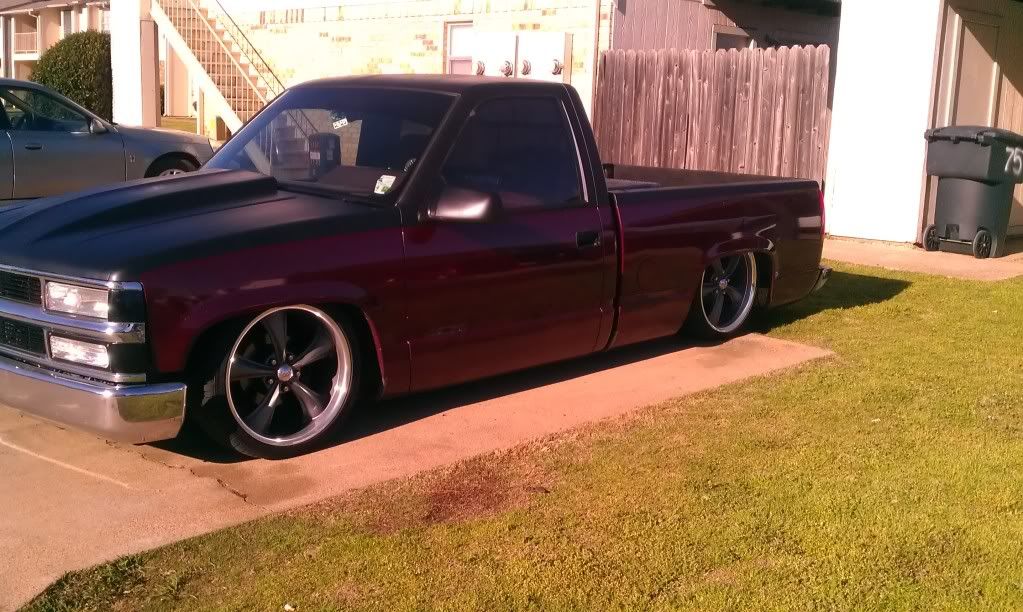
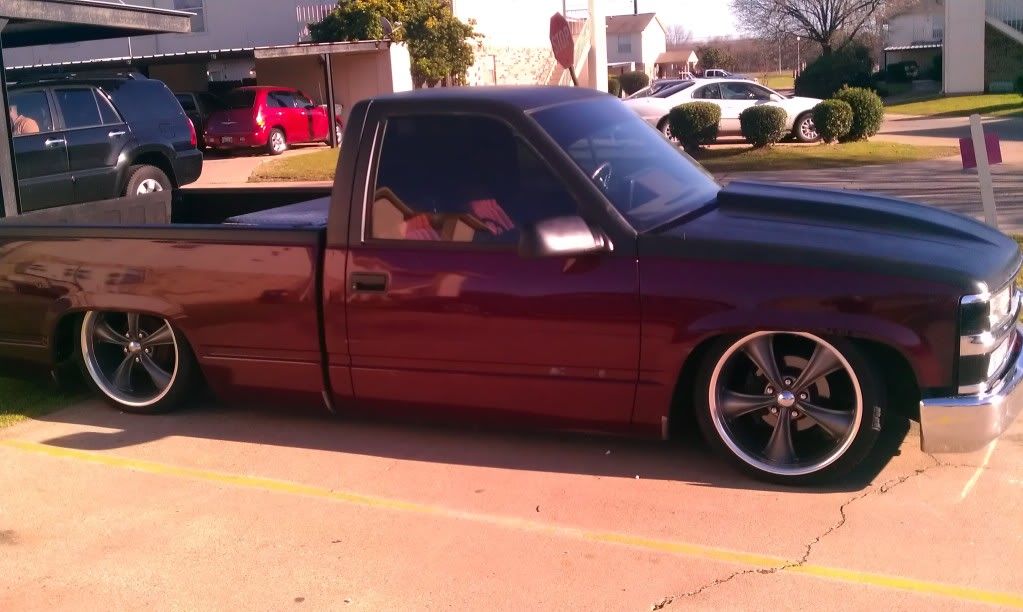
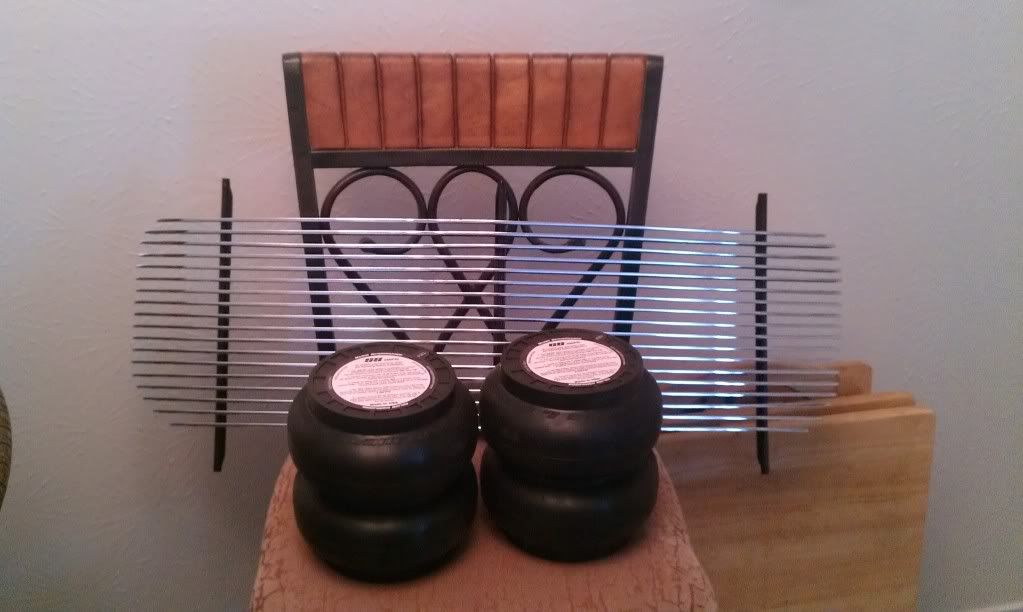
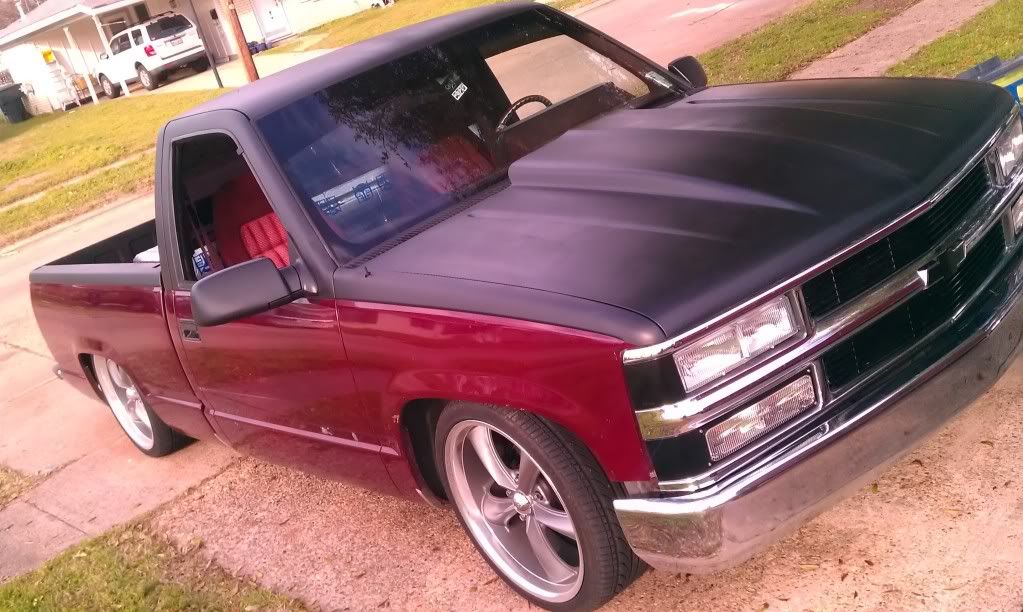
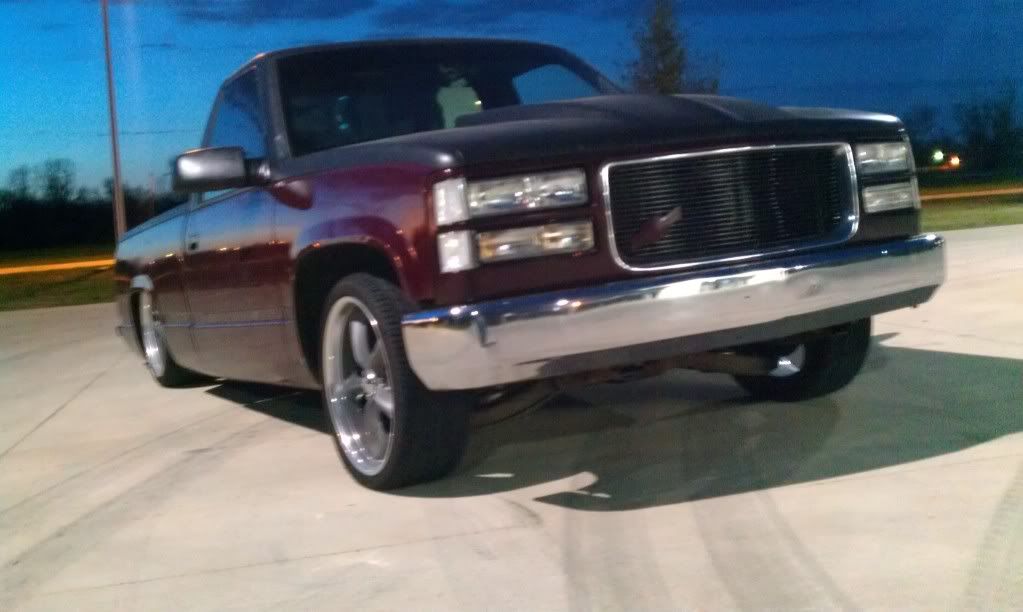
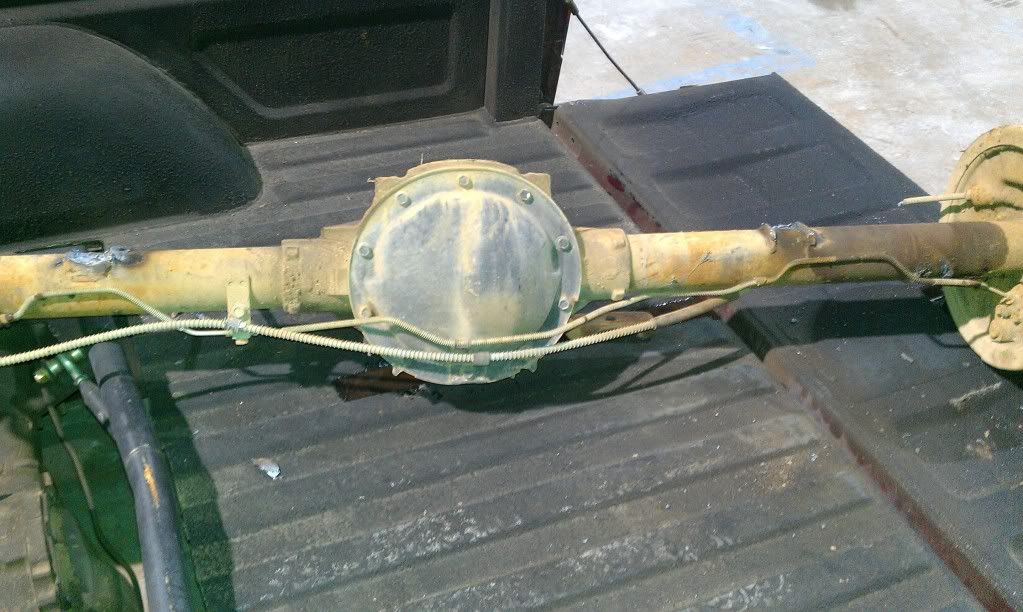
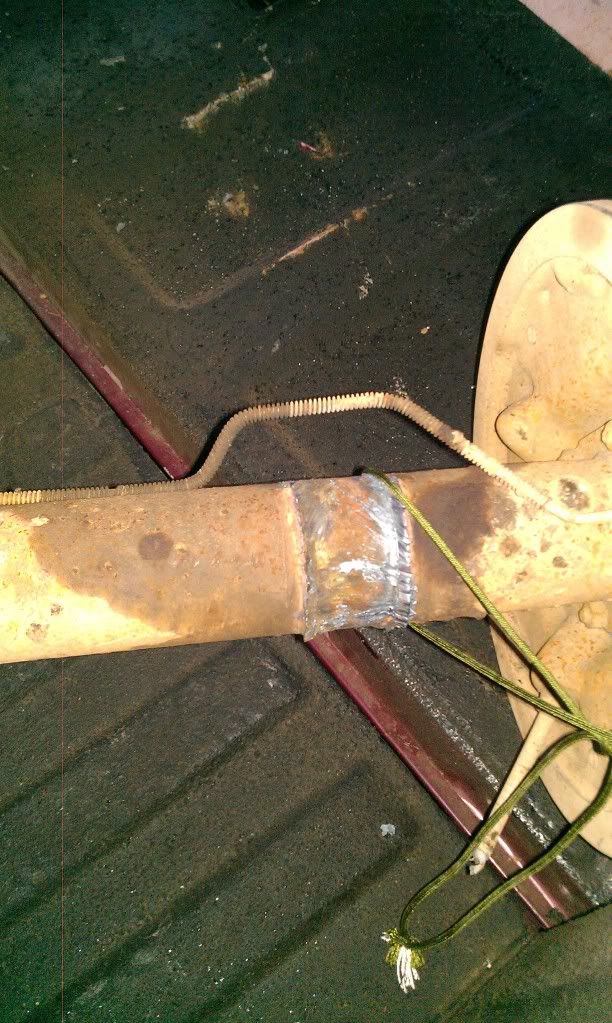
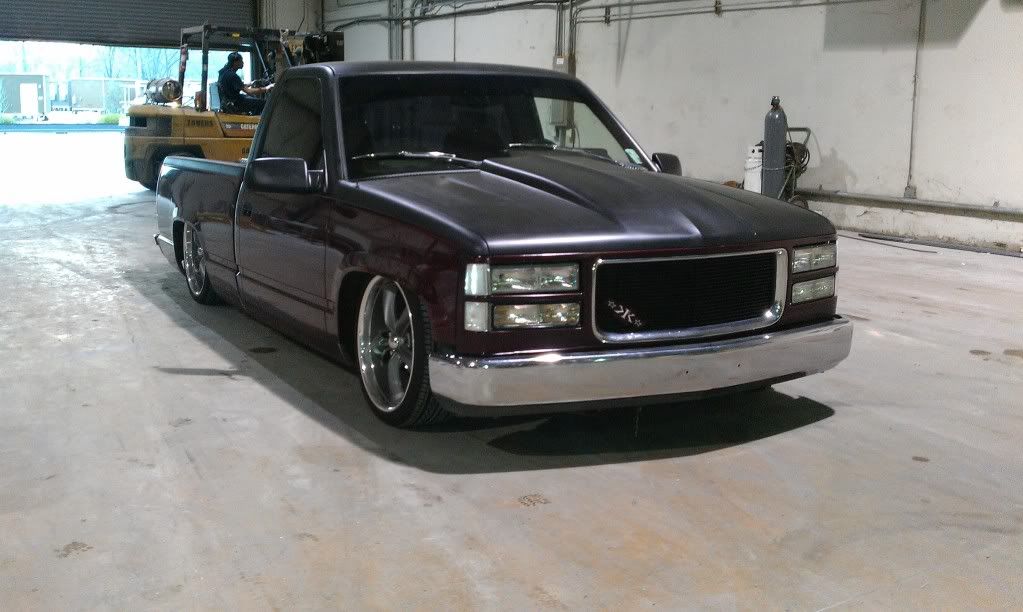
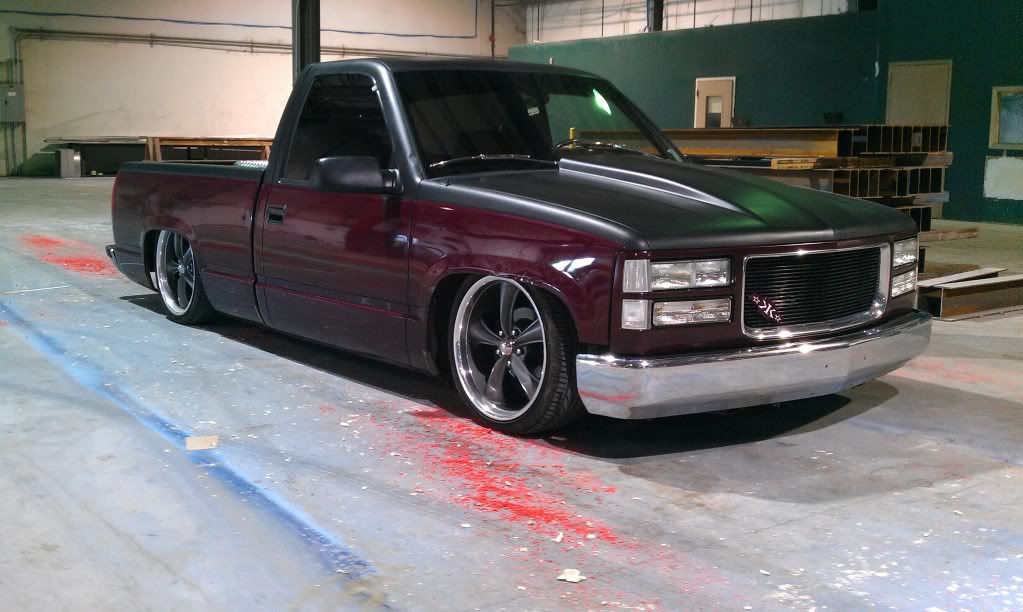
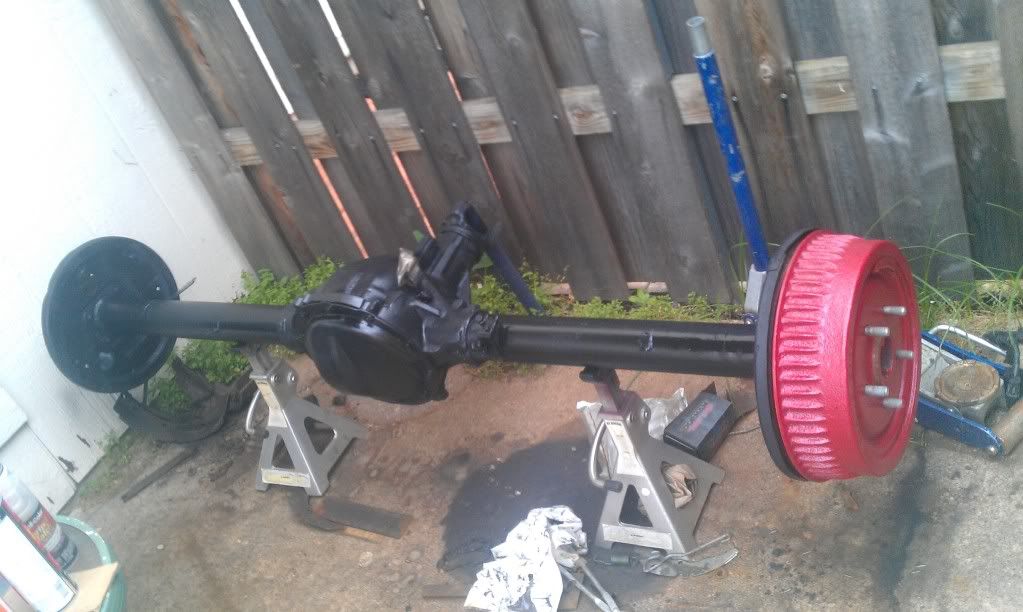
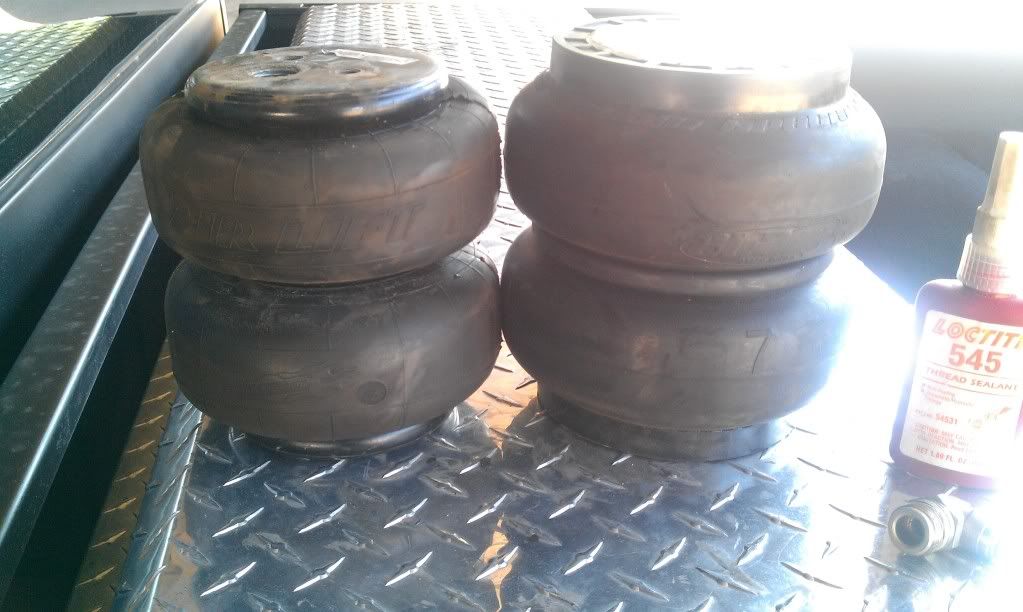
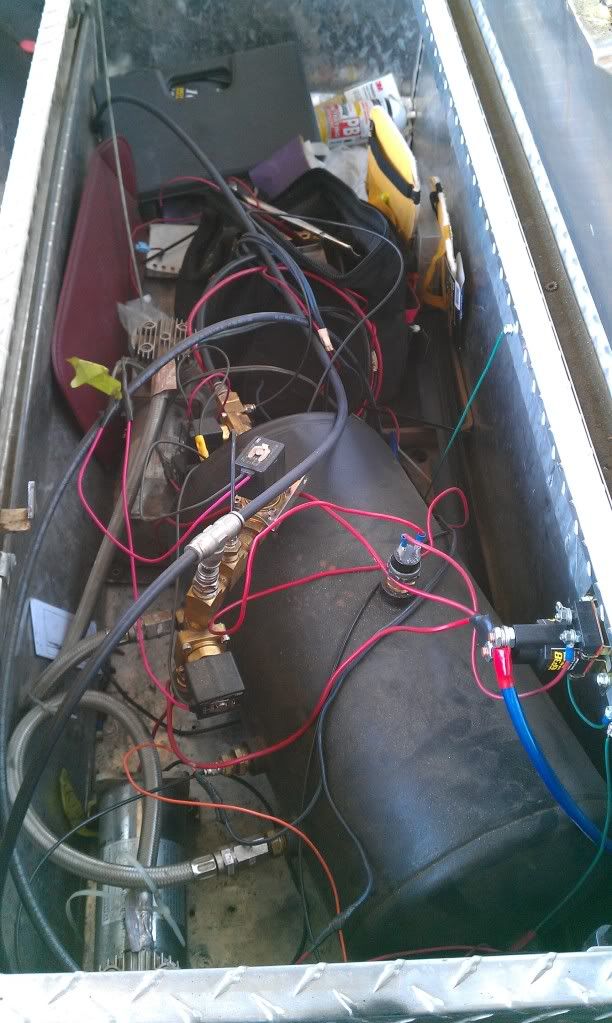
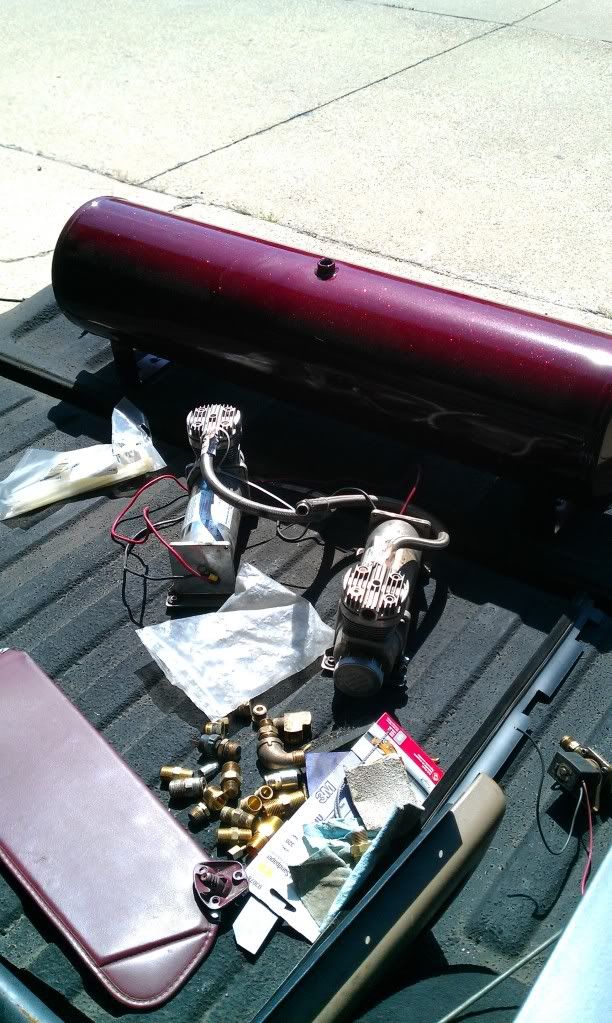
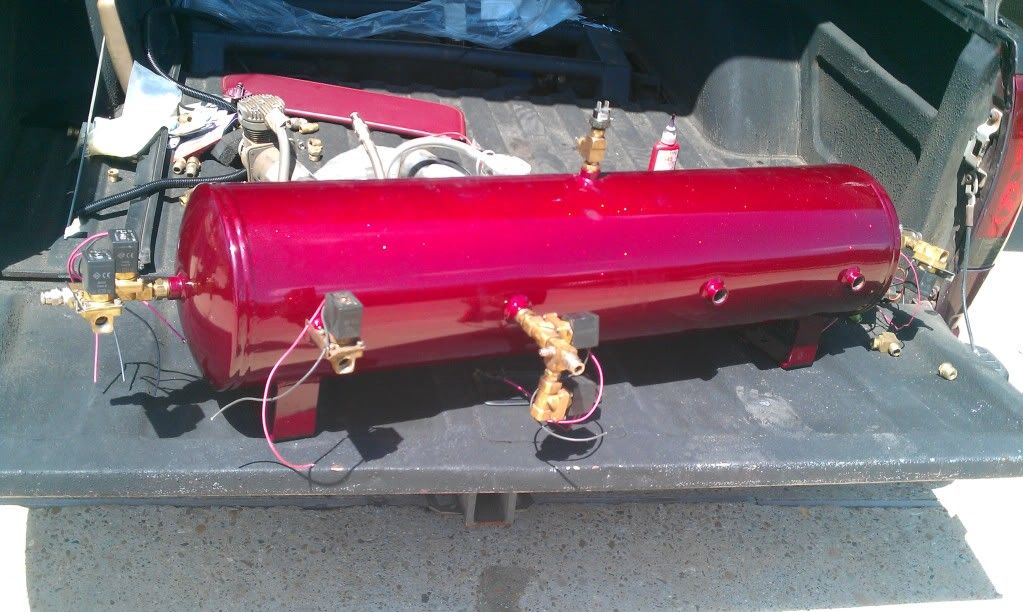
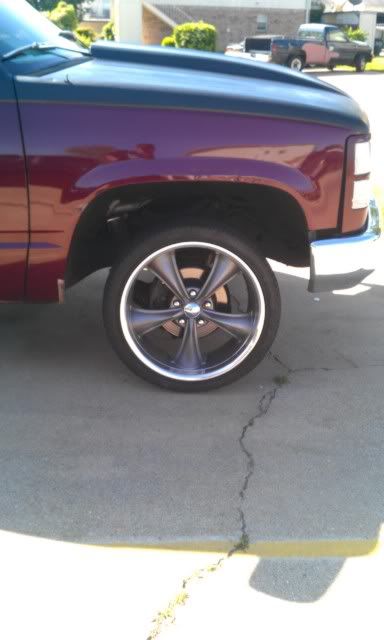
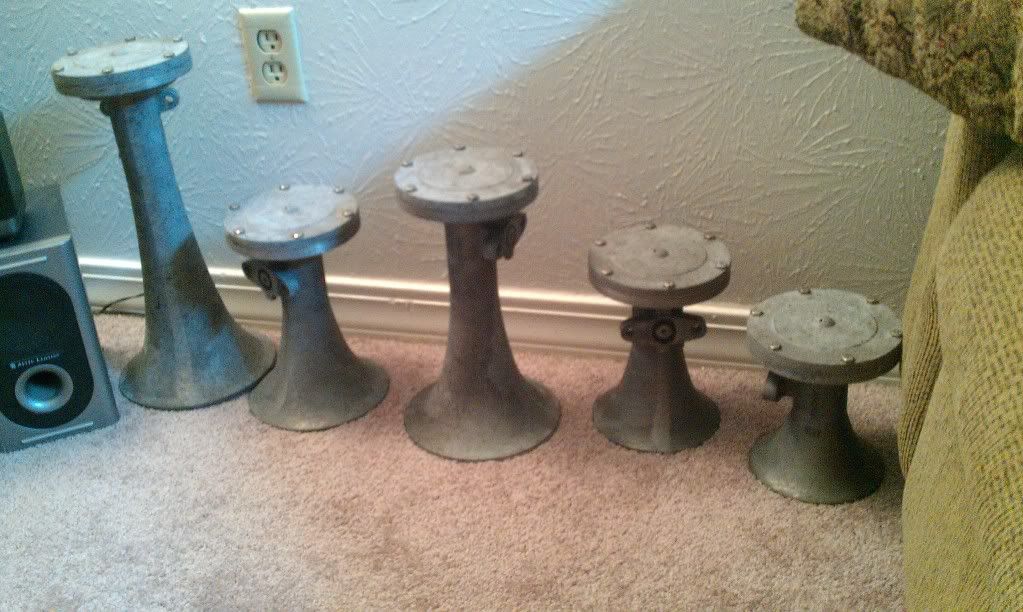
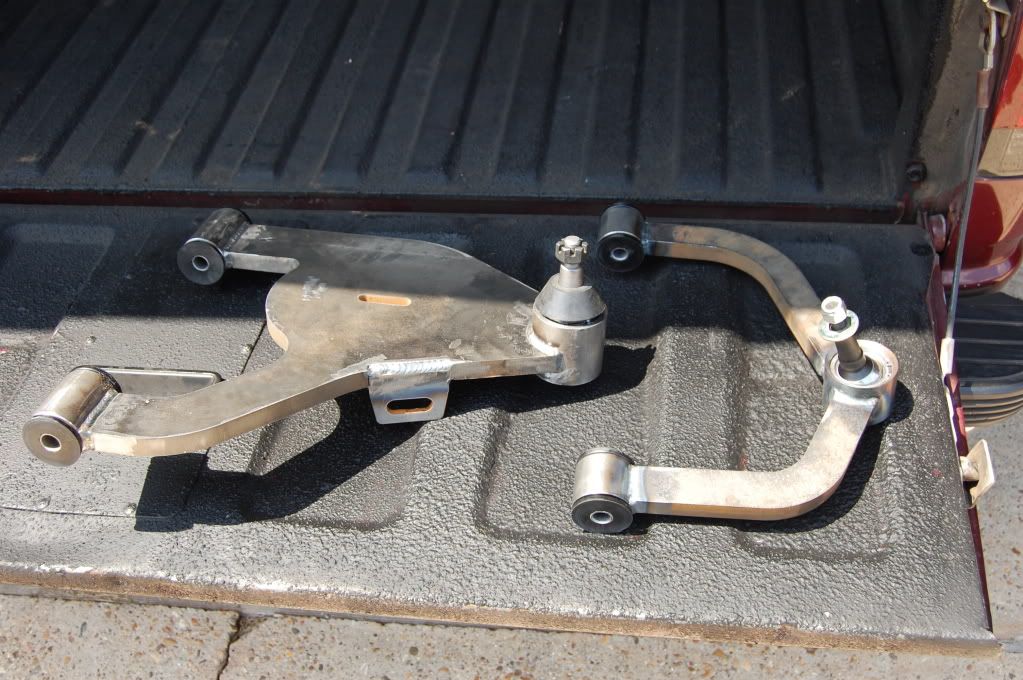
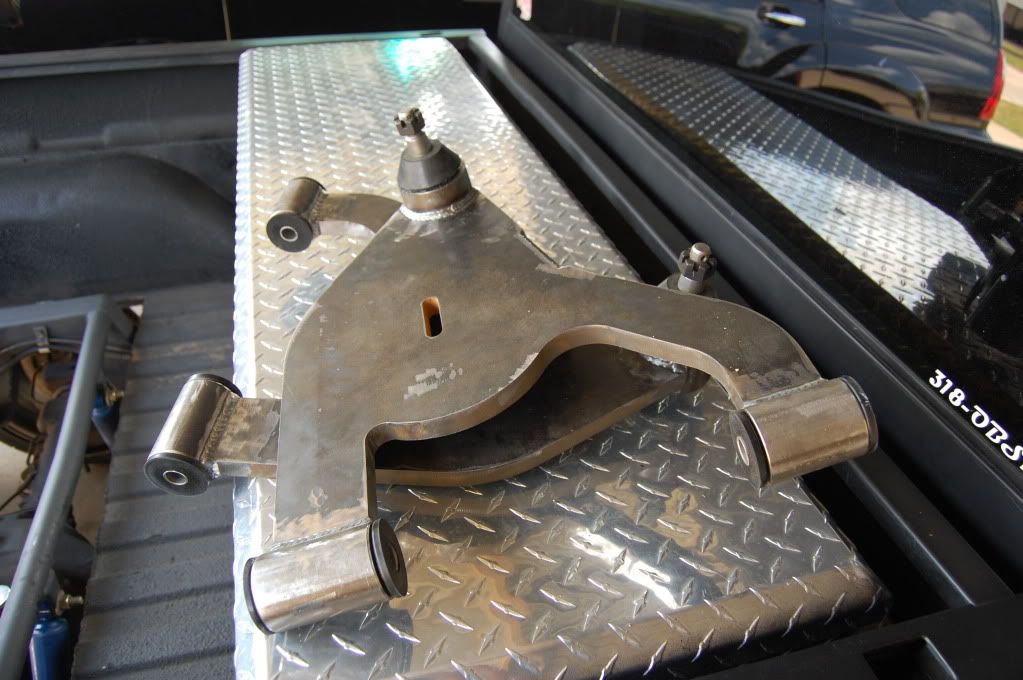
Few updated pics. I am finally ordering the stuff to bag the back today, also have a set of rally wheels I am going to throw on it too when I get tires for em.
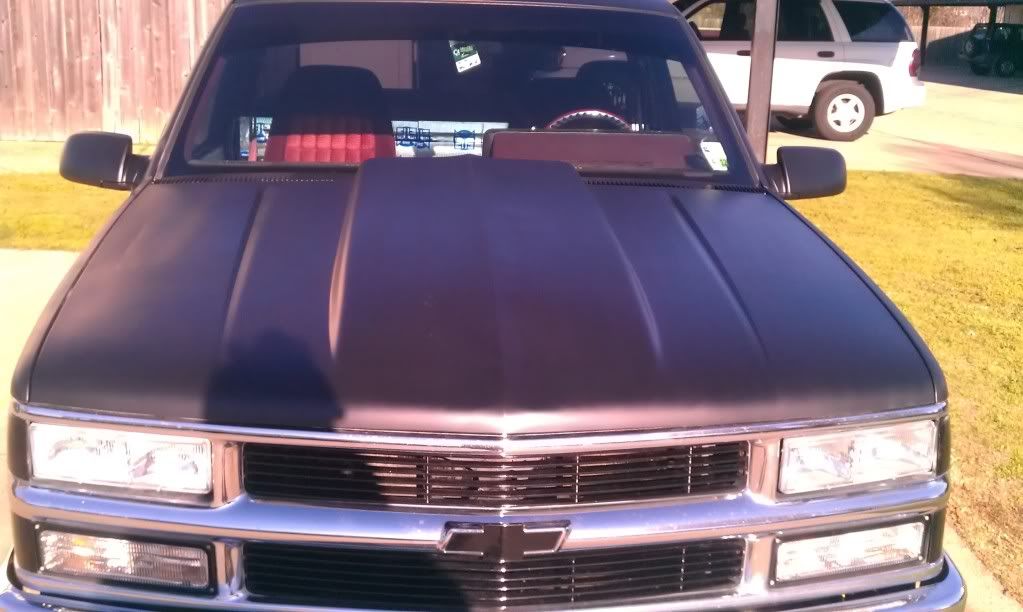
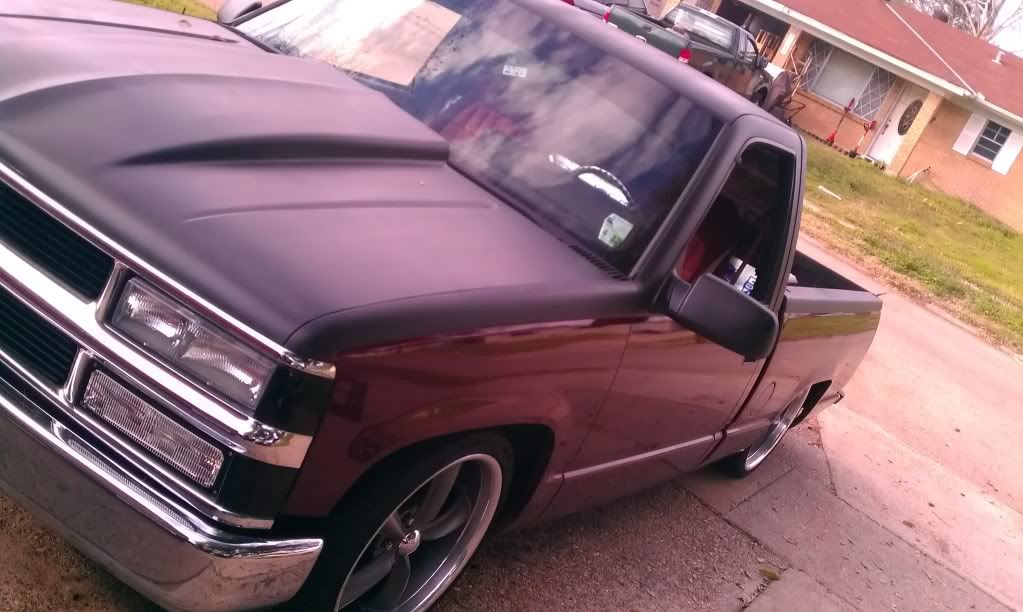
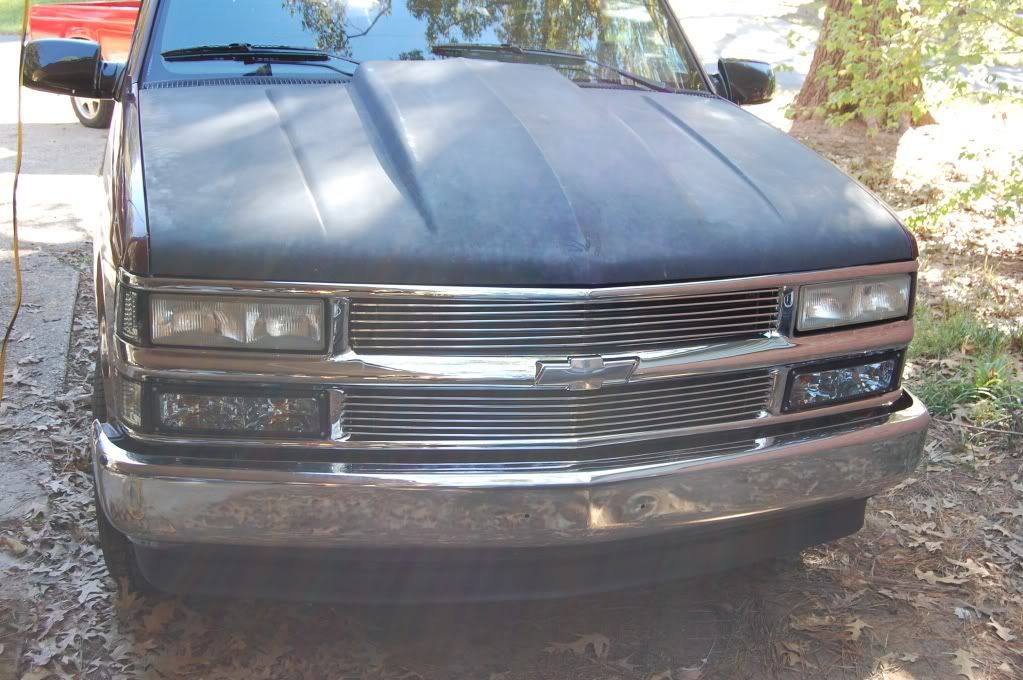
IMAG0353.jpg


Quad beams

IMAG0385.jpg


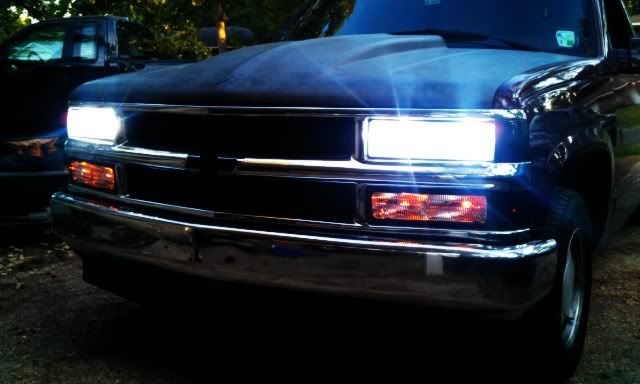
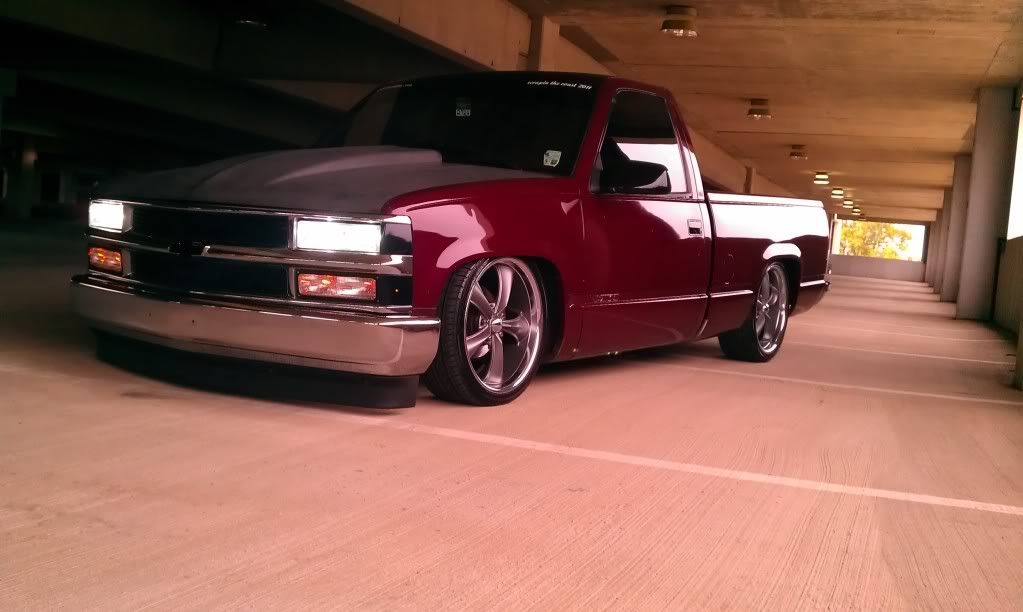
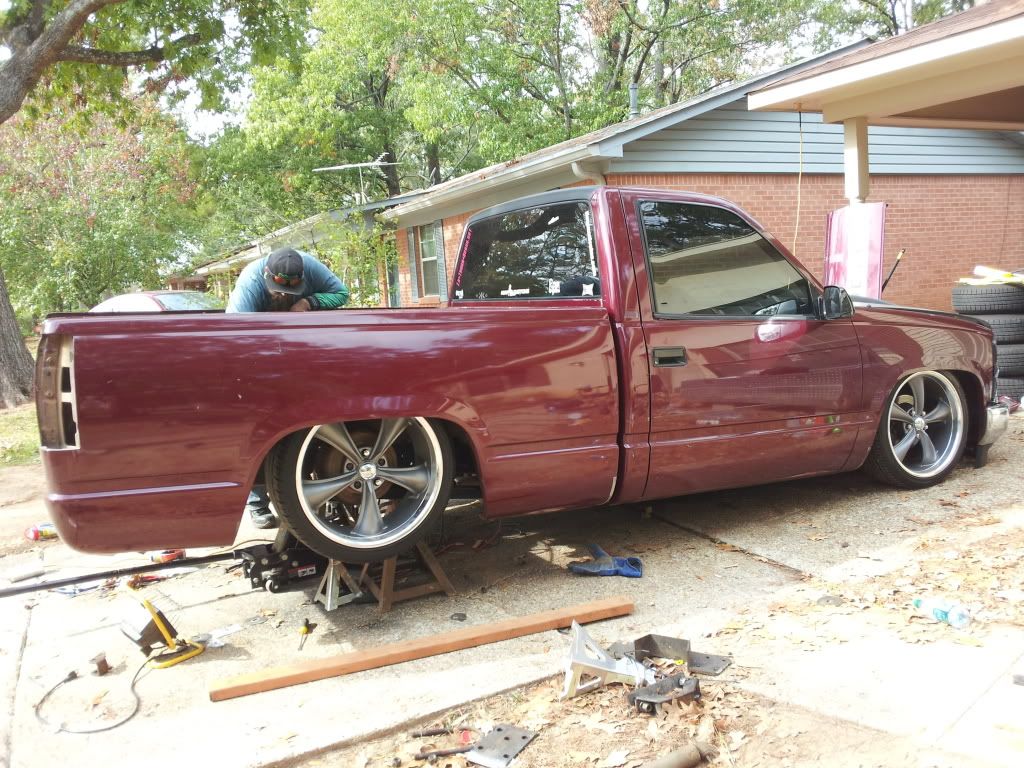
Changed up the front end a little and added new factory lights.

IMAG0383.jpg


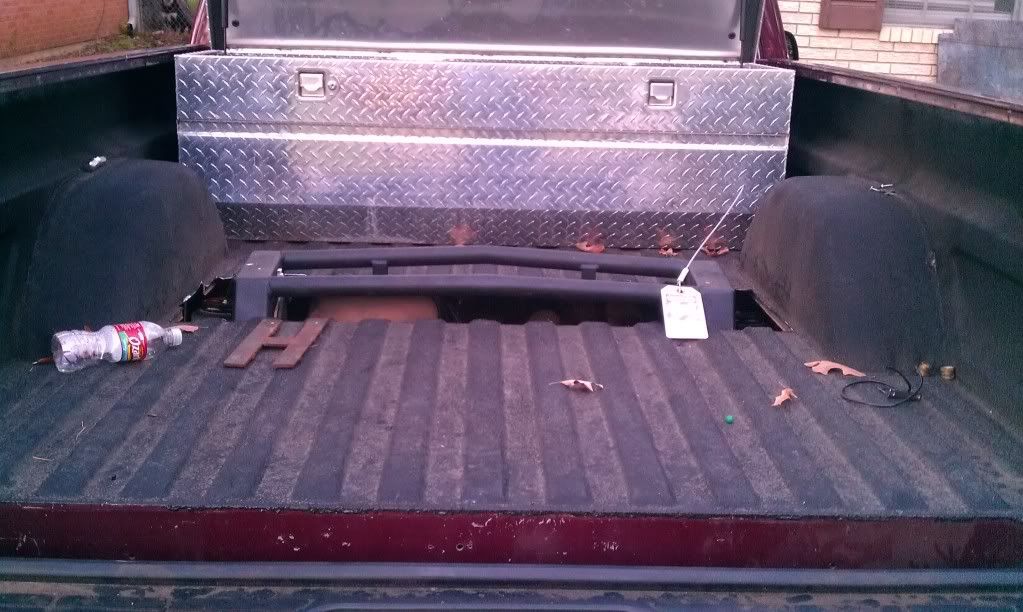
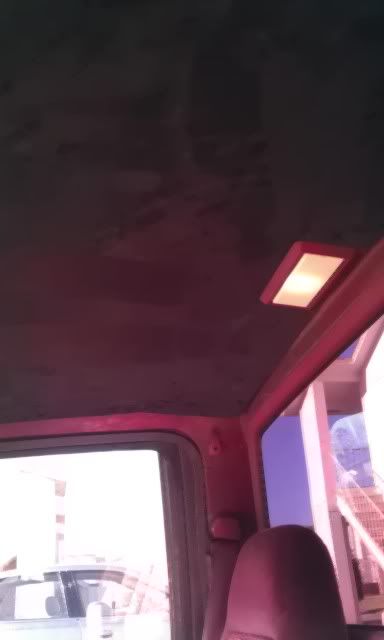
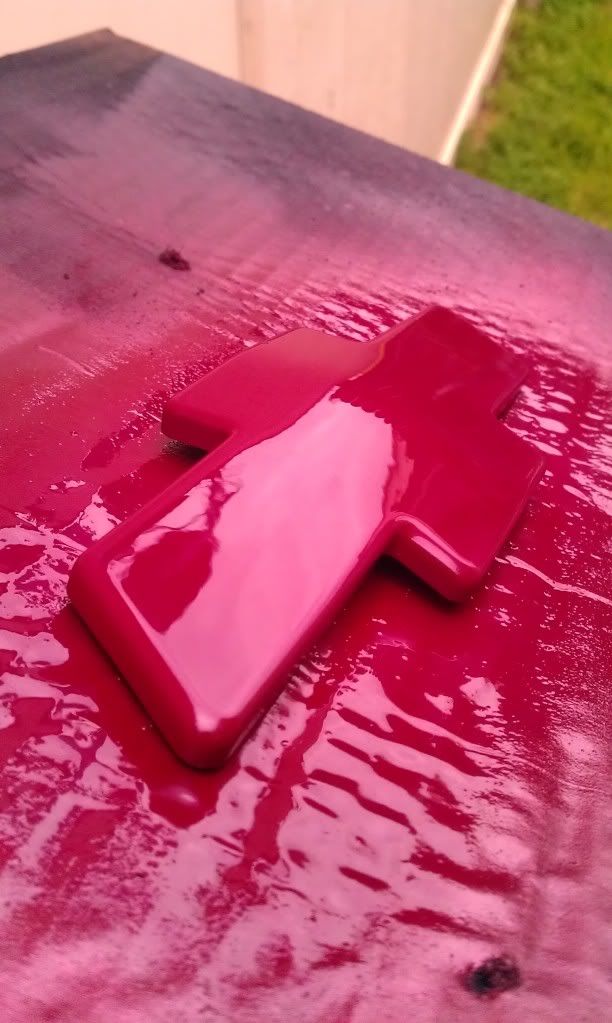
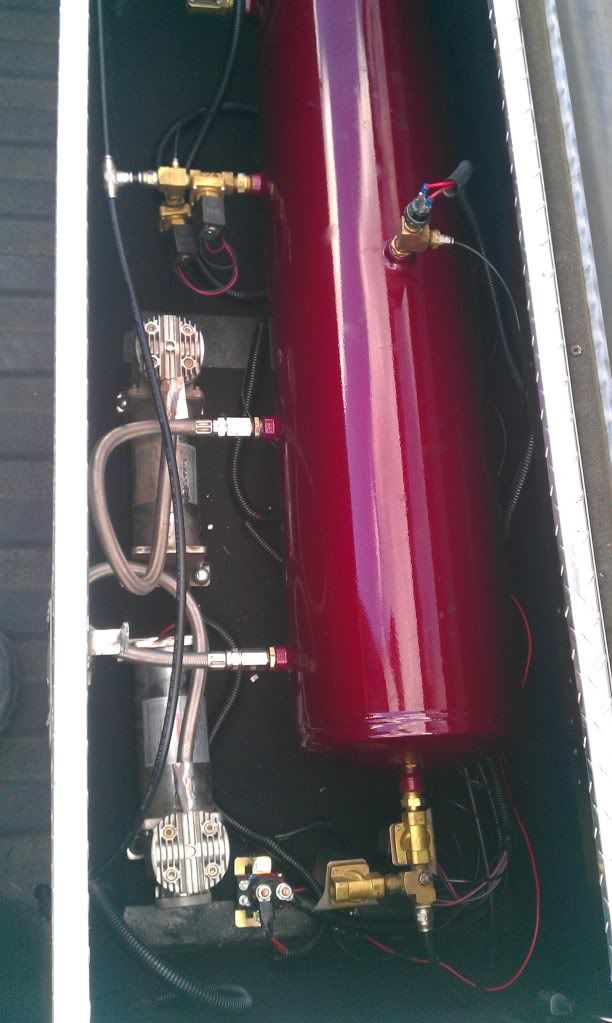
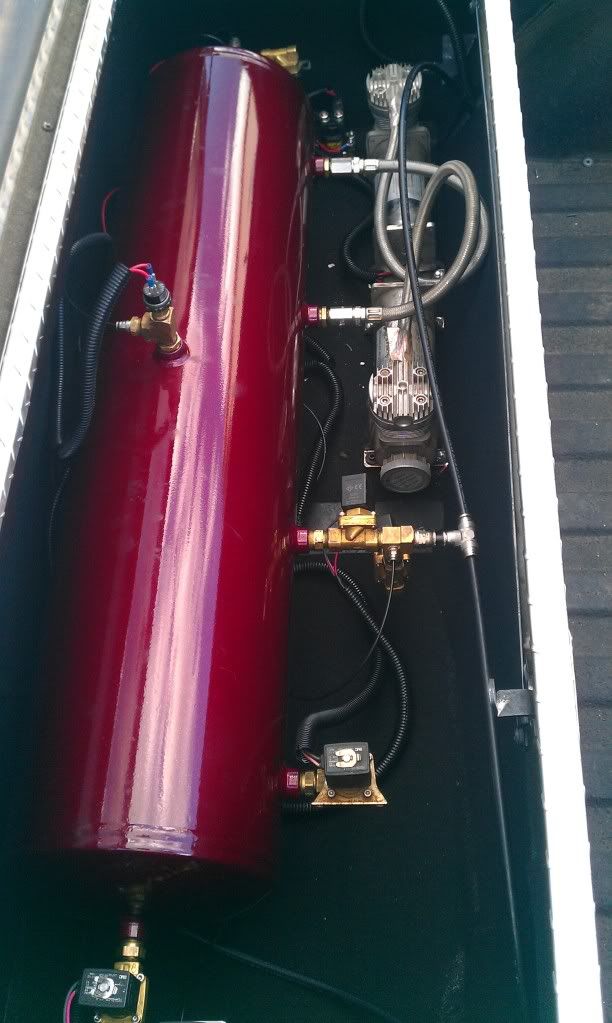
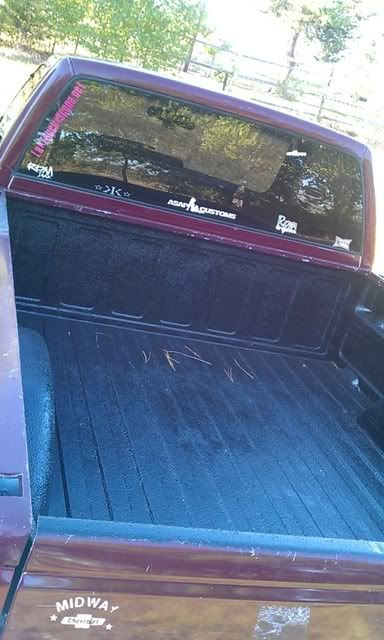
bed liner is finally in.

IMAG0287-1.jpg


IMAG0344.jpg
 
These pics dont show the new billet shifter, pretty basic for now.

photo4.jpg


Glove box emblem is gone.

photo3.jpg


photo2.jpg


Got some wheels on it.

336568_10150356040873507_501533506_8459518_985319988_o.jpg


IMAG0503.jpg


IMAG0500.jpg


Picked up some tubular upper control arms (4/20/12 sold these and ordered a set of Michigan Metal Works uppers and lowers with the Jeebus Joints)


IMAG0507.jpg


Also Picked up a jeep steering shaft which I have not installed yet.

http://www.fullsizechevy.com/forum/g...eap-obs-3.html
From the everything I could find the correct shaft will be one from a 88-96 jeep Cherokee. I picked one up on eBay for around $20 shipped. I should be getting it today and I might try to swap it out when I get off work. I am going to try to take a bunch of pics and make a write up to post here on gmt400 this mod is also only good for the 88-94 guys as the steering shaft changed in the 95+ trucks.
 
Got started on the rear

323632_302212799796992_100000248242598_1194783_1457877763_o.jpg


IMAG0540.jpg


IMAG0542.jpg


IMAG0547.jpg


IMAG0554.jpg


both of these last two pics were taken with the bed just sitting on the frame. Everything lined up and bolted up just fine which was something I was sweating over. I cant stand when the bed is all lop sided or looks like its about to fold into the cab lol.

20111120_125916.jpg


IMAG0561.jpg


IMAG0578.jpg


IMAG0571.jpg


Me and a buddy took it to Texas weekend before last for Turkey Drag in Tyler. Found a pic online of some show coverage it made.

387389_10150426520268507_501533506_8725149_787727401_n.jpg
 
I put new shocks on the rear this weekend which for anyone wondering 98 s10 2wd 4.3l stock rear shocks work perfect for the Ekstensive rear kit. I got one of my front shocks mounted. Lol. I also threw on a set of billet wiper arms.

IMAG0638.jpg


This is what I like to call obs junkyard Christmas.

IMAG0711.jpg


IMAG0712.jpg


I got buckets, center console, 454ss mirrors, a whole billet interior set, extra gauge cluster, drac module, 20' of 4awg wire all for under $200.

IMAG0714-1.jpg


IMAG0717.jpg


IMAG0716.jpg


IMAG0715.jpg


This is my craigslist find. A 12gal tank for $40 and ordered some fittings.

IMAG0718.jpg


IMAG0719.jpg


Now its time to do work. Lol.

More junk yard treasures. Picked up a perfect set of visors, headliner, and a set of seat tracks all for $30. I also started Workin on the new gauges tonight too.


IMAG0720.jpg


IMAG0721.jpg


IMAG0722.jpg


IMAG0723.jpg
 
Compass/temp mirror is finally installed.
IMAG0777.jpg


Gauges before.

IMAG0782.jpg


Cleared face and cleared/painted needles.

IMAG0779.jpg


IMAG0778.jpg


Installed before leds.

IMAG0783.jpg


IMAG0785.jpg


After leds by MOBS.

IMAG0786.jpg


Led by mobs dome light.

IMAG0784.jpg


The gauges look so much better now.
 
Time to do a little updating.

Suede headliner

IMAG0865.jpg


IMAG0866.jpg


lil bit of 2 tone shenanigans.
IMAG0868.jpg


IMAG0867.jpg


IMAG0869.jpg


IMAG0891.jpg


IMAG0896.jpg


IMAG0895.jpg


IMAG0904.jpg


IMAG0931-2.jpg


IMAG0929.jpg


Re-wired my compressors using some 4g with and a nice stinger 80amp relay and got rid of the two crappy viair relays I had back there. I brought some of my 4/0 wire to my apt so I can get ready to do the huge 3 (big three doesnt cut it when you have 4/0 wire lol). Finally did something with the big ol 12 gallon tank I bought a while back too.

Heres how it looked after I hit it with a coat of the same paint I used on my truck.

IMAG0953.jpg


That was just not gonna cut it for me so I took it to the powder coat shop and got it blasted then powder coated candy red metallic.

IMAG0976.jpg


IMAG0974.jpg


IMAG0975.jpg


The pictures do it no justice and it was kinda over cast today too. I hope today is nicer and I will break out the good camera and try to get some better pics of it.
 
Ended up not using this rear but including pics anyways.

Finally brought my other rear end( 3.73 posi) up here to prep to go in too. I took it to work this mornin and whacked all the brackets off with the plasma to save me a lil work.

IMAG0979.jpg


IMAG0980.jpg


IMAG0981.jpg


Here's some of the new compressor wiring.

IMAG0950.jpg


IMAG0951.jpg


And a random truck picture from inside the shop at work.

IMAG0978.jpg


New Drum hardware kit, master cylinder, brake hoses, wheel cylinders, and brake shoes.

IMAG0991.jpg


Nice hardware kit, has everything you need for the drums except for the e-brake spring.

IMAG0997.jpg


Drums where already here but got a better pic this time.

IMAG0994.jpg


Painted drums.

IMAG1001.jpg


Rear brakes definitely needed some attention.

IMAG0999.jpg


IMAG0998.jpg


4/0 ring terminals

IMAG0993.jpg


Black speaker box carpet that will be used to line the tool box.

IMAG0996.jpg


IMAG1015.jpg


I finally got one side of the drum brakes put back together.

IMAG1017.jpg


Well I got some free 3/4 MDF from work and just finished measurement and calculations on how to fit my RE Audio SE15 15" sub in my truck lol. I am going to try and get it all cut today at work and assemble it when I get home. Going to go in between the seats and should a little bigger than the factory center console. I am going to carpet it and make a top plate that will be upholstered and padded to use as an arm rest.

Here's some pics of the beast.

DSC_0723.jpg


DSC_0721.jpg


DSC_0729.jpg


Did a little work today. Got the frame botched for the tie rods and got all the mdf cut for the sub box.

IMAG1031.jpg


IMAG1032.jpg


IMAG1033.jpg
 
I got the box built and put in today. That thing slams in there definitely got some rear window flexing. I had to remove the ARM rests off the seats but I cut a piece of mdf and wrapped it in some gator to make a new ARM rest. I put some small squares of fat mat on all the sides to help with vibrations.


IMAG1035.jpg


IMAG1036.jpg


IMAG1037.jpg


Installed

IMAG1042.jpg


IMAG1044.jpg


Pedals are finally installed.

IMAG1046.jpg


Rear end is almoat done.

IMAG1047.jpg


Heres my update for today. I changed out my front 2 bags for some slam ss7 bags because they were starting to separate in the middle. I also got the new tank mounted up too. I am going to post a pic of the before which has never been posted cause it was pretty hood it was one of those hurry up and get it done things.

the slams vs the dominators.

IMAG1066.jpg


air management before.

IMAG1071.jpg


Air management after.

IMAG1072.jpg


IMAG1074.jpg


IMAG1073.jpg


IMAG1079.jpg


IMAG1075.jpg


IMAG1077.jpg
 
Truck get some redonkulous lift with the new slam bags.

IMAG1081.jpg


I got my big three kit installed today. I didnt have my meter to get actual readings with but there was a huge improvement. When my compressors and stereo would be on it would drop down to around 10-11 volts at idle. After the upgrade it stays at almost 14v at idles with compressors running, radio on, and the fan on high. The compressors sound so much better when they kick on now too.

pic of the gauges with everything running.
IMAG1089.jpg


4/0 alt to battery wire vs the stock wiring.

IMAG1083.jpg


IMAG1084.jpg


IMAG1085.jpg


IMAG1087.jpg


New extended battery posts.

IMAG1088.jpg


I also finished up the rear end today so its finally ready to go in.

left side of the brakes back together.

IMAG1092.jpg


I did a fluid change on it too.

IMAG1094.jpg


not too bad looking I dont think.

IMAG1093.jpg


IMAG1095.jpg


New fluid and gasket.

IMAG1096.jpg


everything prepped and cleaned ready to go back together.

IMAG1097.jpg


IMAG1098.jpg


The finished product.

IMAG1099.jpg
 
Very nice build thread man! Definitely like it better in the sig without the black corner lens covers.
 
This was several posts piled into one.

Lil bit of an update.

Painted my 1 ton calipers, going to pick up a rebuild kit for em and some new hardware sometime this week.

IMAG1114.jpg


Got bored one day and painted my keychain to match my truck lol.

551978_10150690646373507_501533506_9630351_738822371_n.jpg


Thats about all I have gotten done lately been so dang busy with work and other crap. I finally managed to get every single lil air leak fixed, that was a major pita. I am getting some new horns today a set of Nathan K5s muhaha :evillol: and I am ordering some MMW control arms tomorrow :rocking:. One of these days I will get that new rear end in I hope lol Gotta go out of town this weekend so hopefully next weekend. Idk if any of you guys despise bleeding brakes as much as I do but I found a site that shows how to make a good one man bleeder for only $25 or so. I am gonna be building one of those for sure before doing all this brake work.

Link:
bleeder


Got my train horns last night. I'm Thinking about getting them powder coated candy red too.

IMAG1116.jpg


In 4-5 weeks I should have some bad ass control arms. Damn shipping was $87.14 these bastards must be beefy lol.

IMAG1122.jpg


Man I love me some craigslist I'm stuck at work but a buddy just went and picked this up for me. 9"x6' tandem axle fender for $10 brand new just has a lil surface rust. I'm gonna make some mounting tabs so I can bolt em in so I can get them powder coated that candy red.

5I55E75M13Ga3Ia3Fcc4m51ce74c3bc4c1f52.jpg


Bout to have that extra frosty a/c. All new parts.

IMAG1150.jpg


Got the a/c fixed yesterday and I just cleaned out my blower box and evaporator, heres the pile of crux that came out not counting what's in the vacuum.

IMAG1157.jpg


Couple pics from some online coverage. Might not be a major magazine but still kinda cool lol.

Link to more show pics for anyone interested.

SpringFest..........Shreveport, LA..........Covered By ECS Russell and Sarah Waller

Intense Gravity

DSC04961.jpg


DSC04962.jpg


Small lil update which some of you saw on facebook last night. I got my core support painted since I had everything apart tracking down a short in my HID harness. I got that fixed pretty easily.

IMAG1184.jpg


I also got my second layer of fat mat on the passenger door so now the roof, doors, and back wall all have 2 layers. I put 2 layers down on the floor for a total of 3 layers and 3 layers on the trans hump for a total of 4 there. Looks like I might have just enough to do one more layer on the doors or another layer on the back wall, not sure where it would be best placed. No pics of that cause it got dark.
 
Got my MMW arms in yesterday finally and man these things are beefy. Gonna be dropping them off today after work for some candy red metallic powdercoat along with a few other items.


DSC_0782.jpg


DSC_0781.jpg


DSC_0783.jpg


DSC_0784.jpg


DSC_0785.jpg


DSC_0786.jpg


DSC_0787.jpg


DSC_0778.jpg
 
Was good to see this in person. Pictures dont do that tank justice! Color is amazing in person