
Well the gf got me some Rigid flush mount dually cubes (SKU:21211) for Christmas. They are the flood light pattern. Probably wouldn't have bought them on my own bc they're pricey. But I'll take em as a gift  I installed em today so I figured I'd post a few pics. I don't have any pics of the wiring as I was running out of daylight. But I tapped them into the reverse lights and also ran them to a stand alone switch. So I can still turn them on to work behind the truck or piss off somebody behind me, but I don't have to flip the switch when I want them on in reverse.
Excuse the filthy truck. All the snow is melting and salt is everywhere.
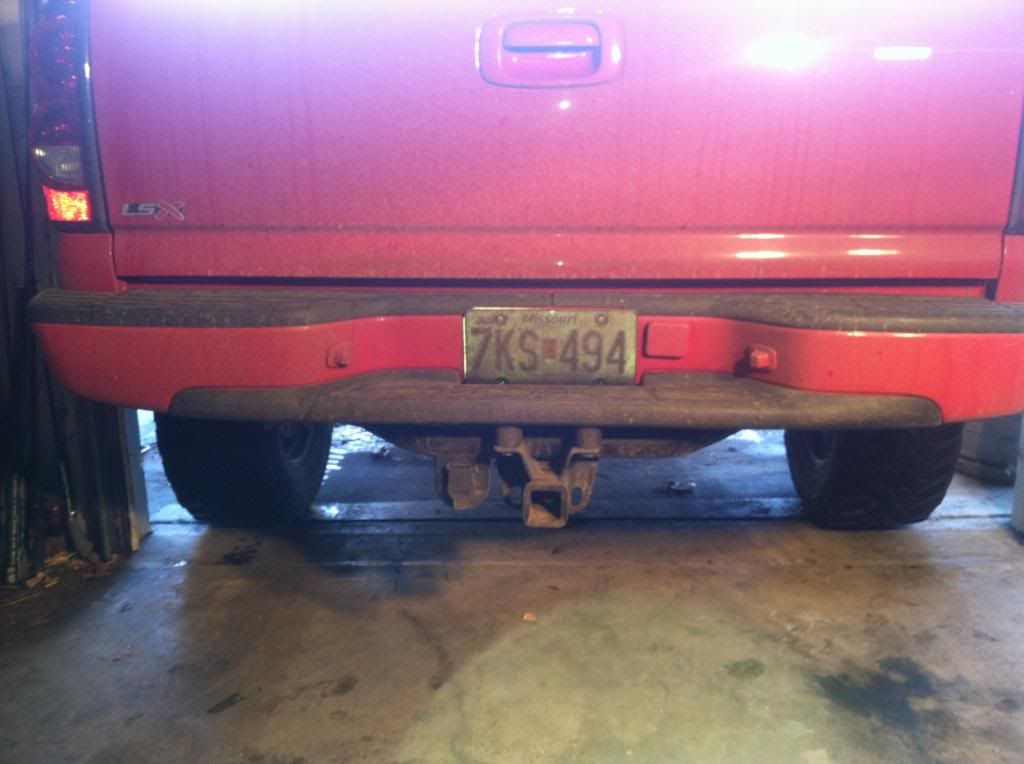
Here's the before shot. I chose to mount them next to the license plate because I think it looks cleaner than spread out wide. I plan on getting more cubes or LEDs to mount under the rear at an angle to get light out wide. Dgaf about cutting holes in bumper, they're cheap to replace if I didn't like it.
First I removed the spare tire door and took it all out. I don't run a spare tire, only on long trips I toss one in the bed. I cleaned and taped the surface to help prevent paint chipping.

I traced the pattern on. I used a uni-bit or step-up bit to drill out the corners. I then took an exacto knife and traced my markings and cut into the paint to help avoid bad chipping. Not sure if this helped or not... Left you can see where I drilled, right you can see it cut out. The extra gouge on the right side is where the factory spare tire hole was. The light's border covers it.

Here's with both cut out and drilled. I measured many times before I cut. I tried to clean up the edges better but the cut off wheel I used was pretty big and bulky and it was tough to get it straight and perfect with the bumper pad there. Not worried about edges being perfectly straight, the lights cover it.
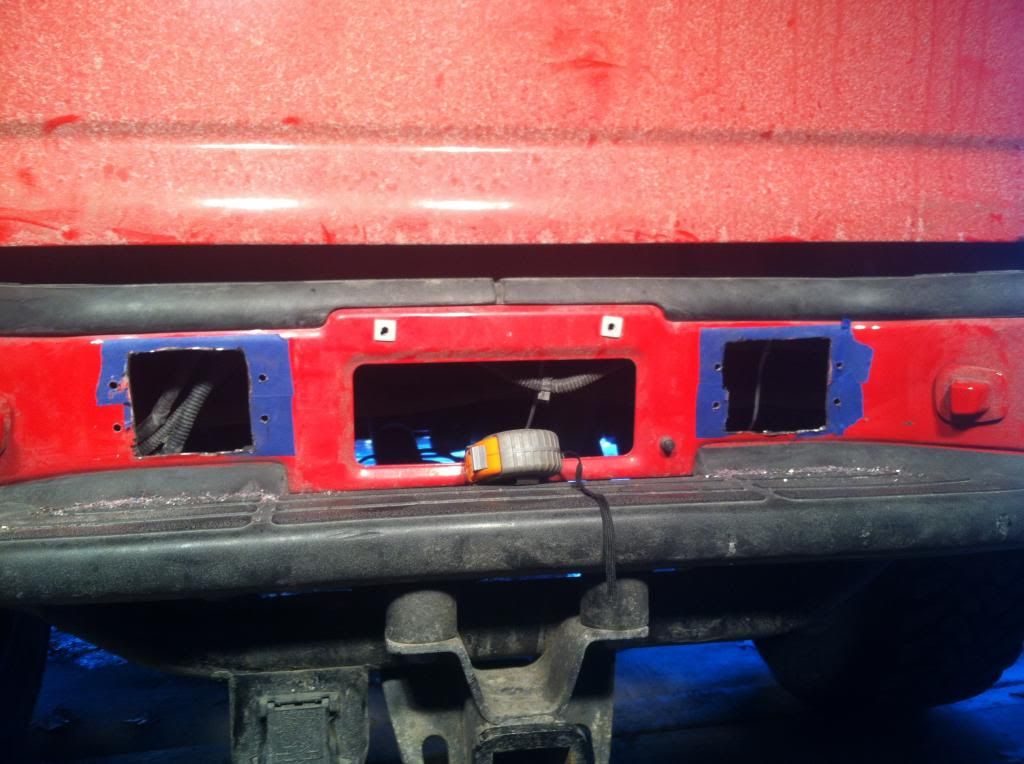
Had a lot of bare metal I didn't want to rust. So I taped it up and sprayed with Duplicolor perfect match spray paint. Paint is a very very close match. Once again not worried about seeing paint lines as it's all covered by the light's border, I just wanted to help prevent rust.

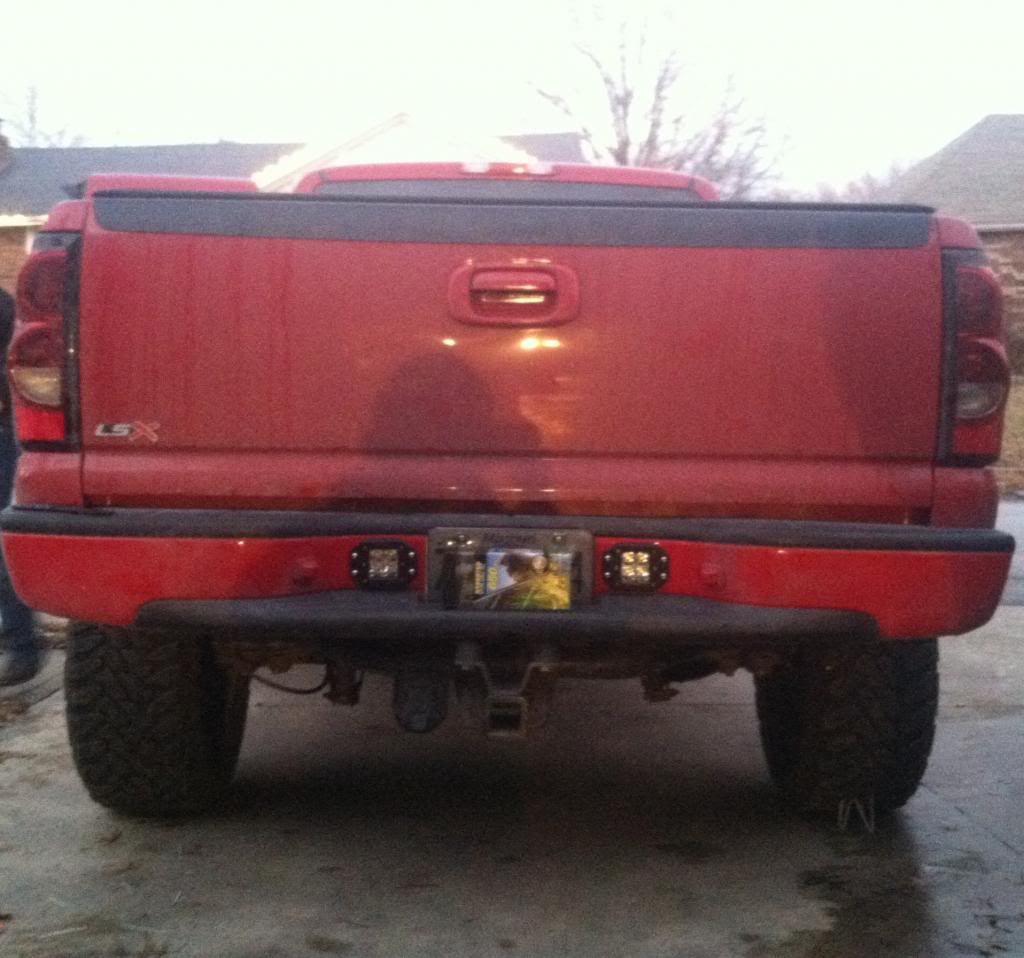
Here they are mounted up. Pic makes it appear a bit crooked but it's the rubber gasket poking out behind the light. I trimmed it after this pic.
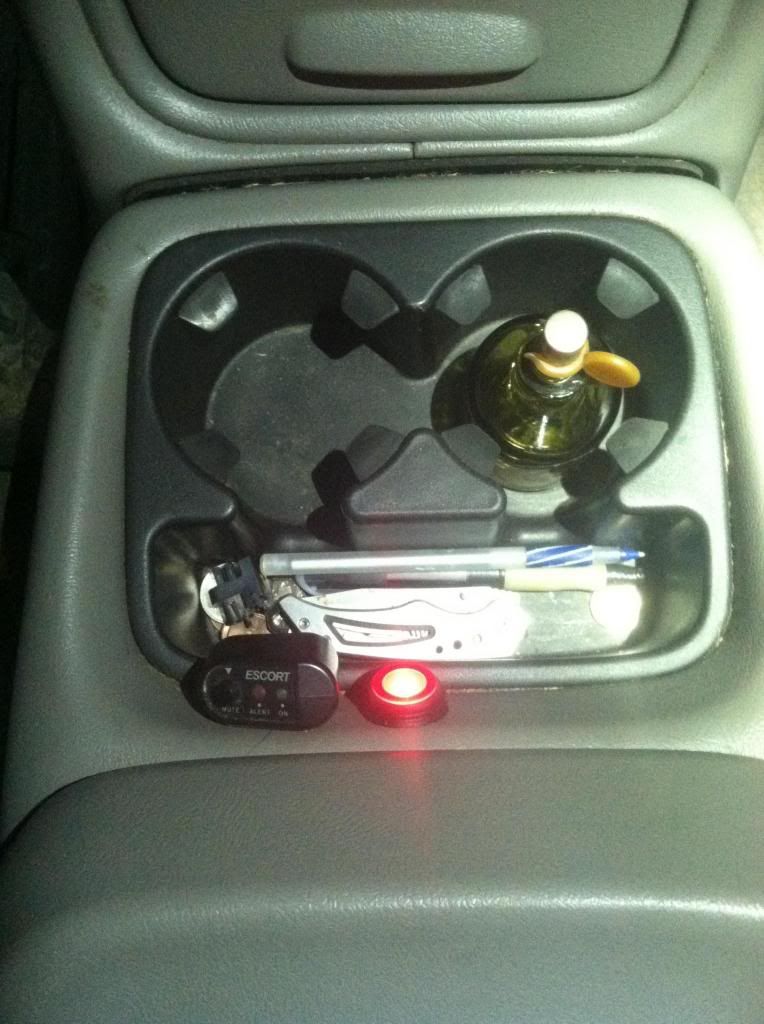
Like I said I don't have any wiring pics as we were running out of daylight. Had to extend the wiring harness. Mounted the switch by the cup holder next to my Escort radar switch. Wiring is under the carpet and goes out where the e-brake does. No drilling holes in firewall or floor. Wires are ran inside the frame rails and secured with self tapping mounts and zip ties. Used butt connectors and heat shrink.
Here's the switch
I also made a custom mount for my new Ultragauge. Got the gauge on a trade. Have no idea how to use it yet, I just made a mount while I was messing with the truck.

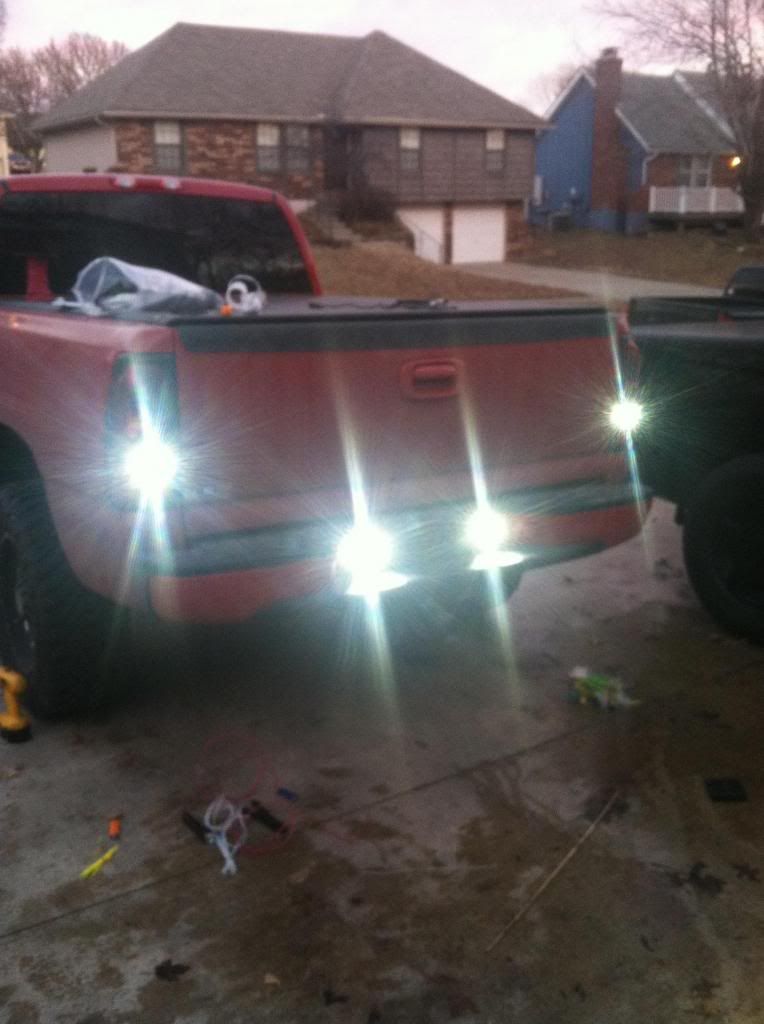
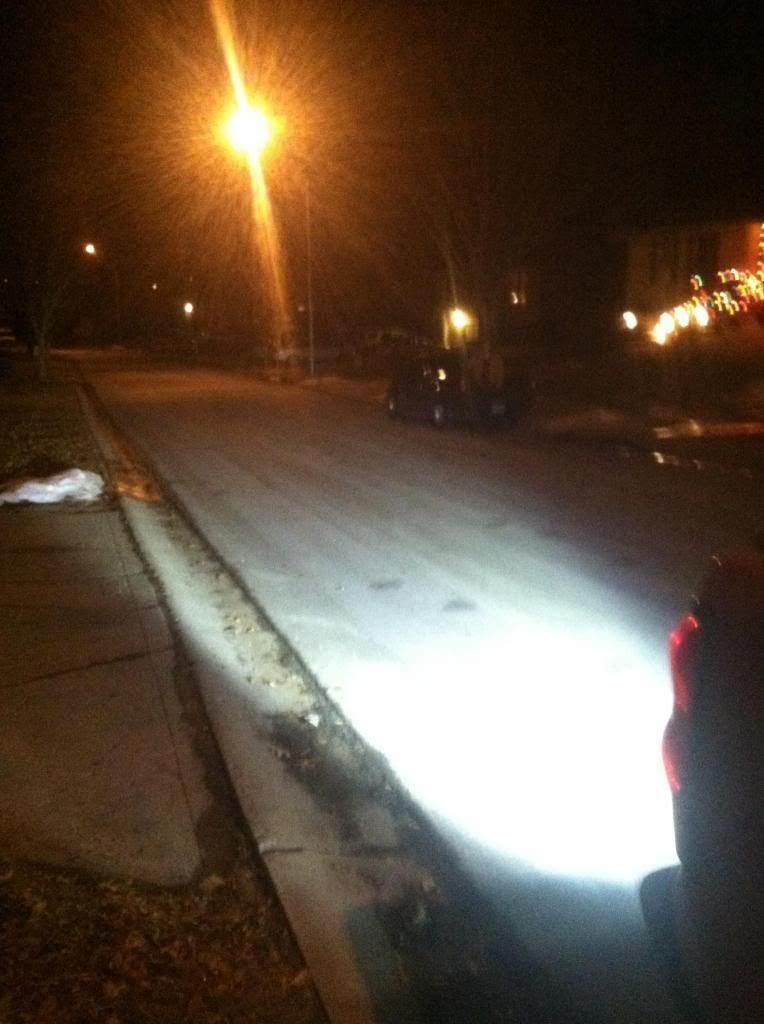
I think it turned out pretty well. Very happy with quality of kit. They are bright as fuck. I'm gonna add some more under the truck pointed to the corners some day. But for now these will do.
I installed em today so I figured I'd post a few pics. I don't have any pics of the wiring as I was running out of daylight. But I tapped them into the reverse lights and also ran them to a stand alone switch. So I can still turn them on to work behind the truck or piss off somebody behind me, but I don't have to flip the switch when I want them on in reverse. Excuse the filthy truck. All the snow is melting and salt is everywhere.
Here's the before shot. I chose to mount them next to the license plate because I think it looks cleaner than spread out wide. I plan on getting more cubes or LEDs to mount under the rear at an angle to get light out wide. Dgaf about cutting holes in bumper, they're cheap to replace if I didn't like it.

First I removed the spare tire door and took it all out. I don't run a spare tire, only on long trips I toss one in the bed. I cleaned and taped the surface to help prevent paint chipping.

I traced the pattern on. I used a uni-bit or step-up bit to drill out the corners. I then took an exacto knife and traced my markings and cut into the paint to help avoid bad chipping. Not sure if this helped or not... Left you can see where I drilled, right you can see it cut out. The extra gouge on the right side is where the factory spare tire hole was. The light's border covers it.

Here's with both cut out and drilled. I measured many times before I cut. I tried to clean up the edges better but the cut off wheel I used was pretty big and bulky and it was tough to get it straight and perfect with the bumper pad there. Not worried about edges being perfectly straight, the lights cover it.

Had a lot of bare metal I didn't want to rust. So I taped it up and sprayed with Duplicolor perfect match spray paint. Paint is a very very close match. Once again not worried about seeing paint lines as it's all covered by the light's border, I just wanted to help prevent rust.

Here they are mounted up. Pic makes it appear a bit crooked but it's the rubber gasket poking out behind the light. I trimmed it after this pic.

Like I said I don't have any wiring pics as we were running out of daylight. Had to extend the wiring harness. Mounted the switch by the cup holder next to my Escort radar switch. Wiring is under the carpet and goes out where the e-brake does. No drilling holes in firewall or floor. Wires are ran inside the frame rails and secured with self tapping mounts and zip ties. Used butt connectors and heat shrink.


Here's the switch

I also made a custom mount for my new Ultragauge. Got the gauge on a trade. Have no idea how to use it yet, I just made a mount while I was messing with the truck.

I think it turned out pretty well. Very happy with quality of kit. They are bright as fuck. I'm gonna add some more under the truck pointed to the corners some day. But for now these will do.