I was told I had a leaking wheel cylinder, so I figured I'd document my progress while replacing both cylinders and shoes.
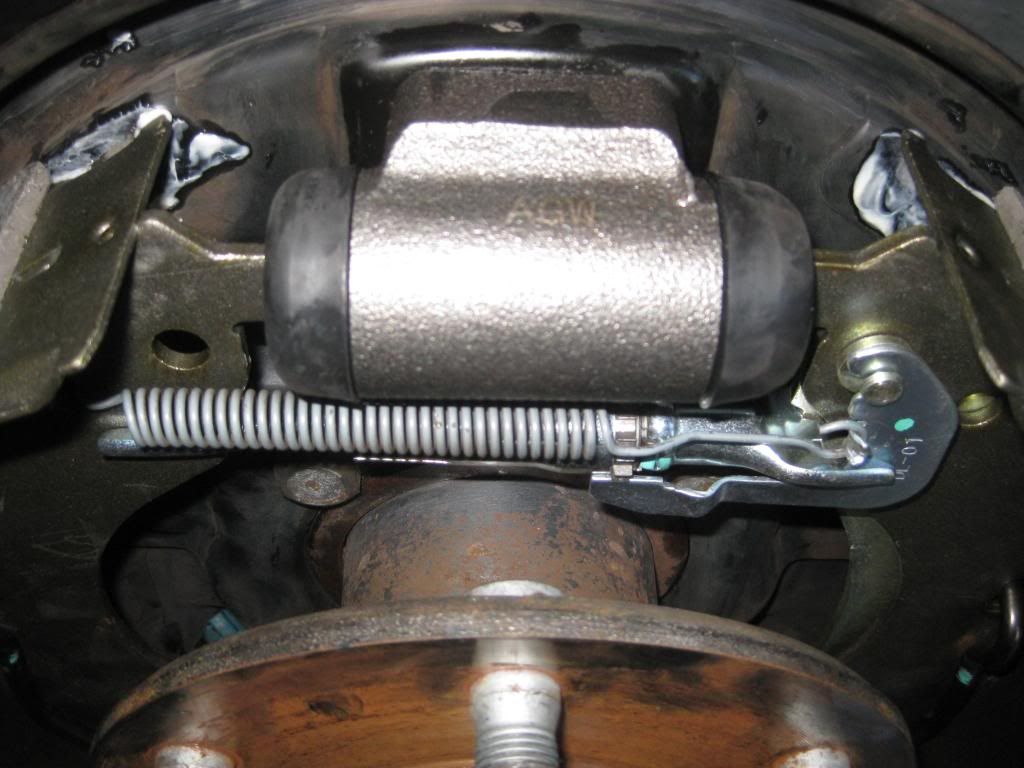
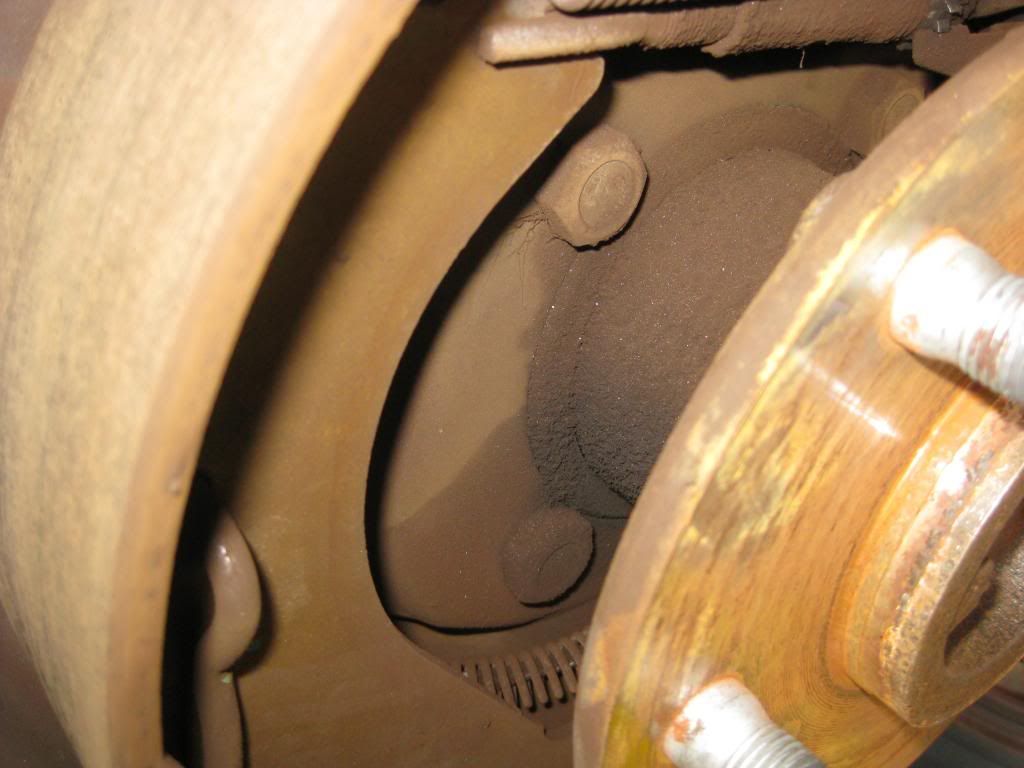
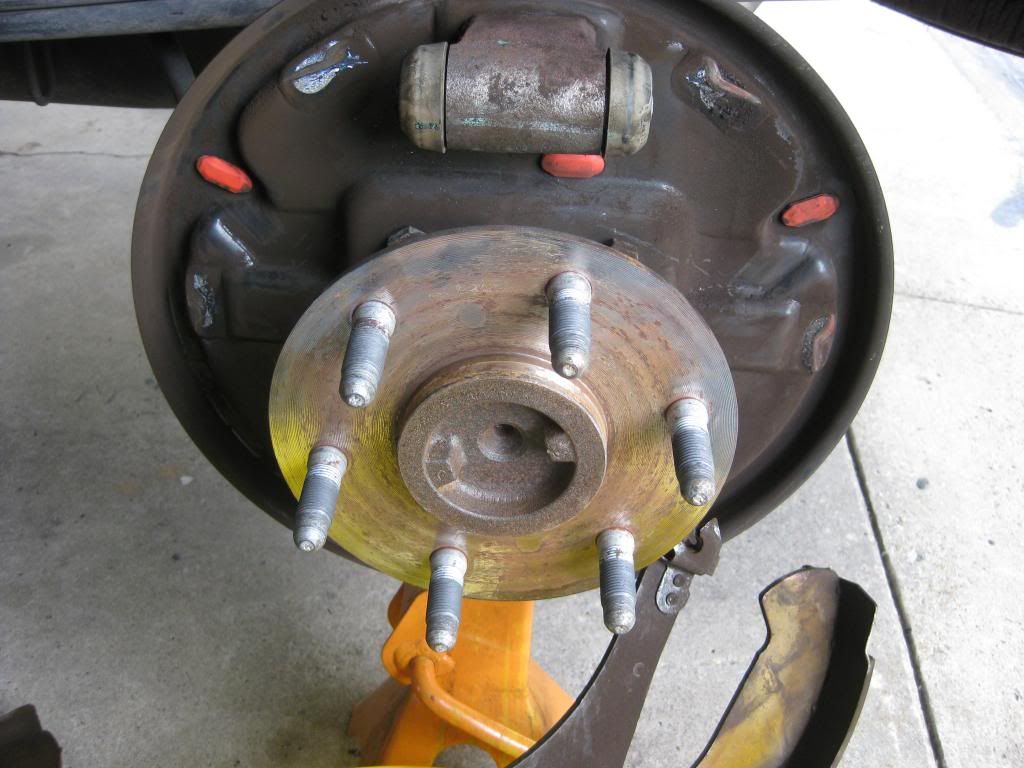
Once you've removed the wheel and drum, here's what you'll see:
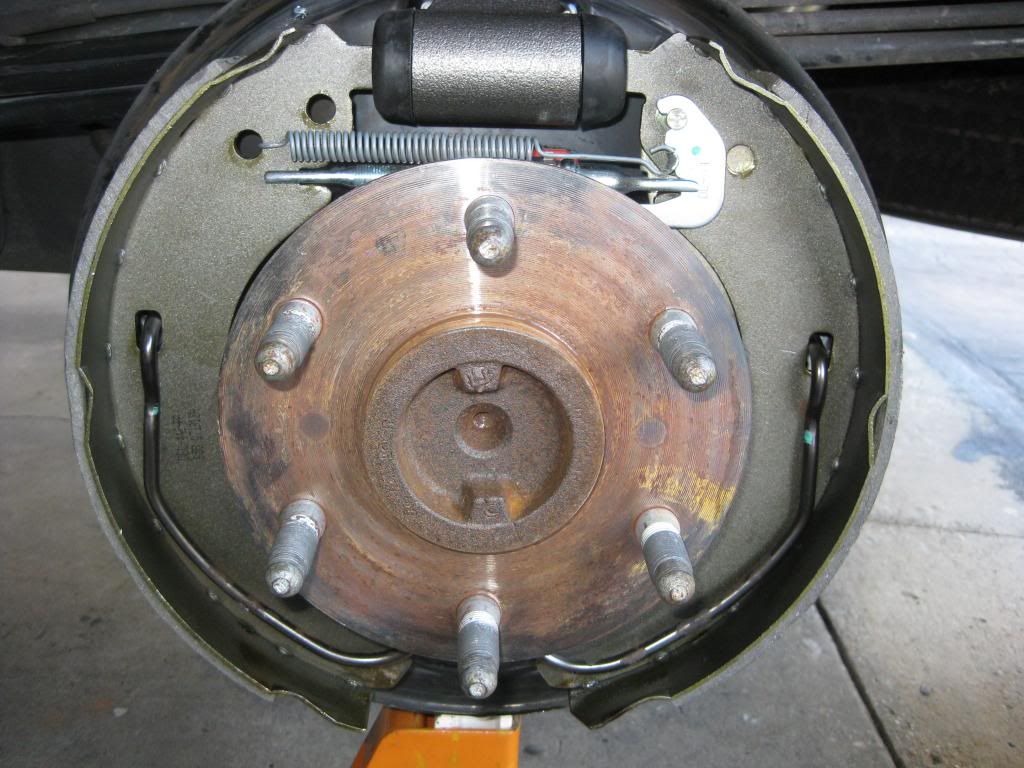
Notice the single horseshoe spring holding the brake shoes on. It's anchored at the bottom and hooks to each shoe.
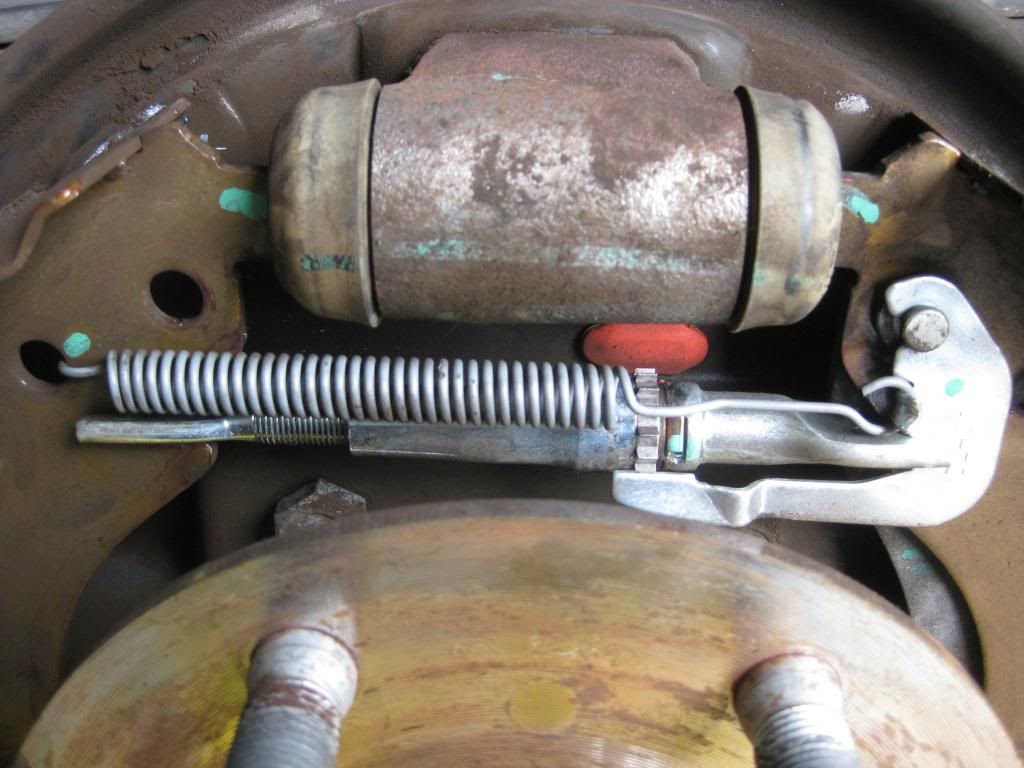
Close up of the cylinder and adjusting hardware
The culprit!
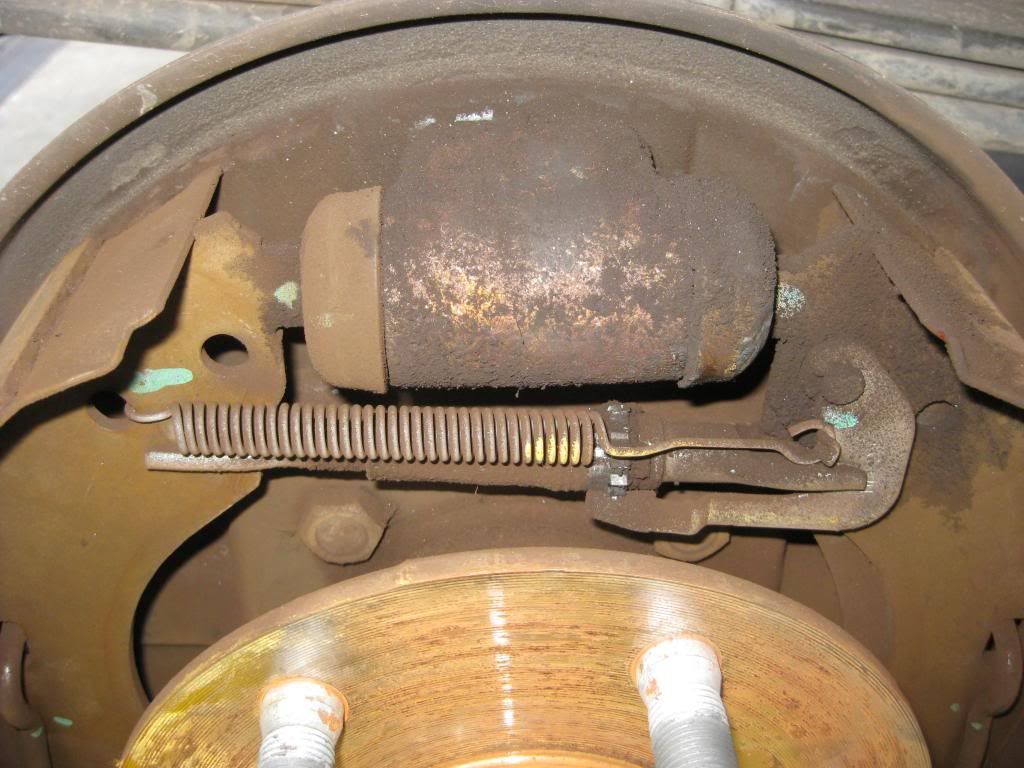
More evidence of the leak
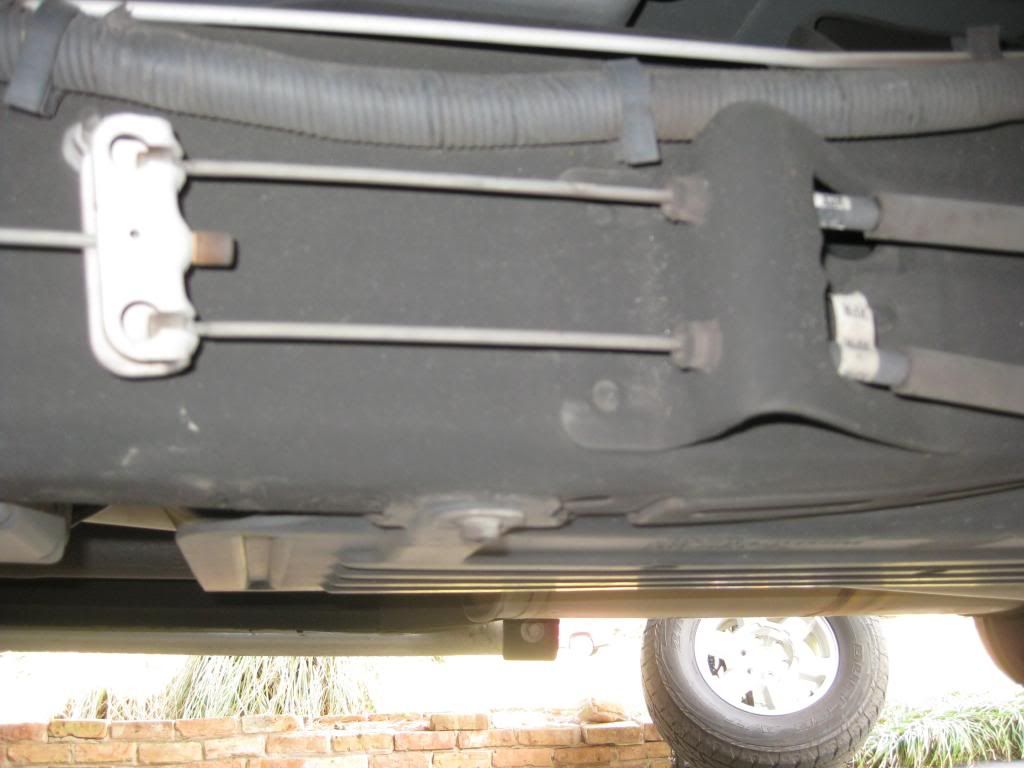
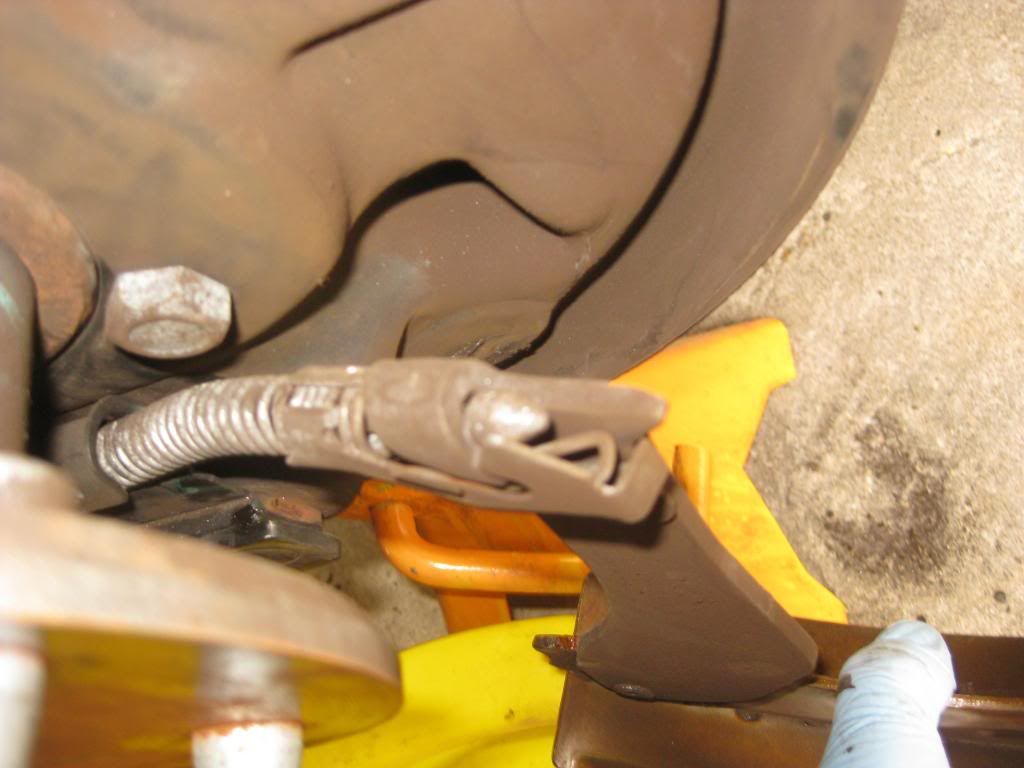
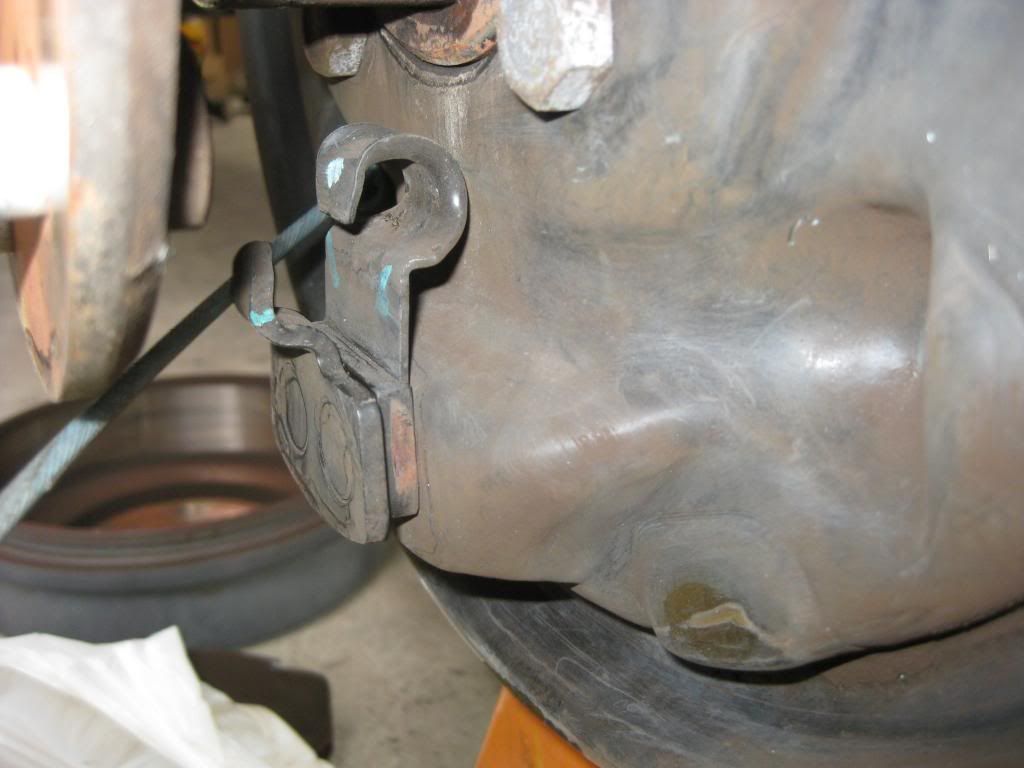
Go ahead and release the parking brake cable for the side you're working on from the bracket (you'll see why later).
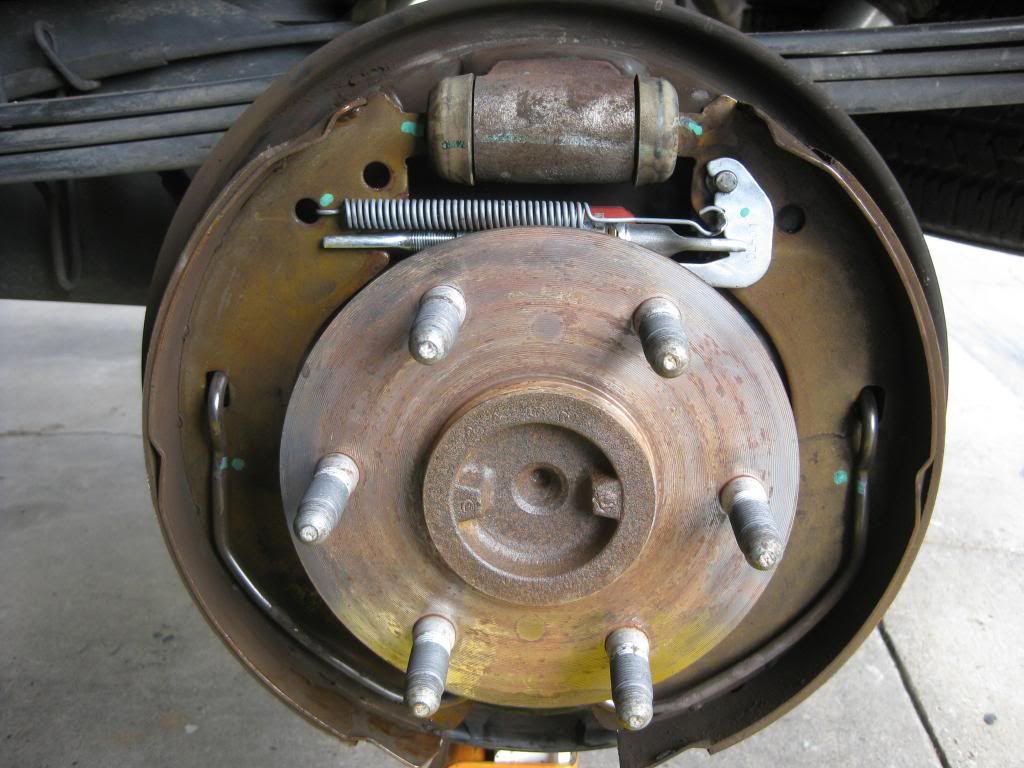
Bottom is driver's side, top is passenger.
Start by removing this spring. Vice grips work best.
Next, remove the horseshoe spring. It's under a lot of pressure, so be careful. GM makes a tool, but a screwdriver works just fine.
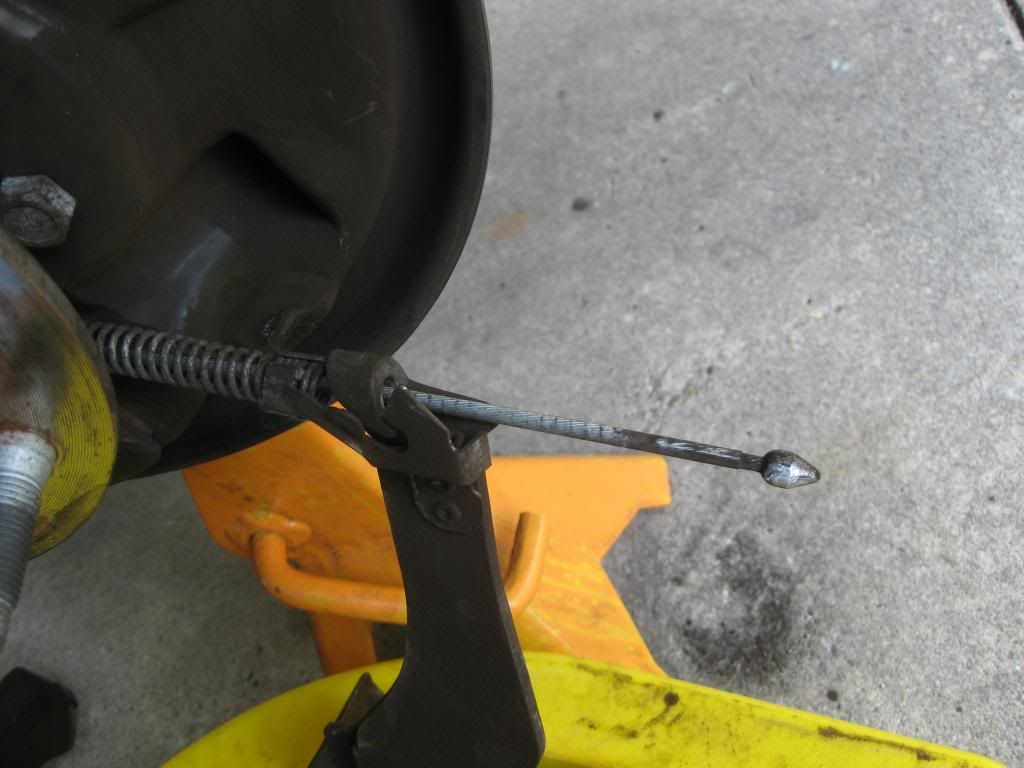
Once you've got those off, one shoe will come off and the other is still retained by the parking brake cable.
Pull the shoe/cable assembly out a little to make it easier to work with. This is why you release the cable from the bracket earlier. Notice the retaining clip just below the cable end. Pull just the cable out a little to unseat it. Then hold the clip down and depress the cable to slide it out.
Once everything's off, here's what you'll see.
Here's a shot behind the hub. The top hole is where the parking brake spring/cable pass through. The bottom hook is what the horseshoe spring sits on.
Reverse the steps to install. NOTE: Be sure to grease the points the shoes rest on the backing plate. There's 3 areas for each shoe.
Voila!
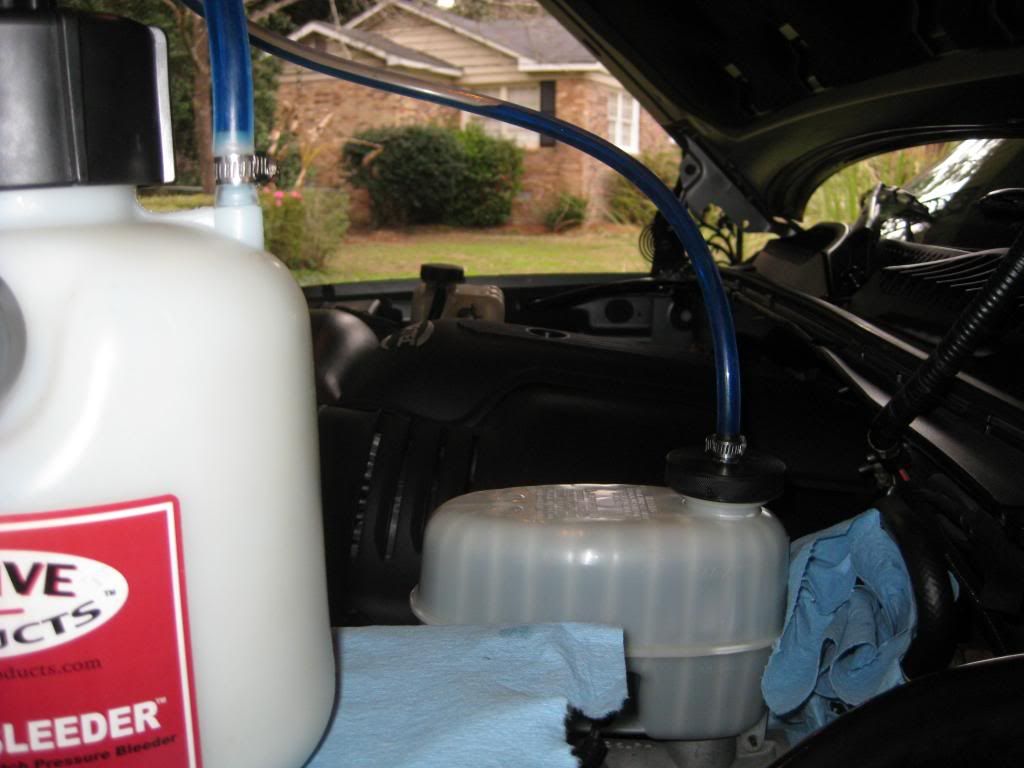
Oh, I almost forgot, bleed your brakes. I hear smurf pee has a high boiling point.
Once you've removed the wheel and drum, here's what you'll see:
Notice the single horseshoe spring holding the brake shoes on. It's anchored at the bottom and hooks to each shoe.
Close up of the cylinder and adjusting hardware
The culprit!
More evidence of the leak
Go ahead and release the parking brake cable for the side you're working on from the bracket (you'll see why later).
Bottom is driver's side, top is passenger.
Start by removing this spring. Vice grips work best.
Next, remove the horseshoe spring. It's under a lot of pressure, so be careful. GM makes a tool, but a screwdriver works just fine.
Once you've got those off, one shoe will come off and the other is still retained by the parking brake cable.
Pull the shoe/cable assembly out a little to make it easier to work with. This is why you release the cable from the bracket earlier. Notice the retaining clip just below the cable end. Pull just the cable out a little to unseat it. Then hold the clip down and depress the cable to slide it out.
Once everything's off, here's what you'll see.
Here's a shot behind the hub. The top hole is where the parking brake spring/cable pass through. The bottom hook is what the horseshoe spring sits on.
Reverse the steps to install. NOTE: Be sure to grease the points the shoes rest on the backing plate. There's 3 areas for each shoe.
Voila!
Oh, I almost forgot, bleed your brakes. I hear smurf pee has a high boiling point.