
I don't take credit for this and some of you will know the original source. I'm installing another one today and searched for this how to. This was the write-up i followed years back when i first did one. Just thought id add a little info to the forum since i didn't see a thread on this.
First off, let's answer some of the questions always asked...
Q: What benefit does a Corvette Servo give you?
A: You'll get firmer, faster shifting, and about 50% more holding power in second gear, which is where the 700R4 or 4L60E transmission really lacks in quality.
Q: How much money are we looking at?
A: I bought mine on eBay, from Oregon Perfomance Transmission. $32.50 shipped to my door in 3 days. These guys are fast, and have great customer service.
Q: Can I do it myself?
A: Can you work a screwdriver and a C-Clamp? If so, then yes. If you can change your oil or brakes, you can do this.
Q: What tools will I need?
A: A few flathead screwdrivers (small and medium), a prybar, a drip pan, C-clamp, 10mm socket and ratchet, and a few rags.
Ok, enough Q&A... let's get this thing done.
When you get your servo, you should have this:
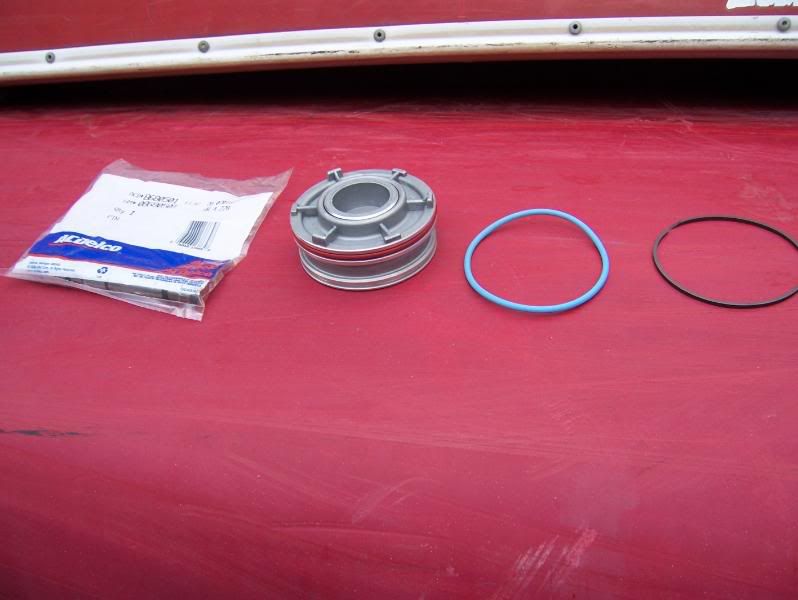
The actual servo itself, a plastic split o-ring, a blue rubber o-ring, and a new pin.
Now, the servo is located on the passenger side of the transmission, and may (or may not) have a heat sheild blocking access to it. Mine did, but you should know what a heat sheild is, so I didn't take a picture (ok, I forgot).
After you get the heat shield off, you should see this:
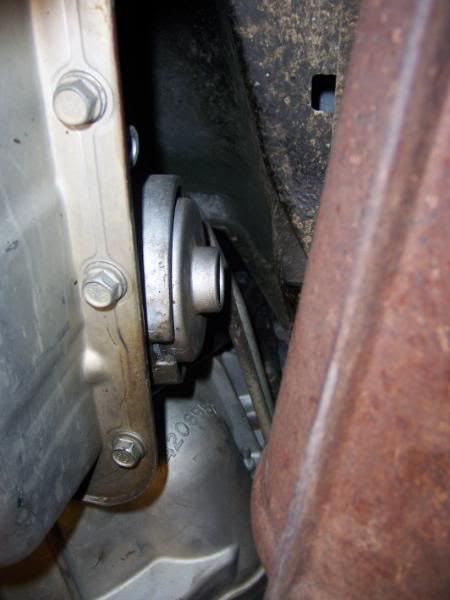
Here's where the prybar comes in. See where it's sticking out? Put your prybar there, and push it in. It may take a good bit of force. Then, there should be a notch in the transmission casing, where you can get a medium flathead screwdriver in. Slide it in, under the snap ring, and pop the snap ring out.
Get your drip pan ready, and then grab where you were pushing with the prybar, and pull it out. You may have to use pliers (I did), but it'll come out.
After that, pull the next peice out. It's the 4th gear apply piston. Set it to the side.
Next, we're gonna pull the servo assembly out. Look at the one on the left:
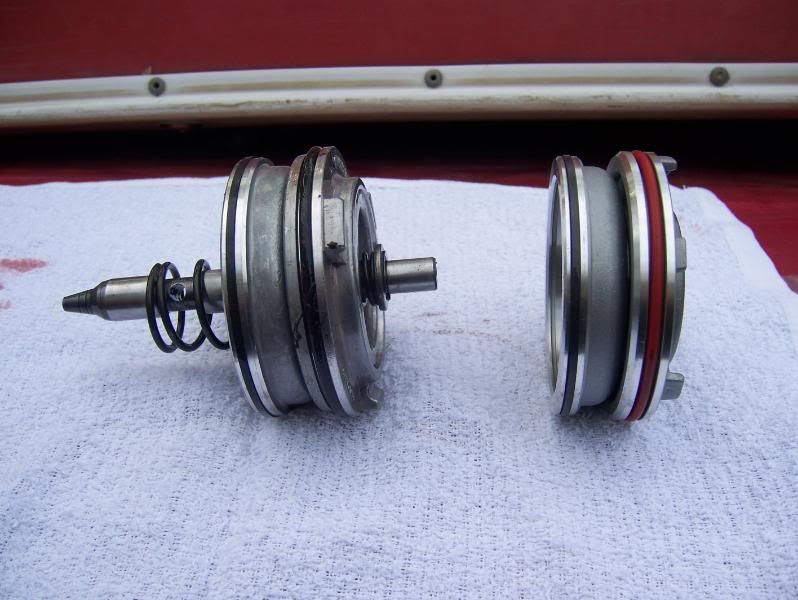
See where the pin goes through, and there's a small spring, washer, and e-clip? Stick your medium screwdriver up in there, and use the washer to pry the assembly toward you. Be gentle, you'll be re-using some of these parts.
It's probably not going to fit coming out as a whole assembly. What I did, was pull it out most of the way. Then slid the 3rd gear apply piston off of the 2nd gear apply piston. Set that aside, and you should be able to wiggle the rest of it out. Make sure you grab the spring that might still be inside the transmission.
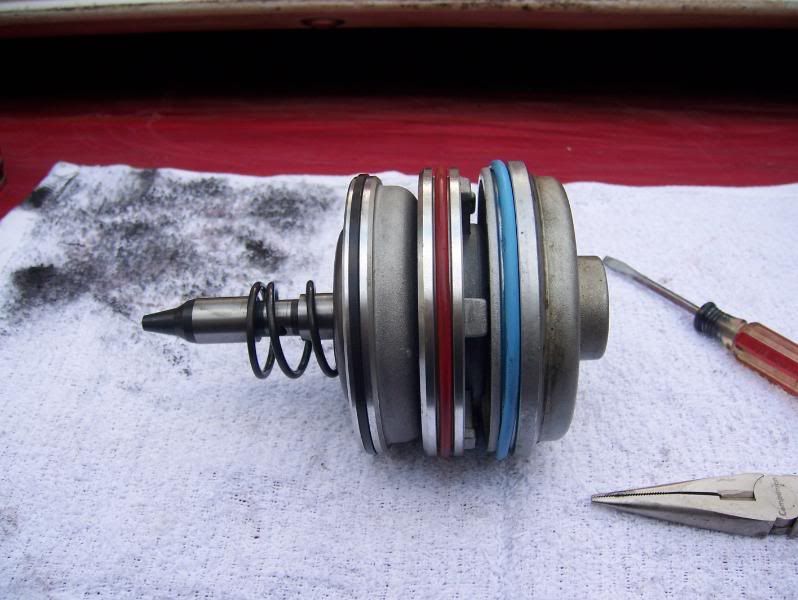
Once you get it out, you should be looking at this:
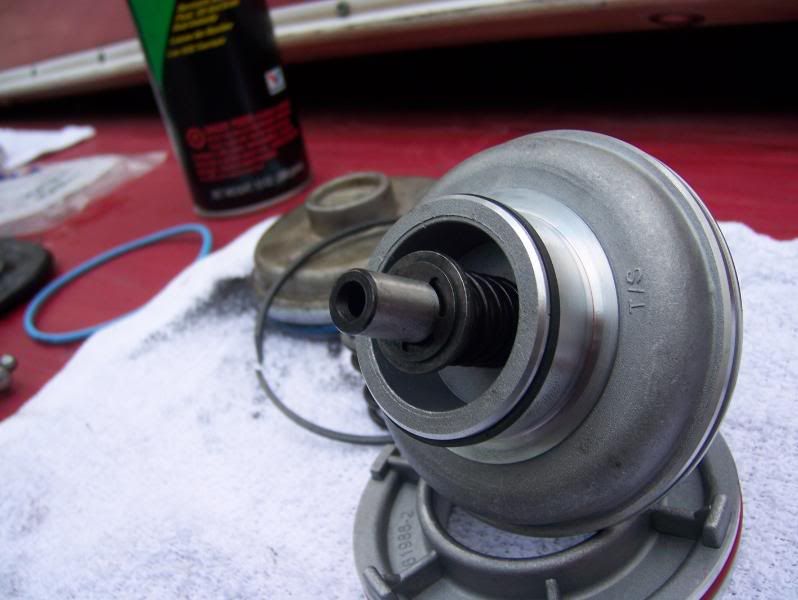
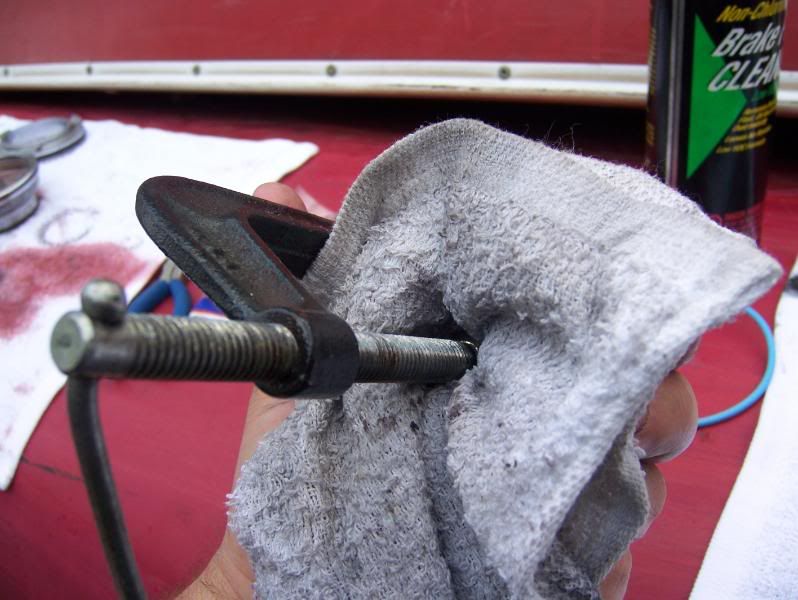
We're going to take the e-clip off, carefully. Don't loose it... they have a tendency to fly. Then slide your washer off, and spring, and slide the pin out.
Now grab your C-clamp. Clamp it like this:
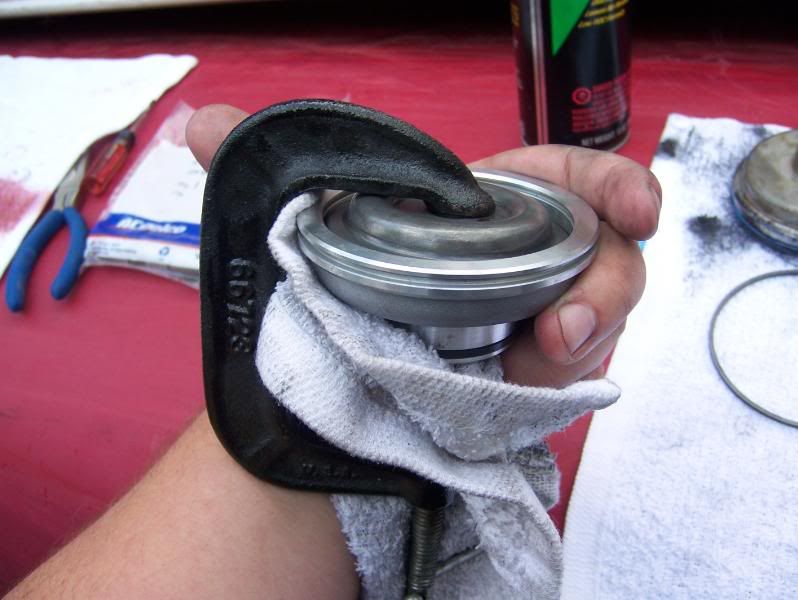
What you're trying to do is compress the spring inside, so you can remove this snap ring:

Ok... so everything's apart right? Go grab a beer, some clean transmission fluid and take a break.
Now, to put it back together, make sure you have all this:
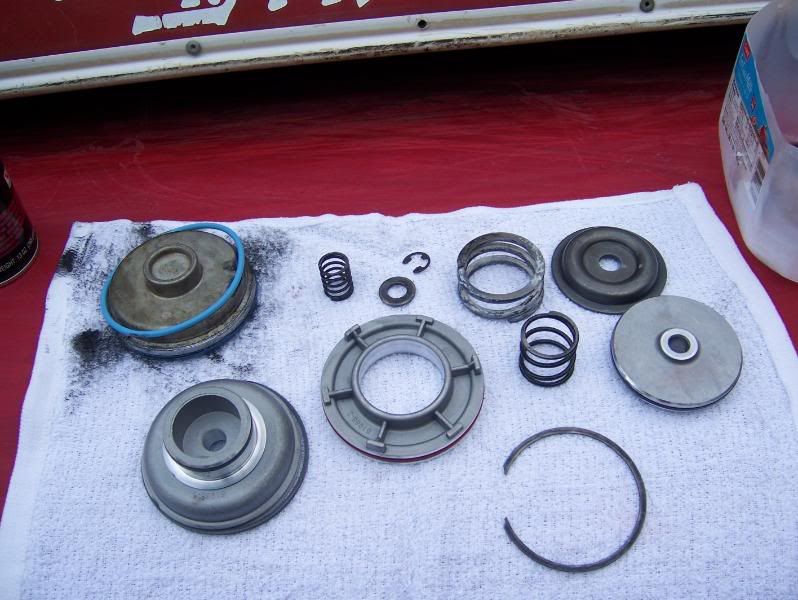
Note:Lube everything with a light coat of trans fluid as you're putting it back together. Dry metal on metal contact is never a good thing when you're dealing with moving parts.
Put your big spring back in the new servo assembly, clamp (I used a rag so nothing was gouged), and put your snap ring back on.
Next, put your pin through, and re-install the spring, washer, and e-clip.
Make sure you have everything, and head back under the truck.
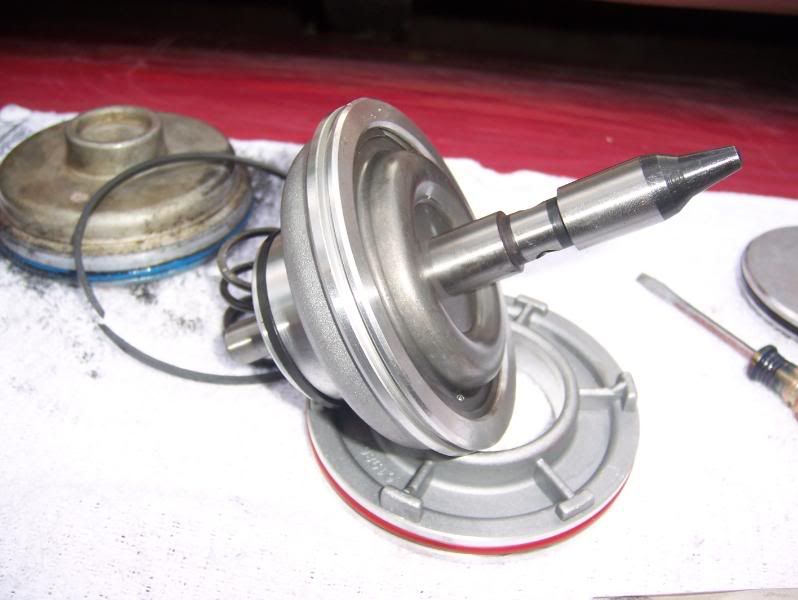
You should have something that looks like this:
Now comes the fun part. Slide the assembly back in. You'll have to do it the same way you took it out, one peice at a time. It's tricky lining the pin up, so take your time, but once you get it, everything else slides right in.
Now, put your cover back on (that thing with the hump you were prying on at first), making sure not to tear the o-ring.
Almost done... Grab your prybar again, and push the cover in again. Pop your snap ring back into place, and you're ready to go!
My feedback on this mod:
My second gear slipping is GONE. And I swear it helped me at the track too. I don't know if it's directly related, but tonight my truck ran a little over a tenth faster than last time, and this is the only thing I've done since then. If you've ever got an extra $35 sitting around, do this mod. Well worth the money.
Last edited: