
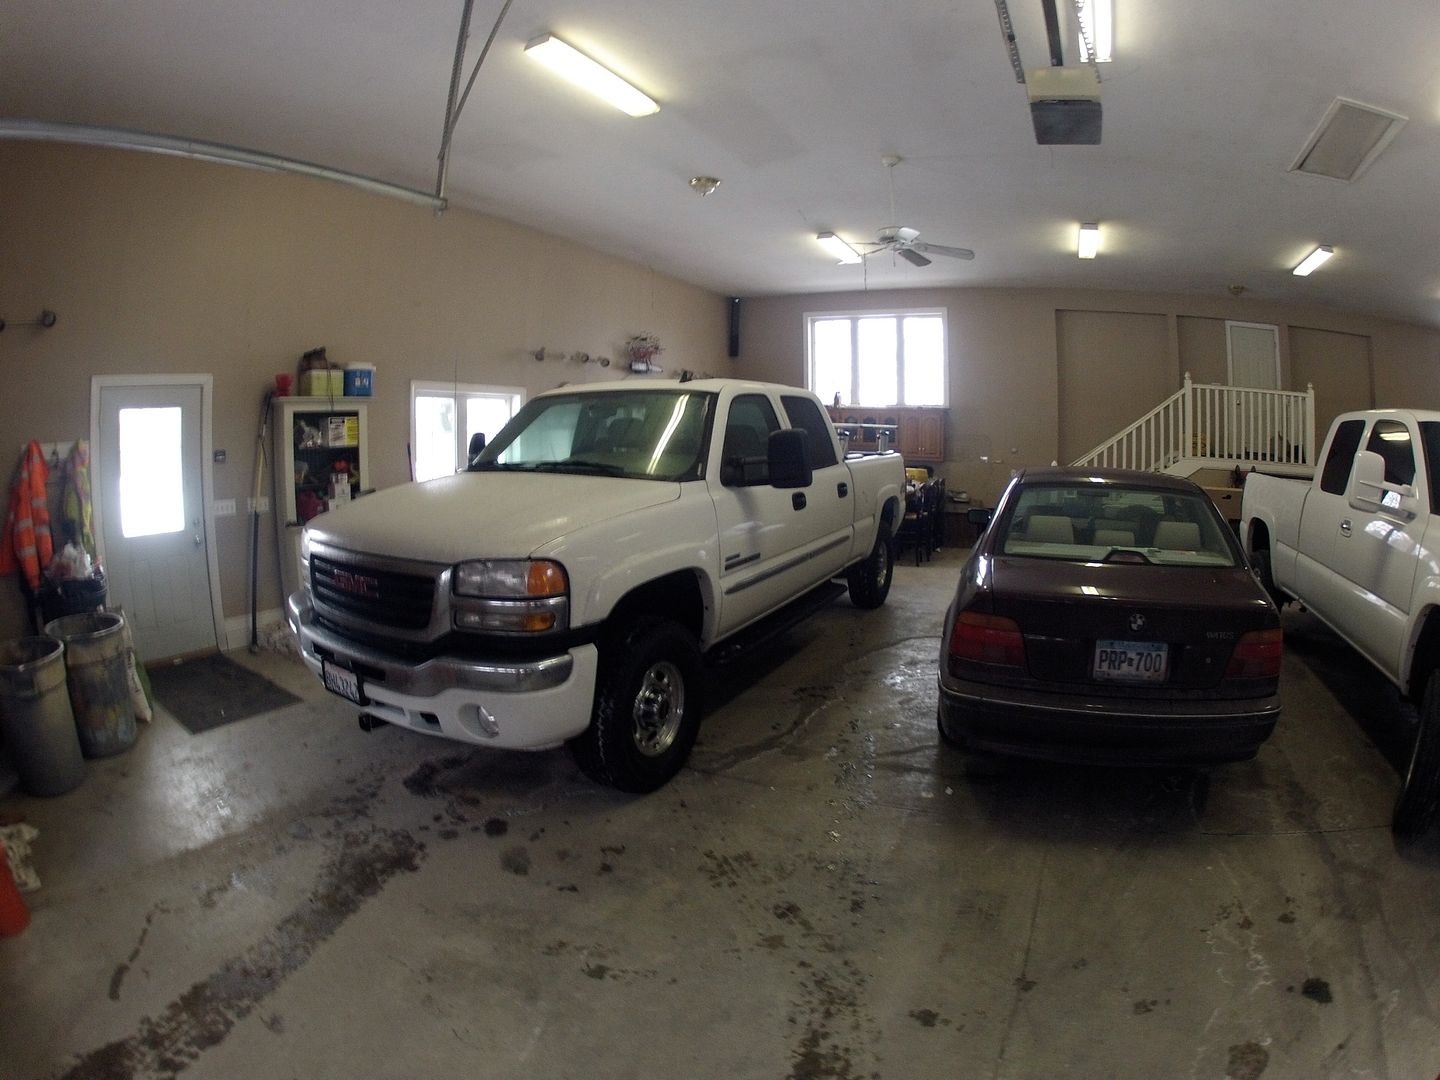
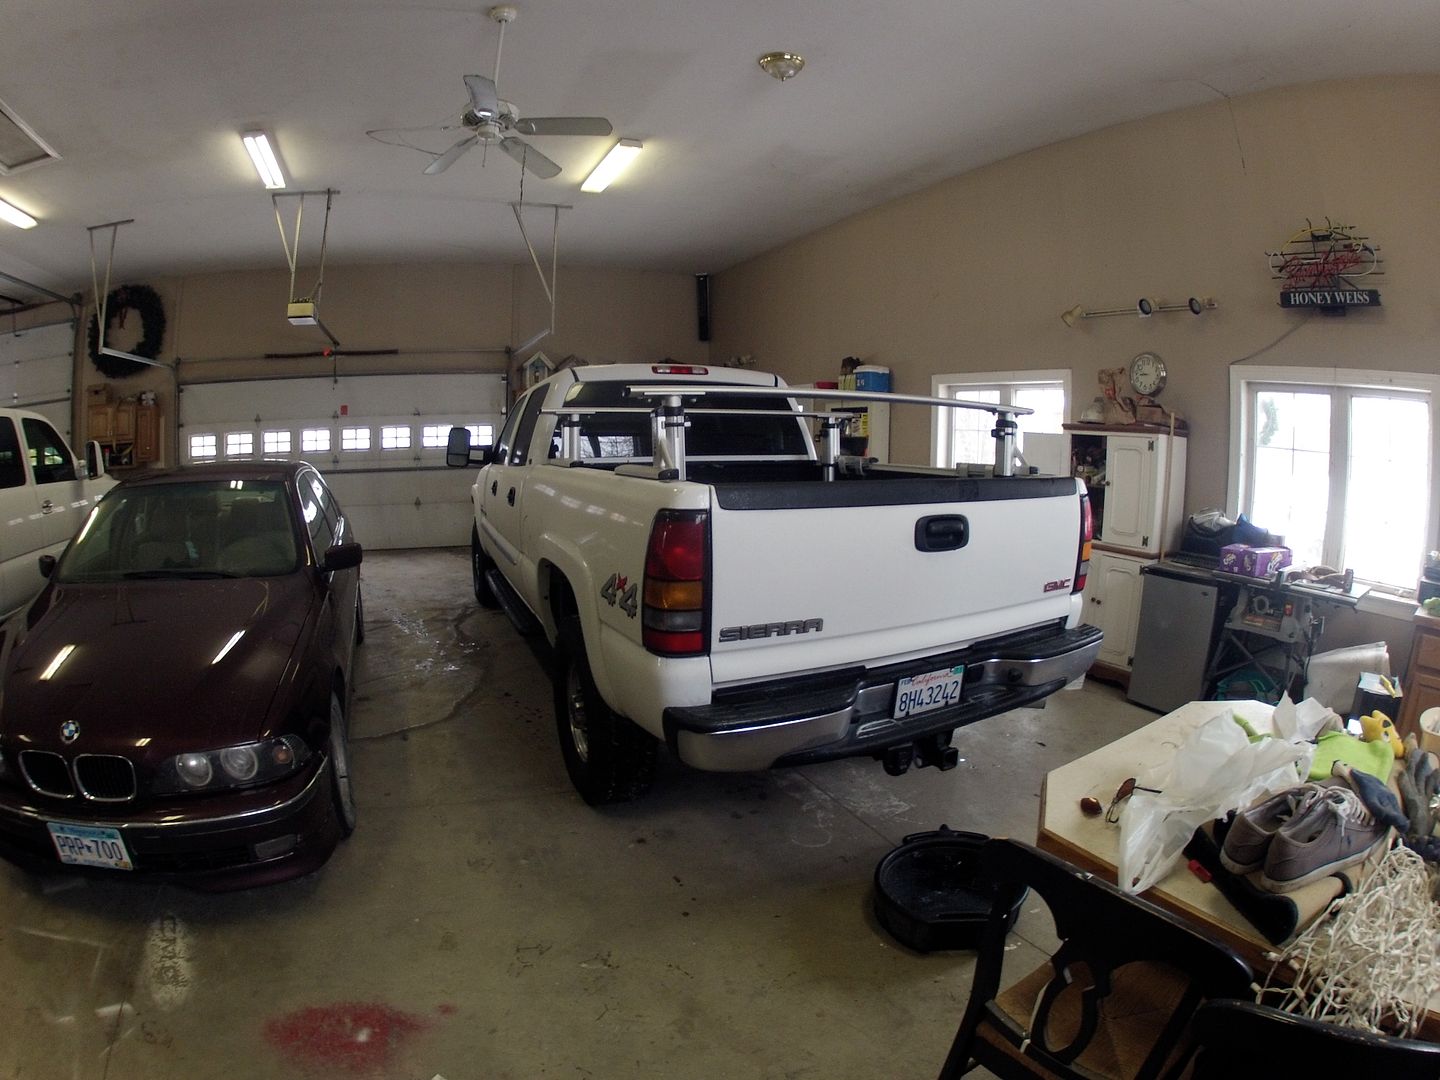
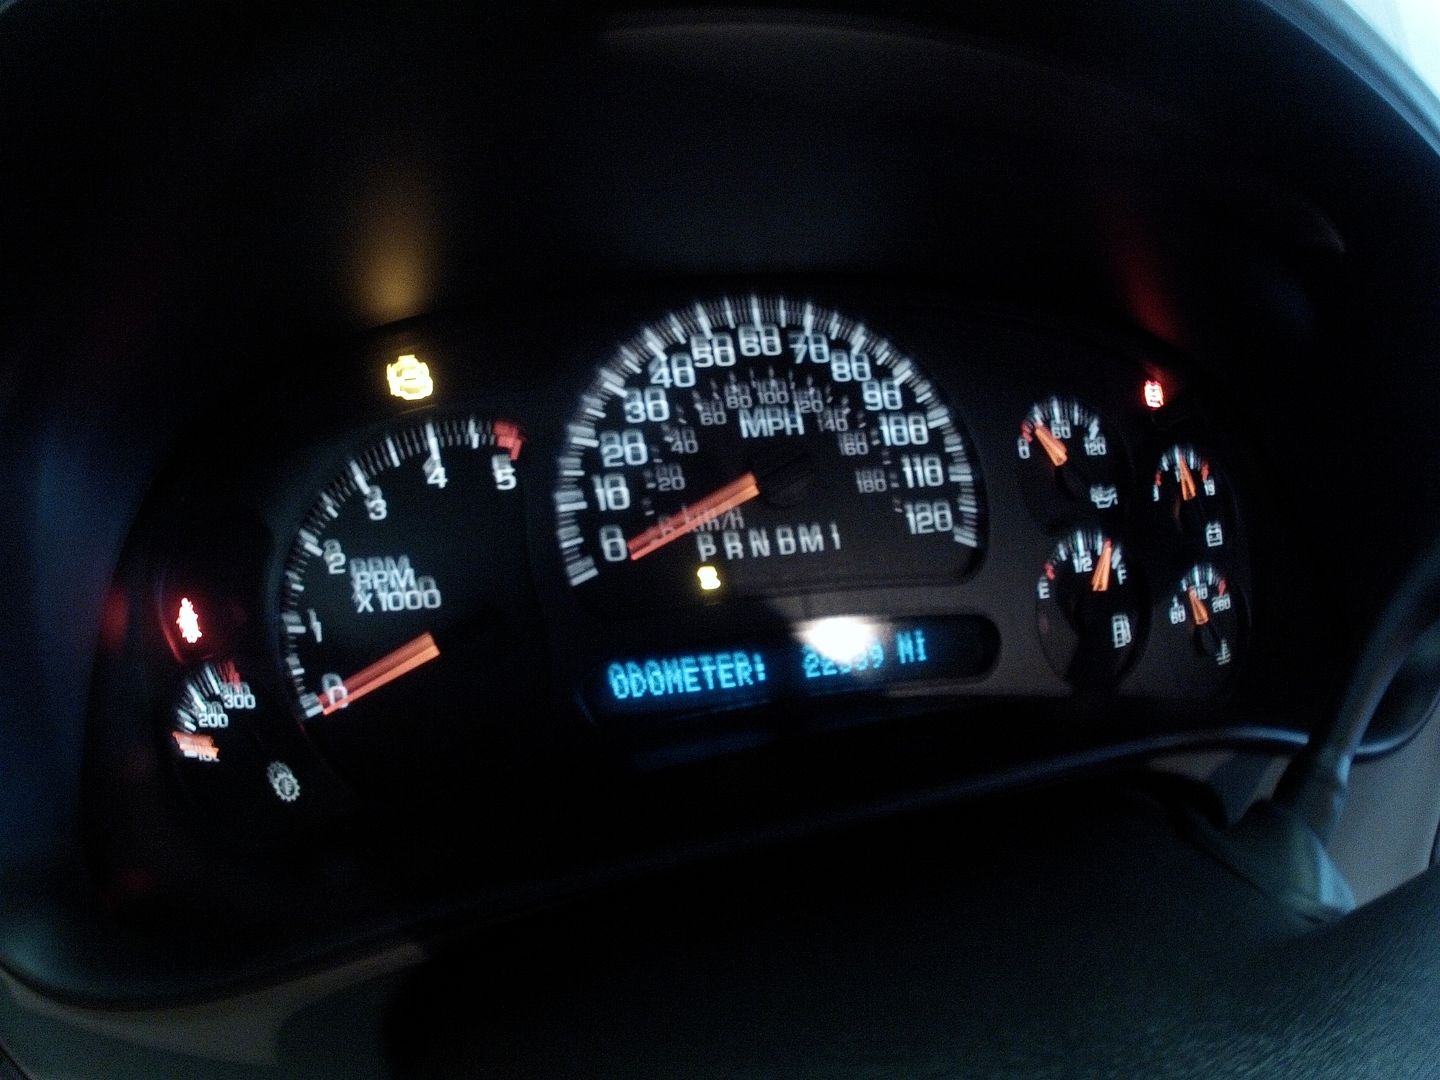
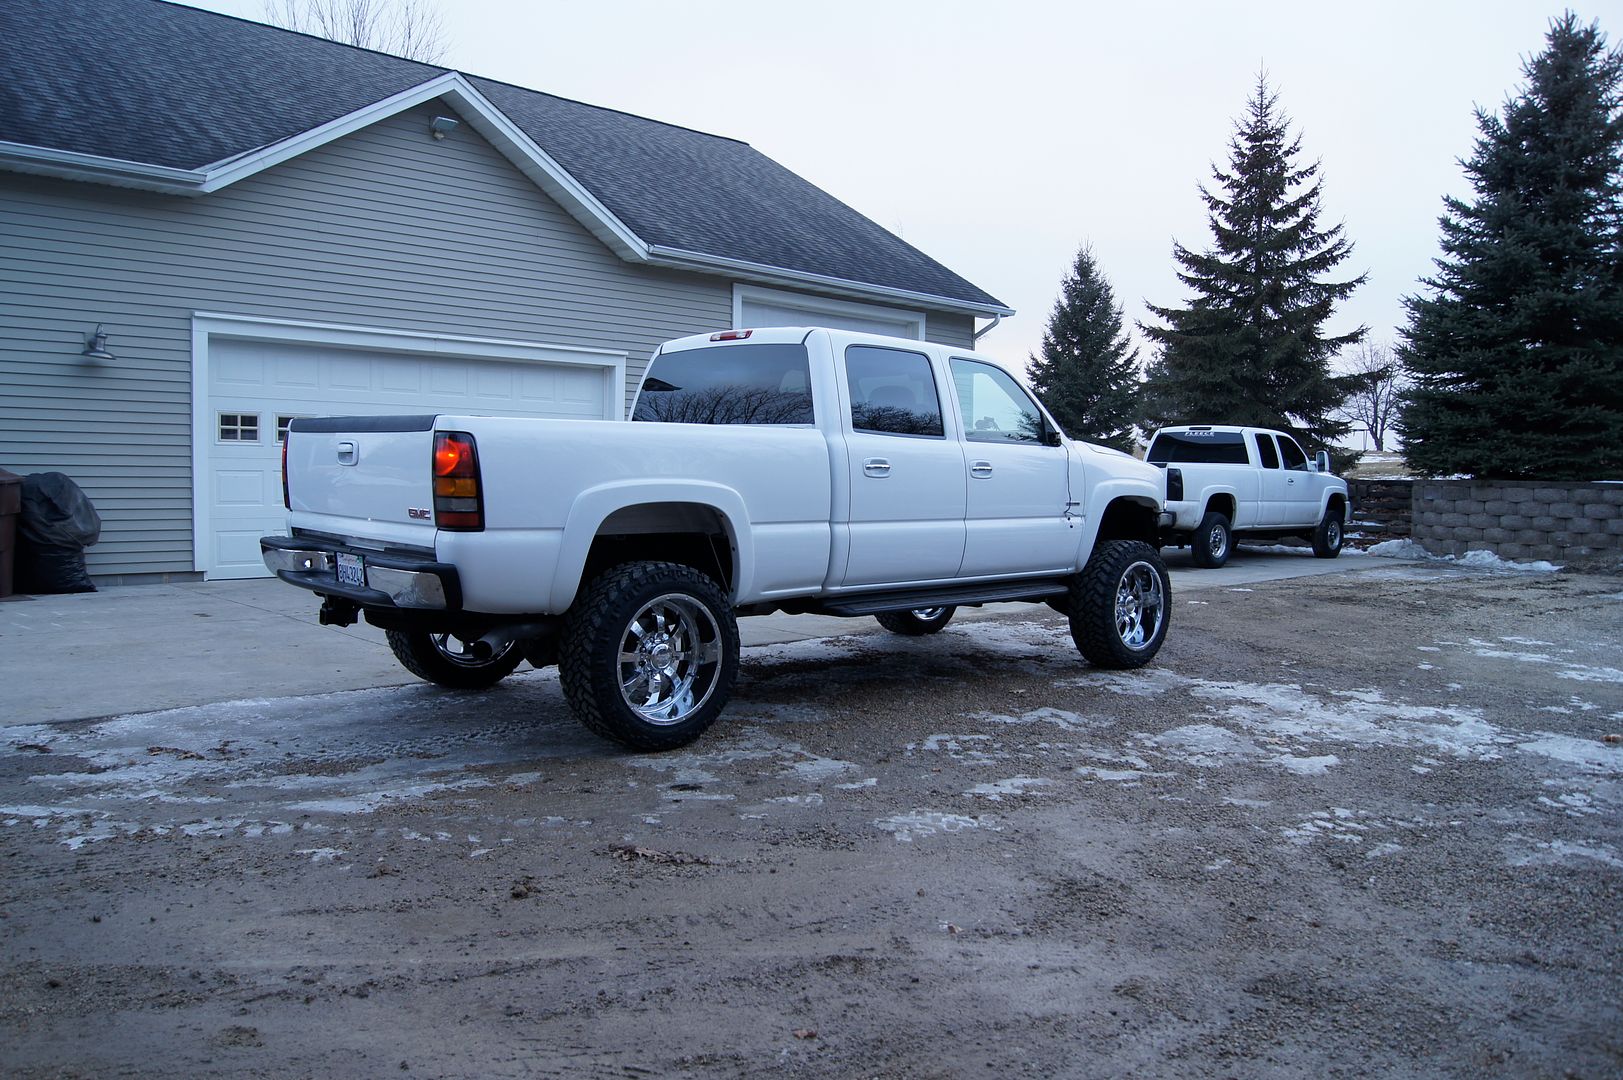
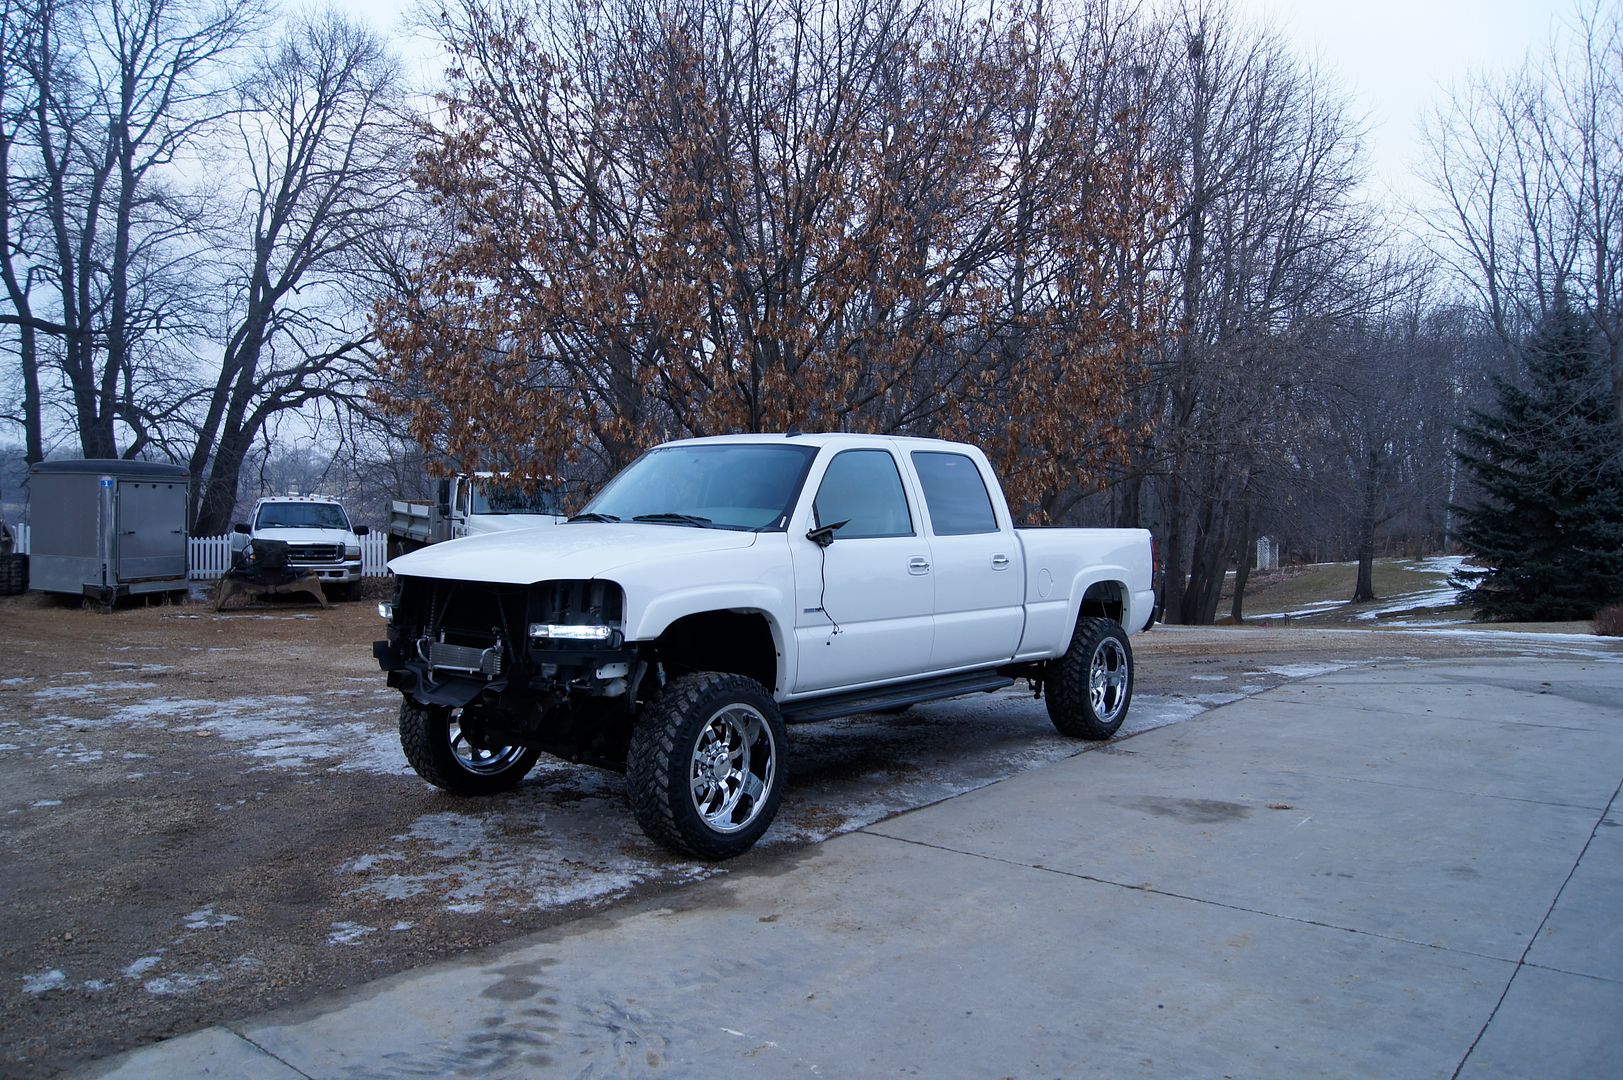
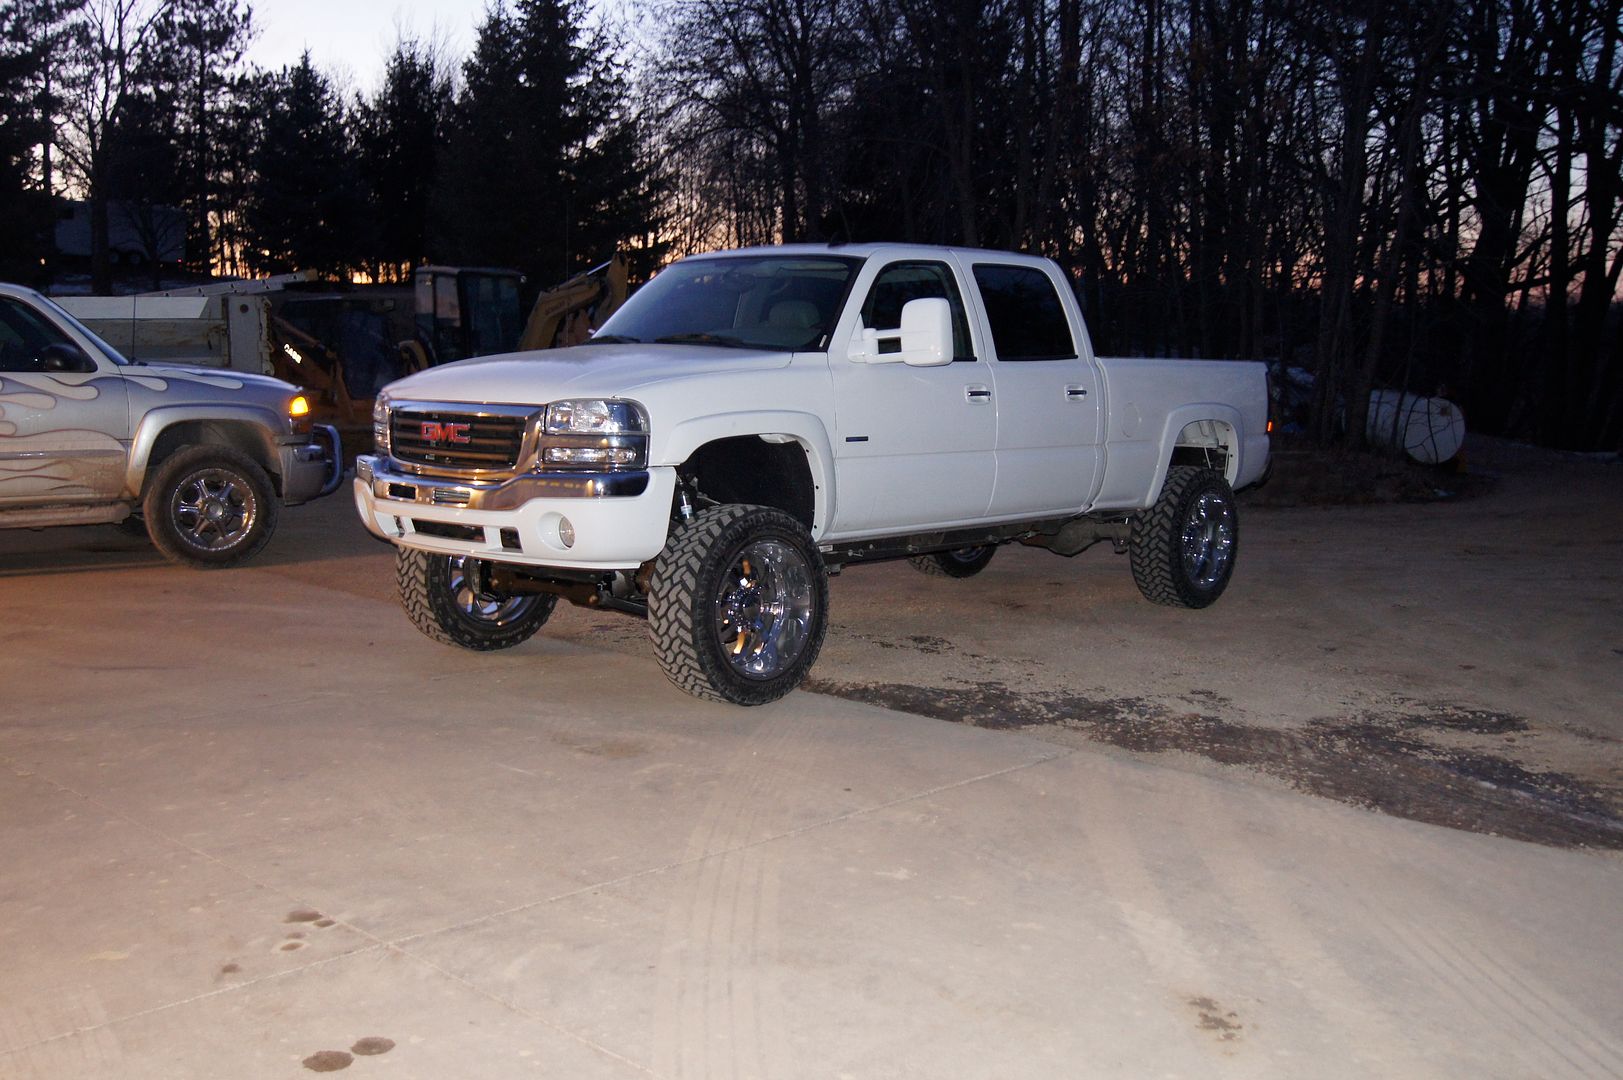
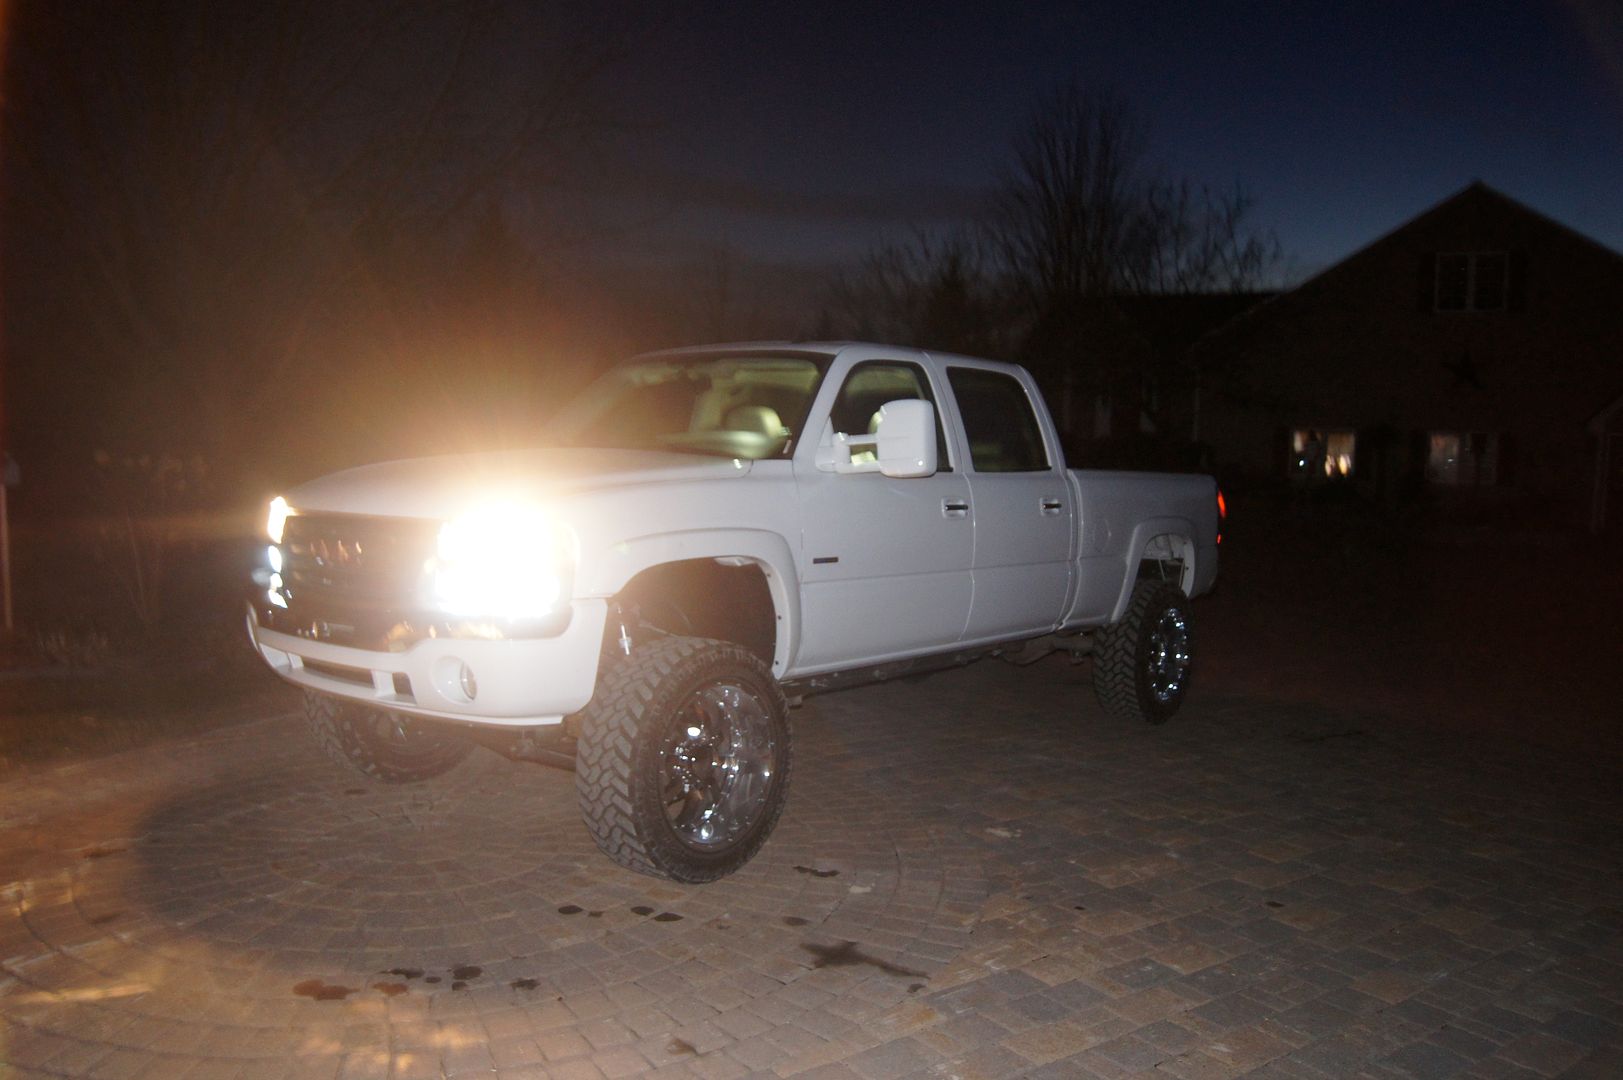
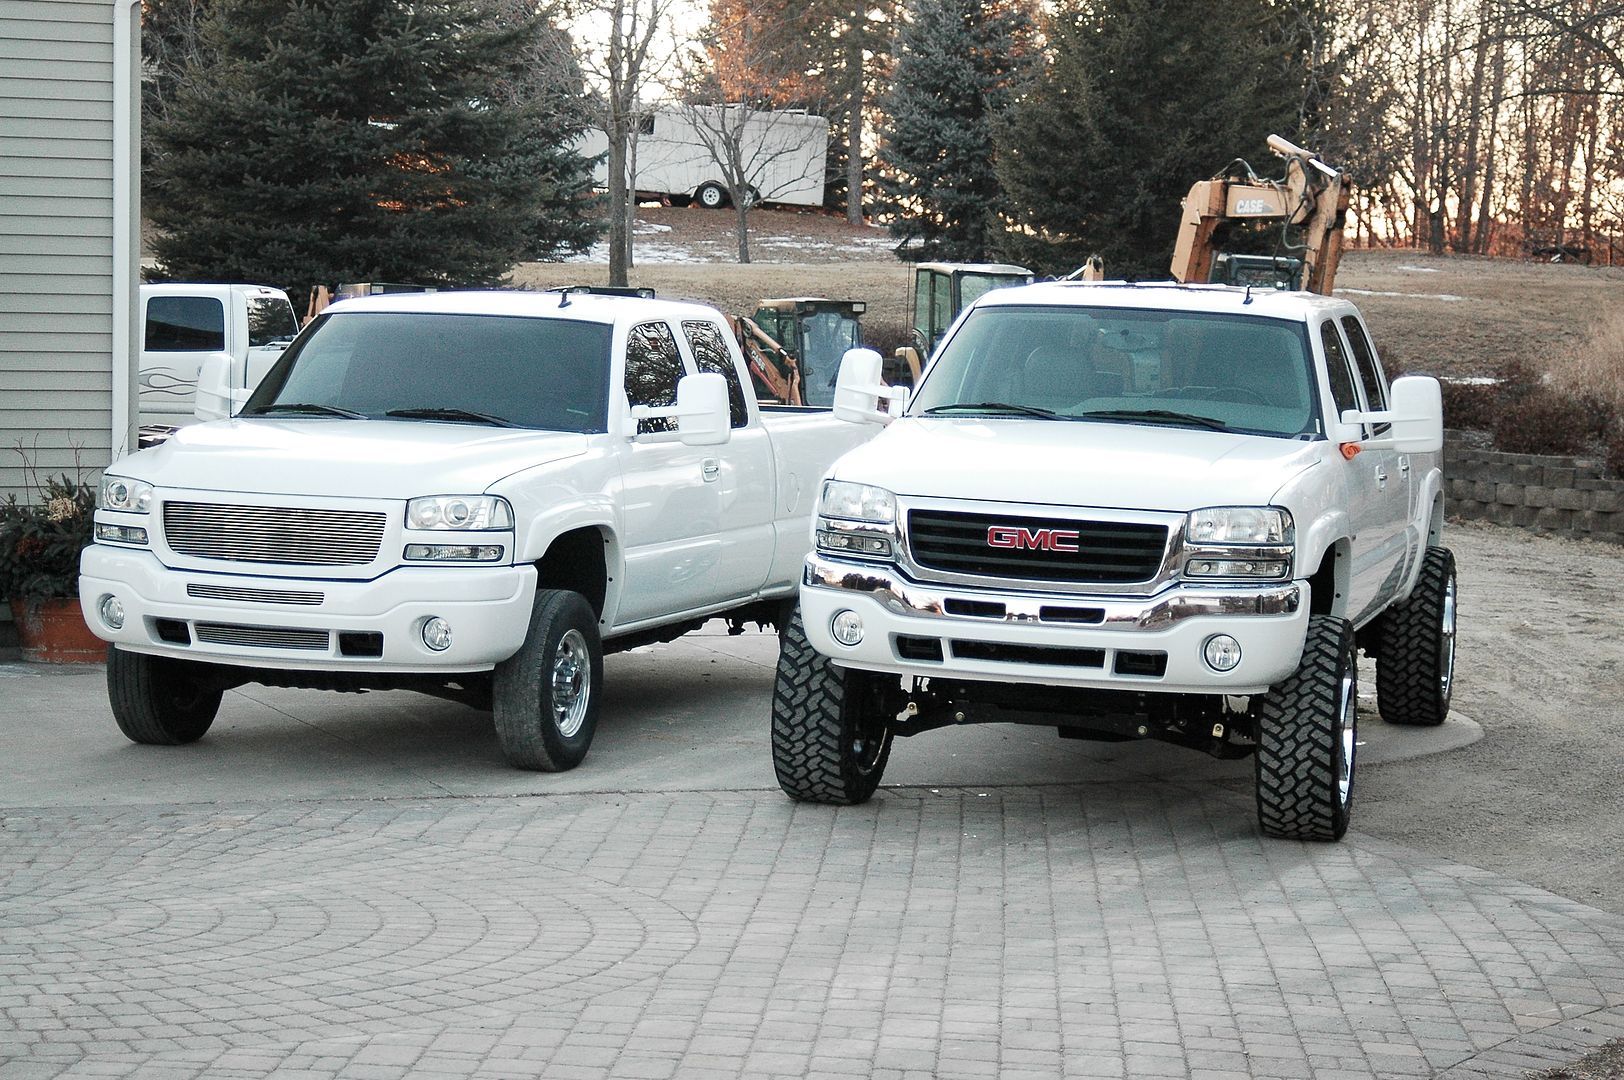
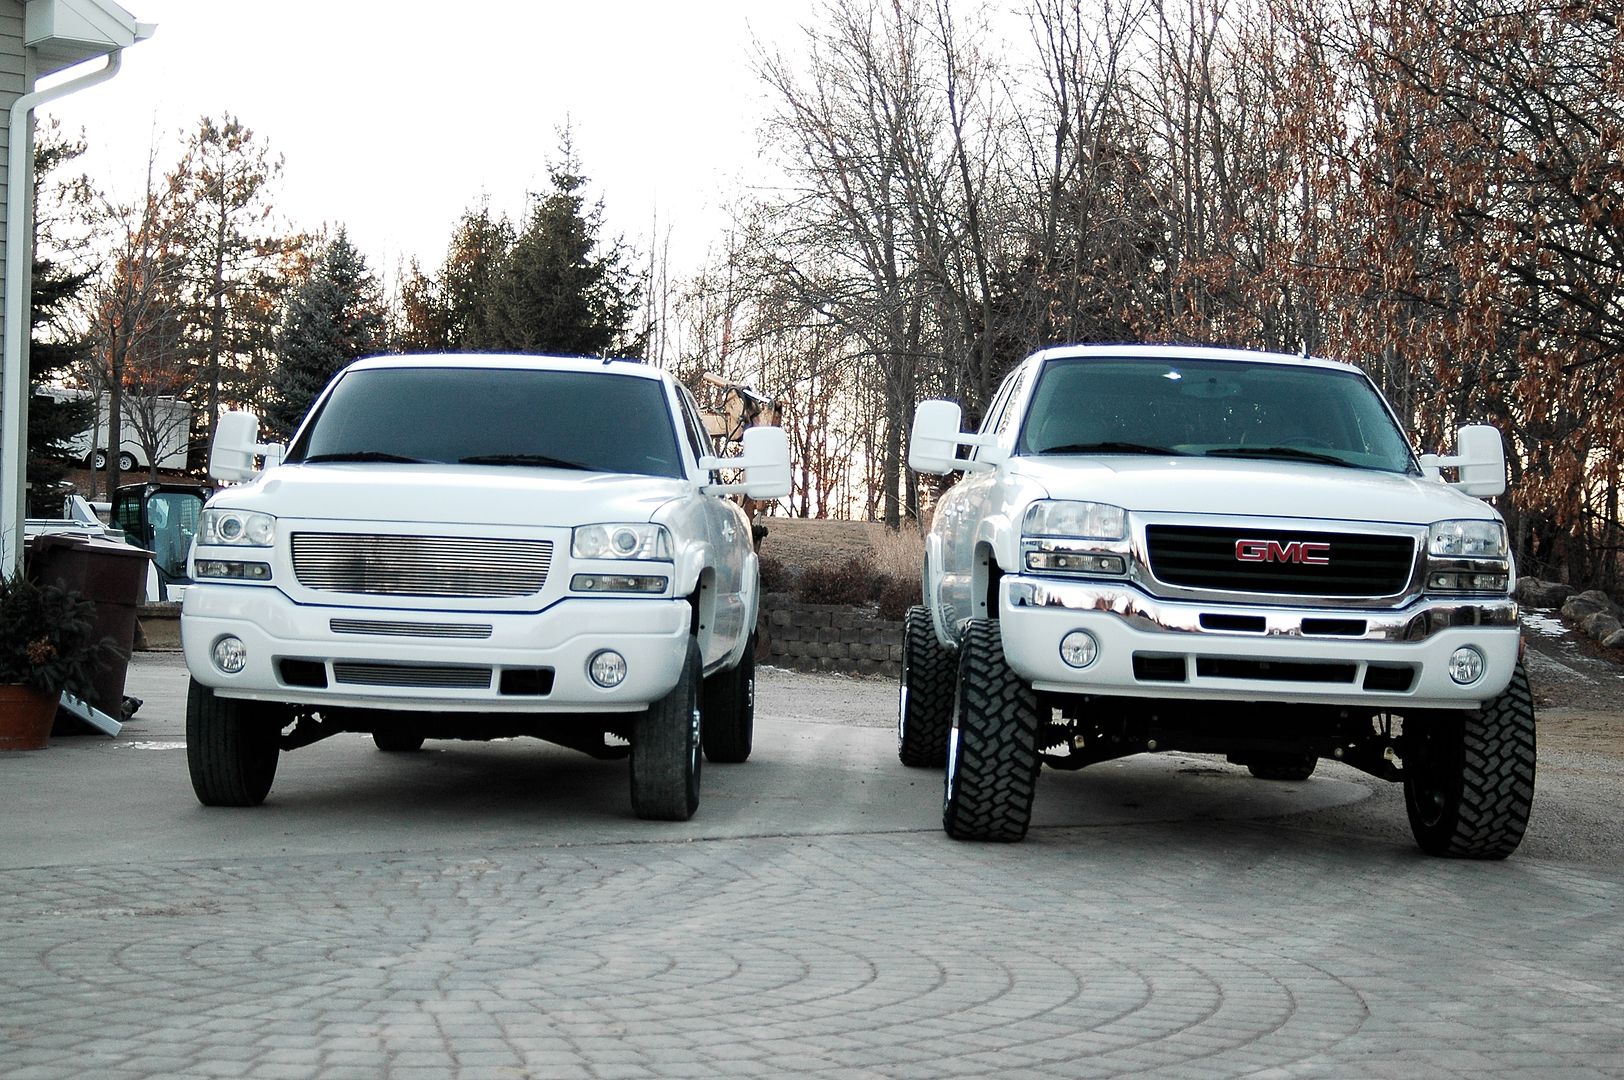
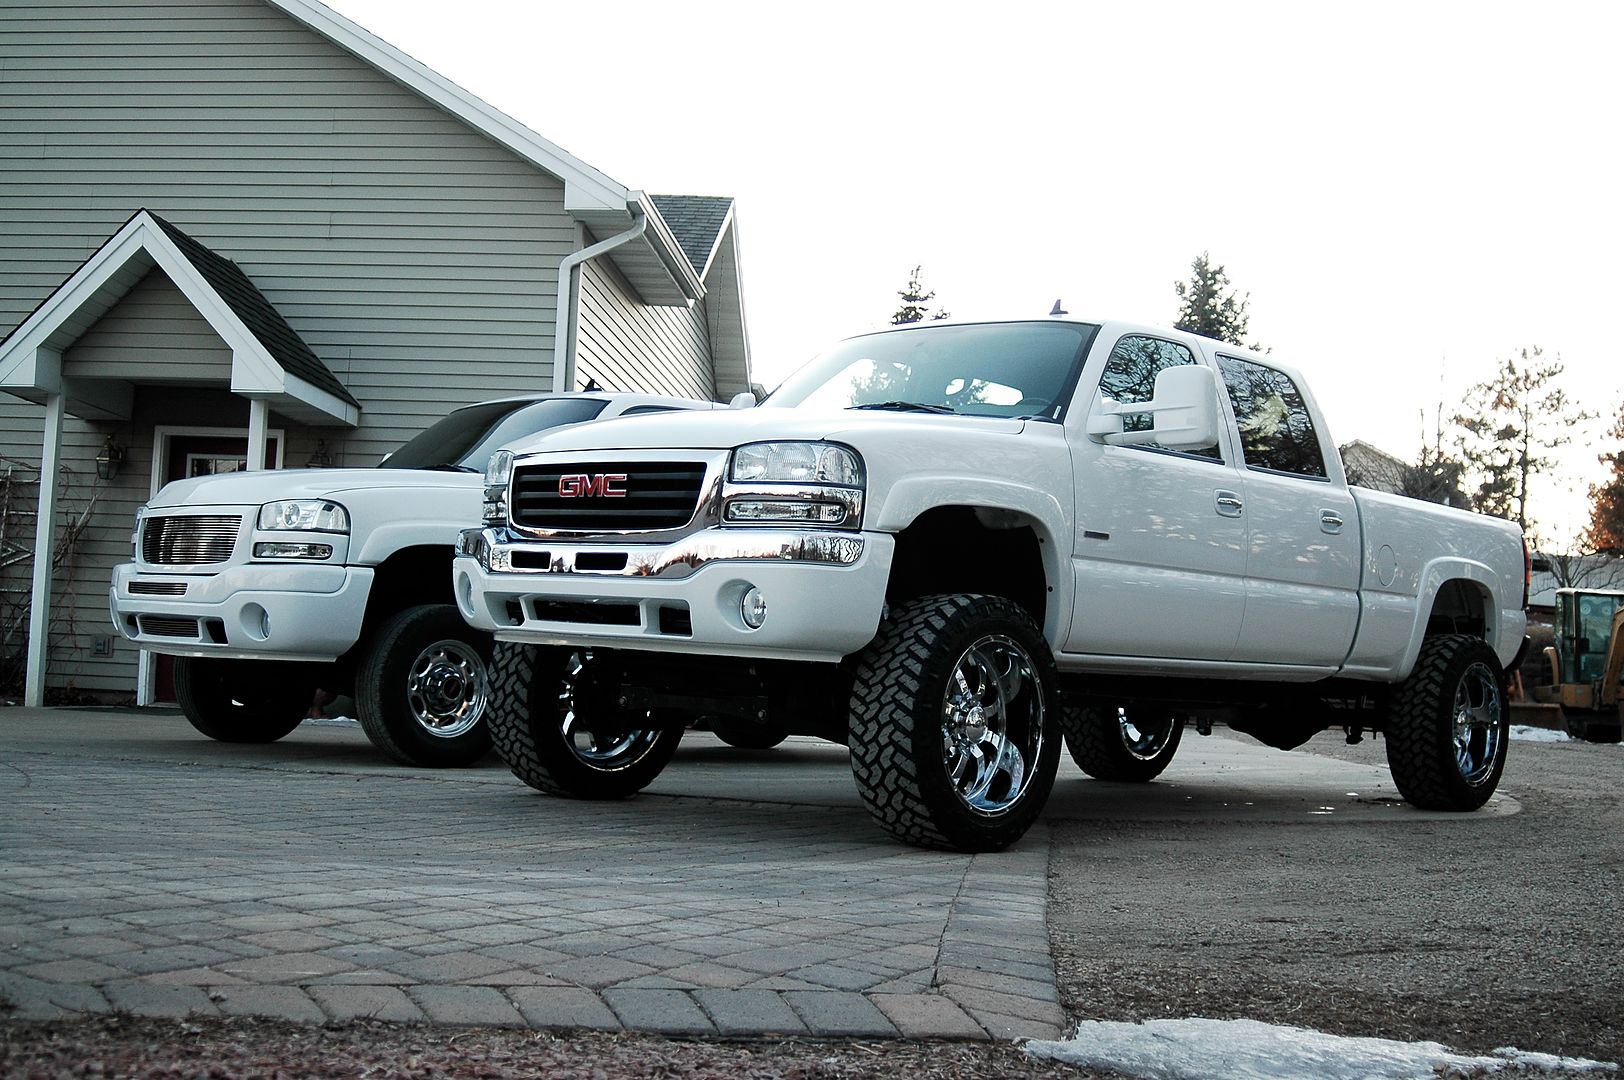
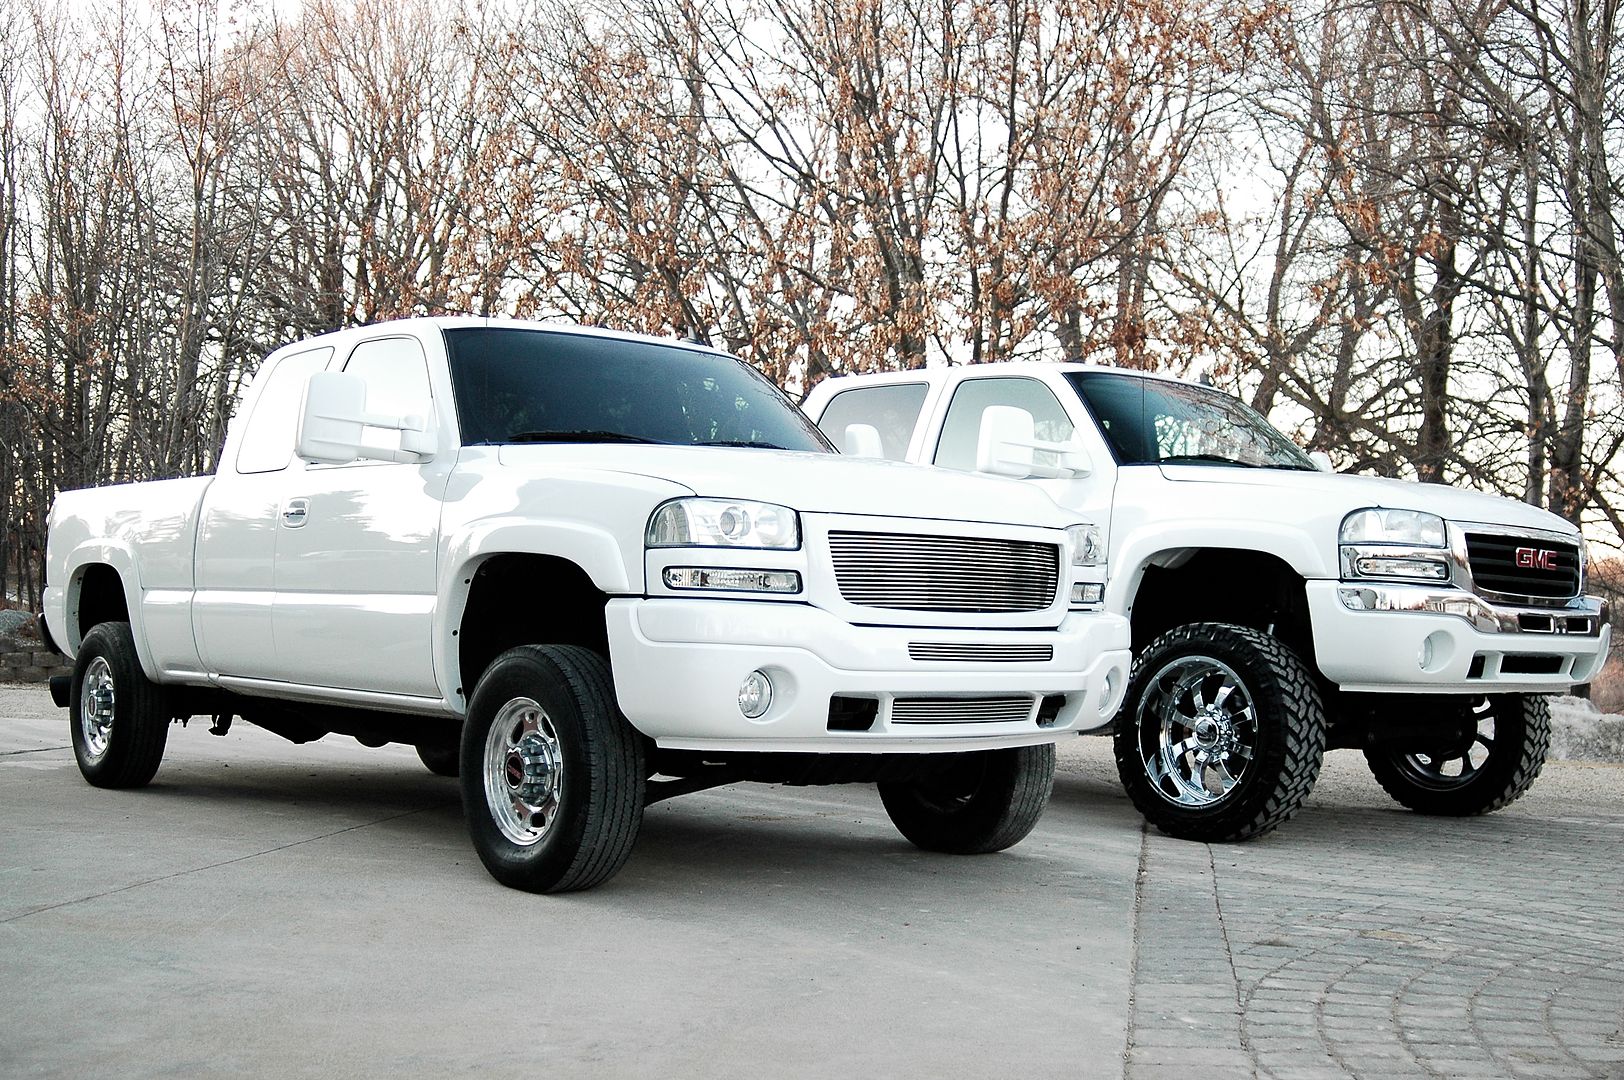
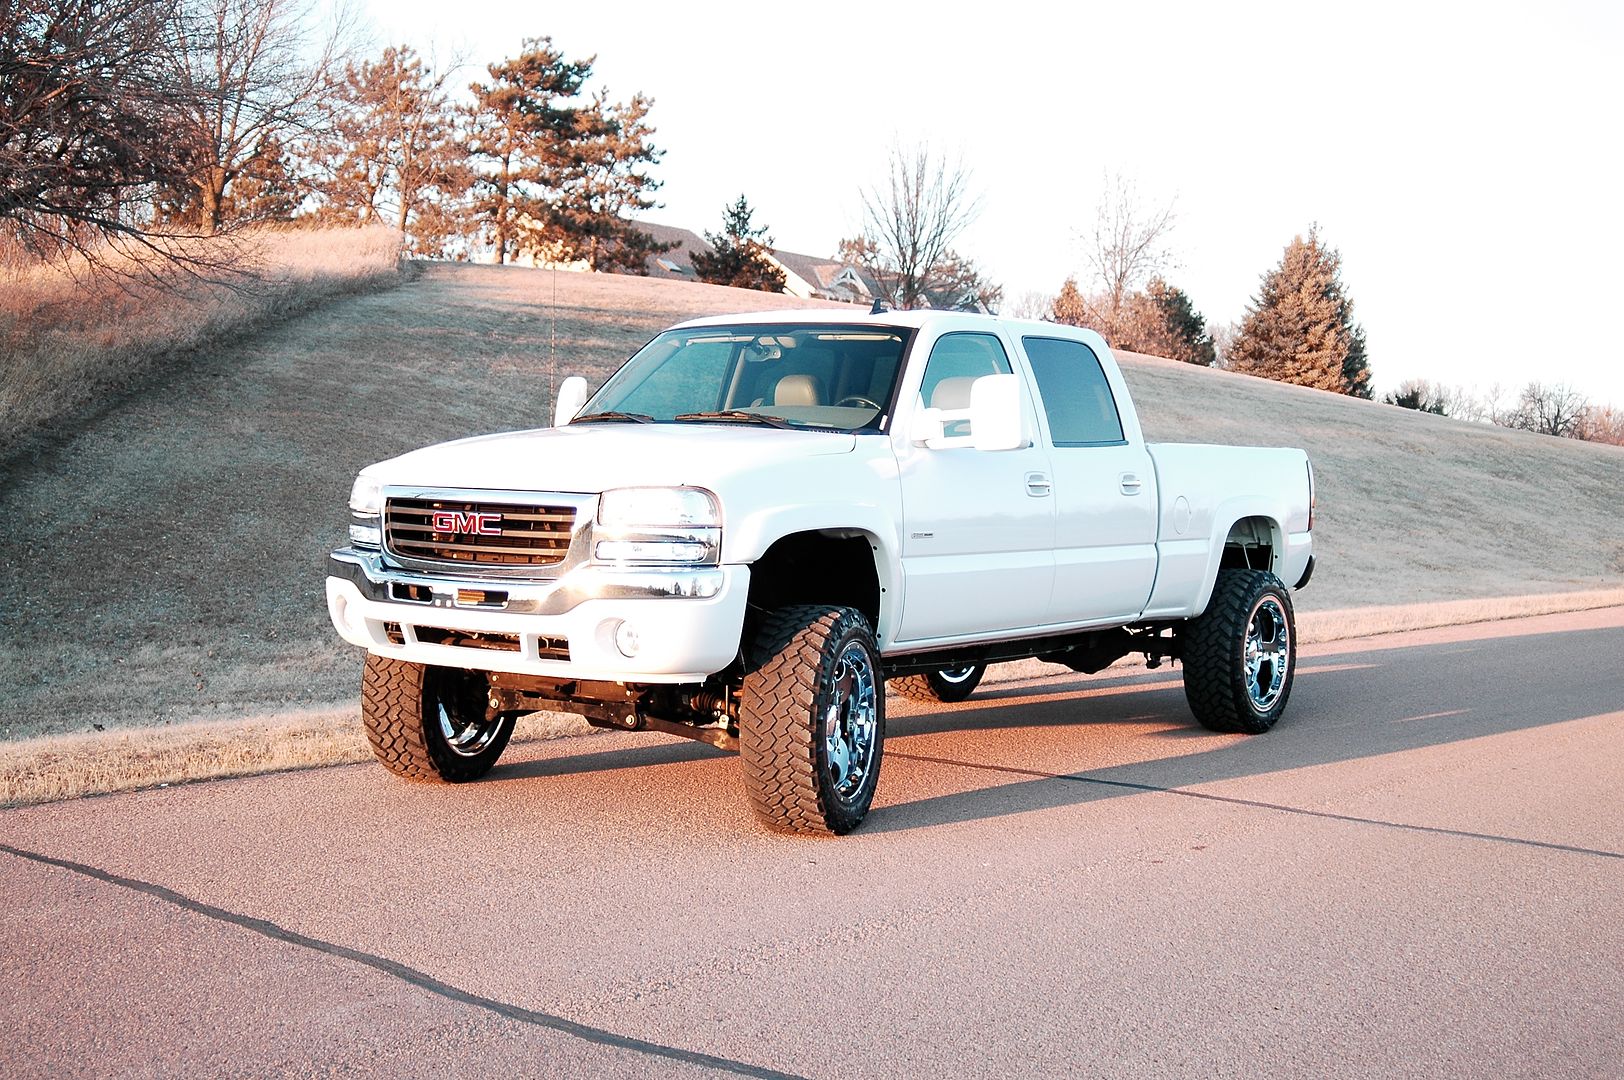
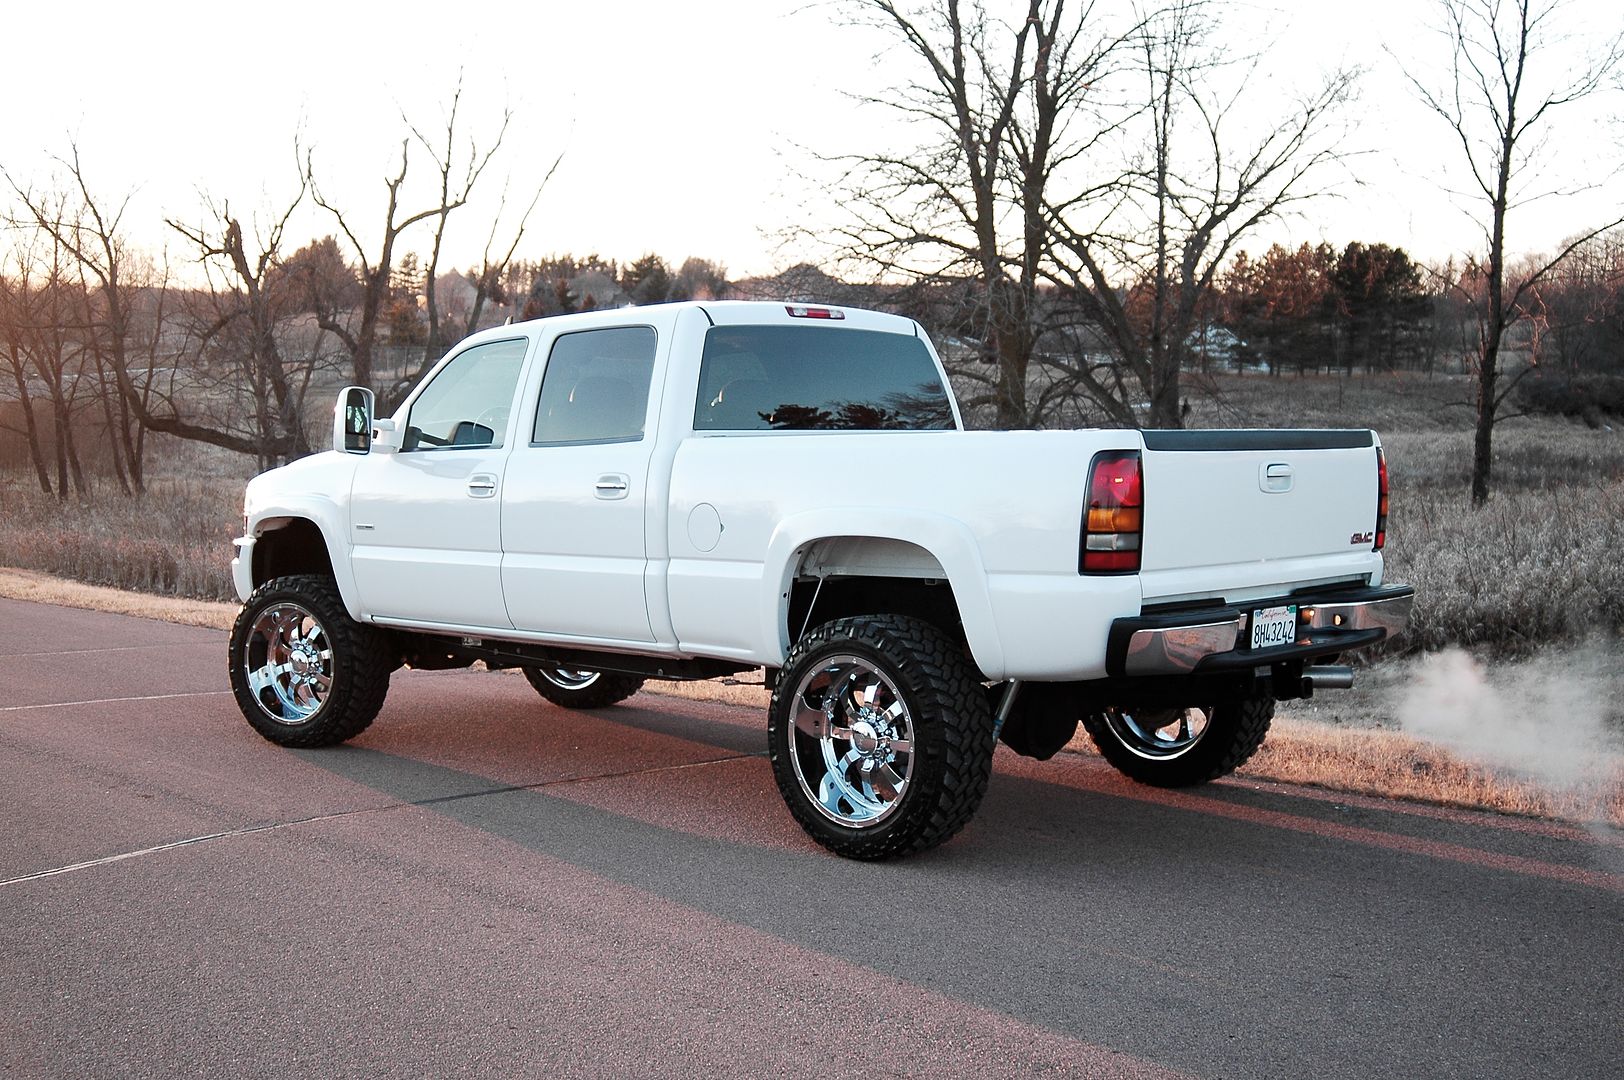
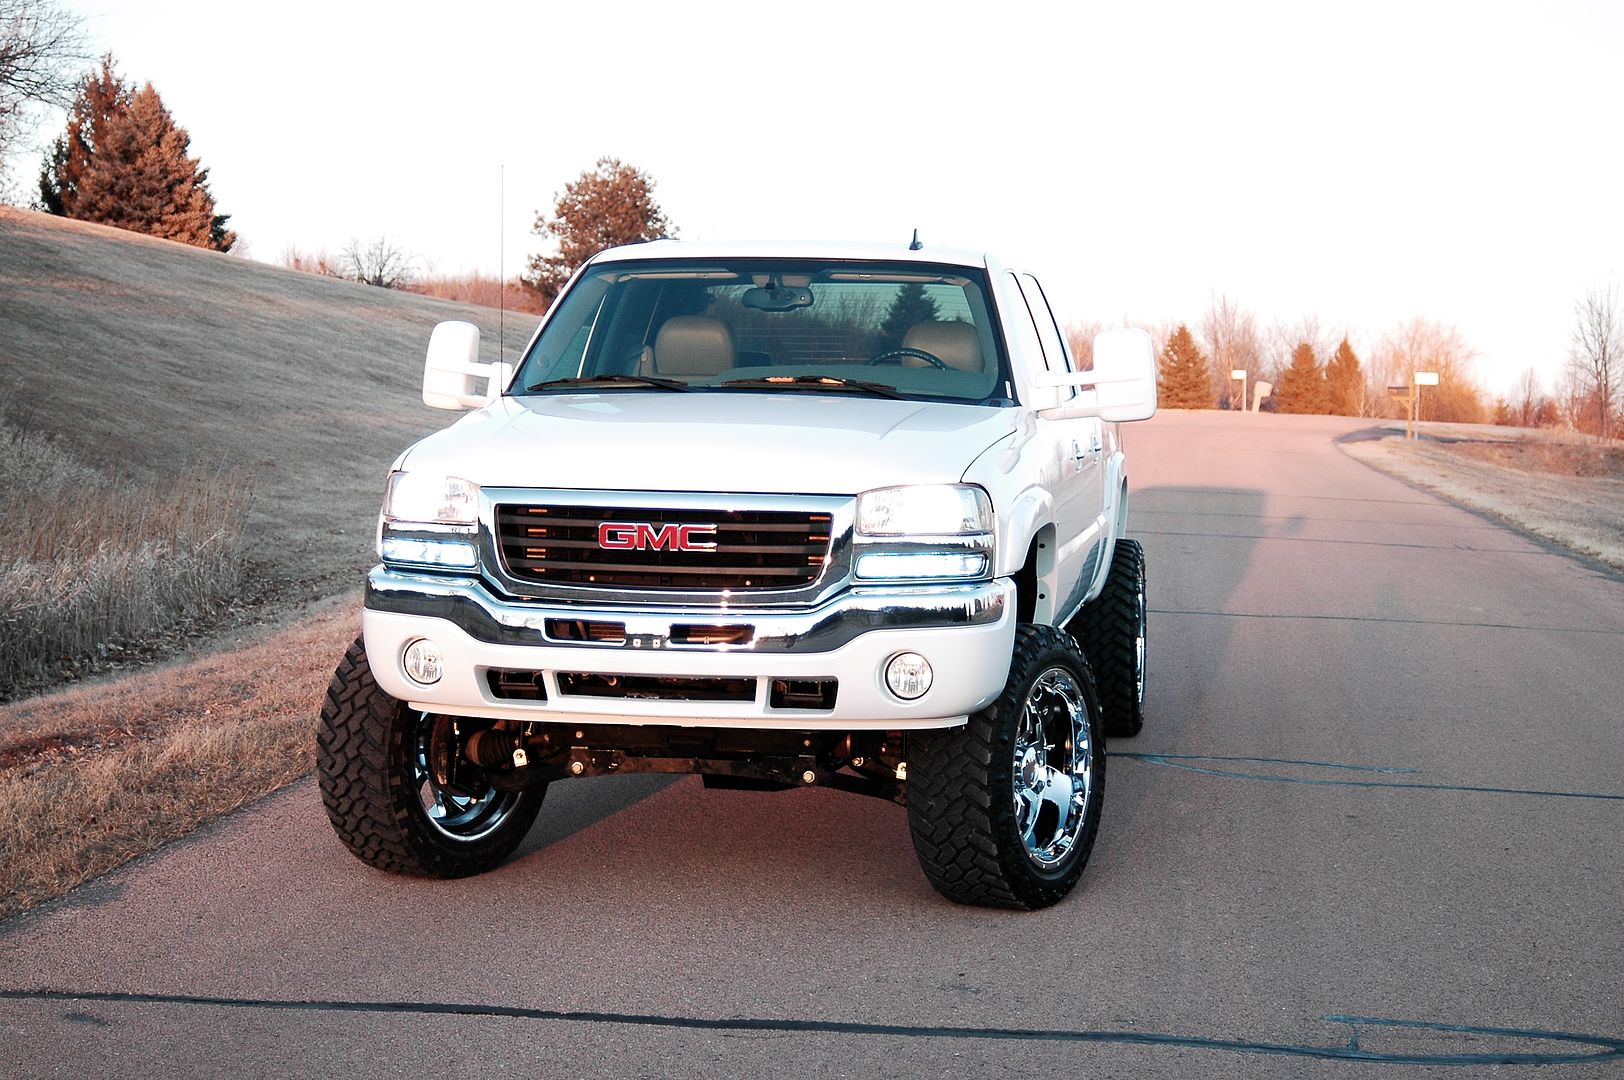
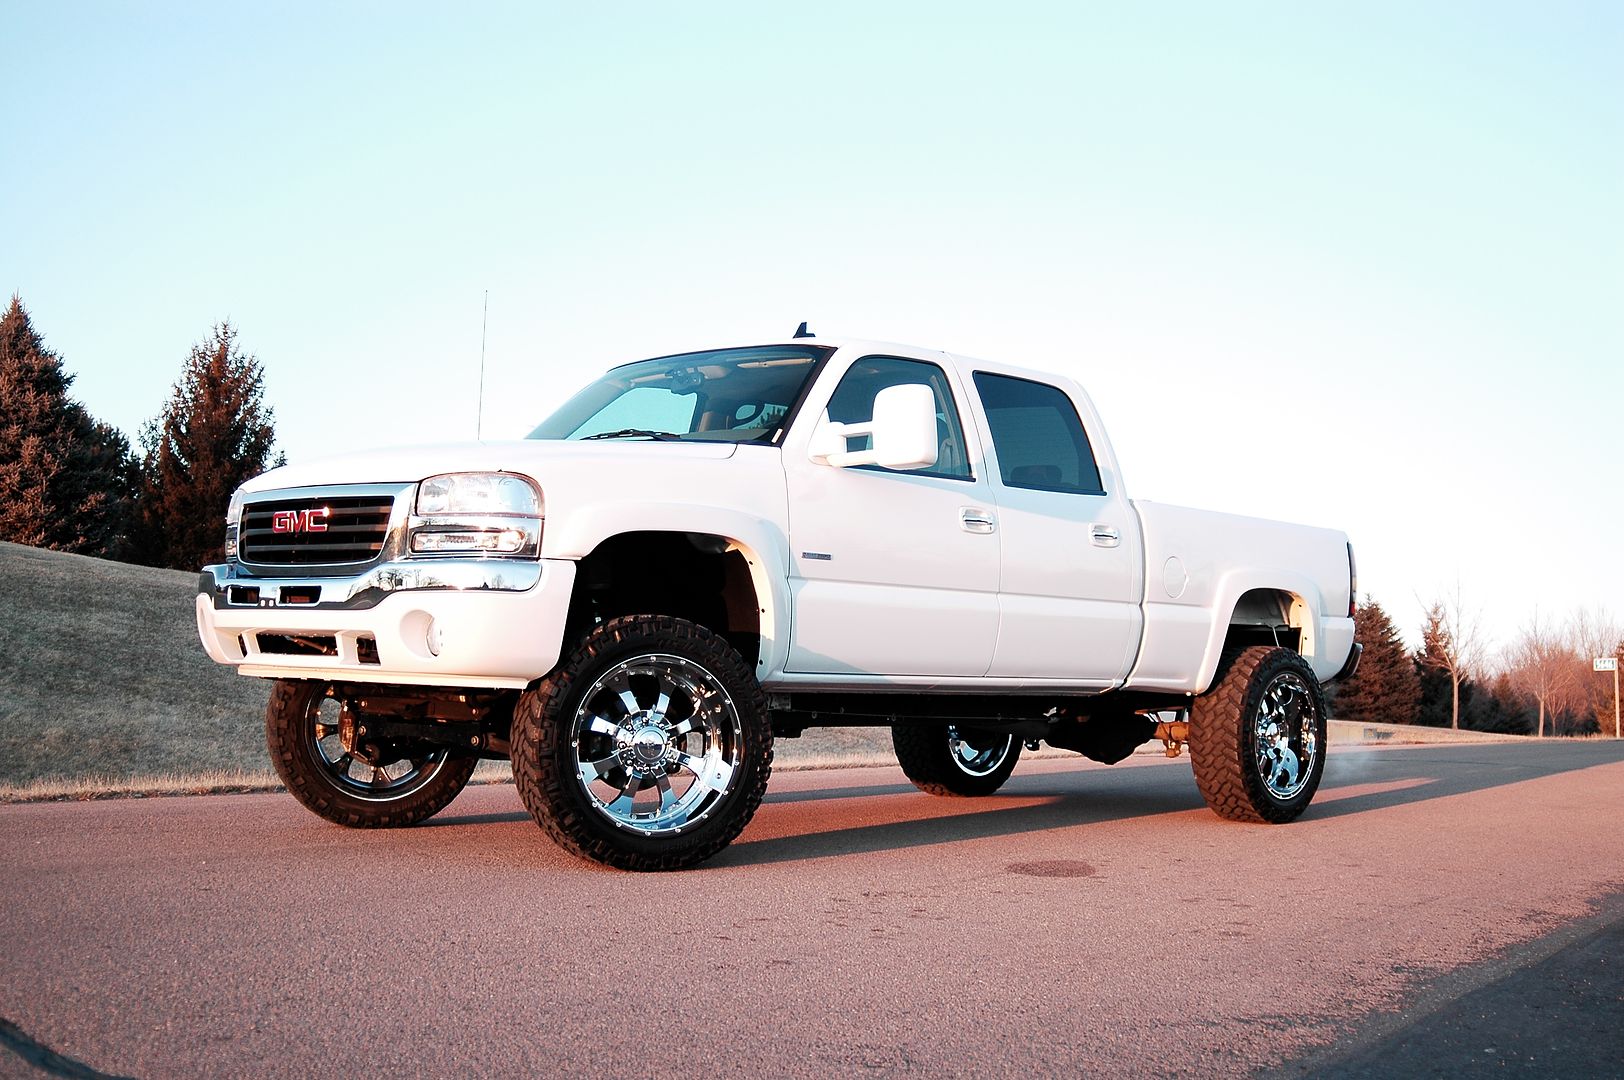
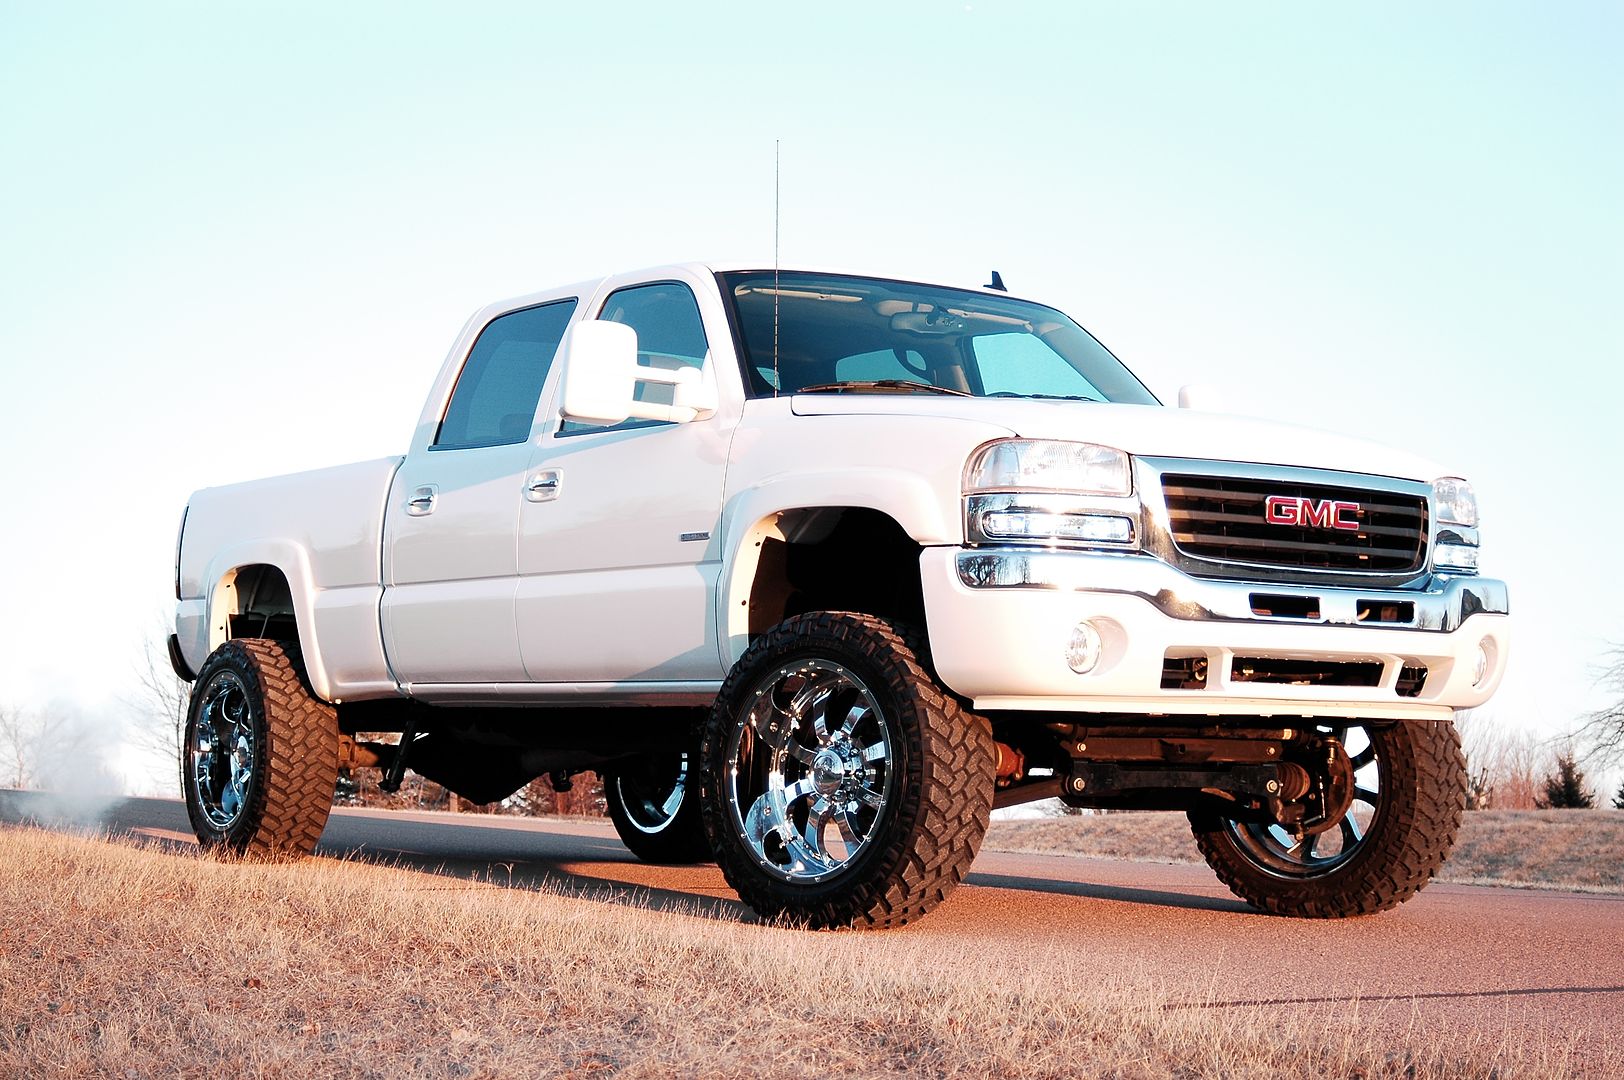
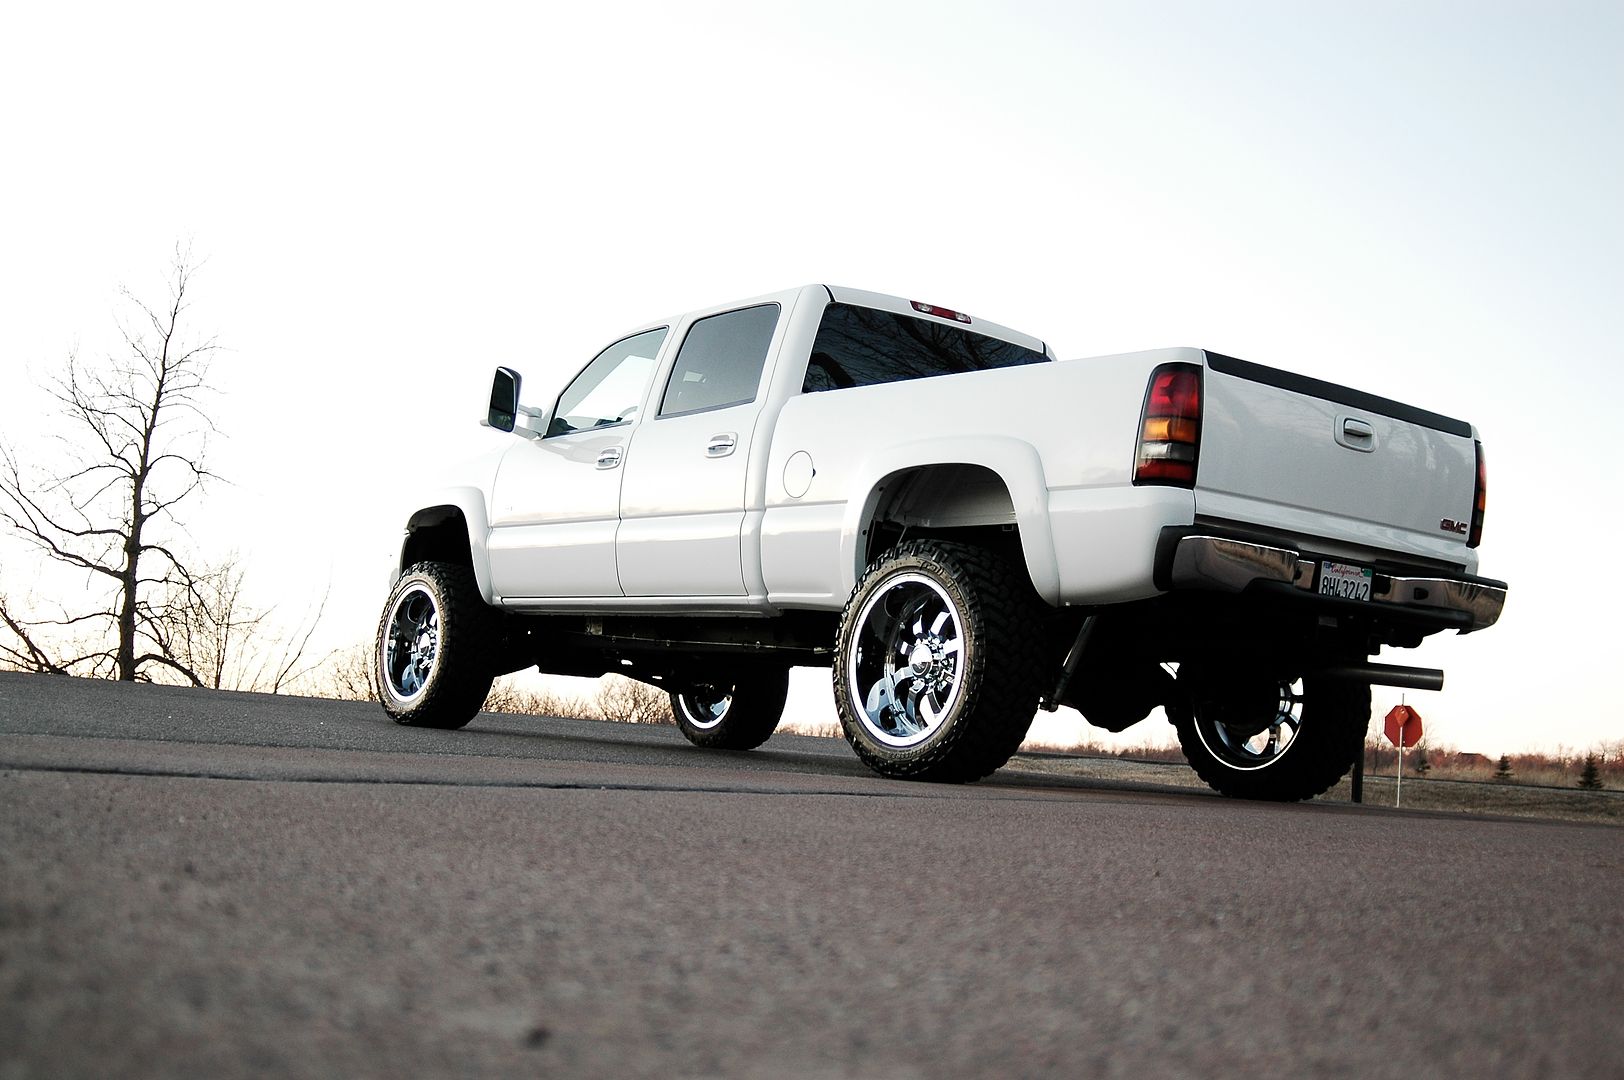
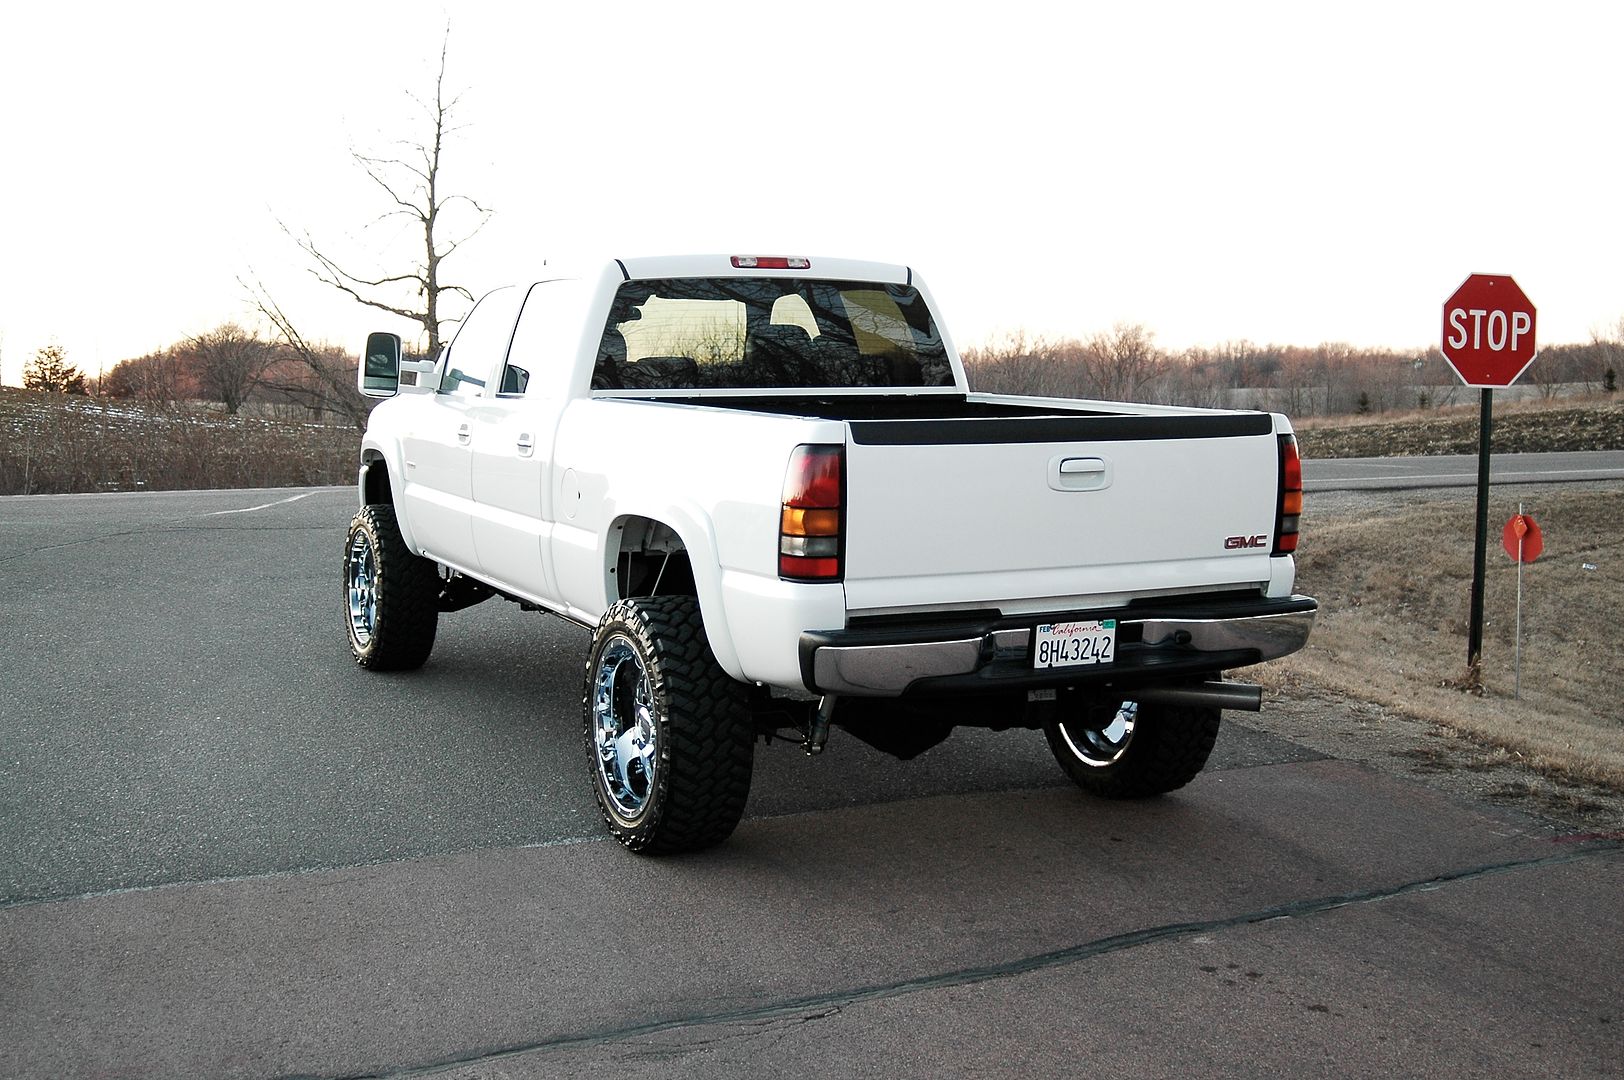
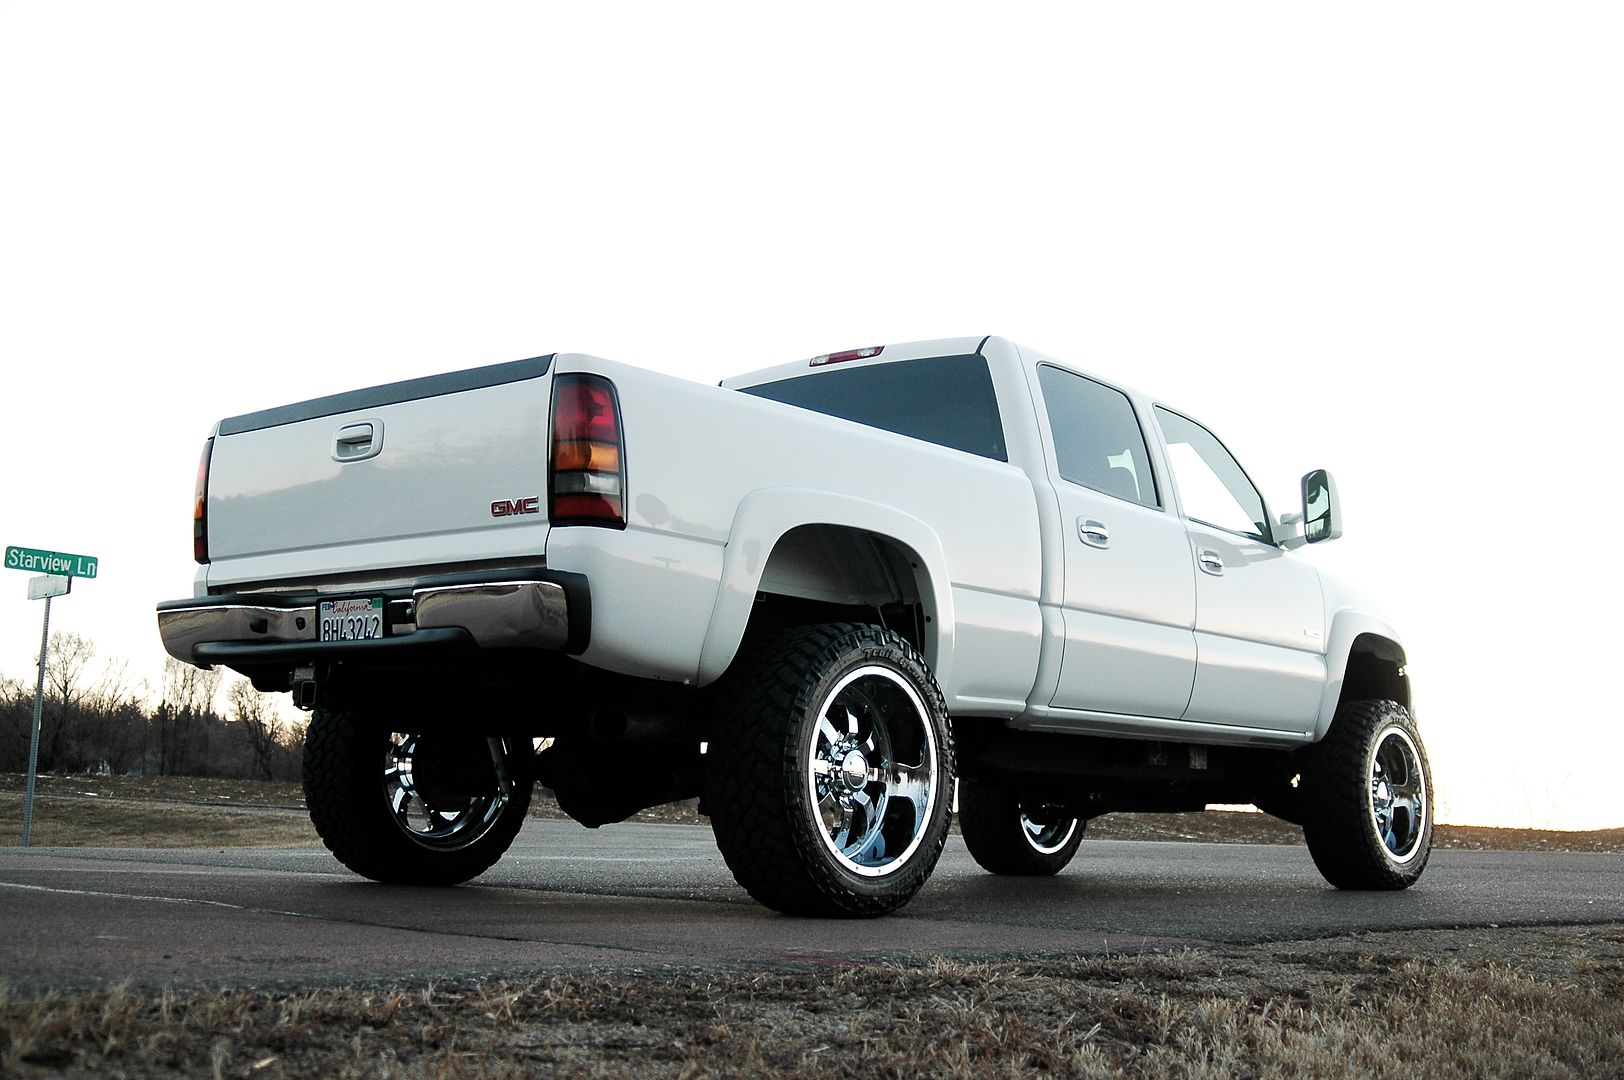
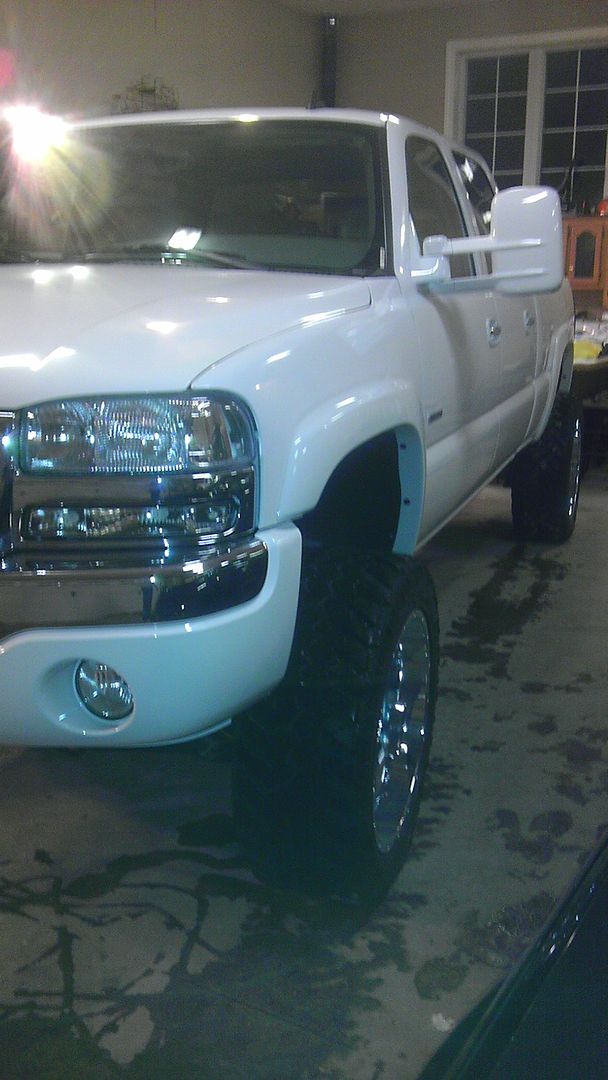
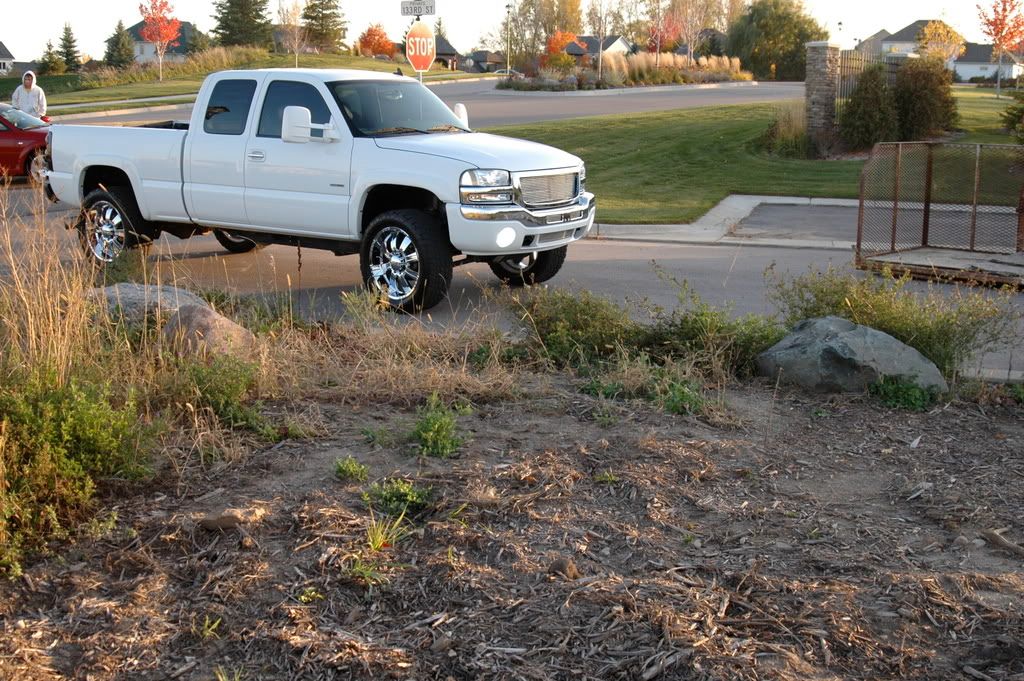
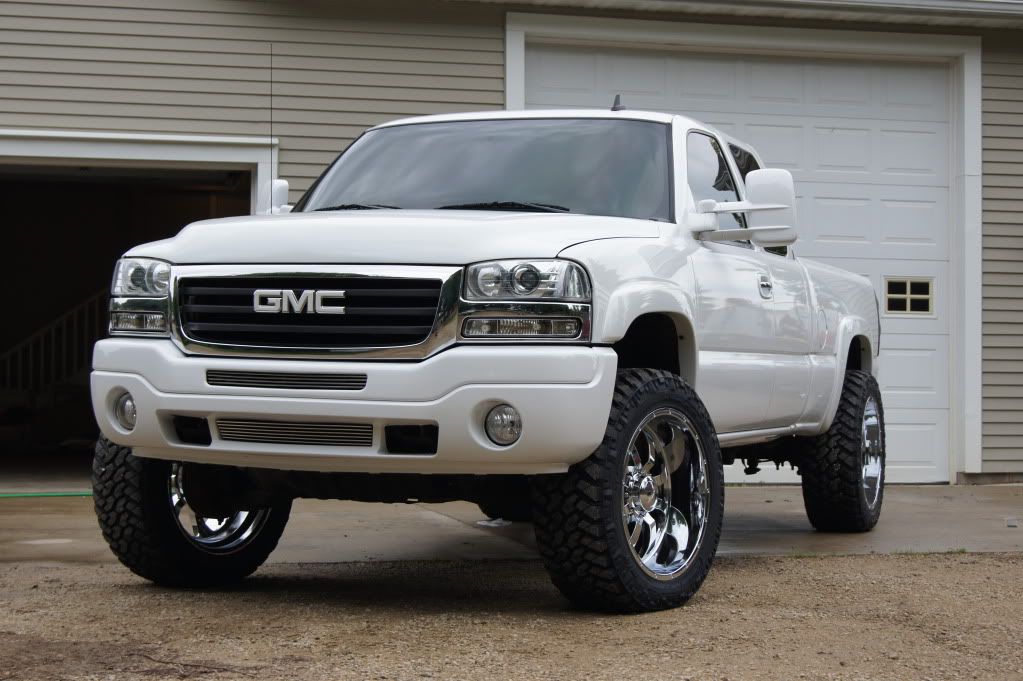
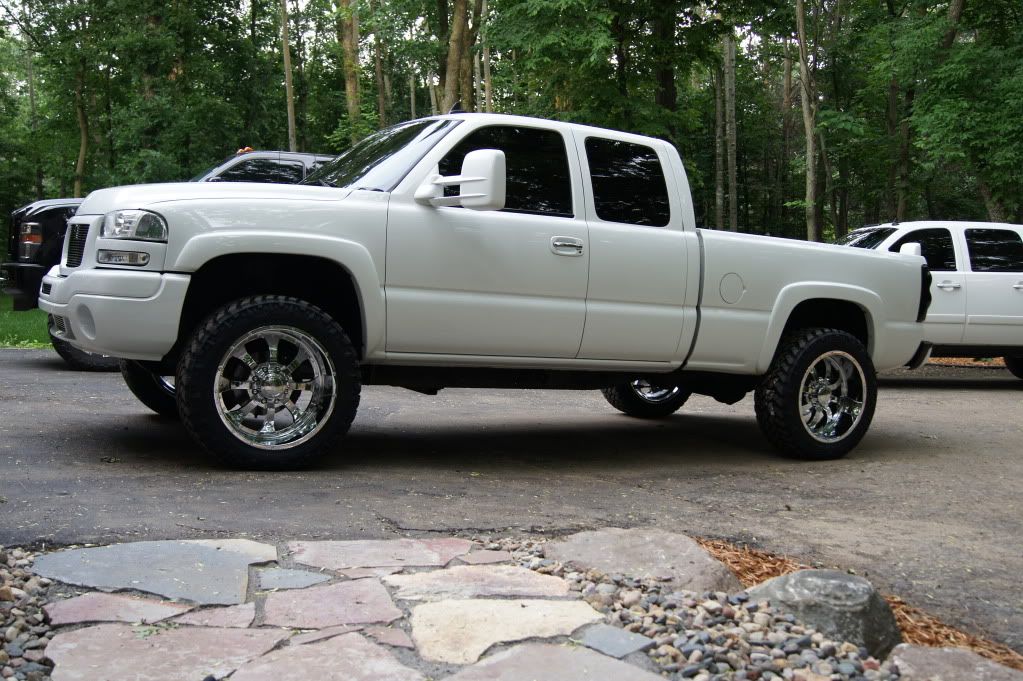
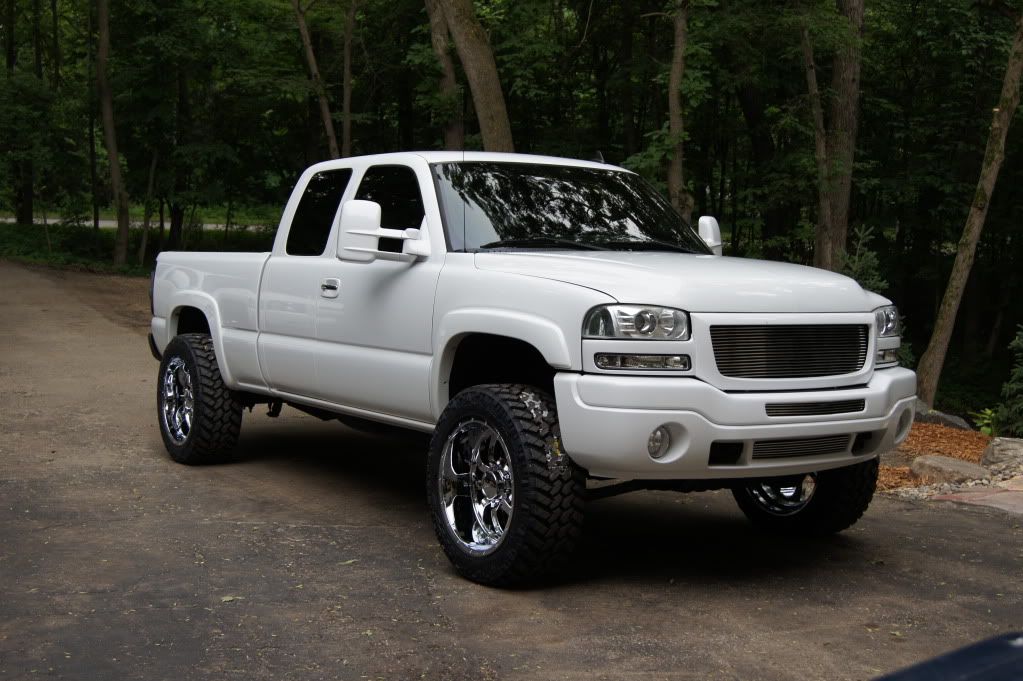
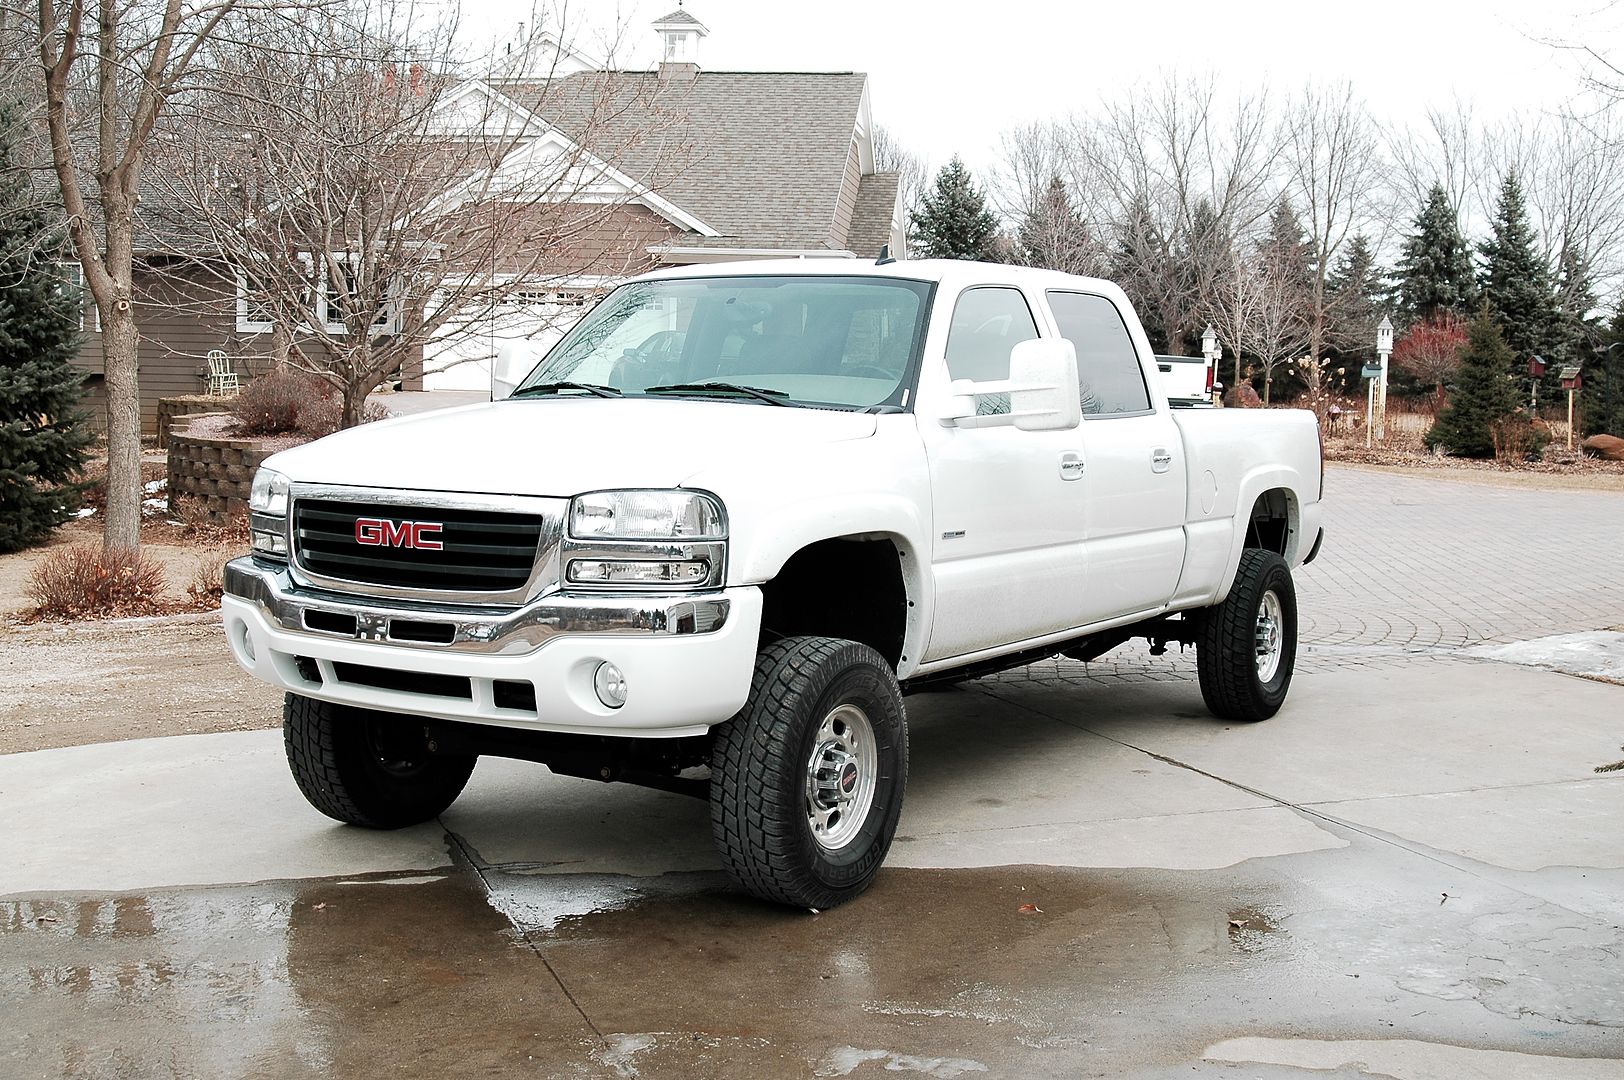
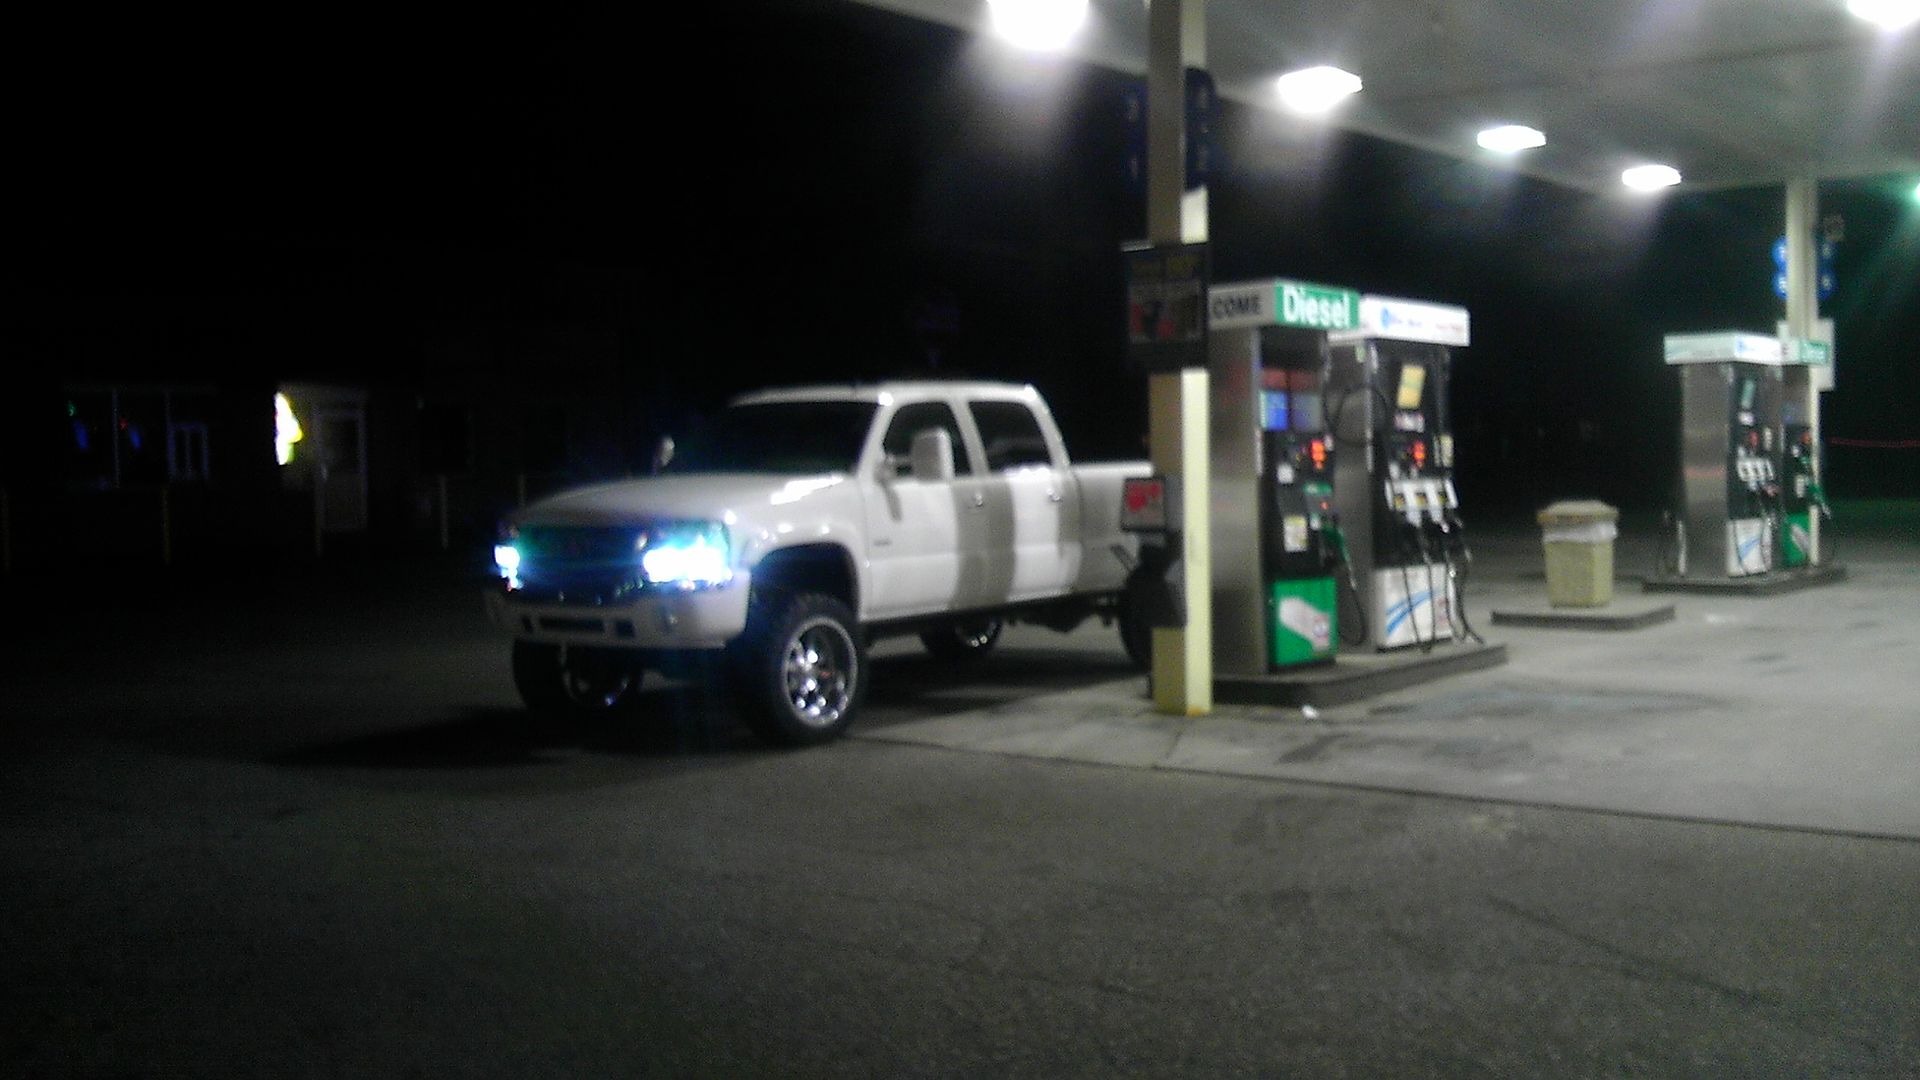
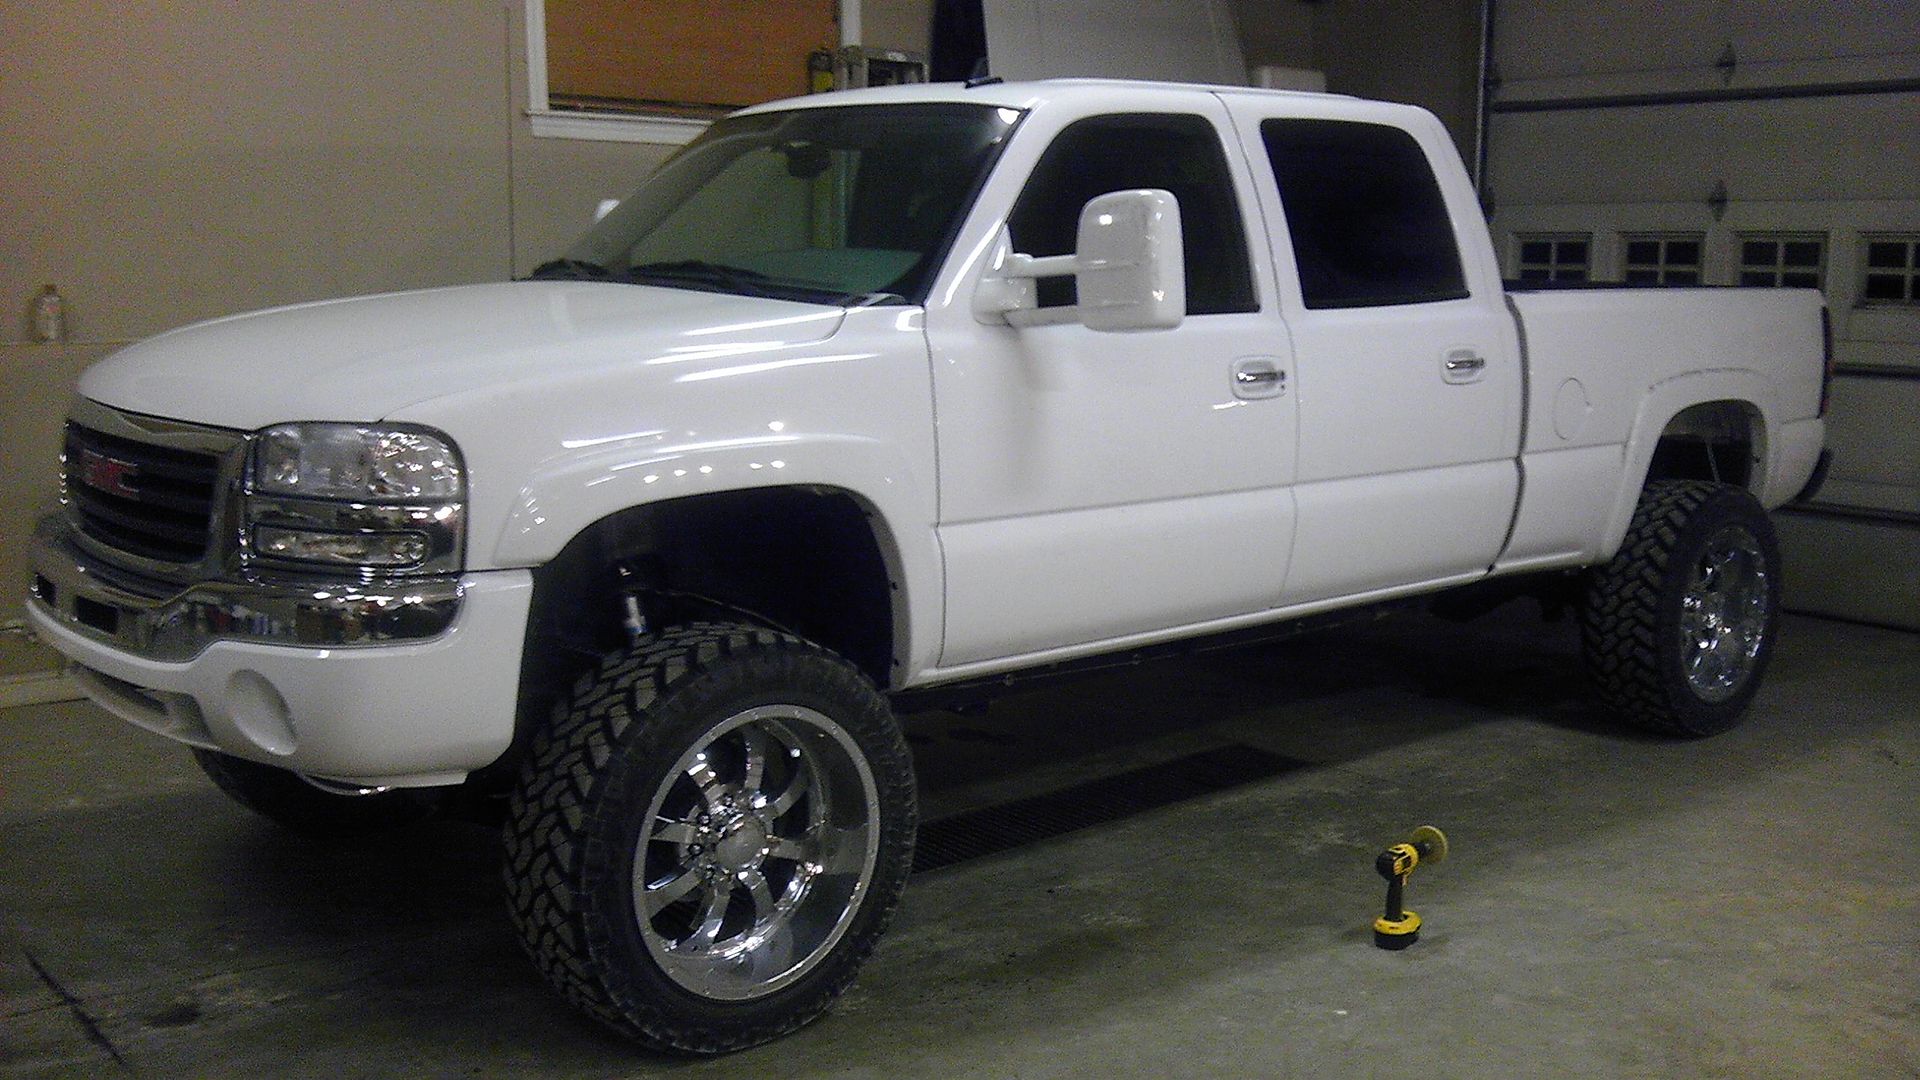
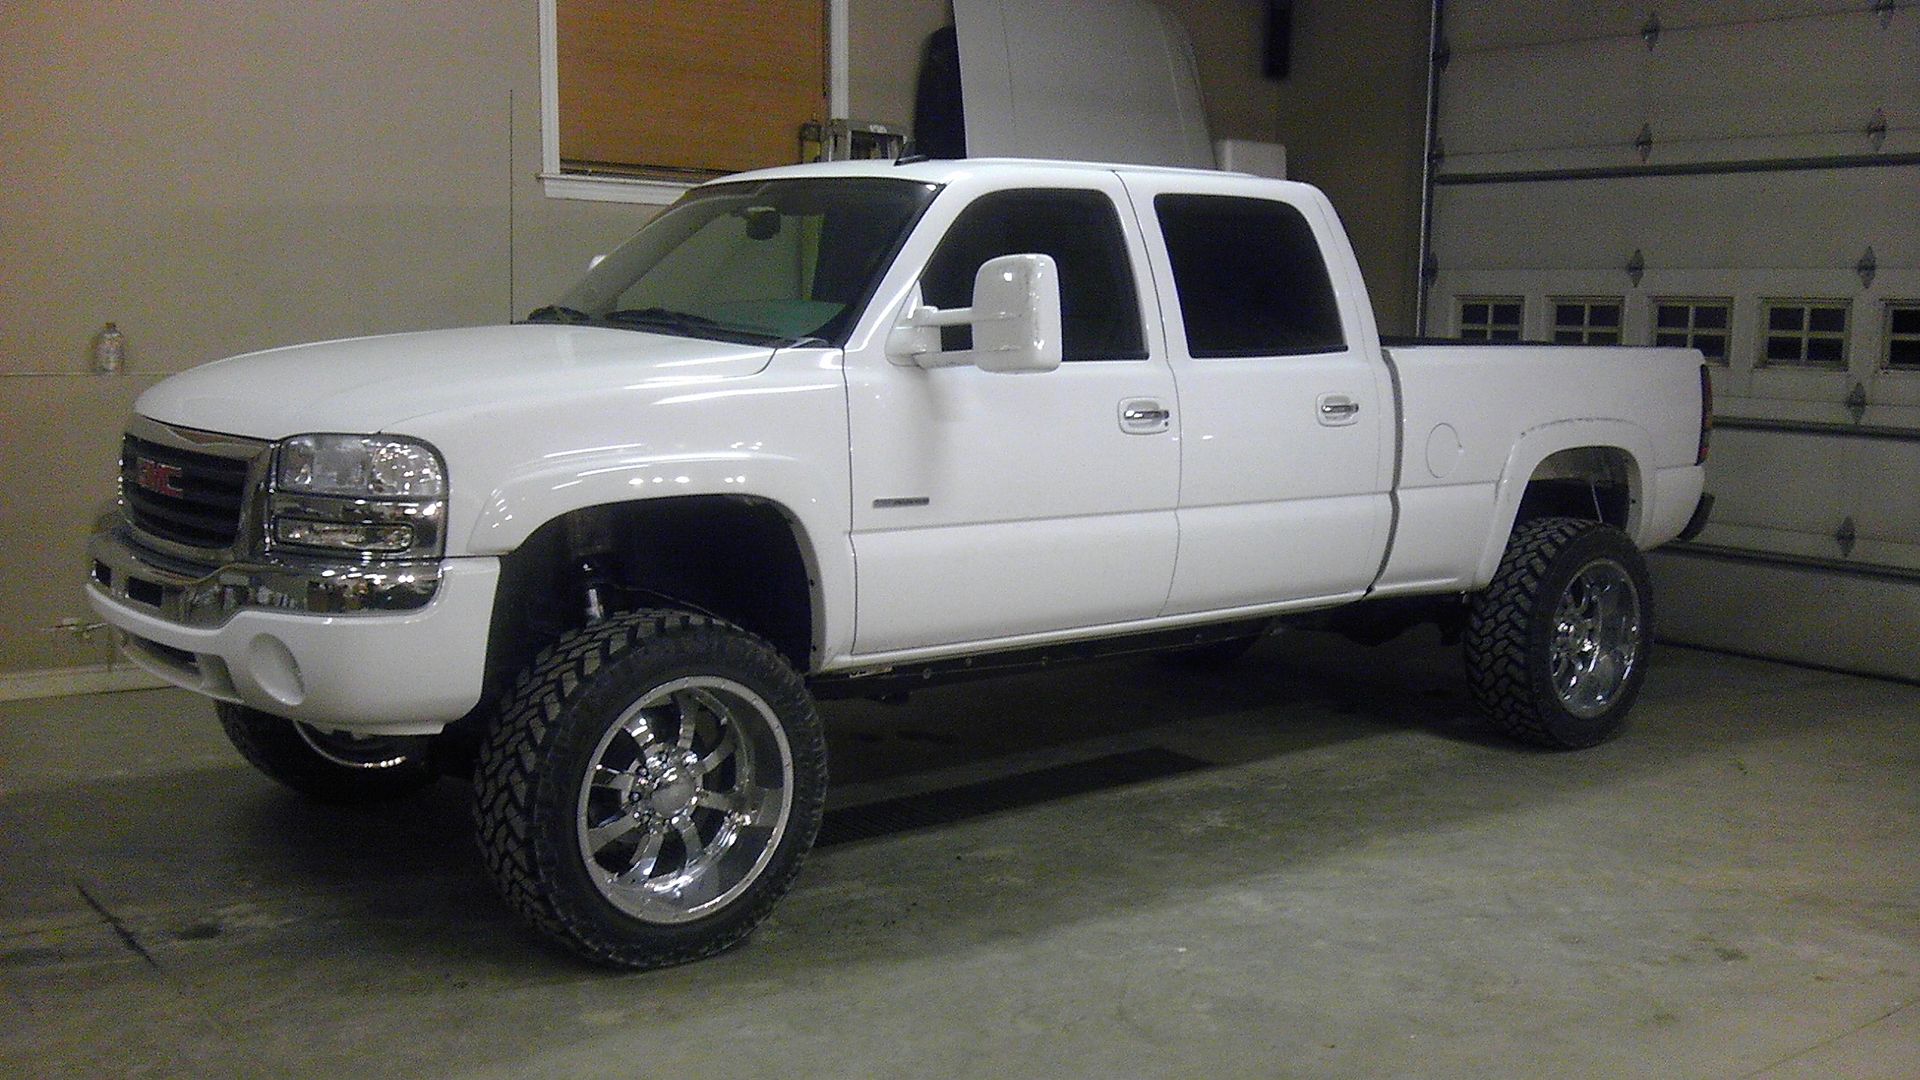
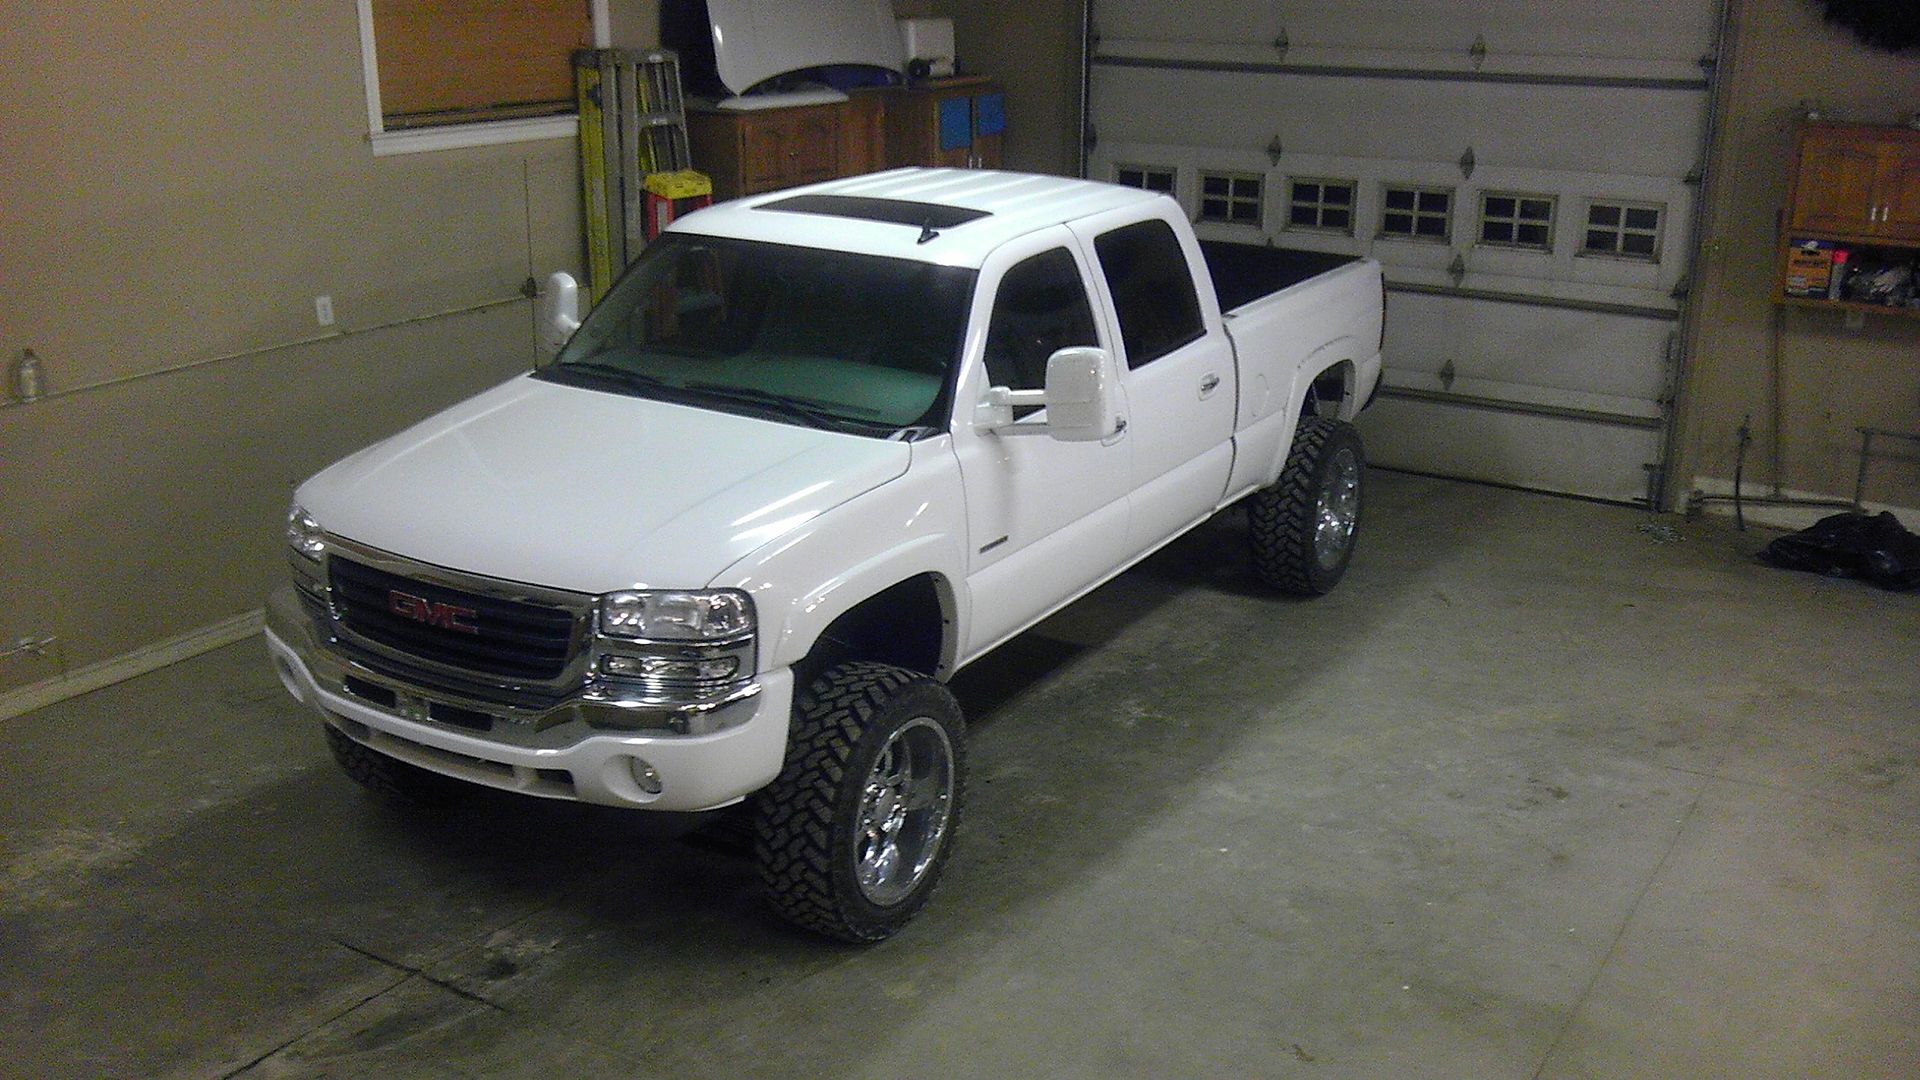
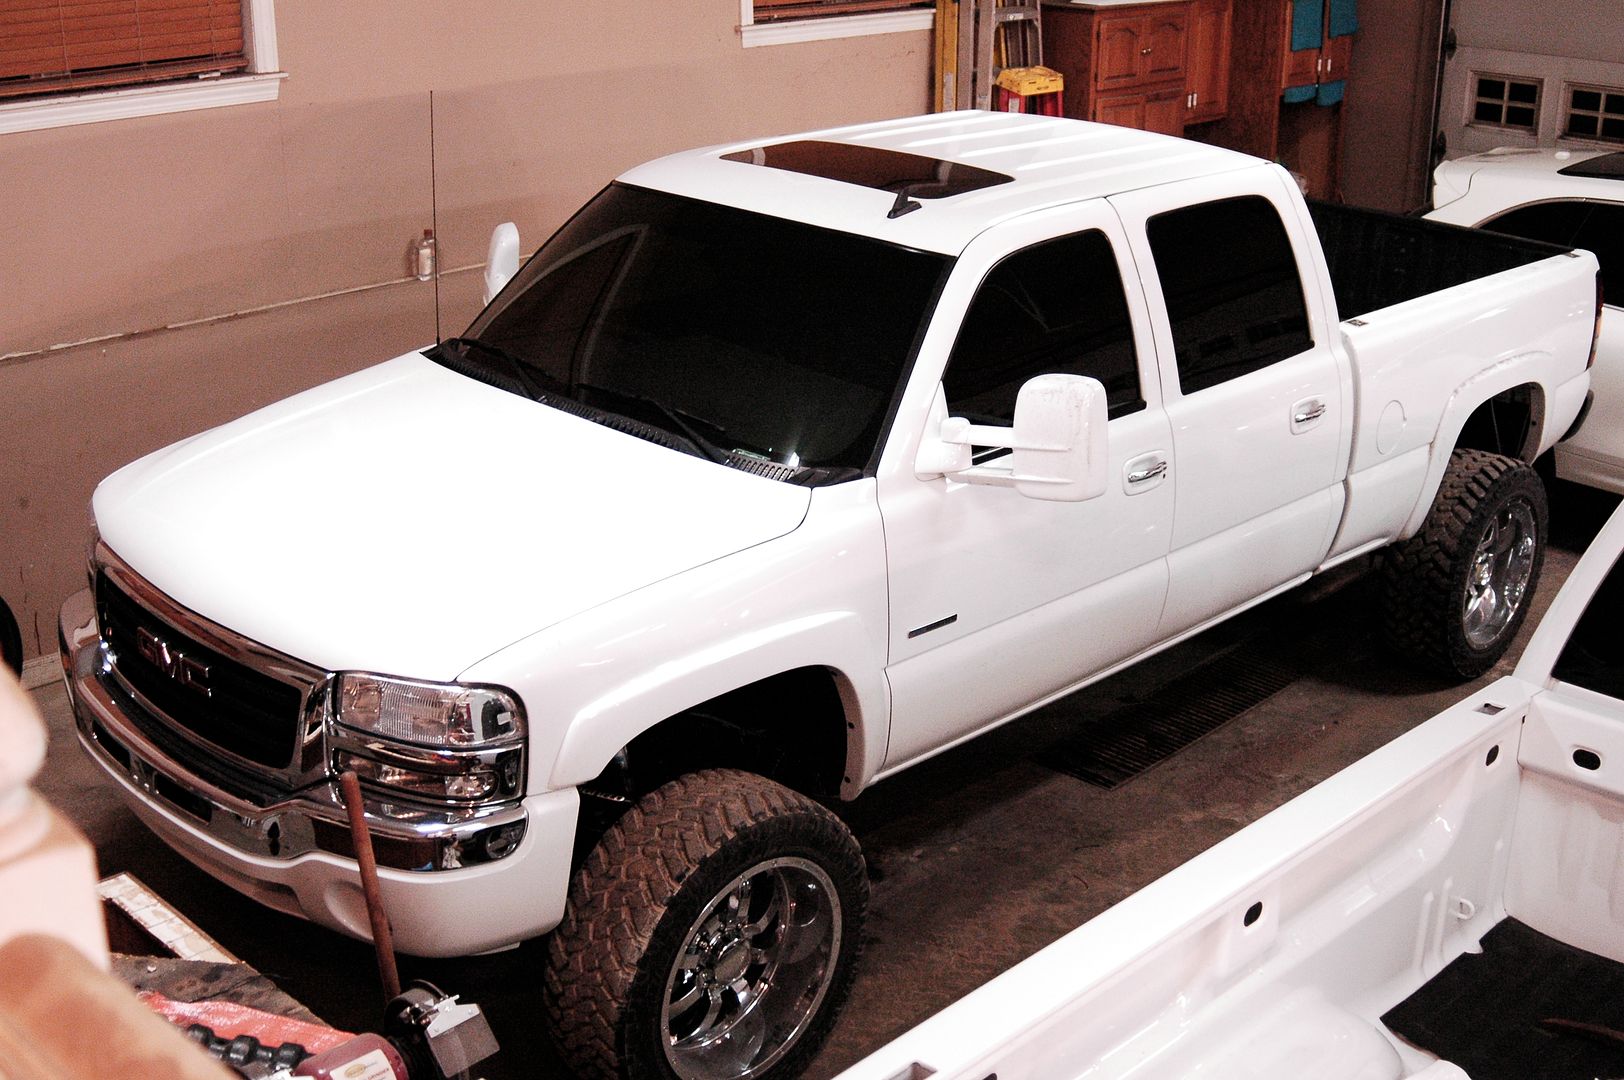
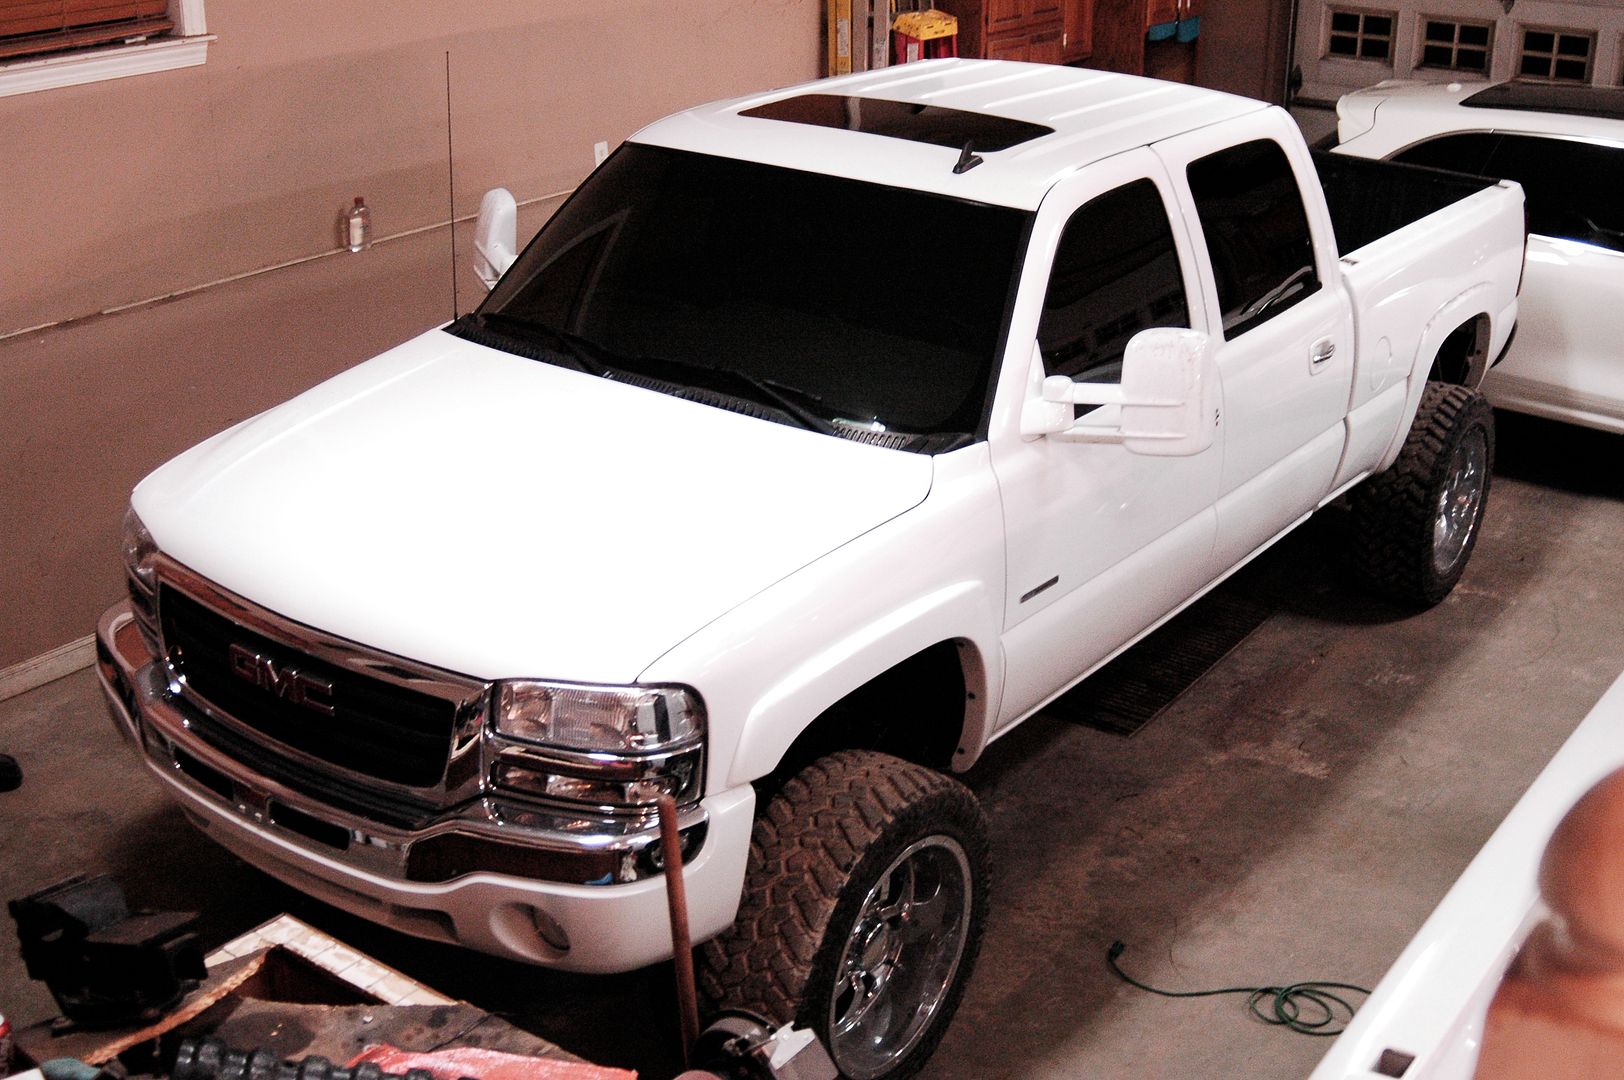
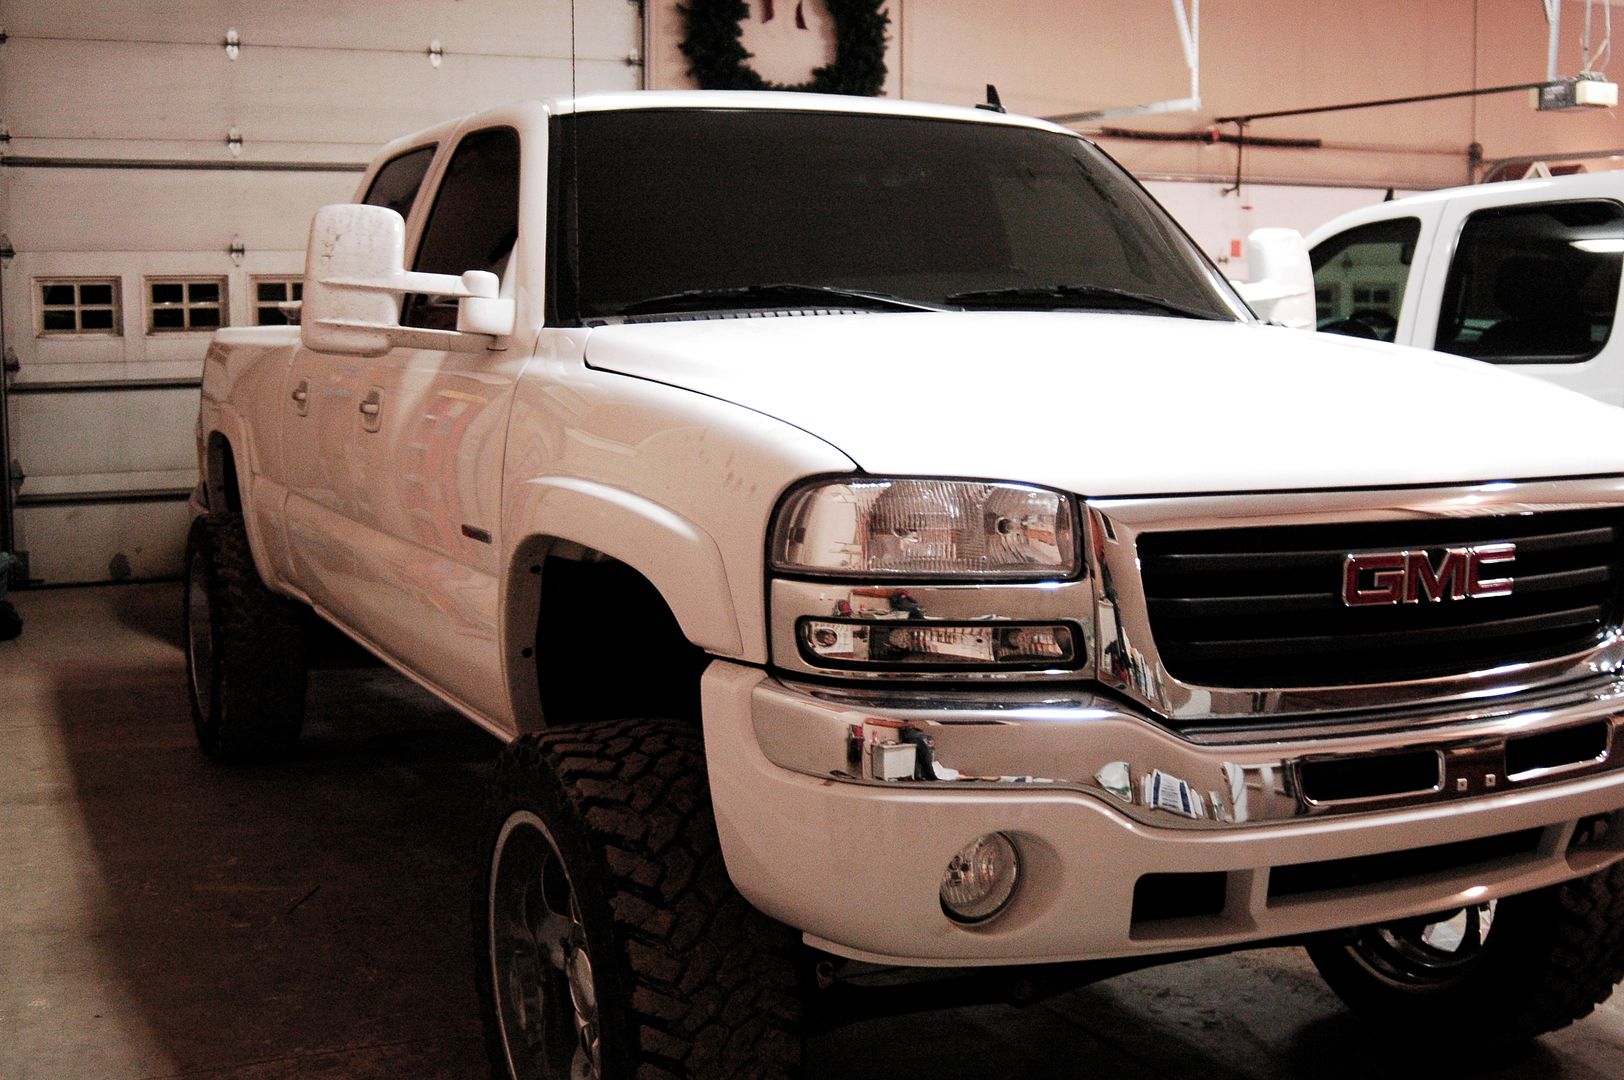
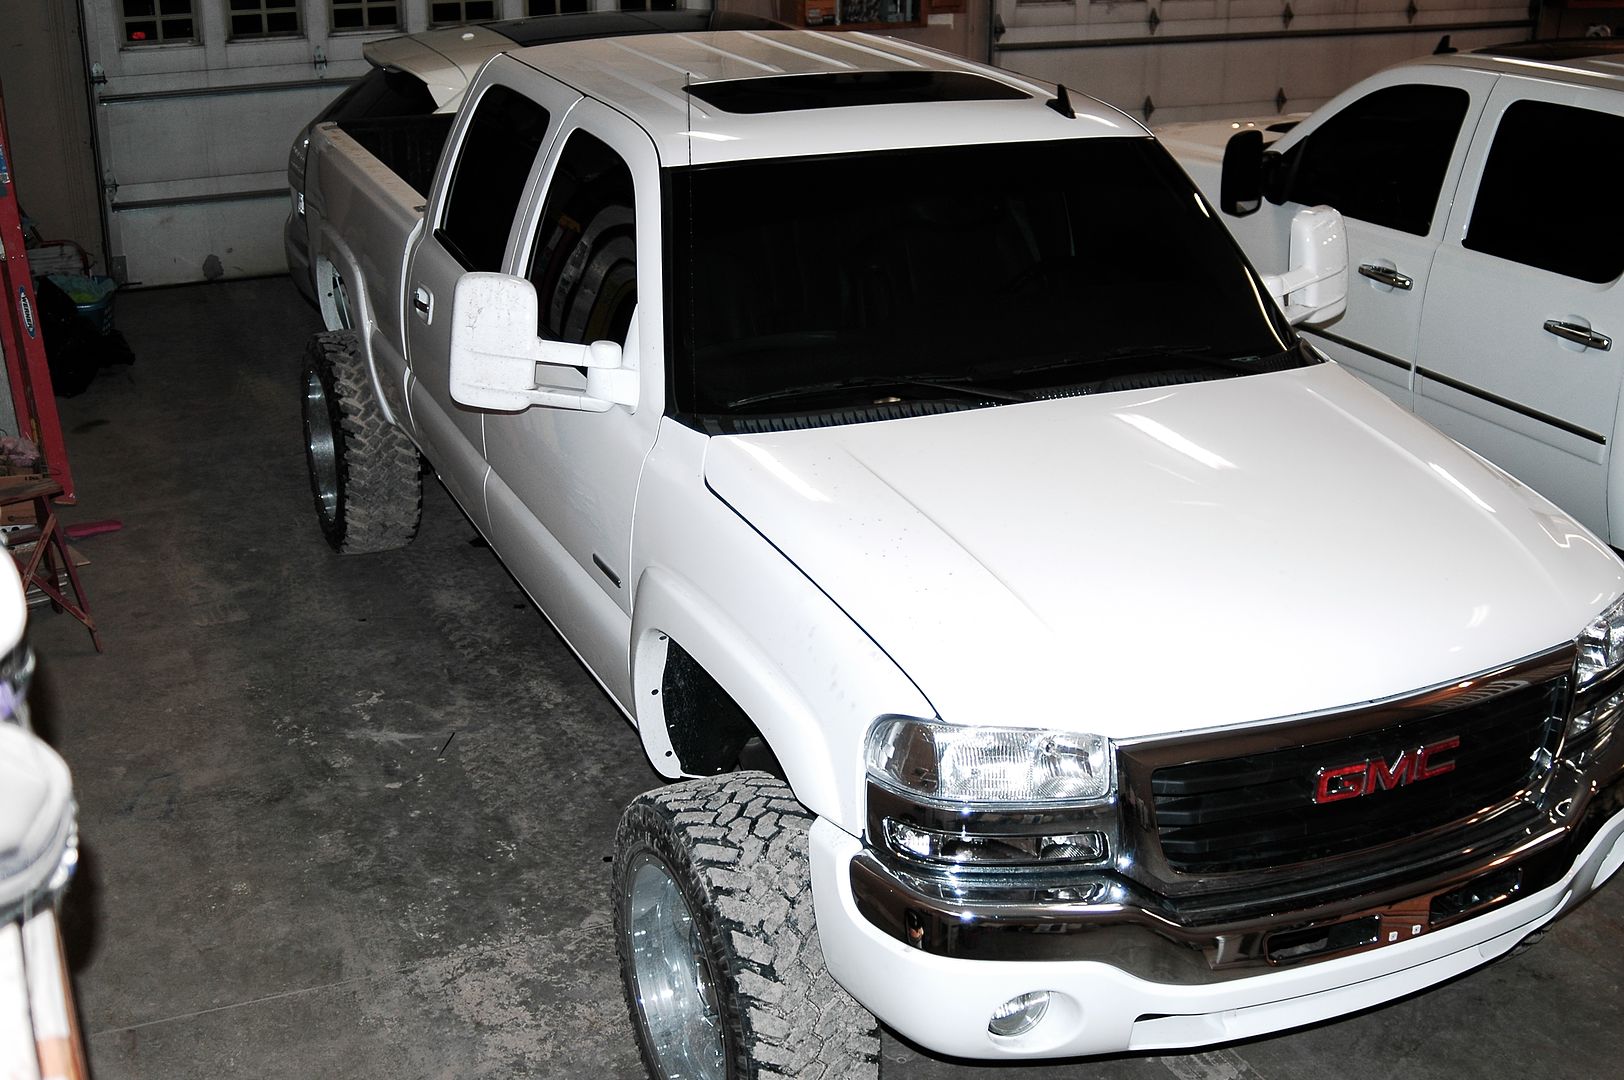
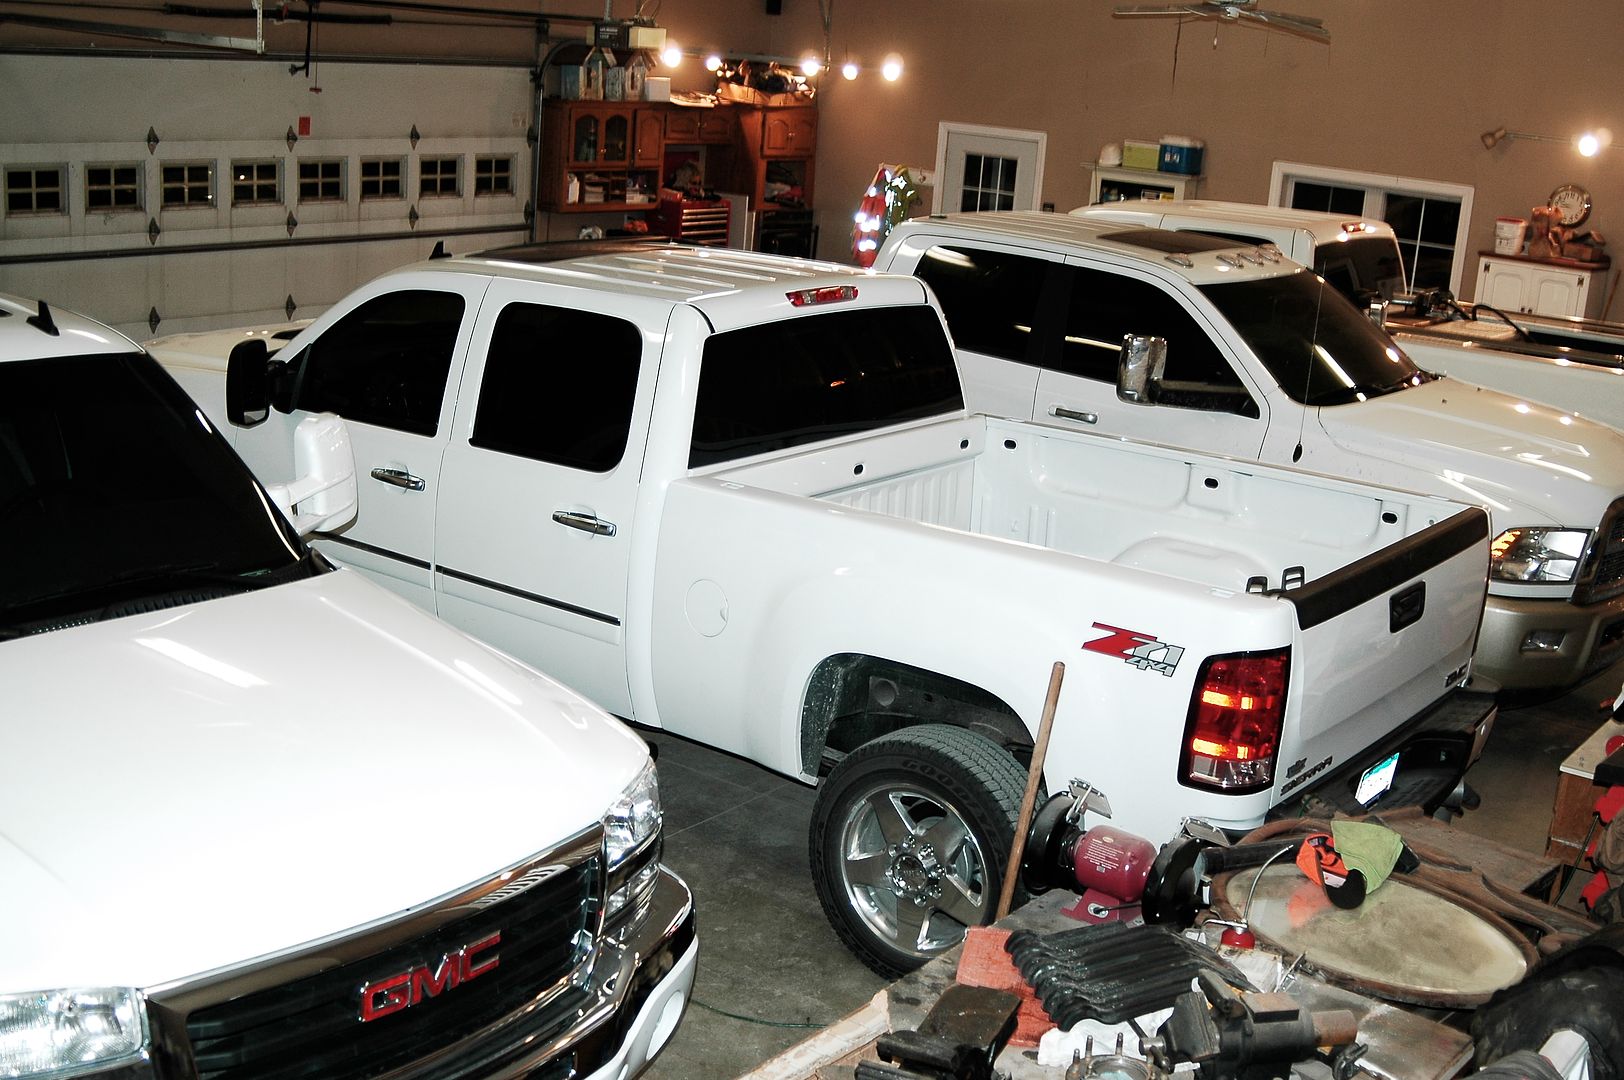
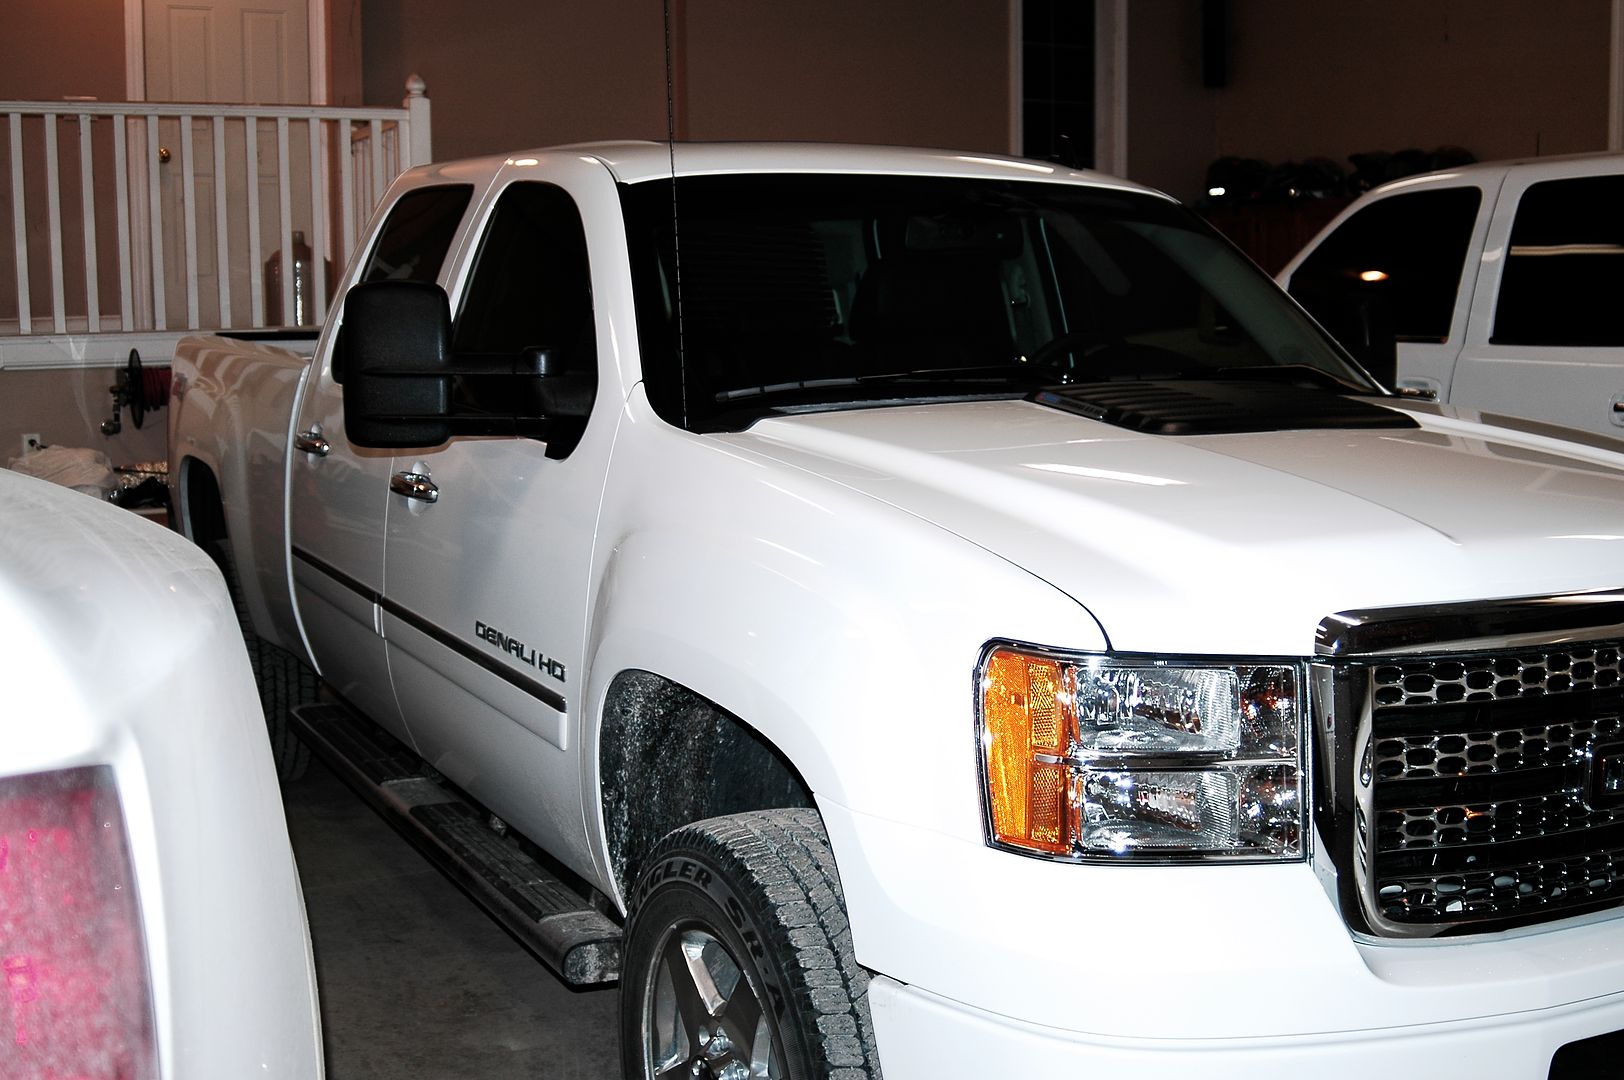
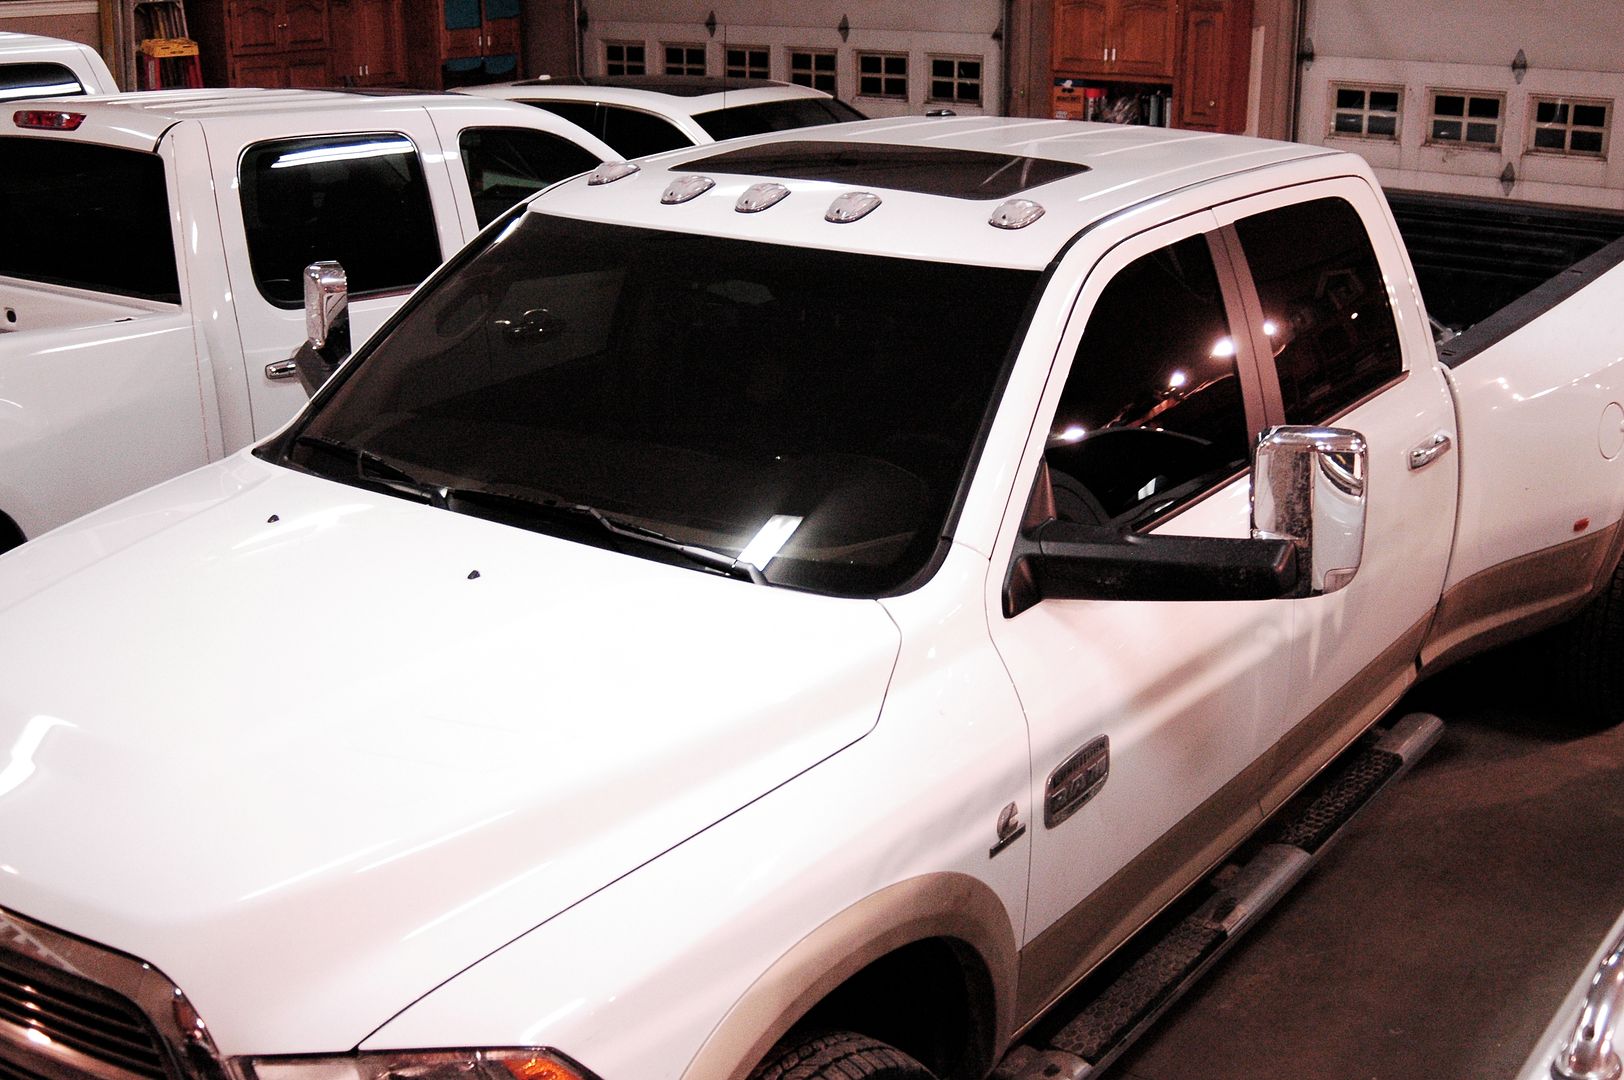
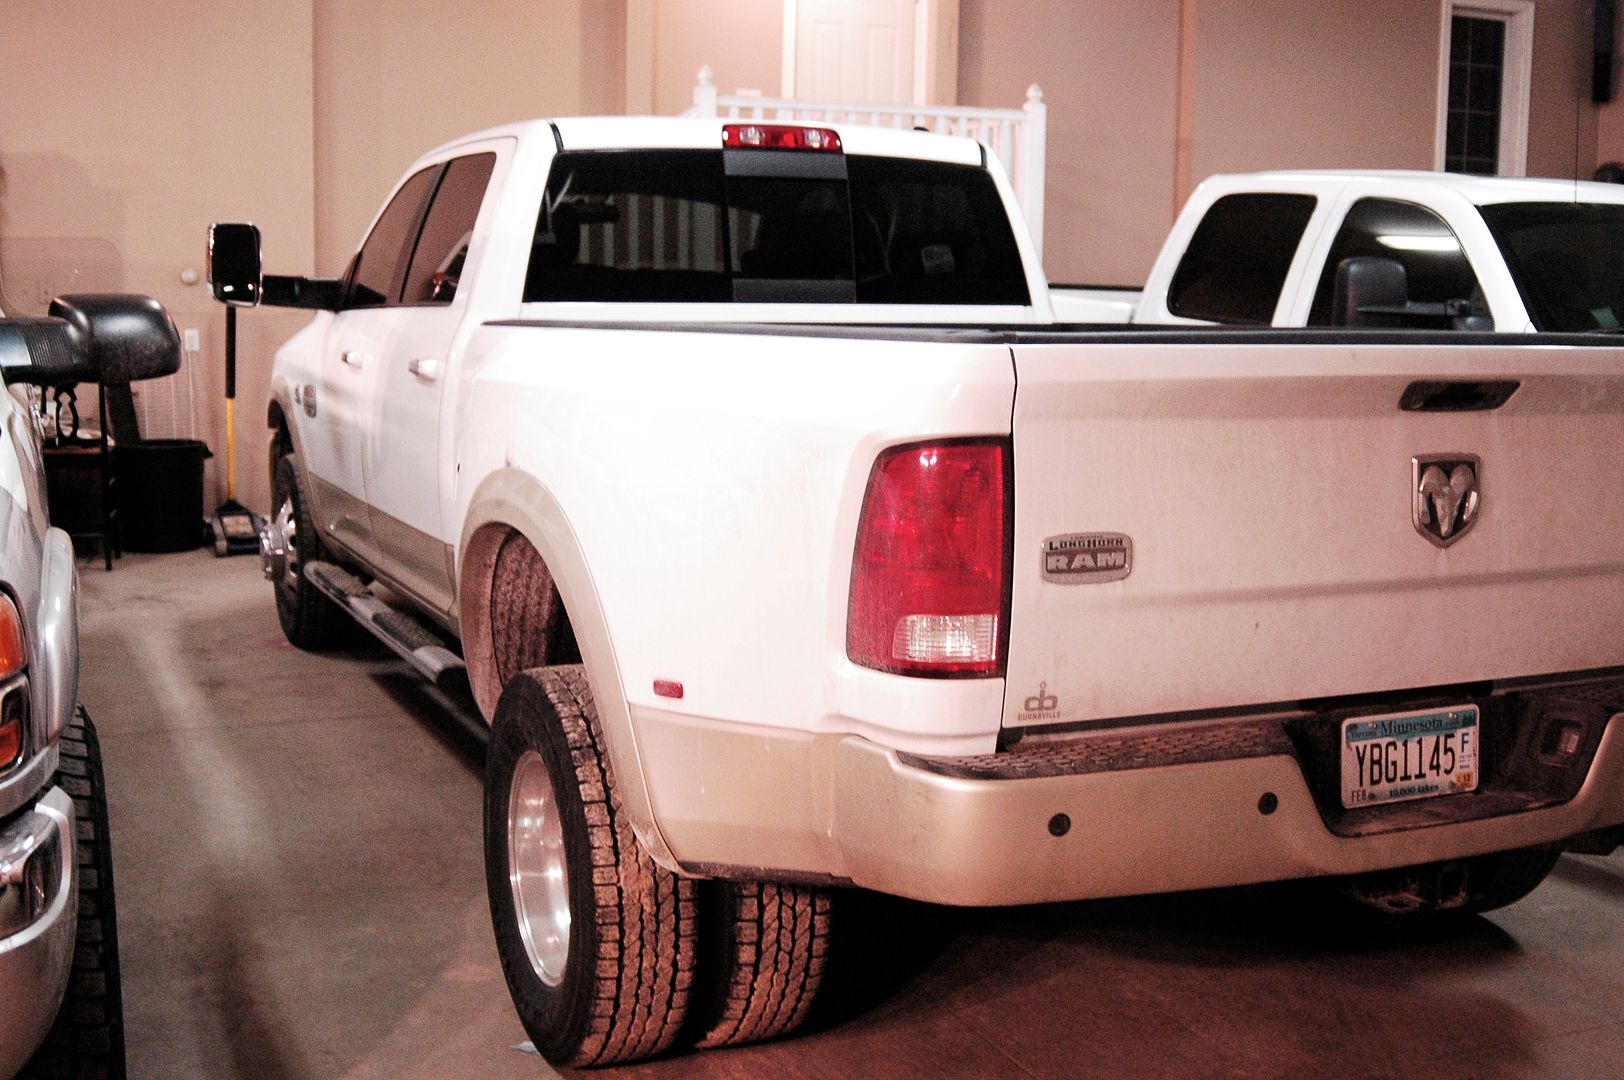
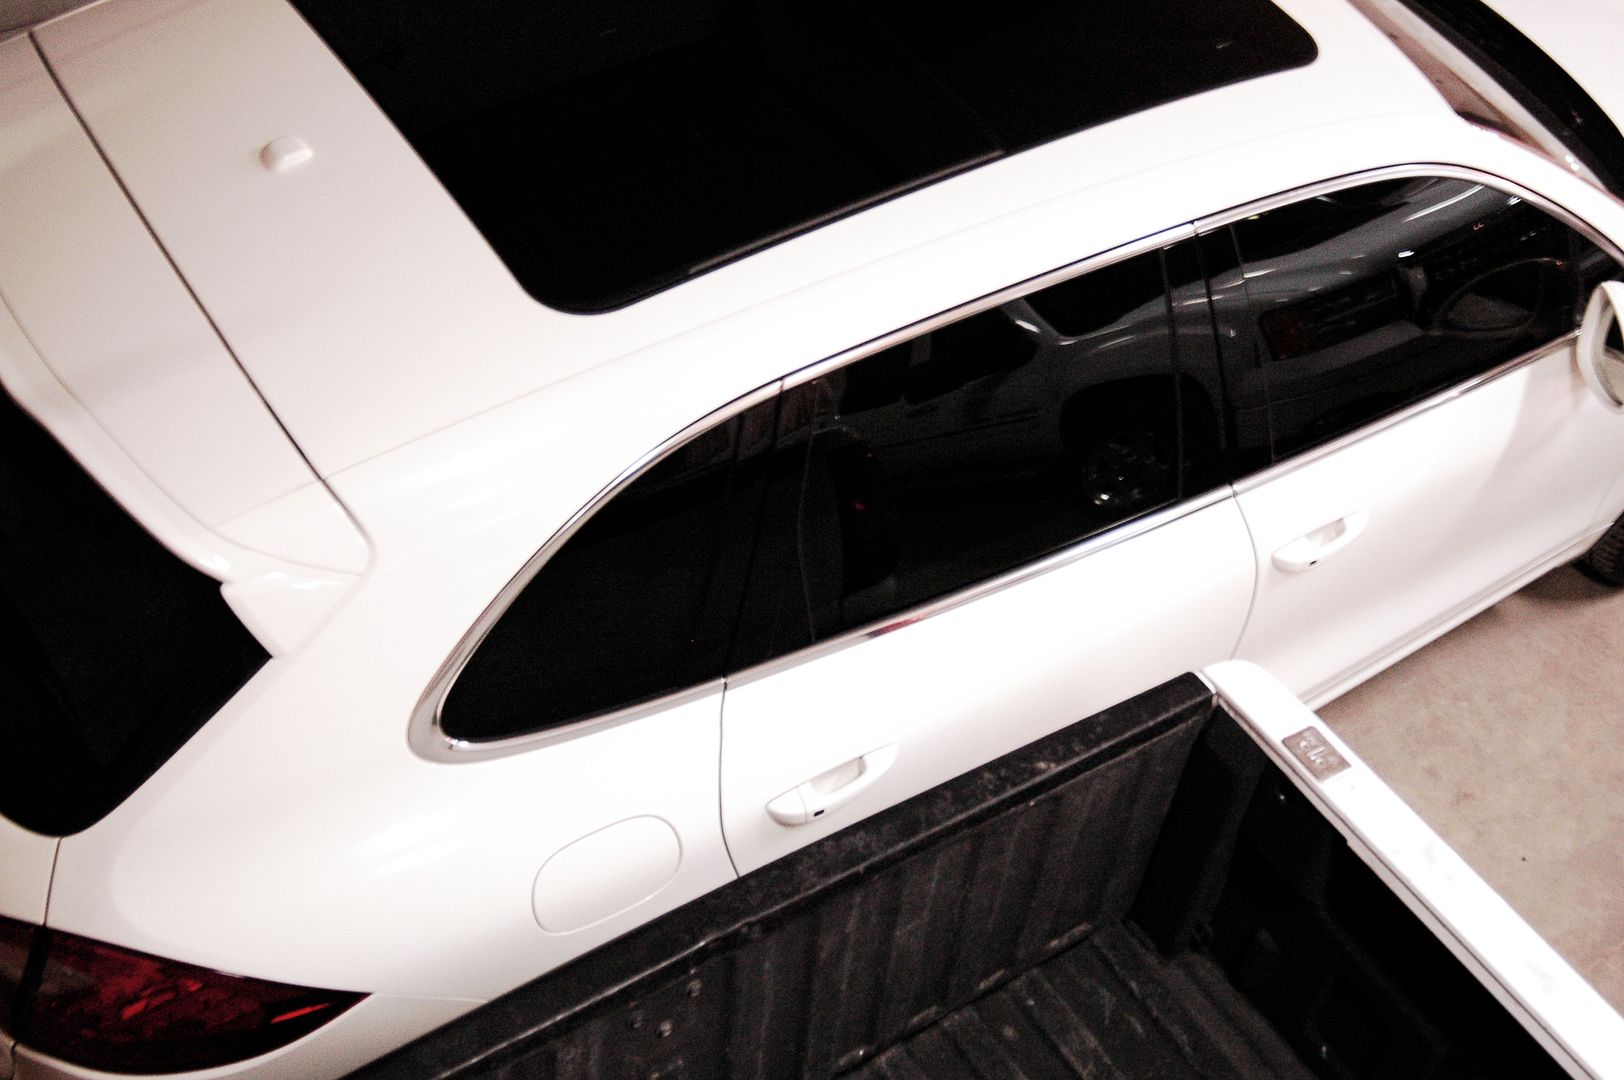
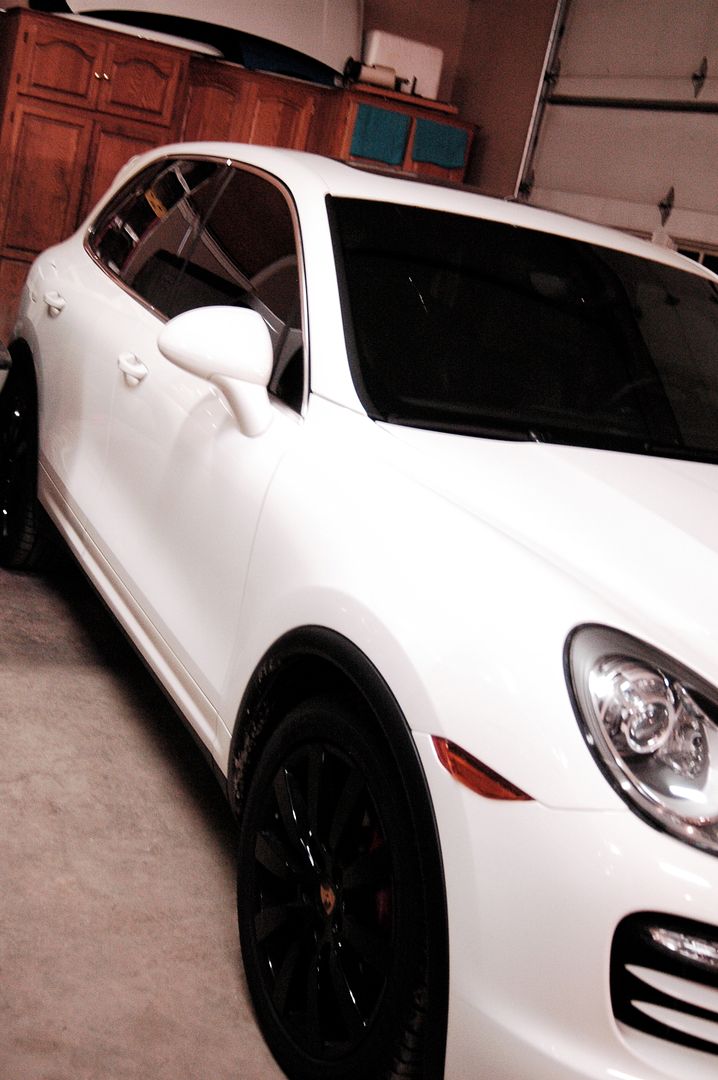
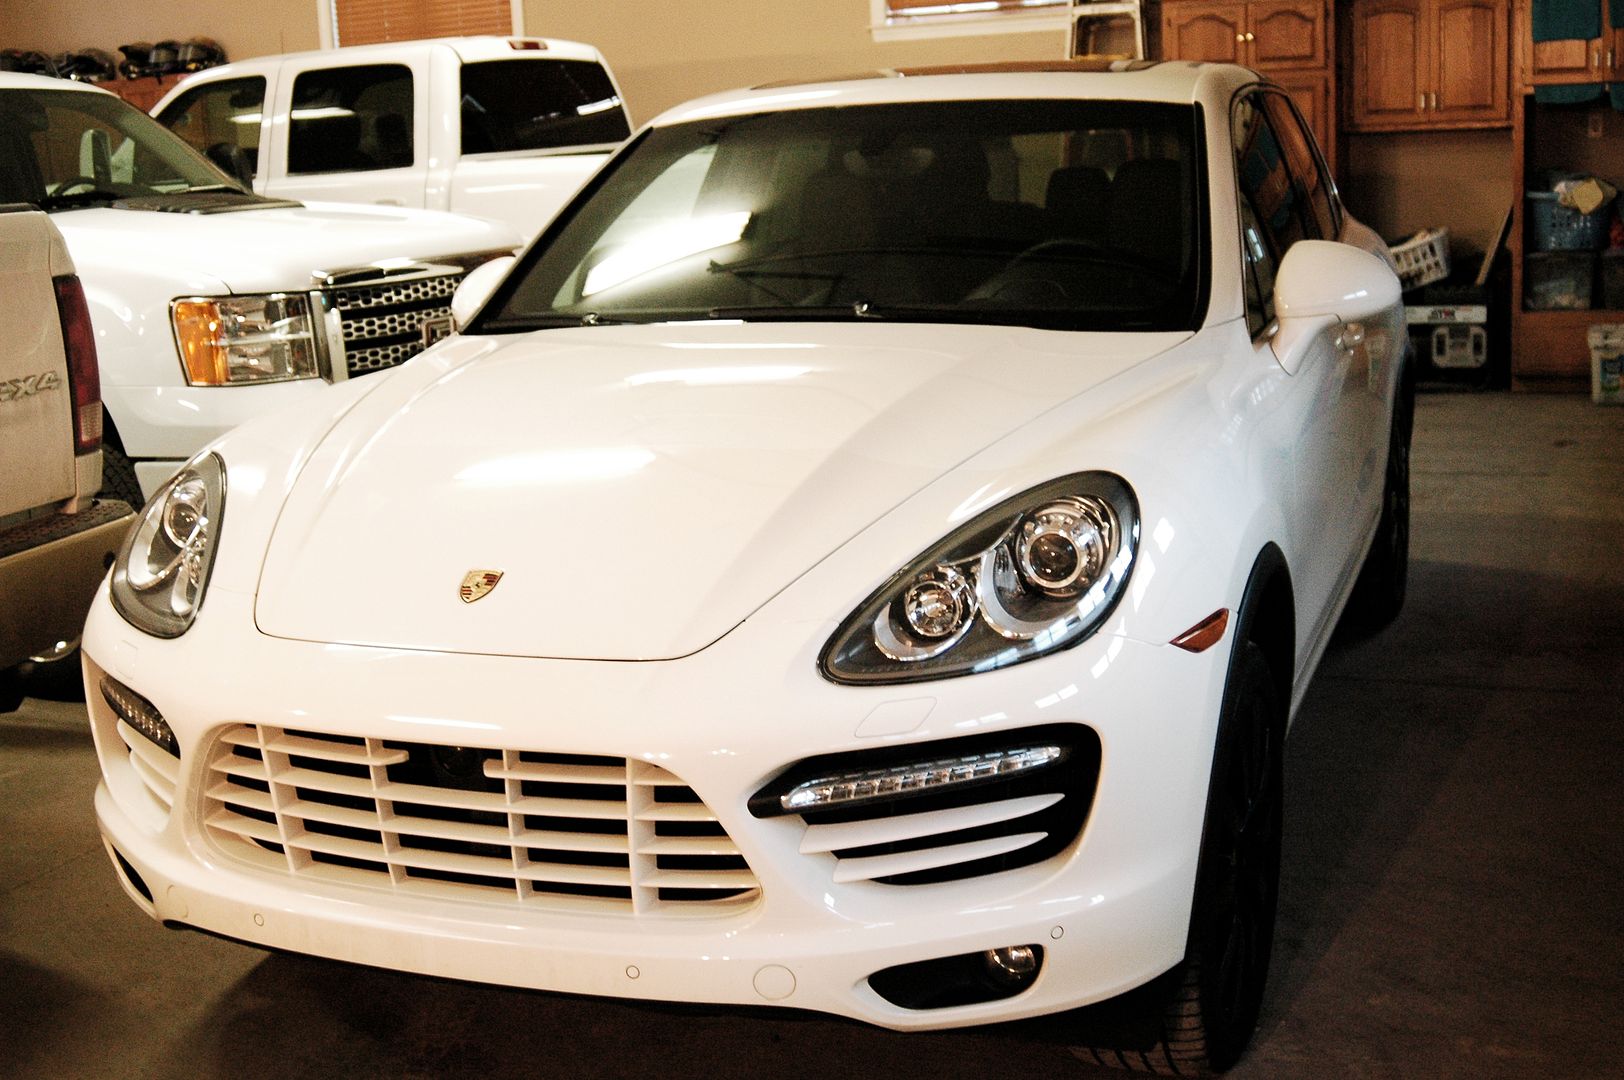
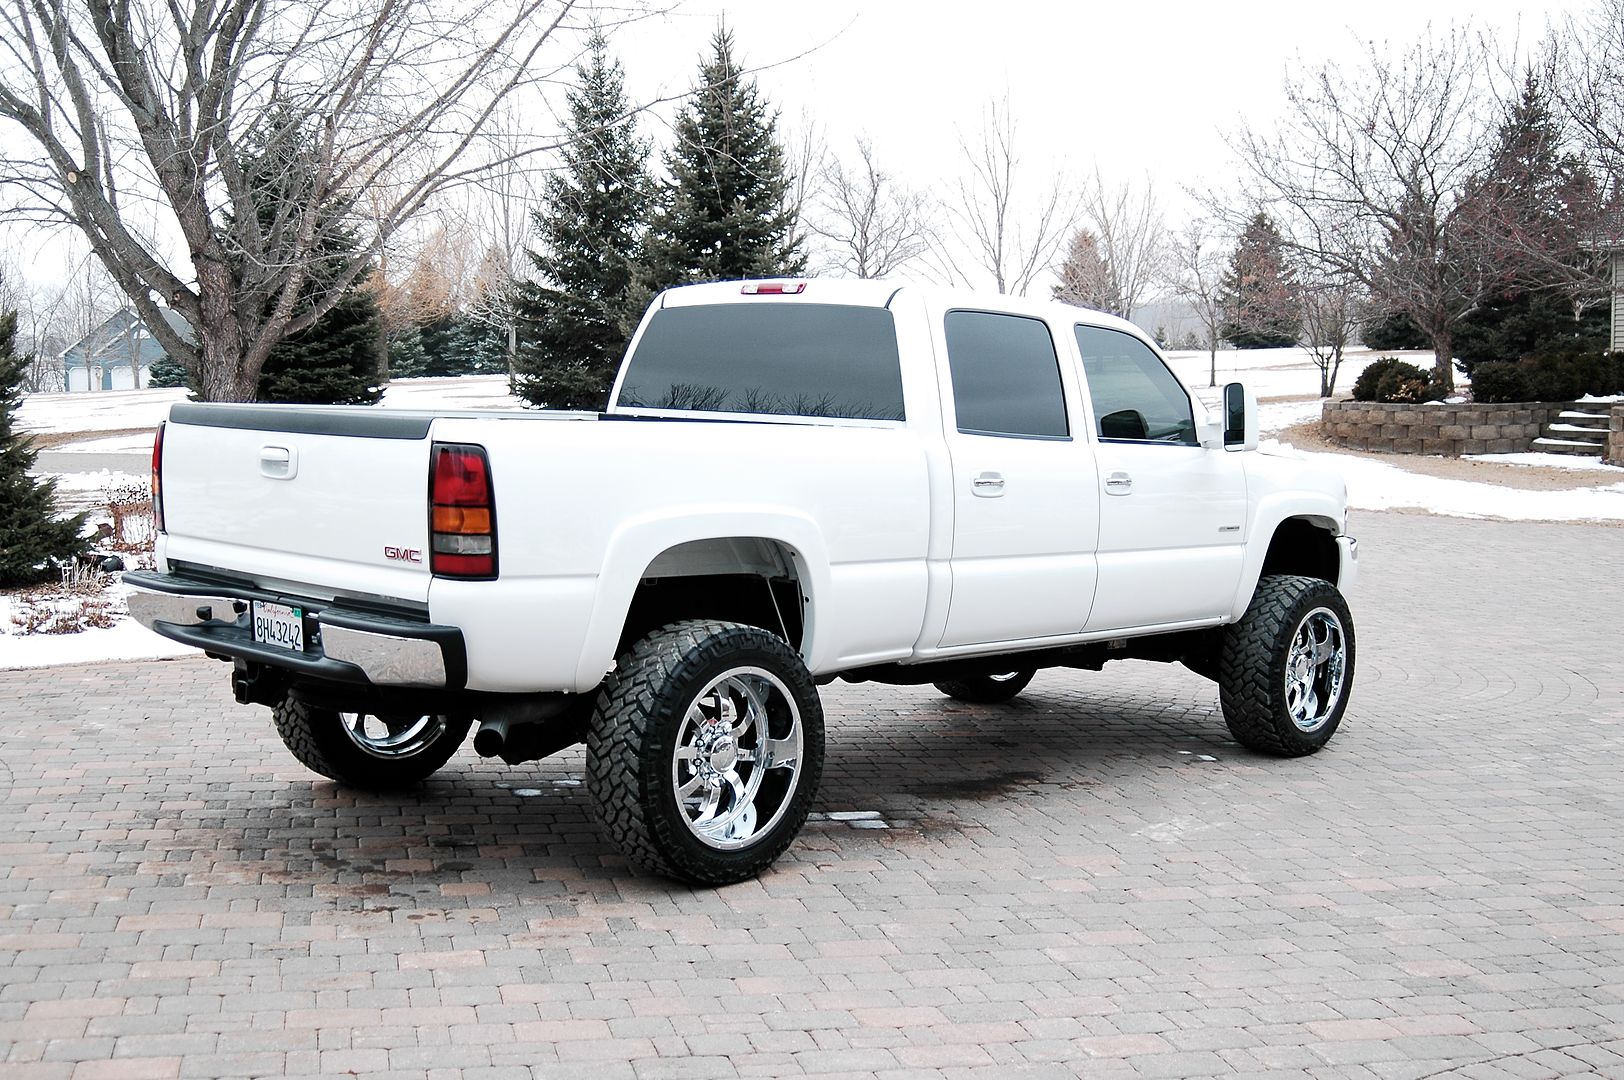
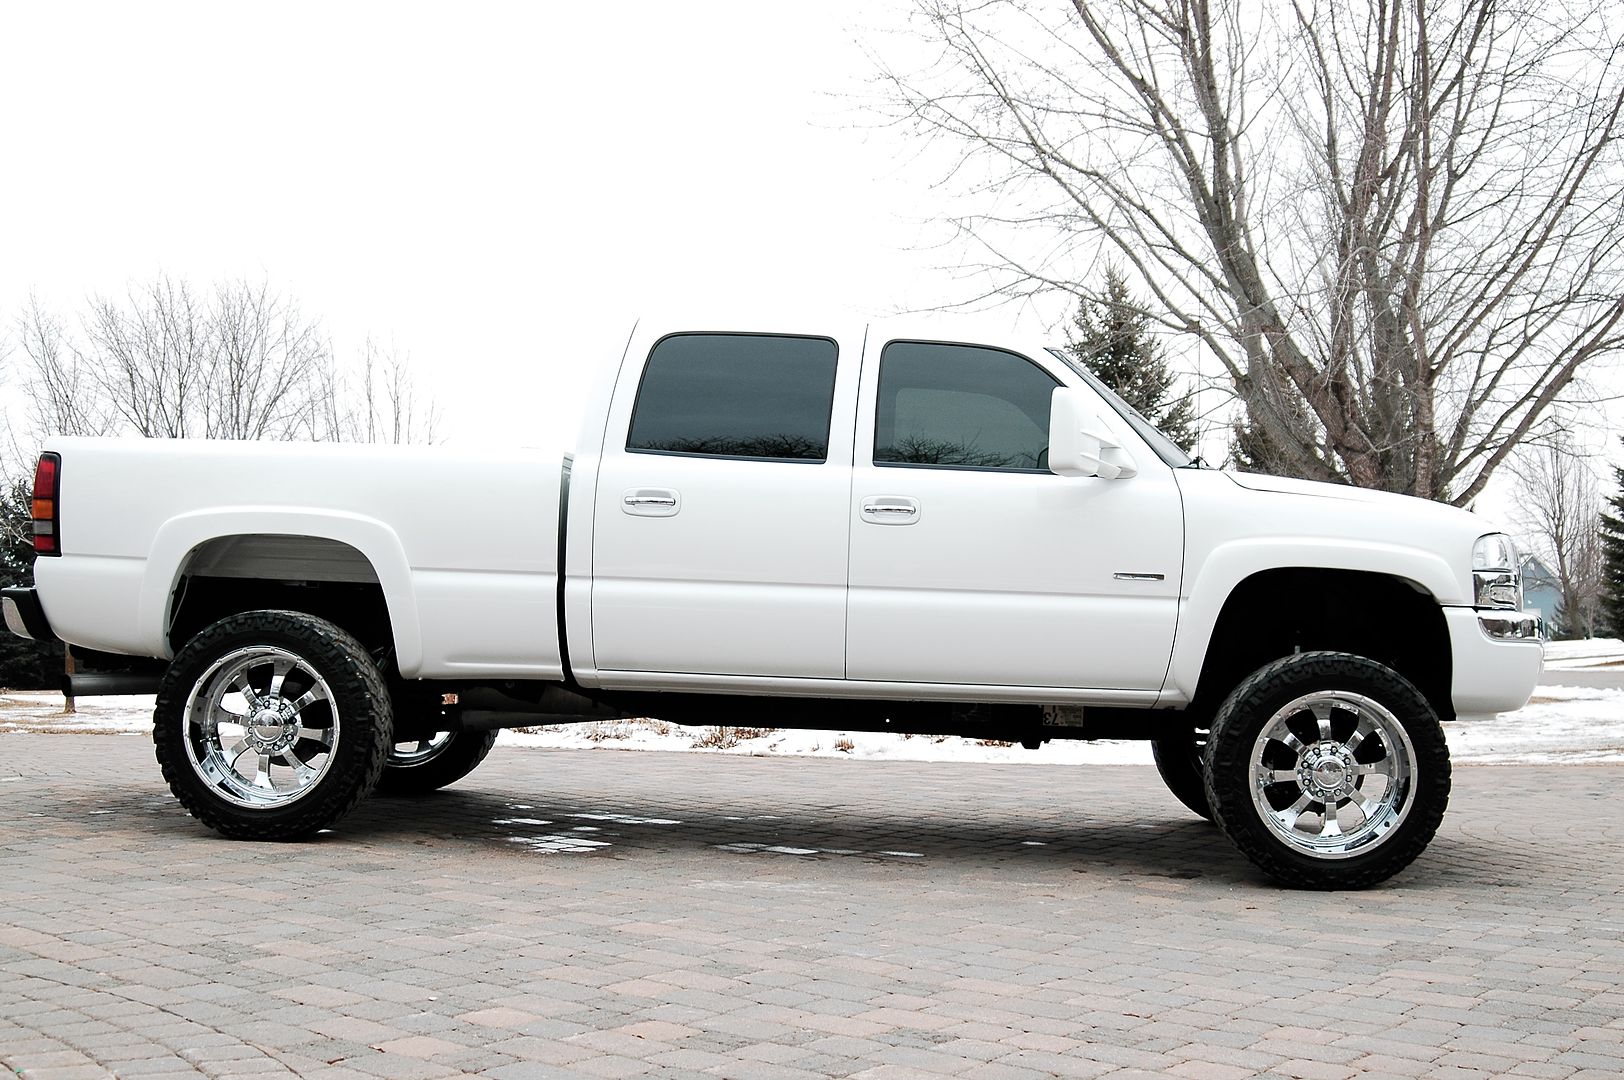
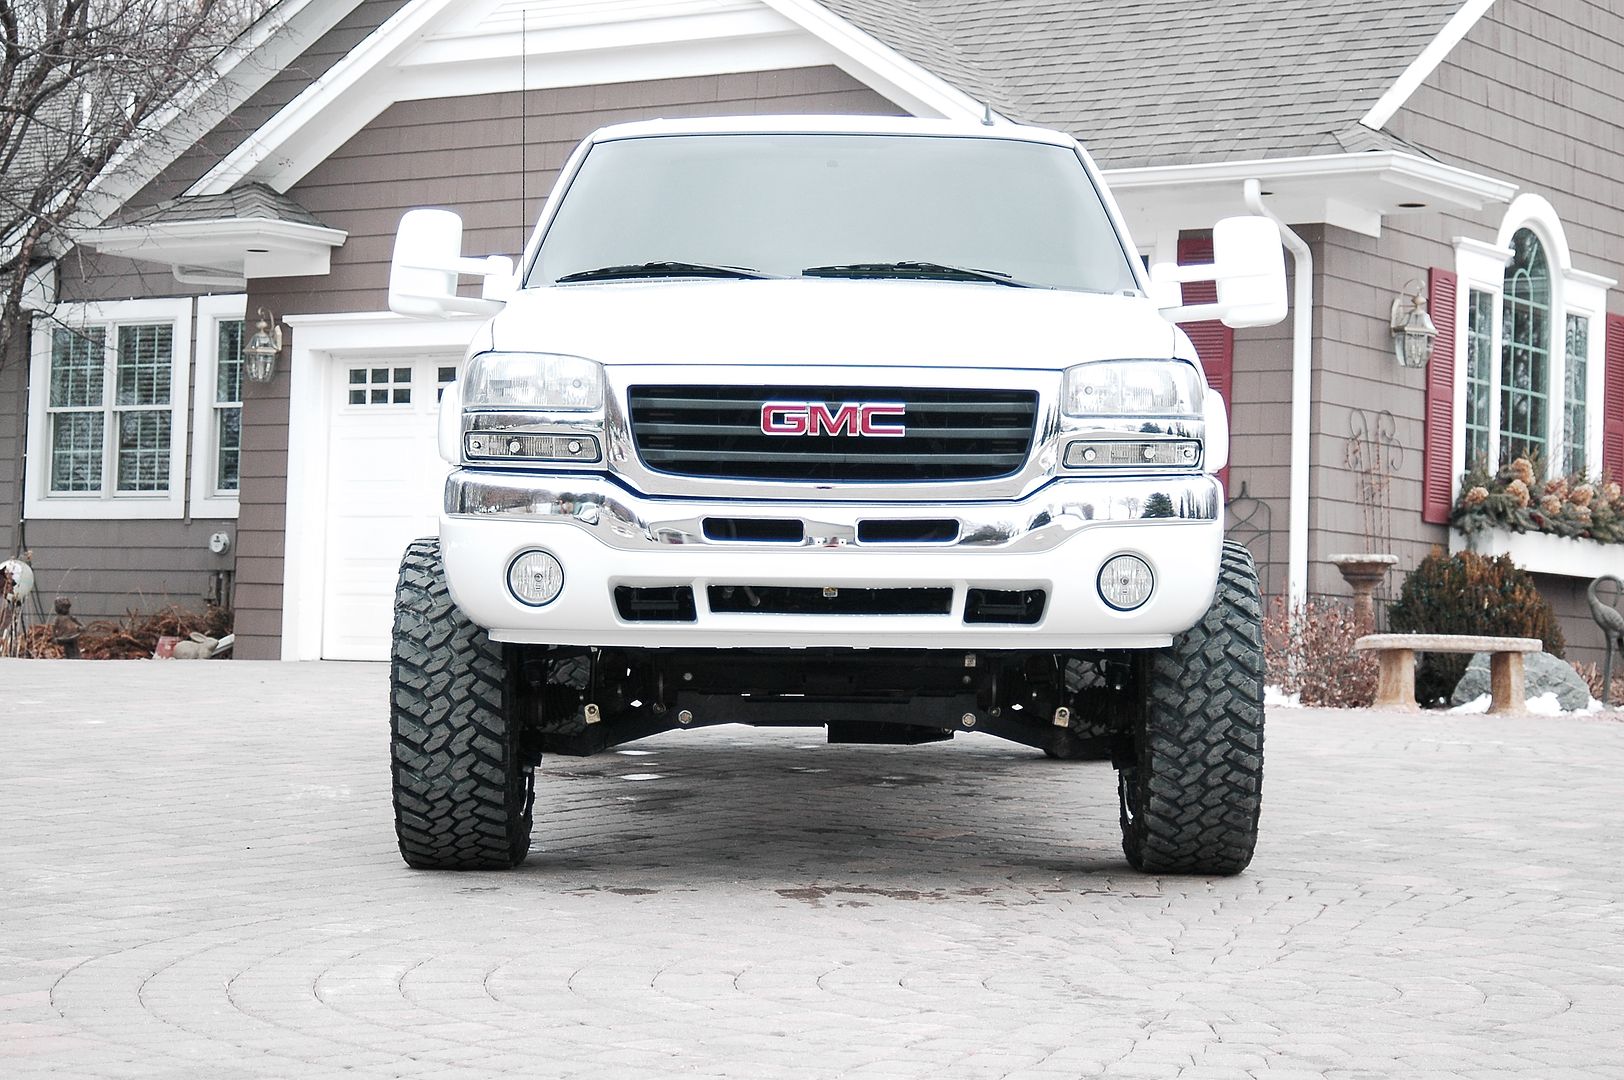
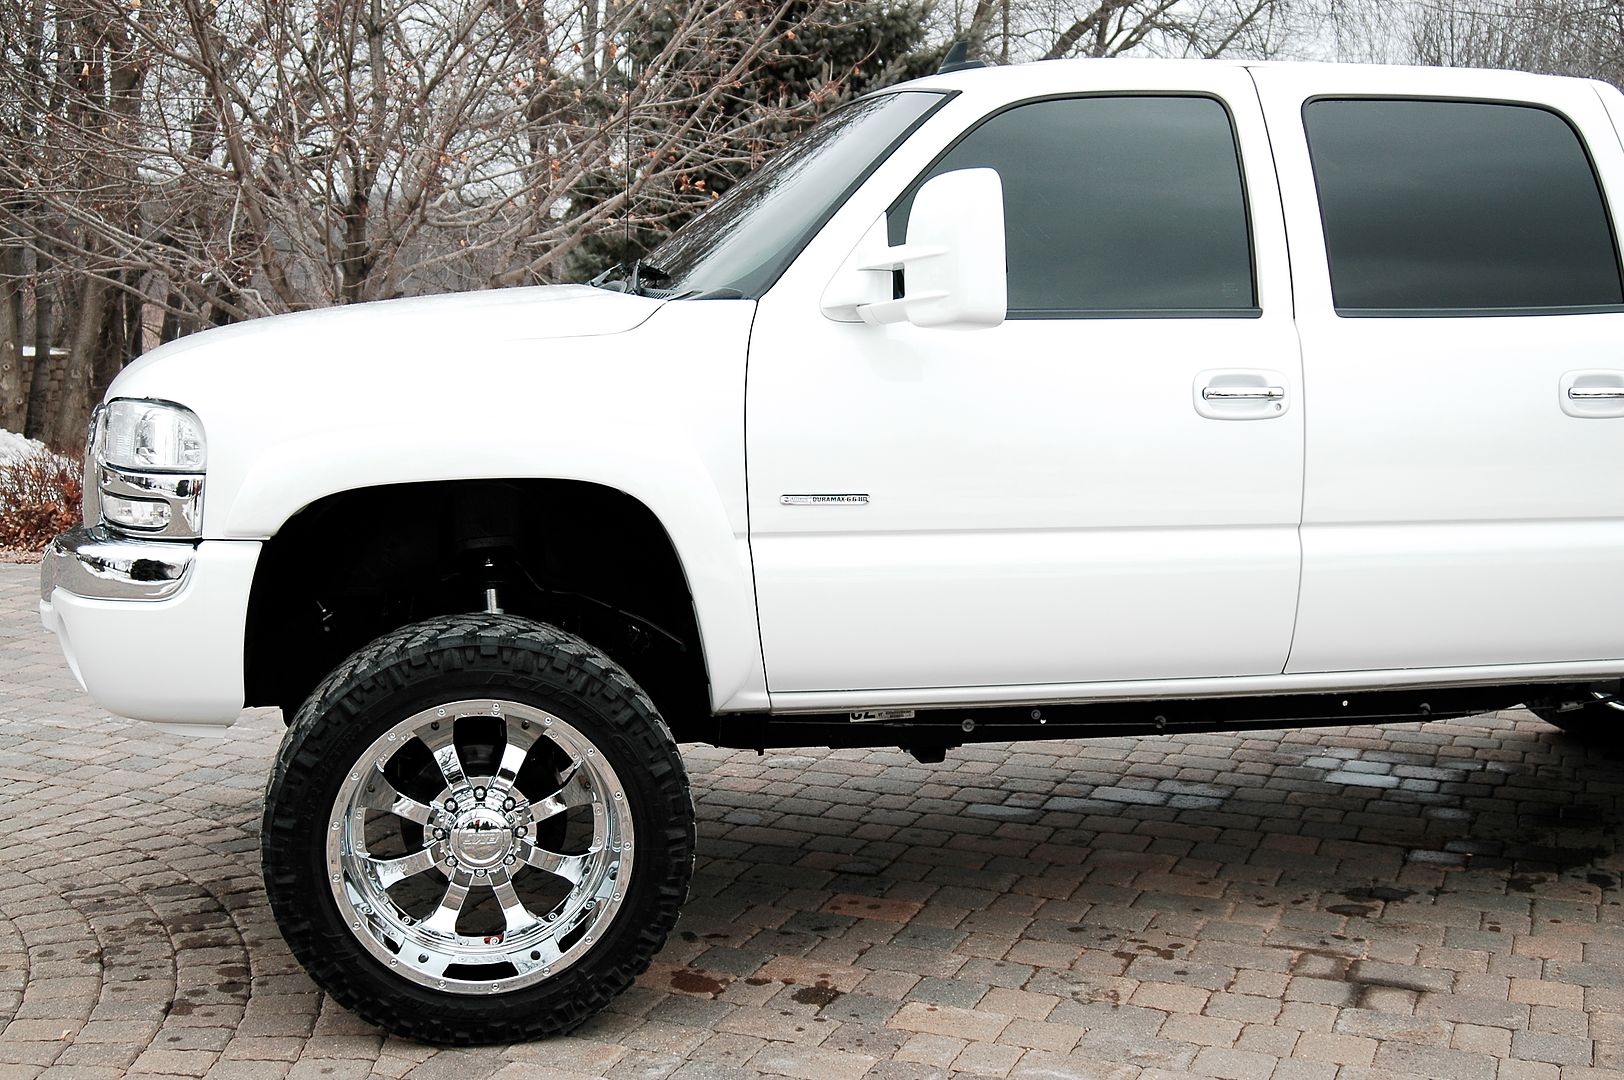
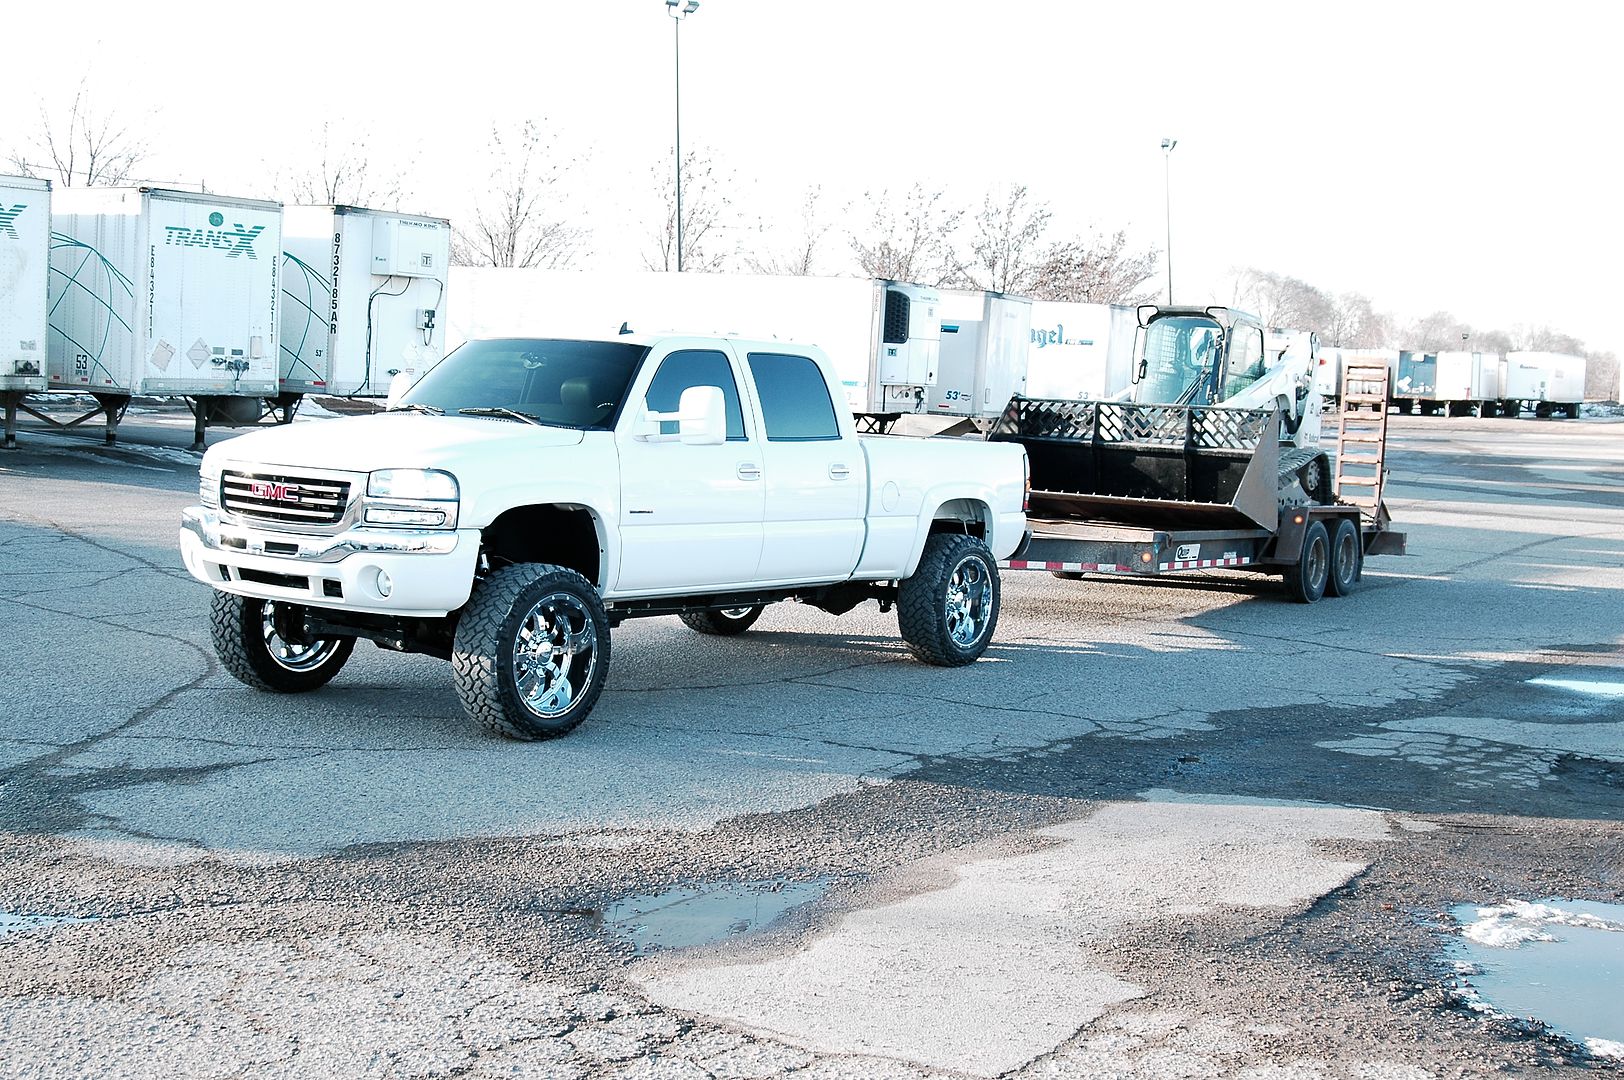
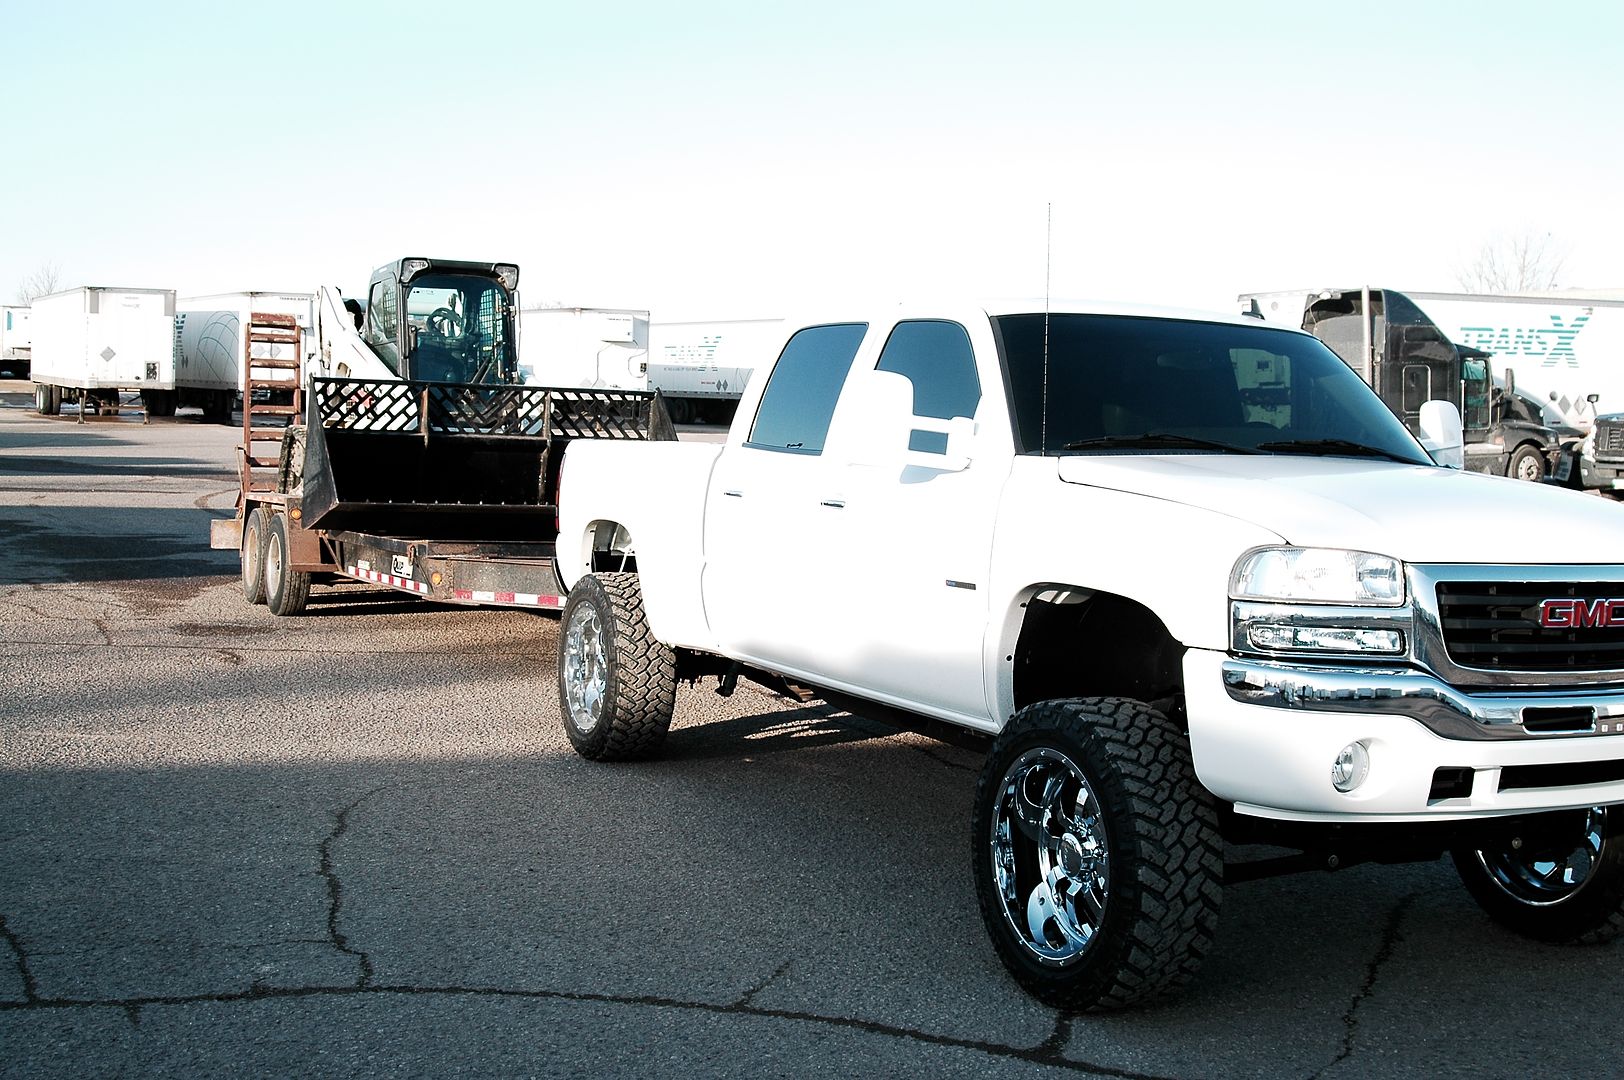
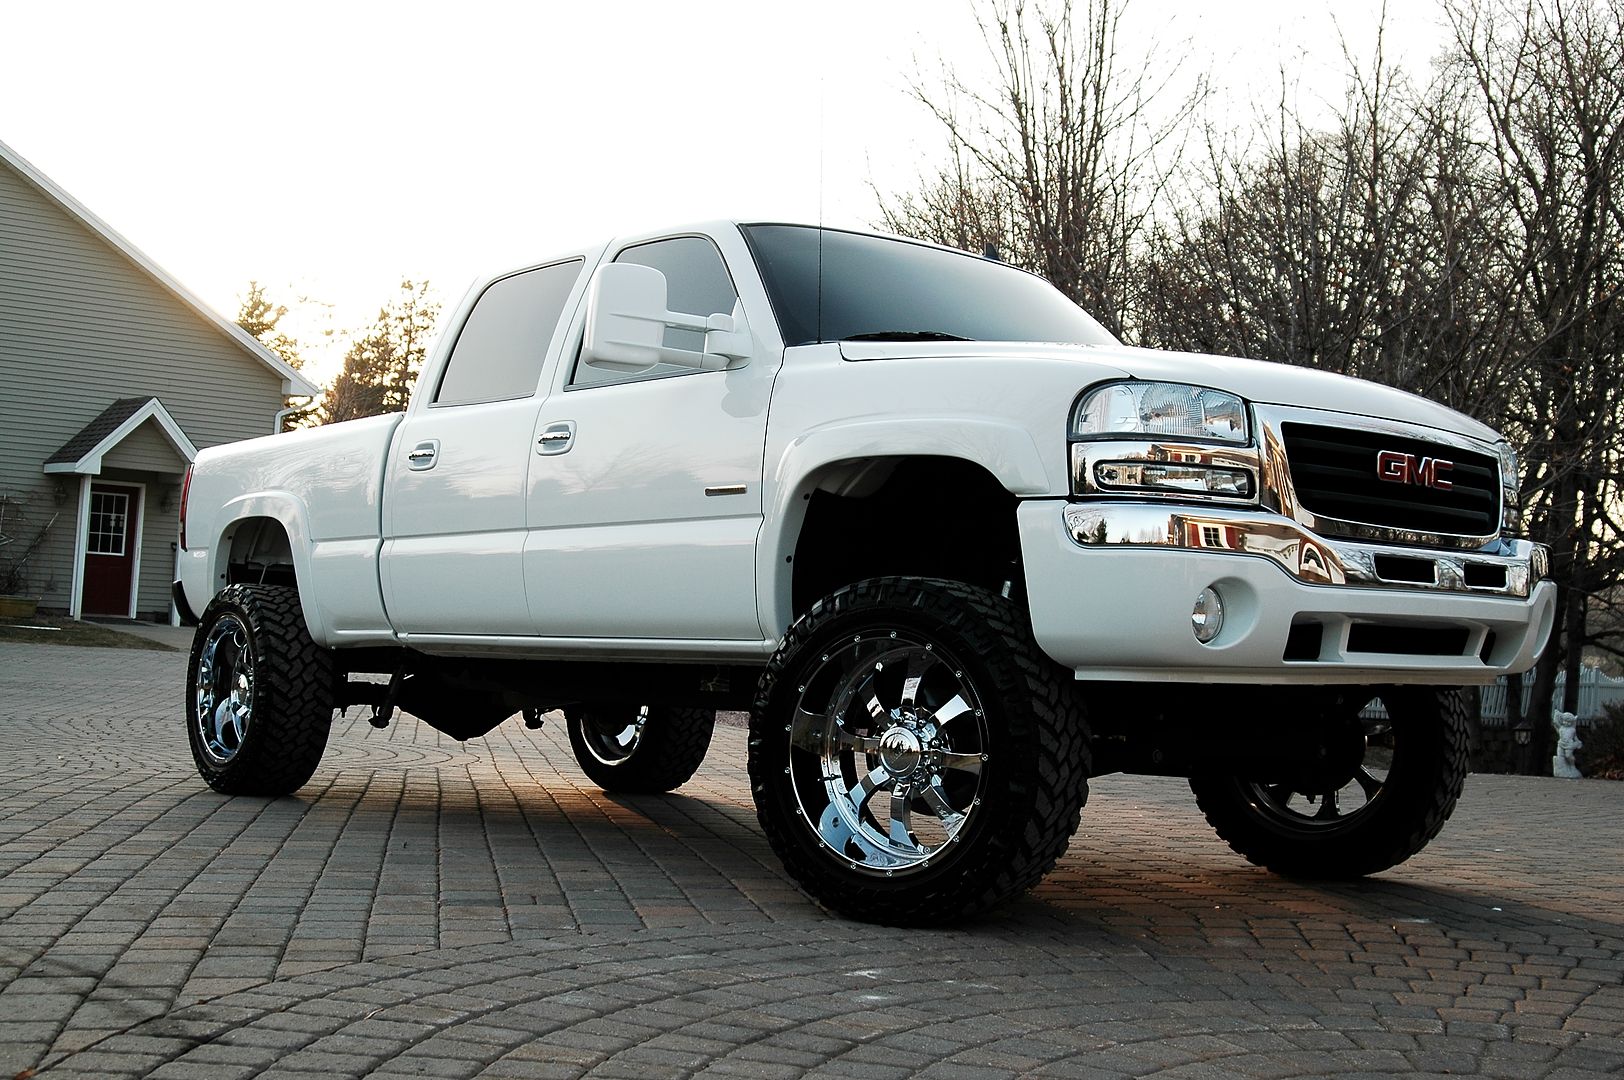
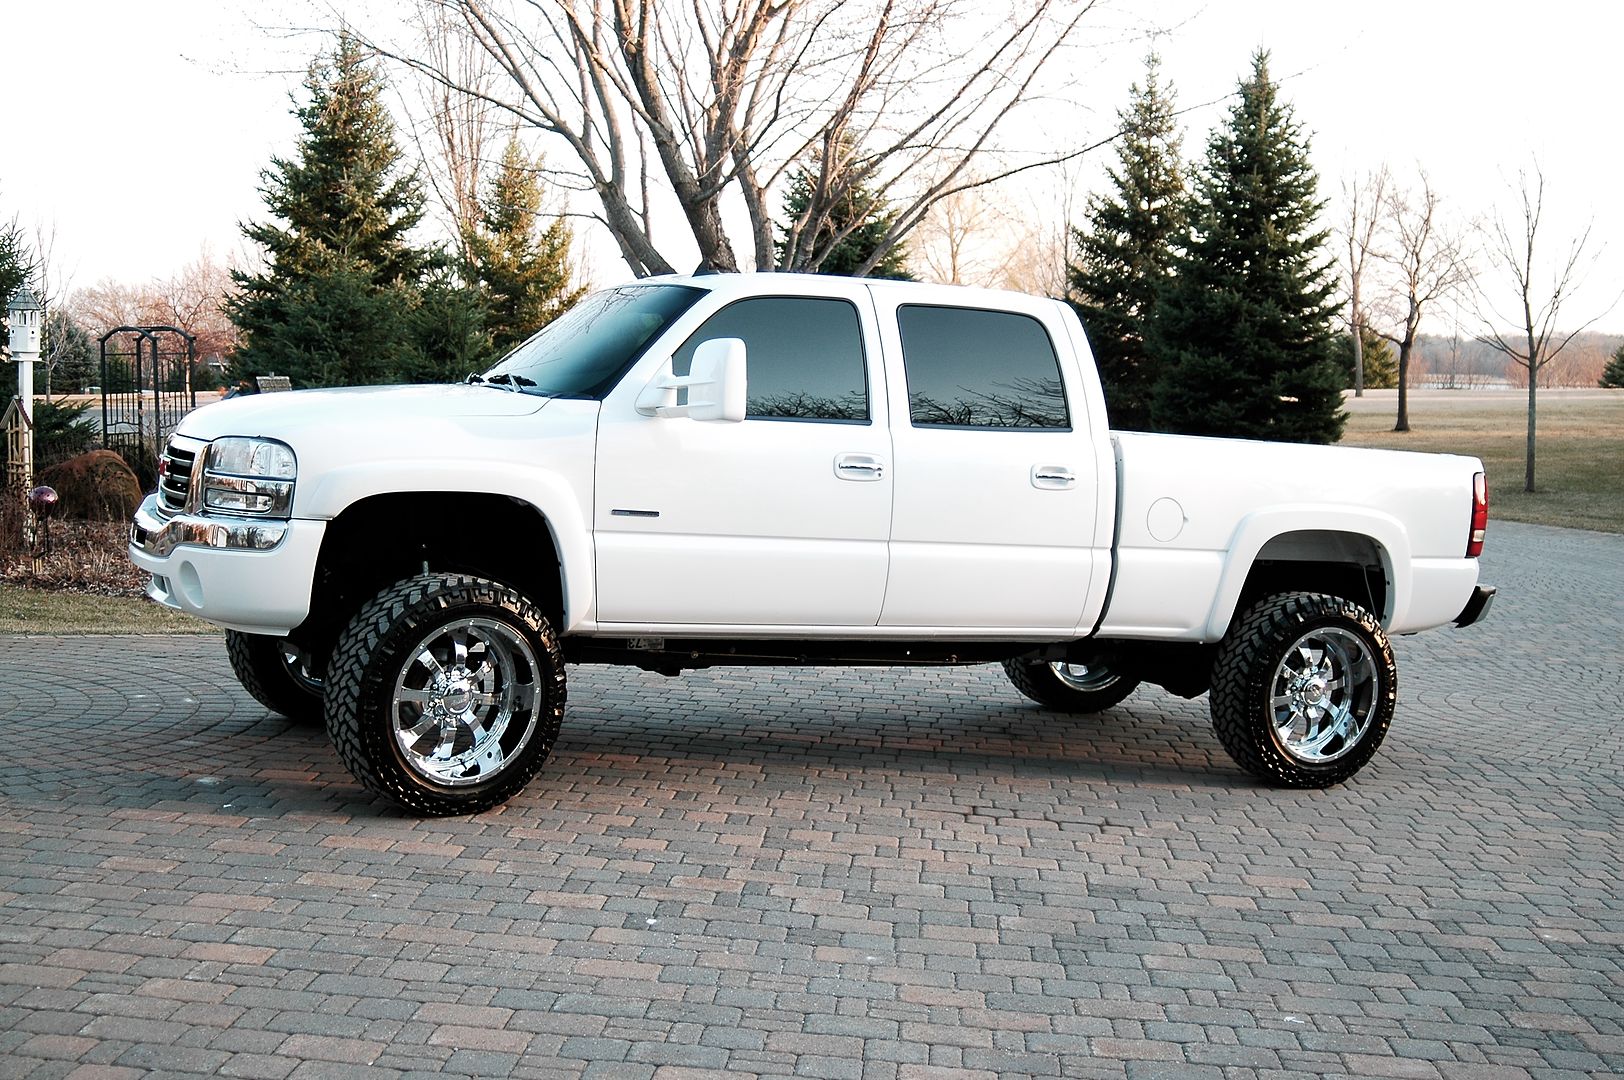
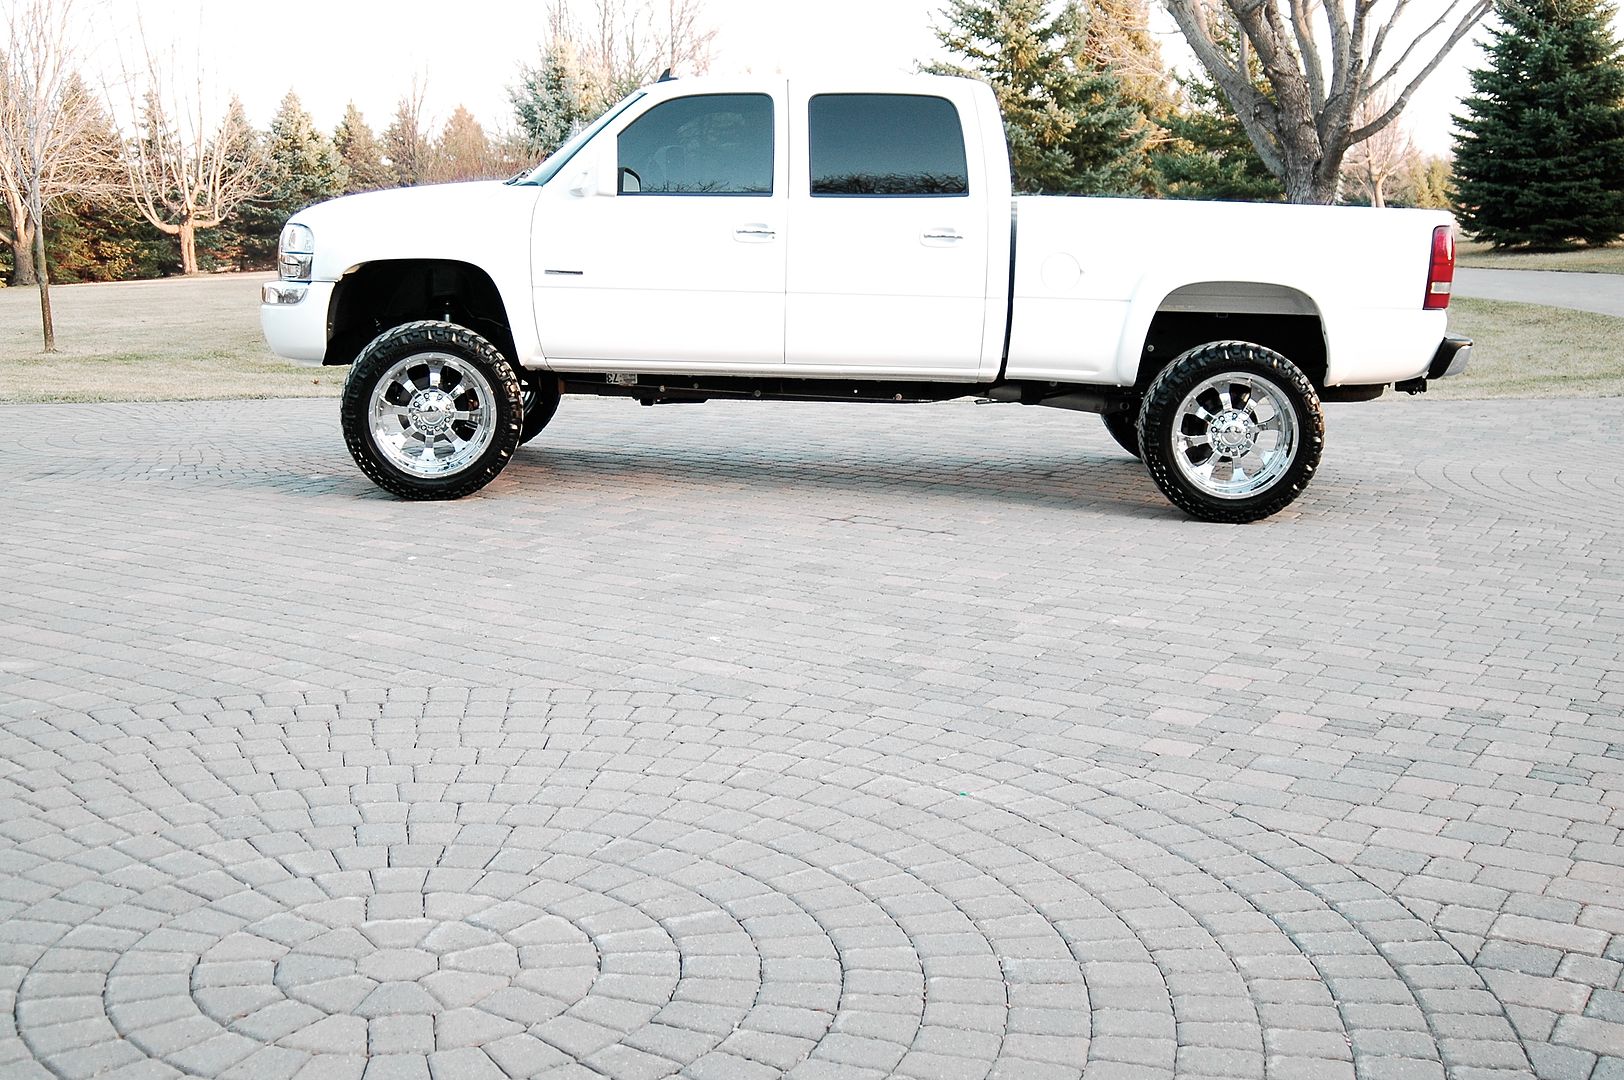
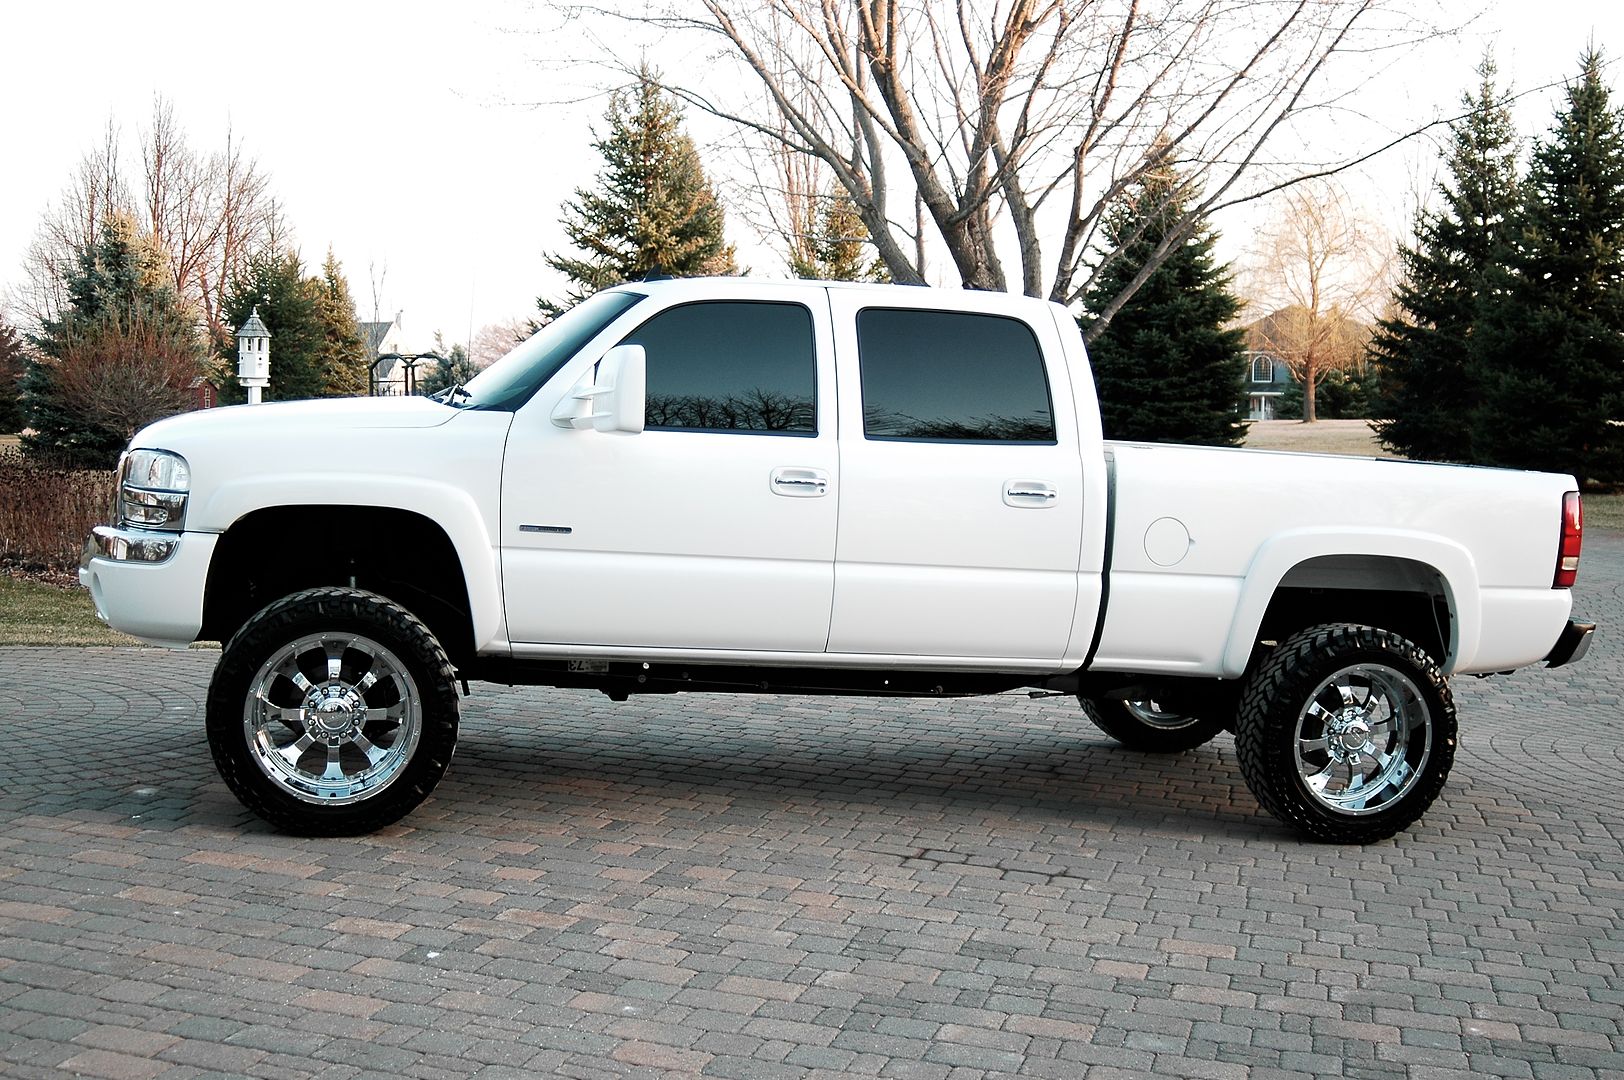
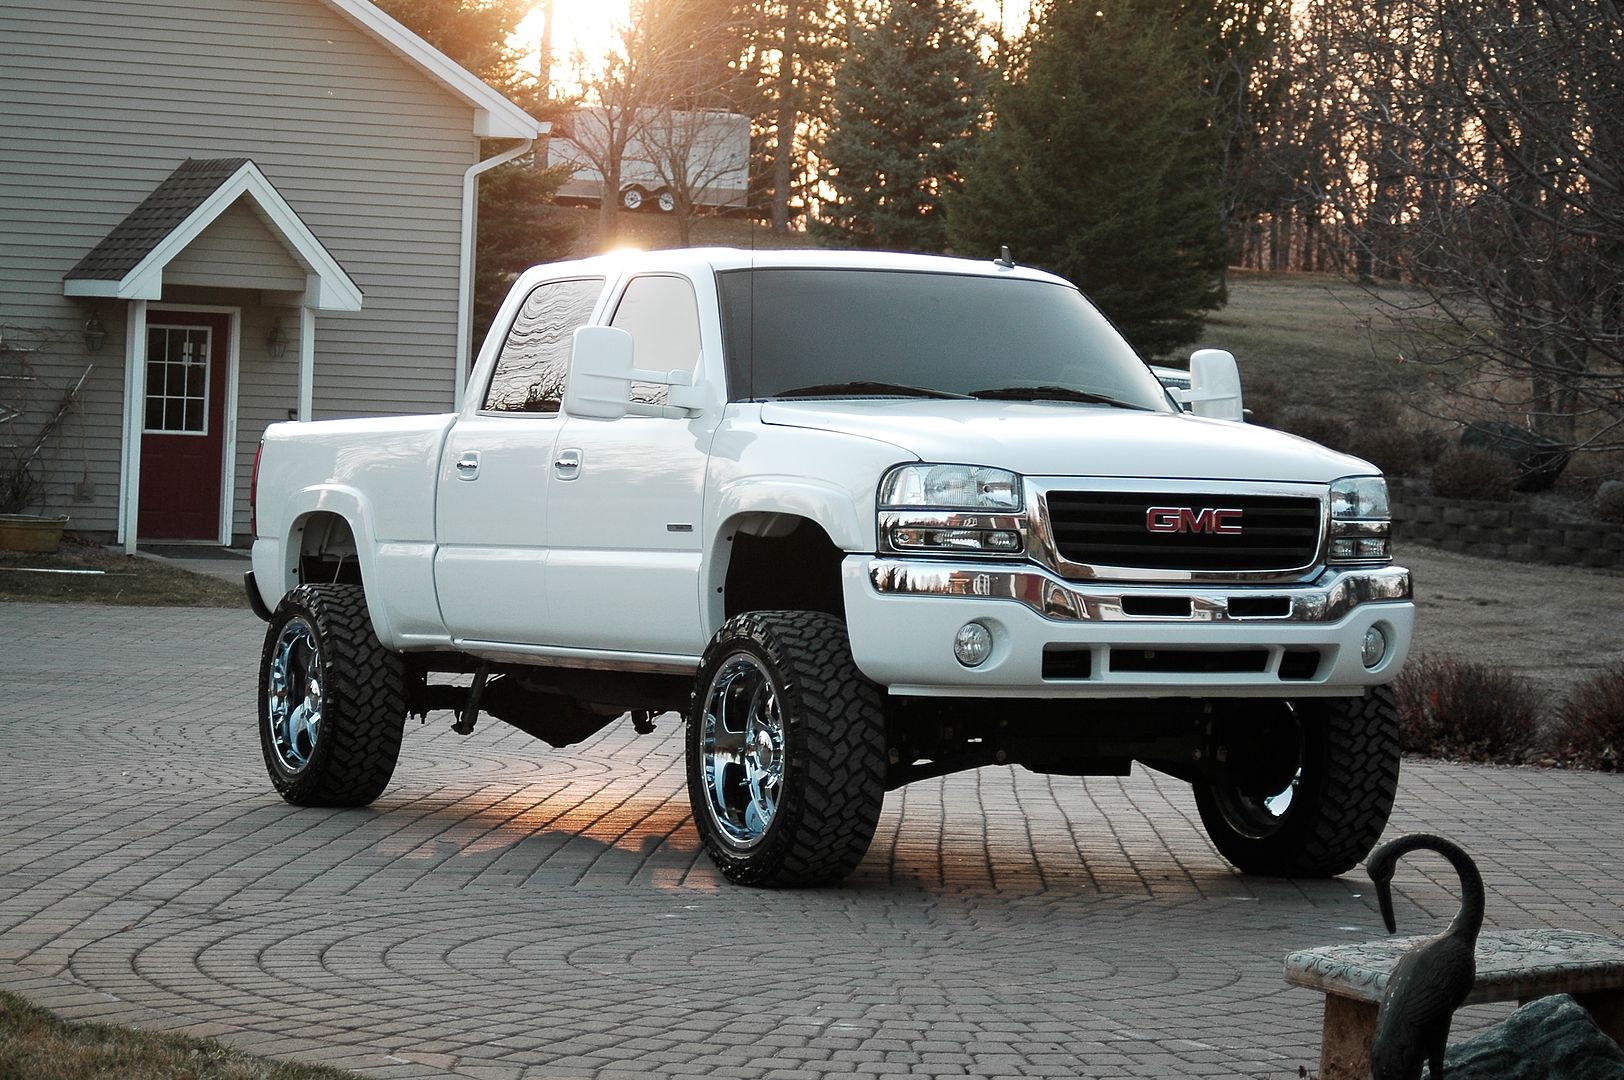
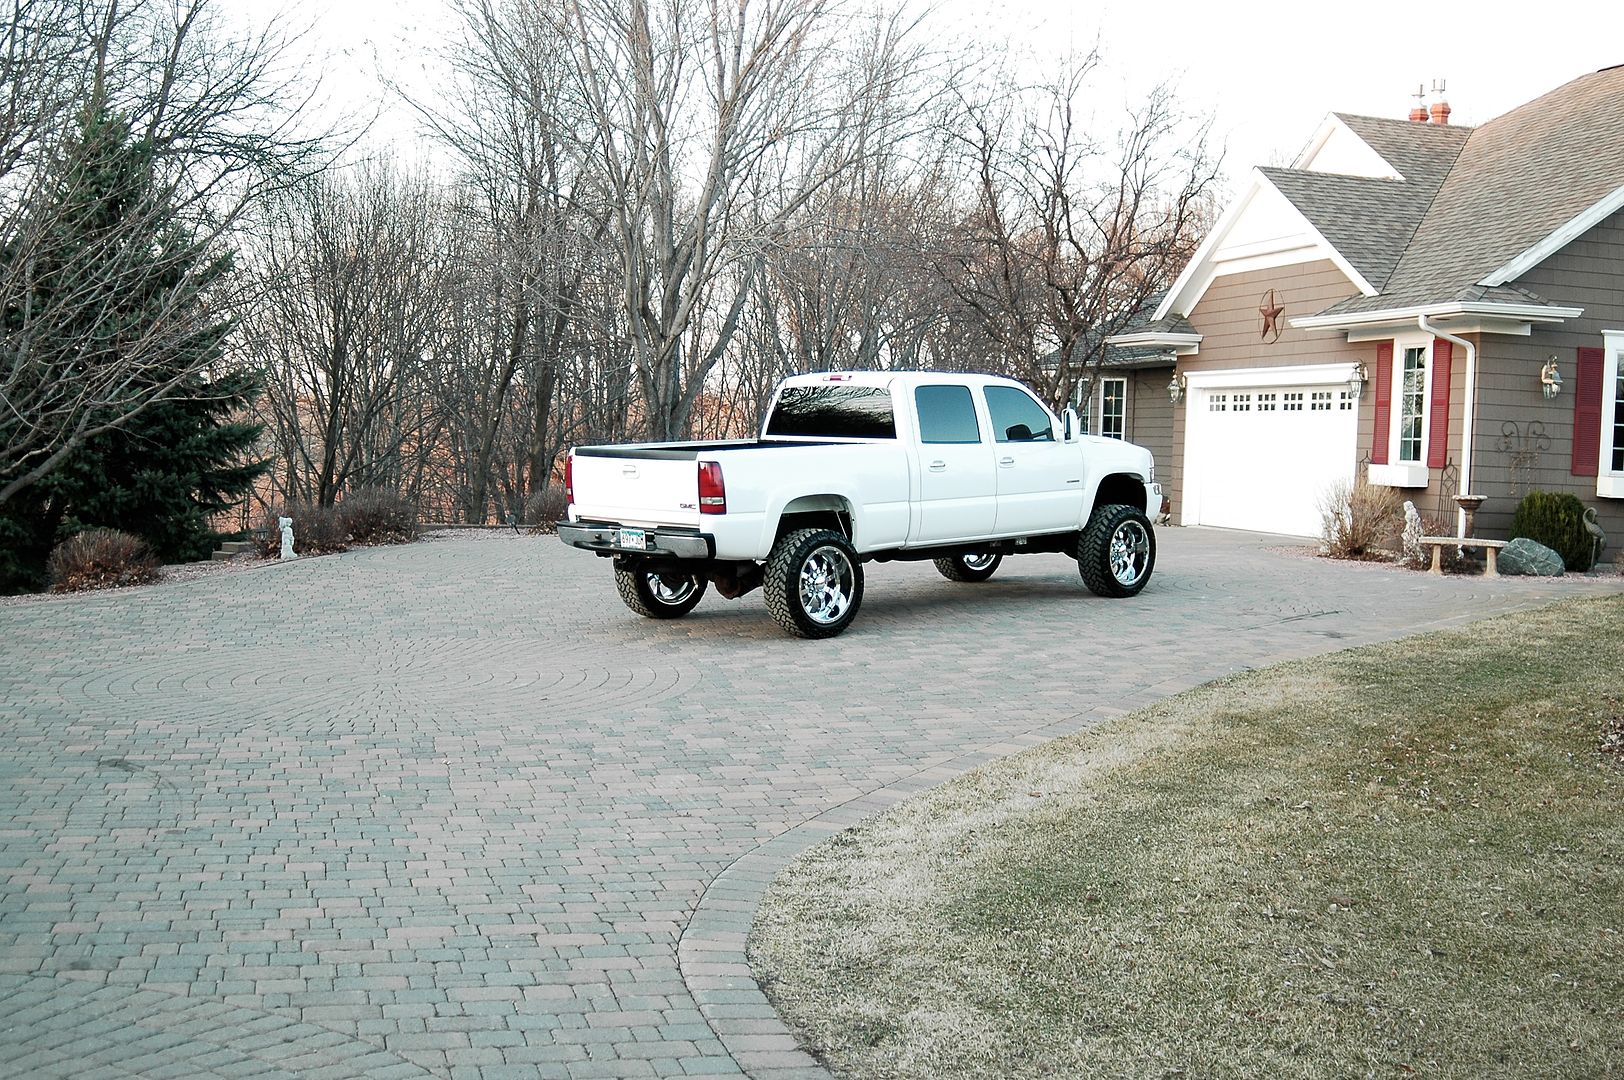
Most of you guys know I found a mint 2007 Duramax with 22k miles on it in California. It's been a little over six months since I first heard about this truck and I finally had it delivered today.
:favorites37:
2007 Duramax Delivery - YouTube
Short walk around - YouTube
DSLR was dead so all the pictures/videos are from my GoPro
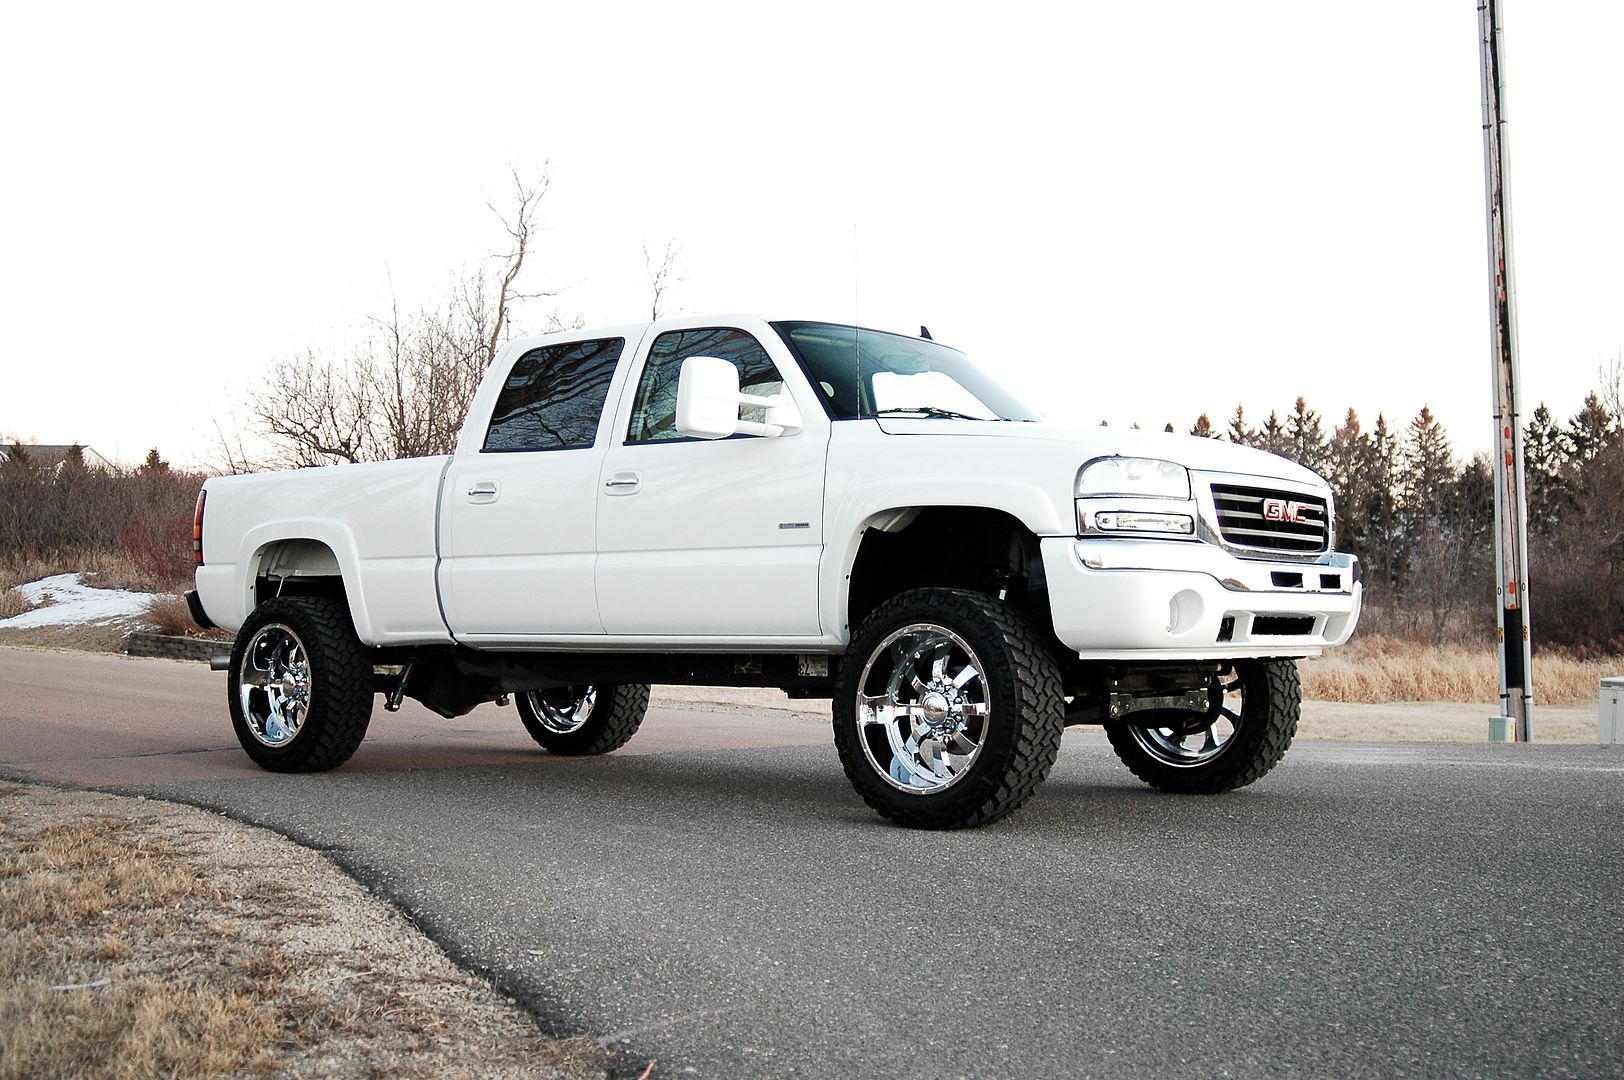
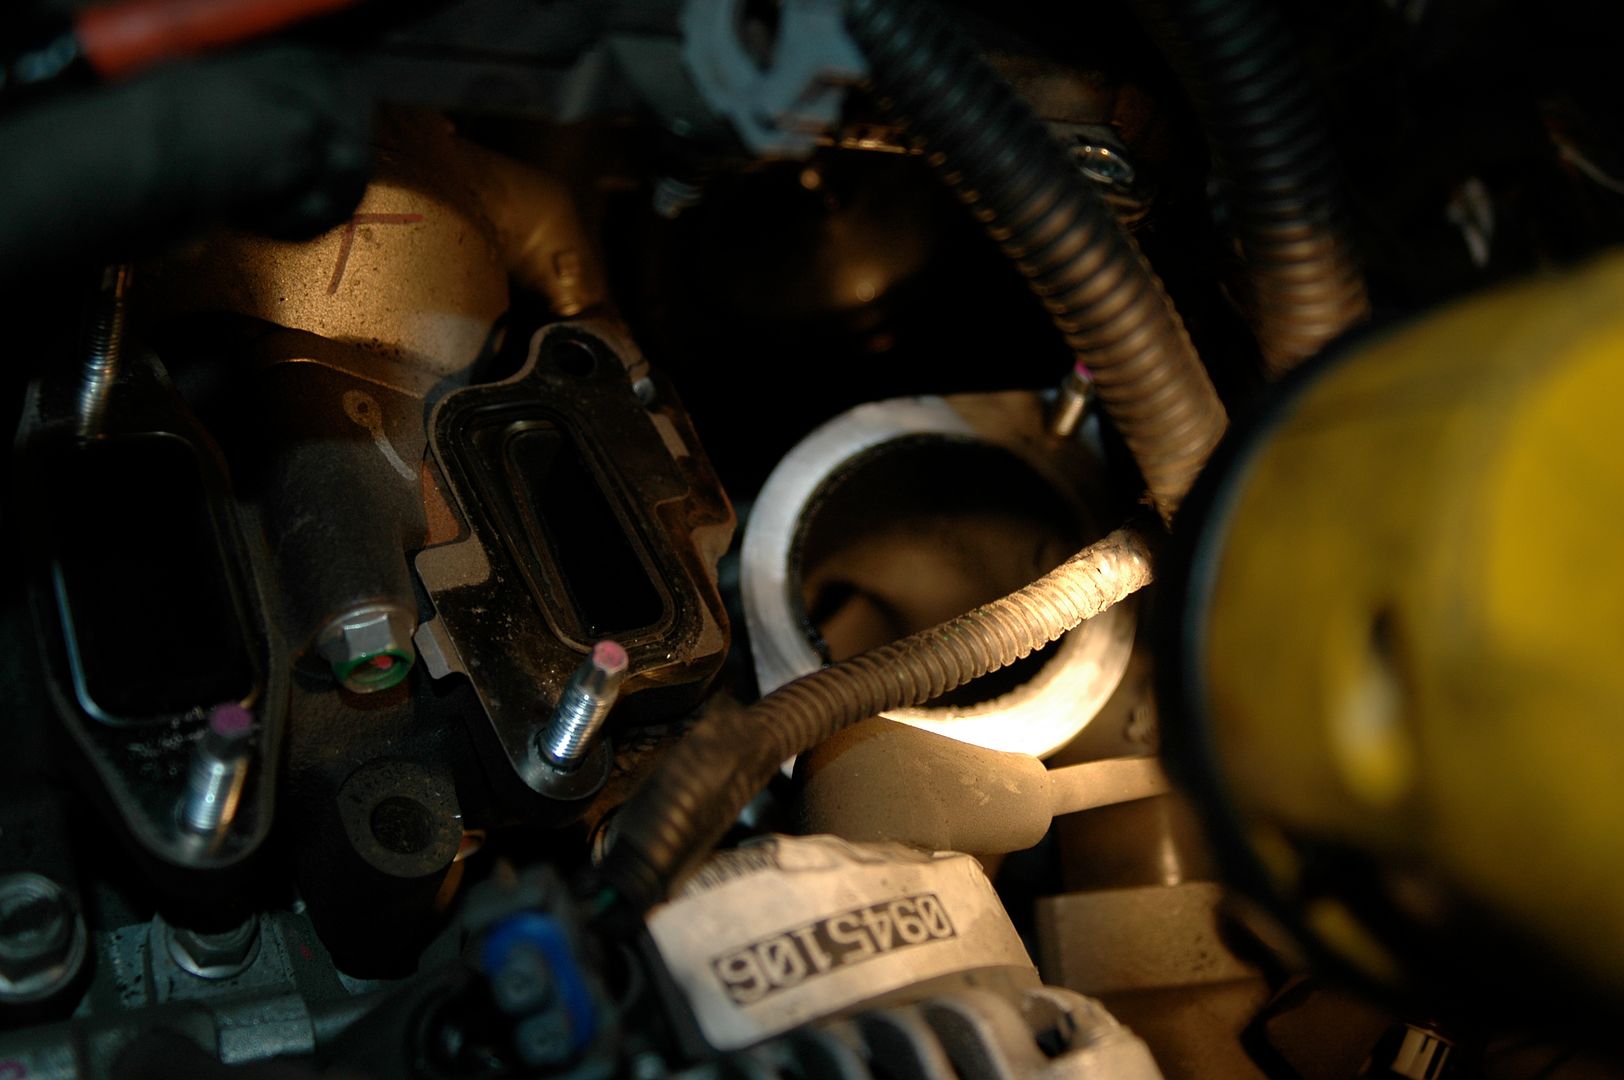
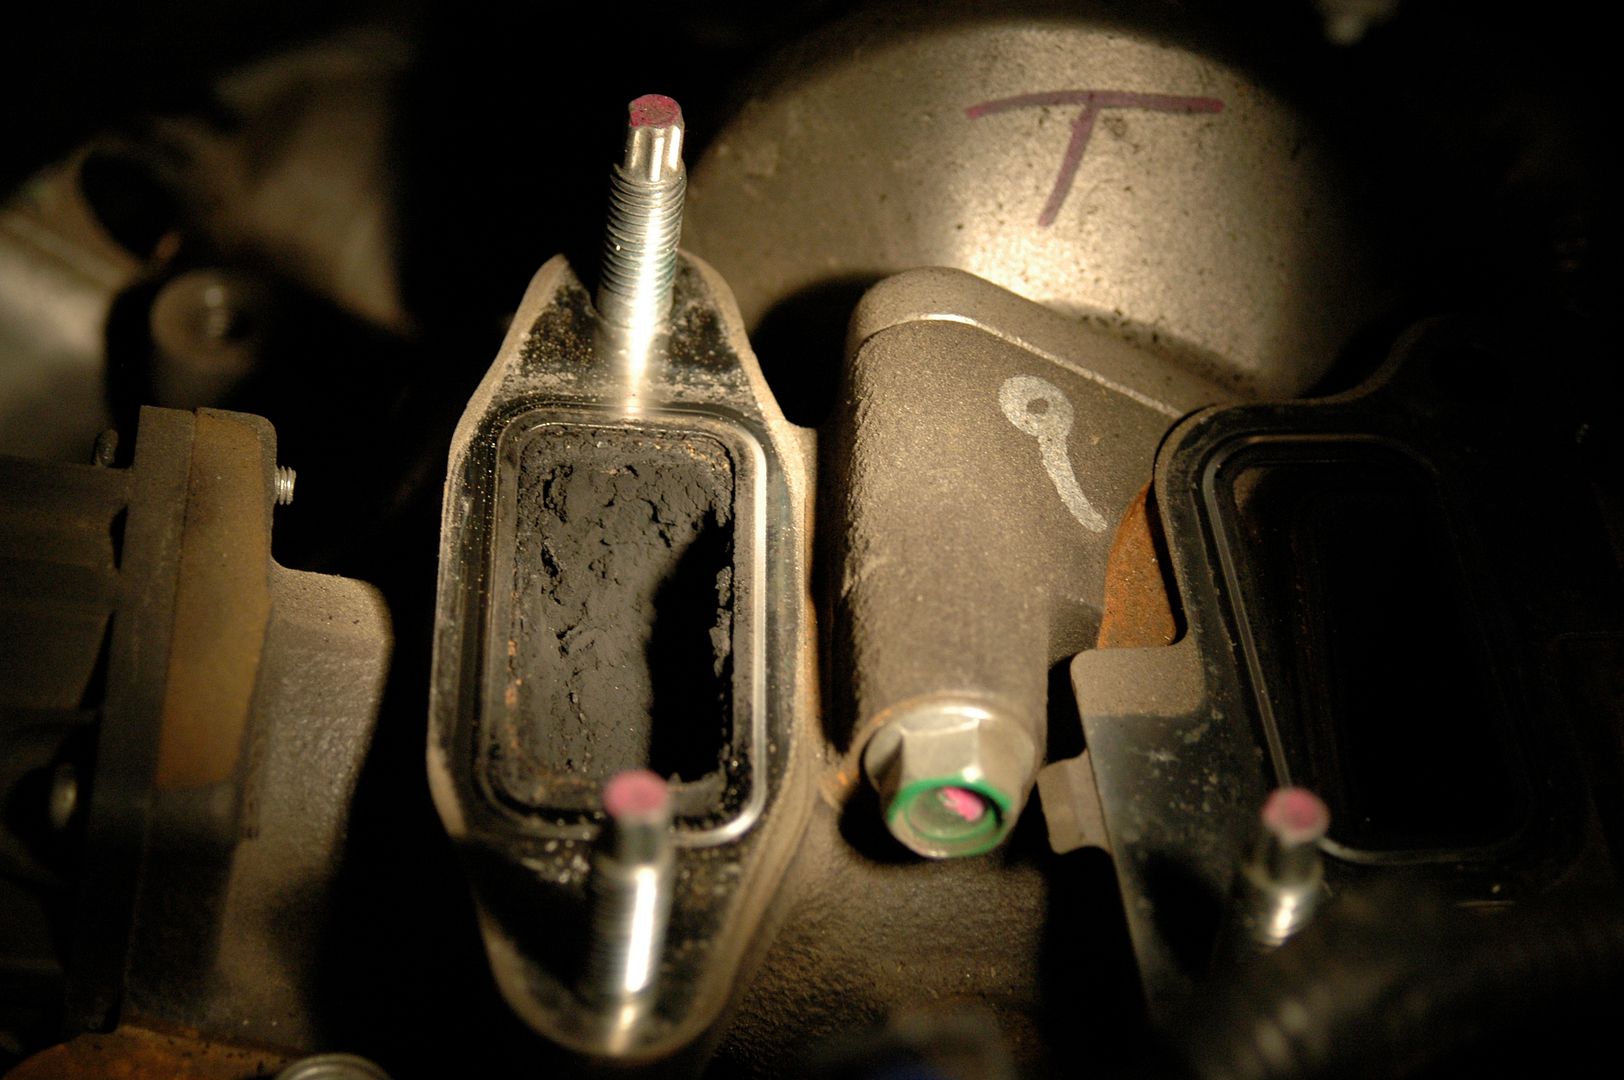
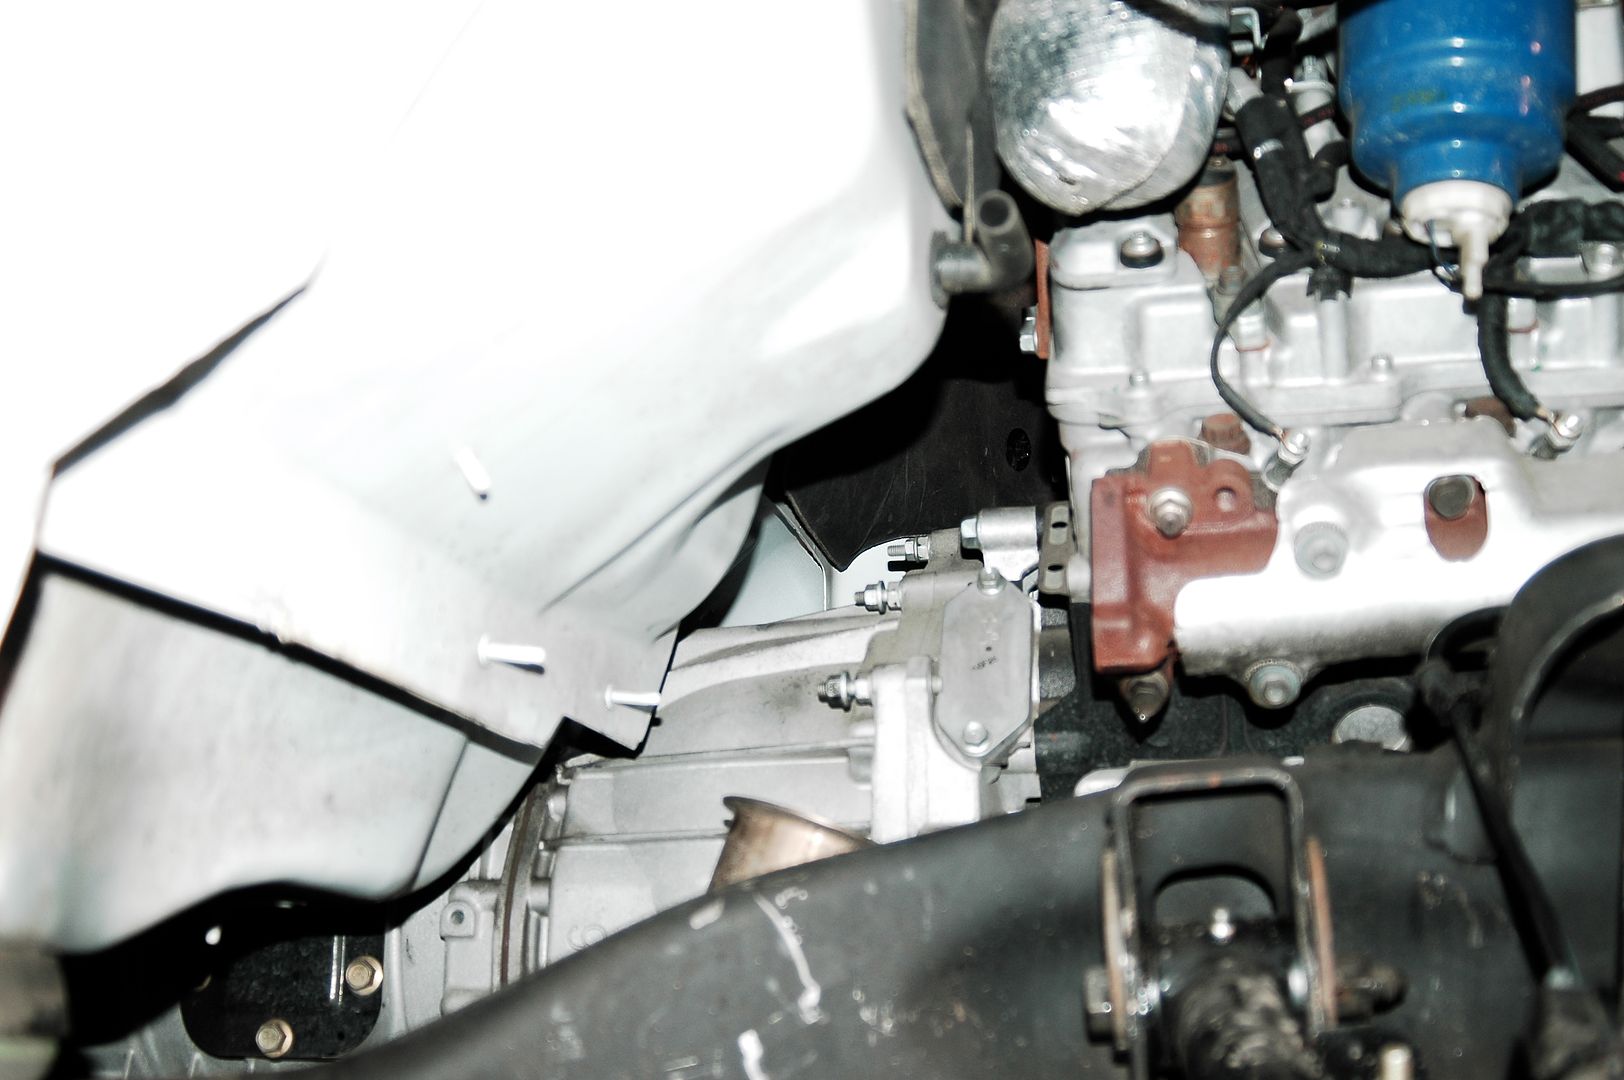
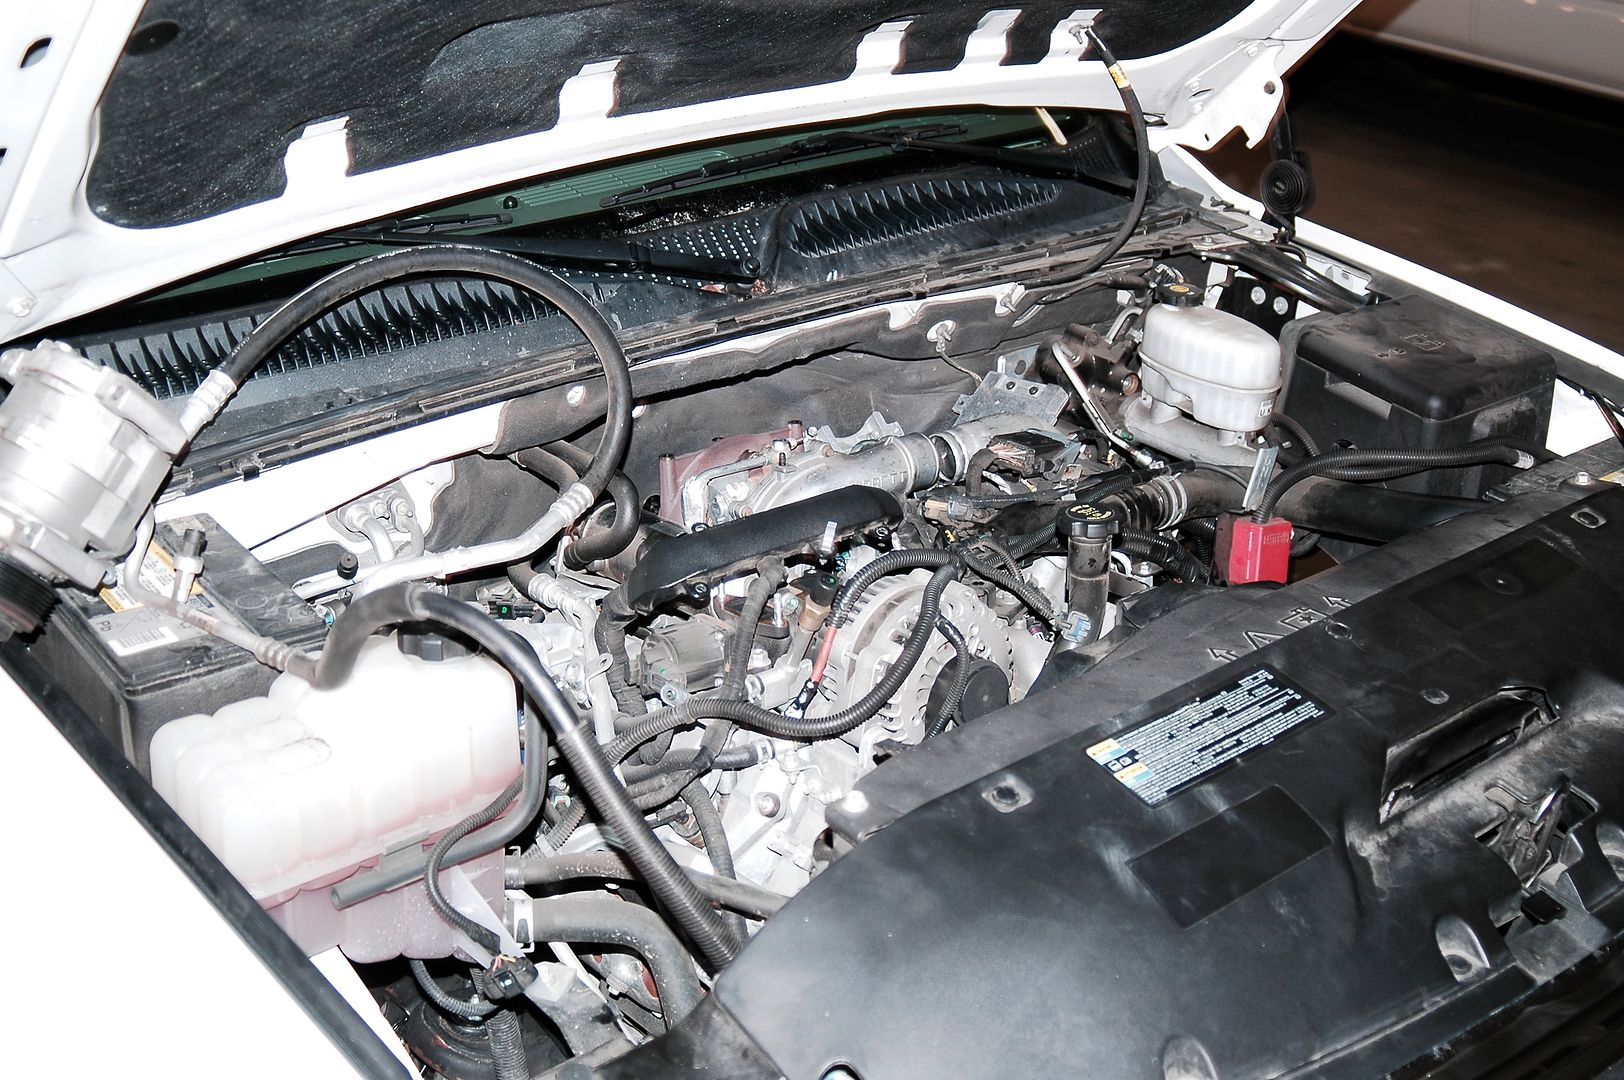
Easily the cleanest used truck I've ever seen. The frame looks like my Dad's 2012 as far as cleanliness goes.
Plans:
Cosmetic:
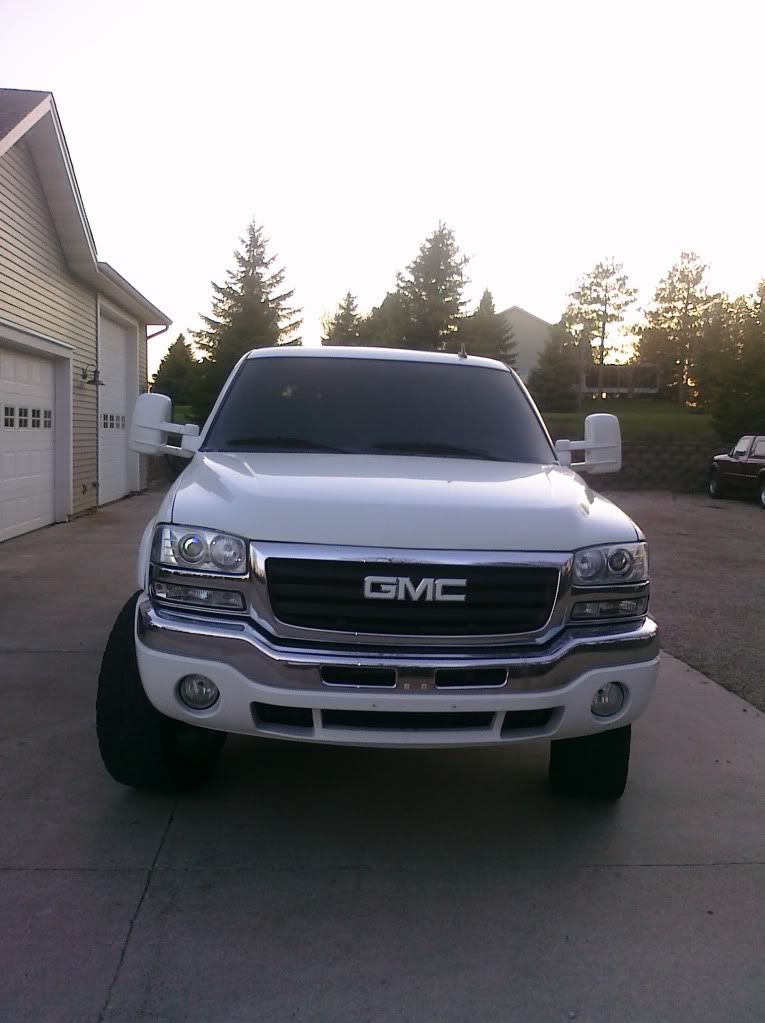
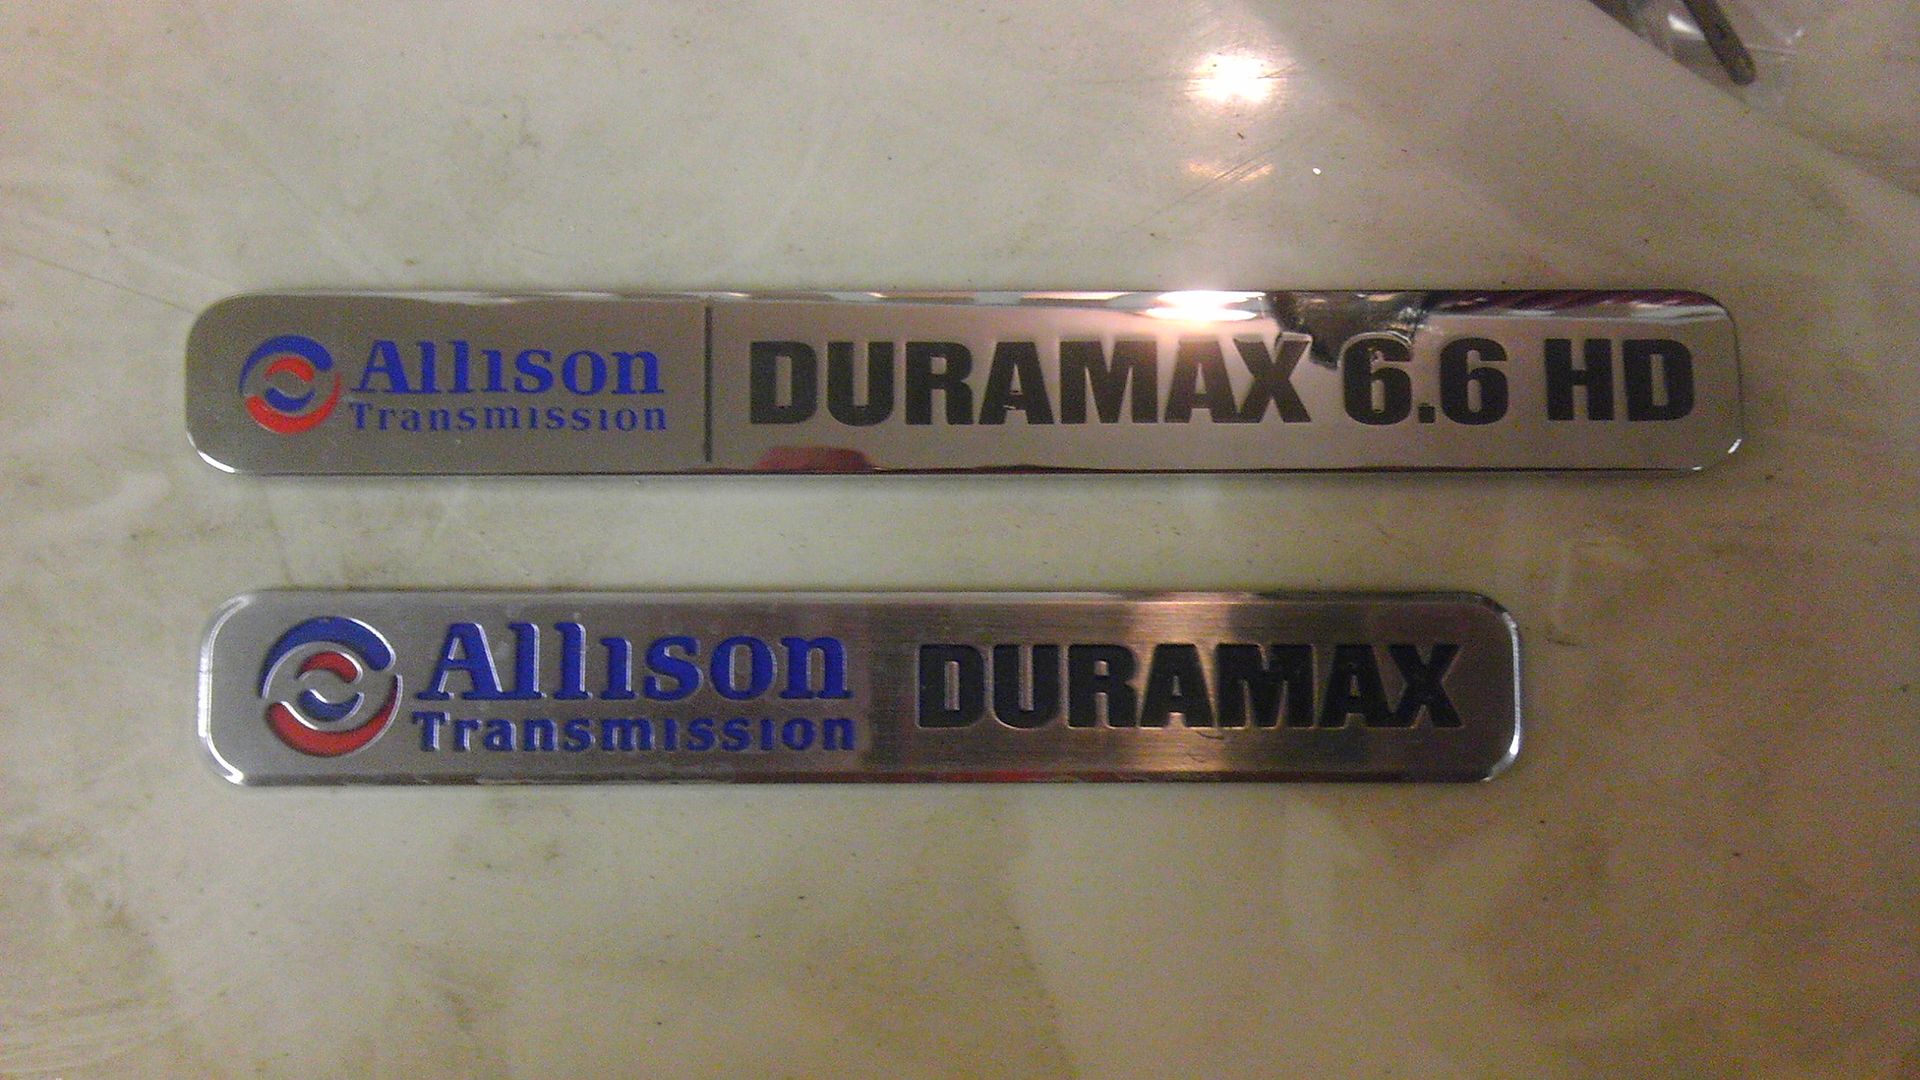
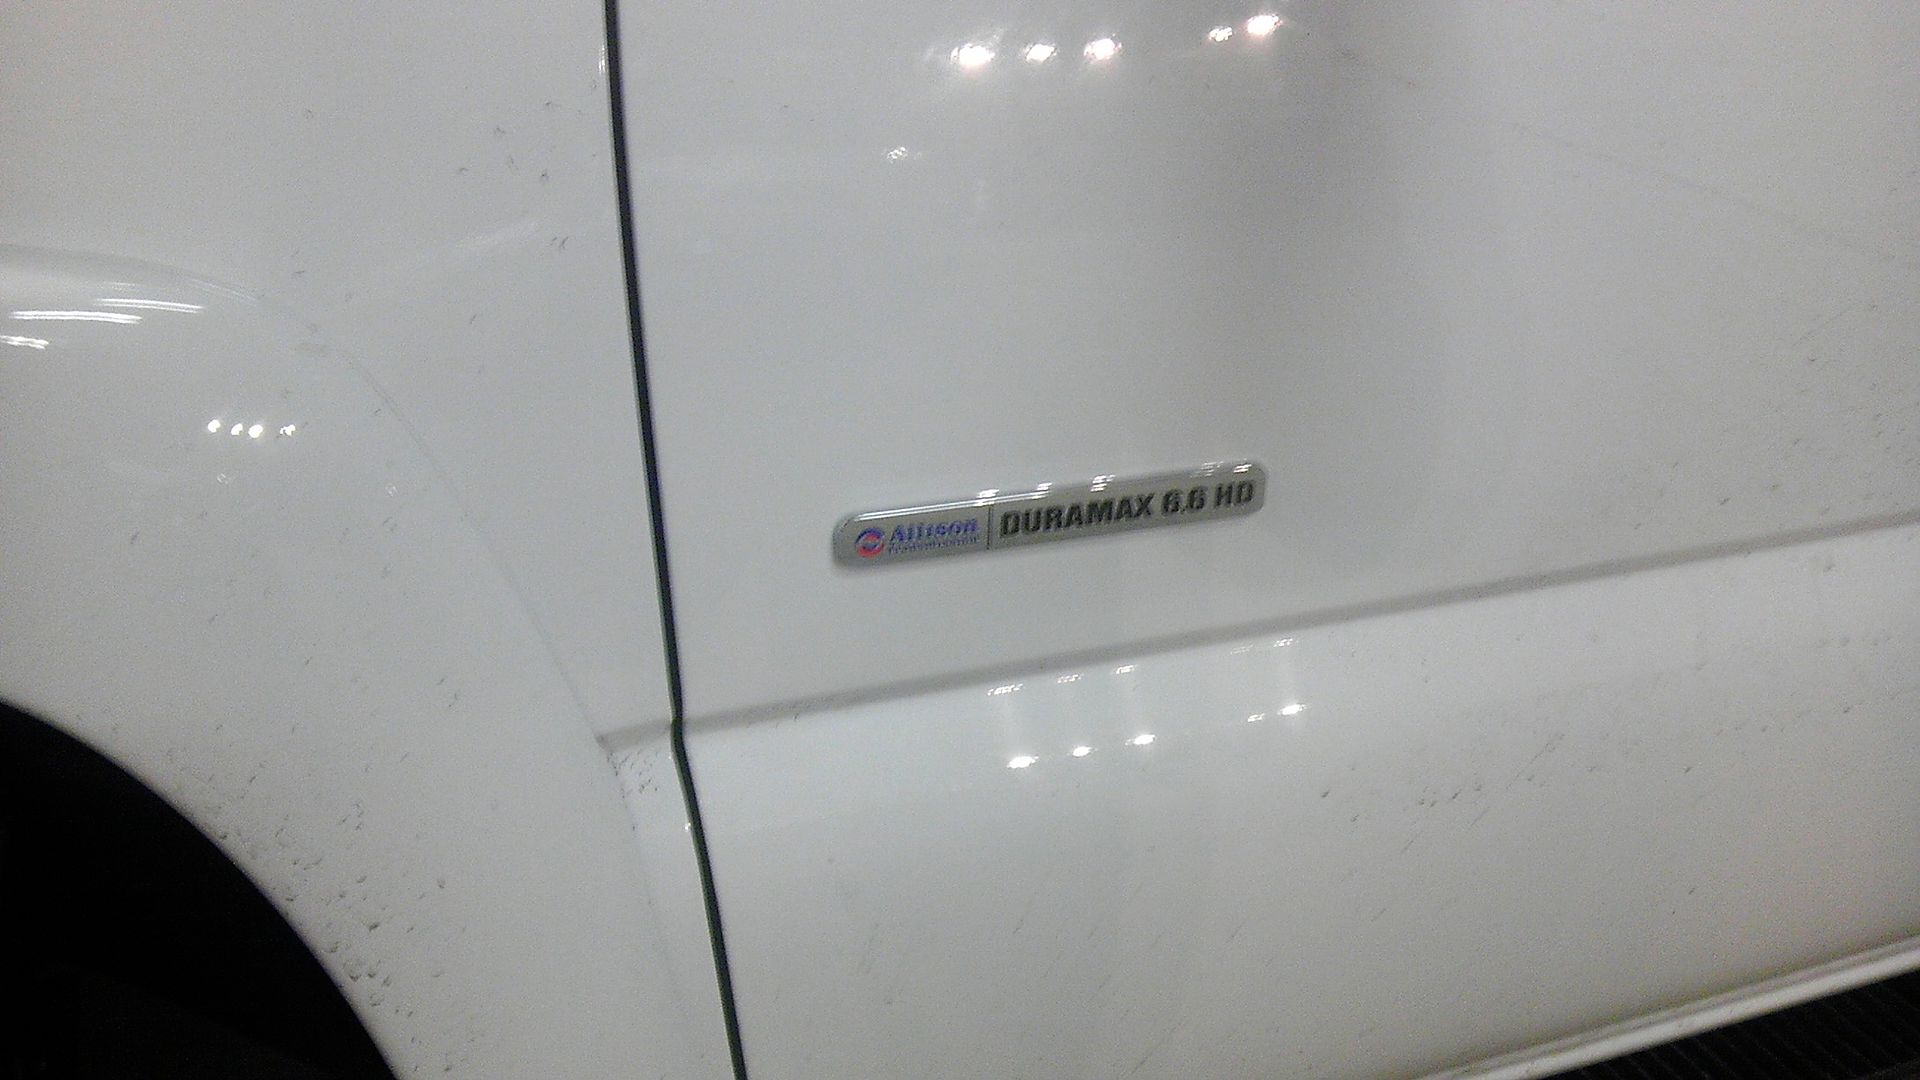
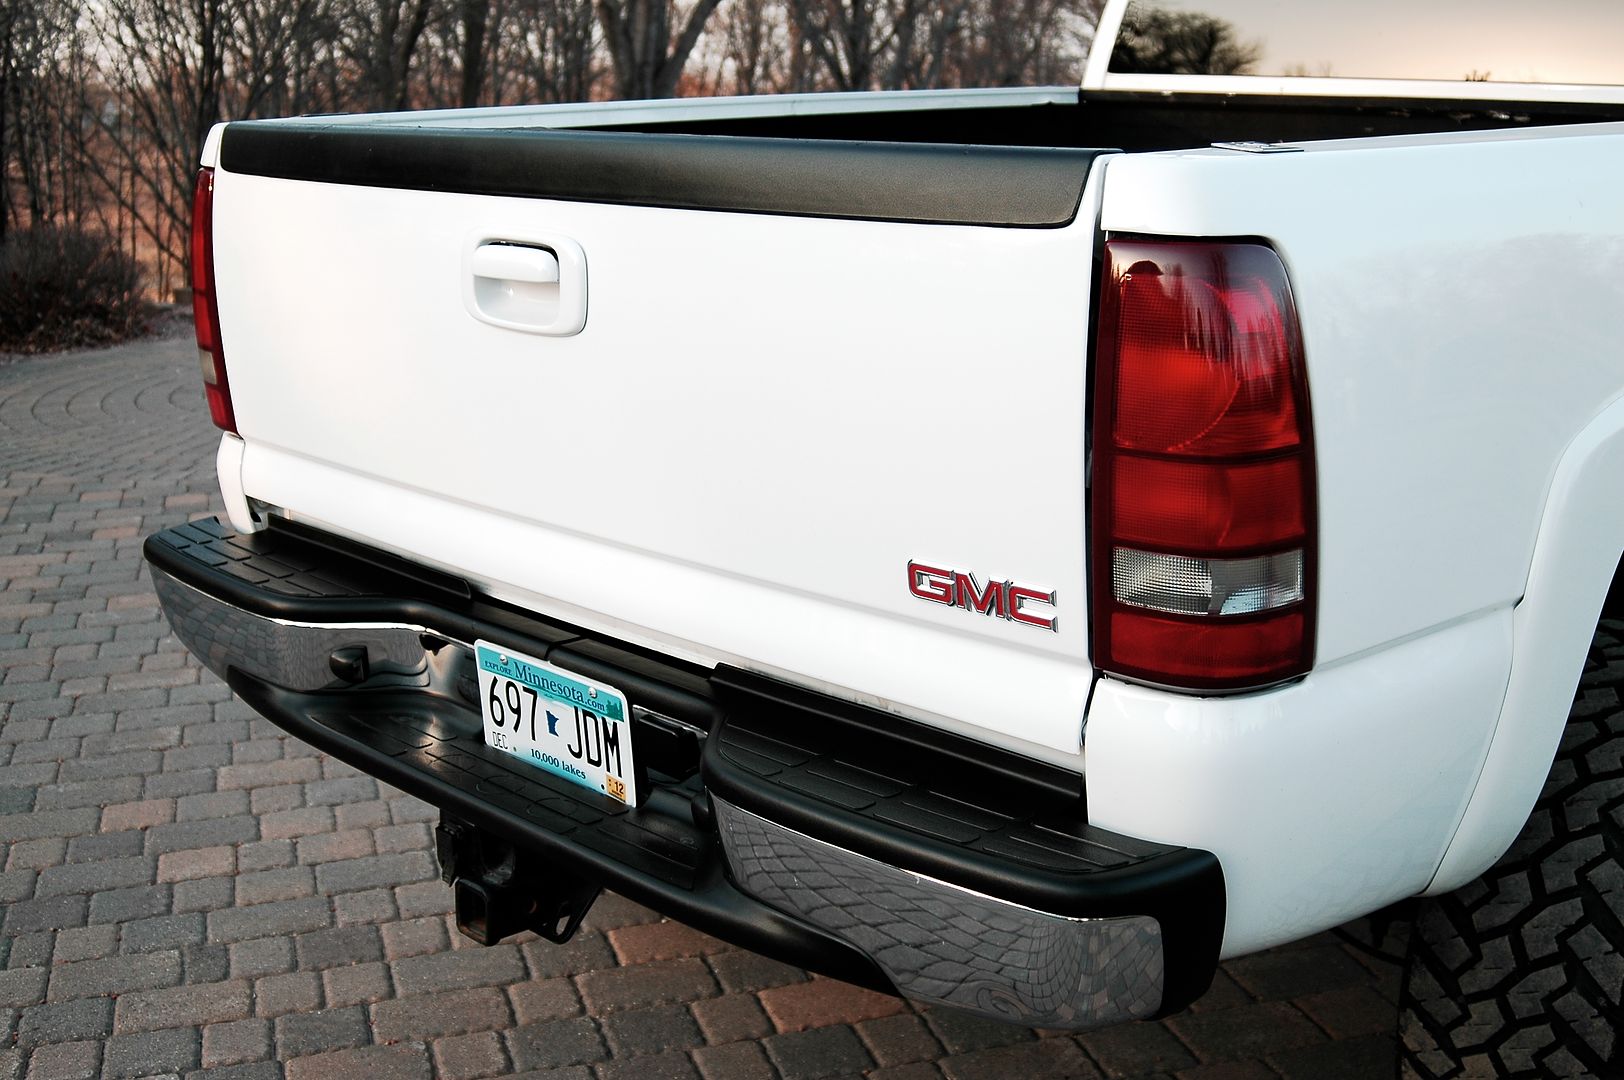
Debadge except for duramax/allison badge done
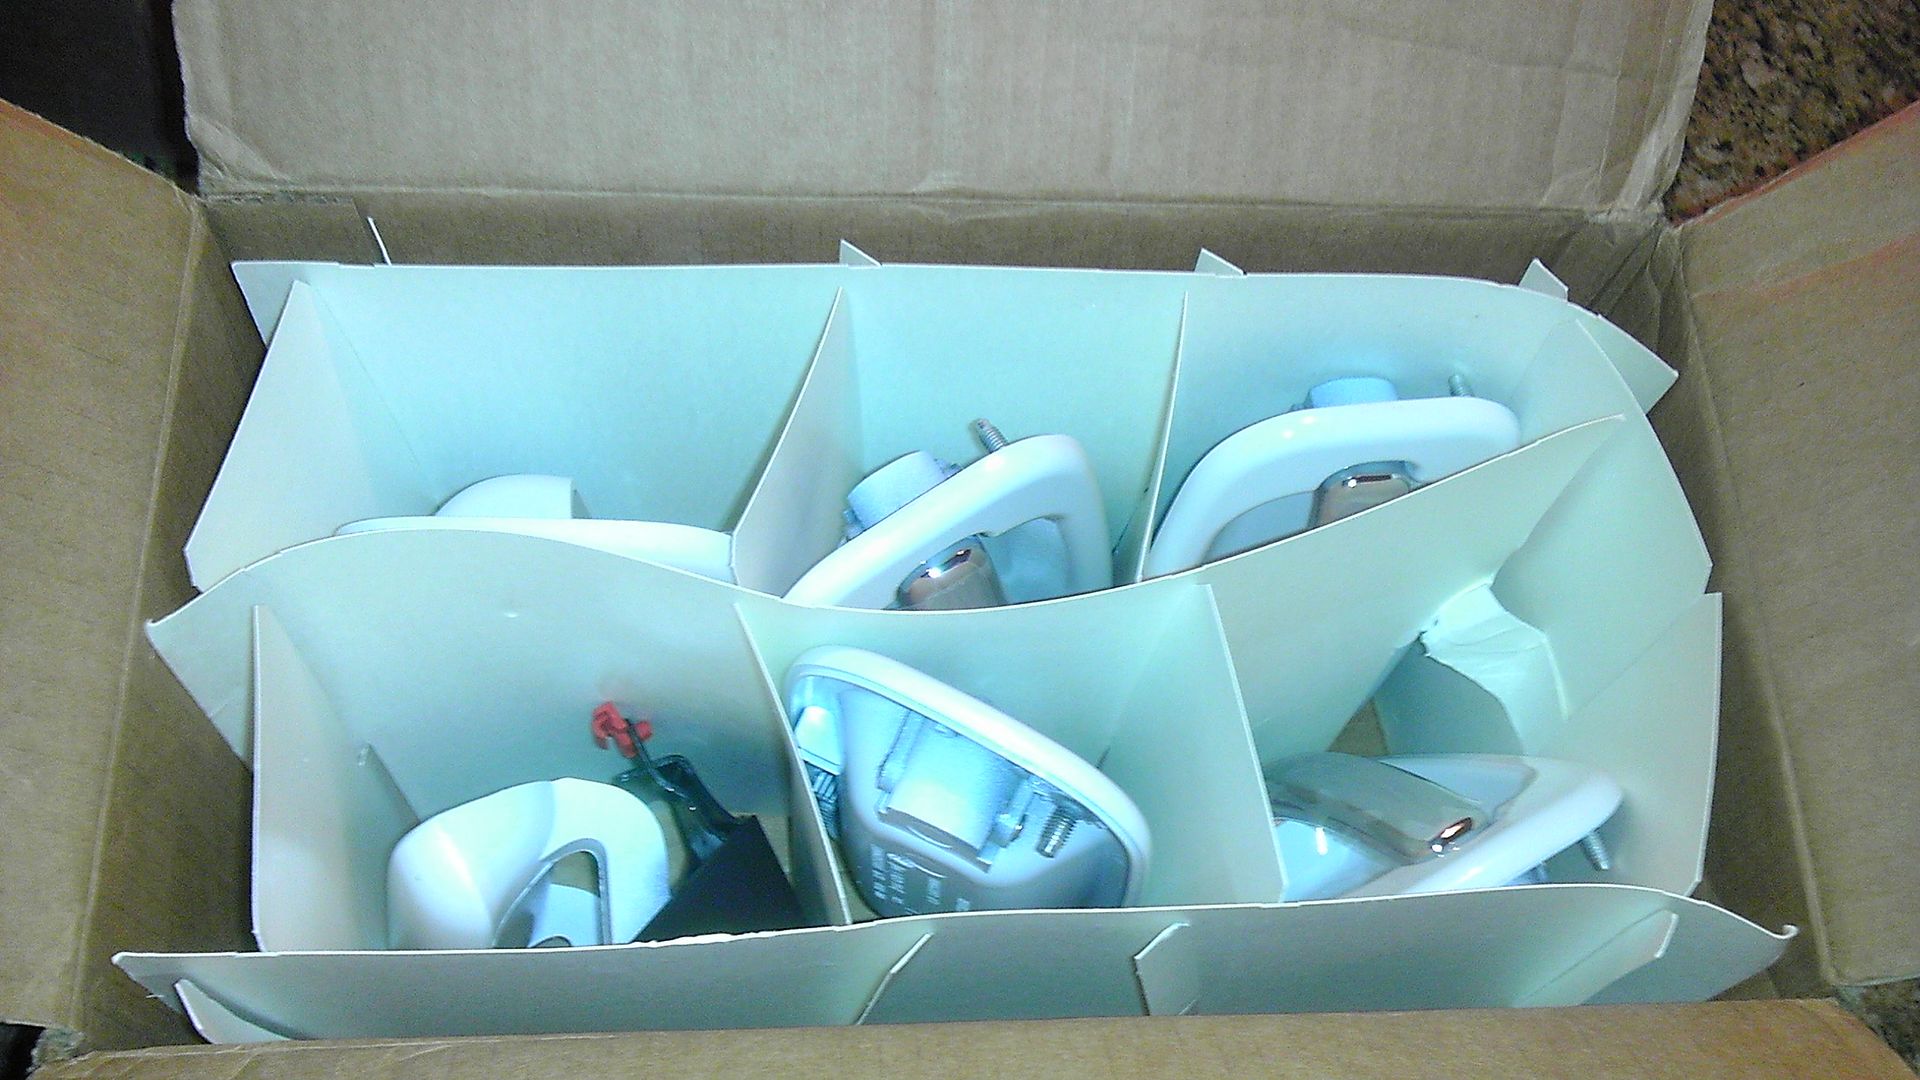
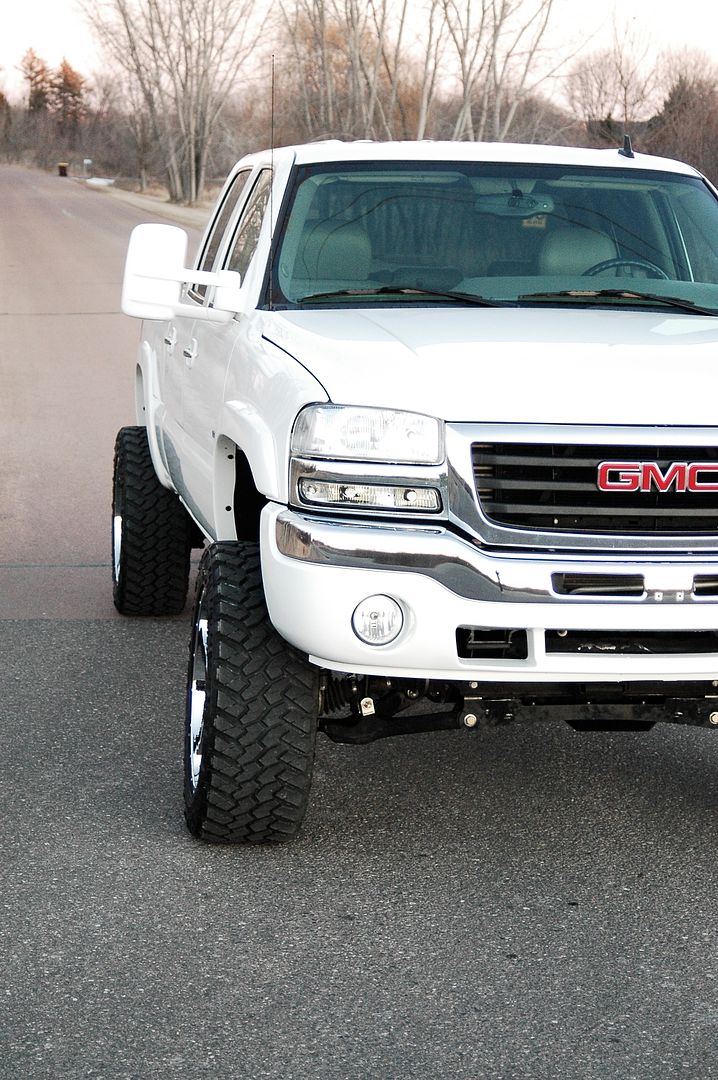
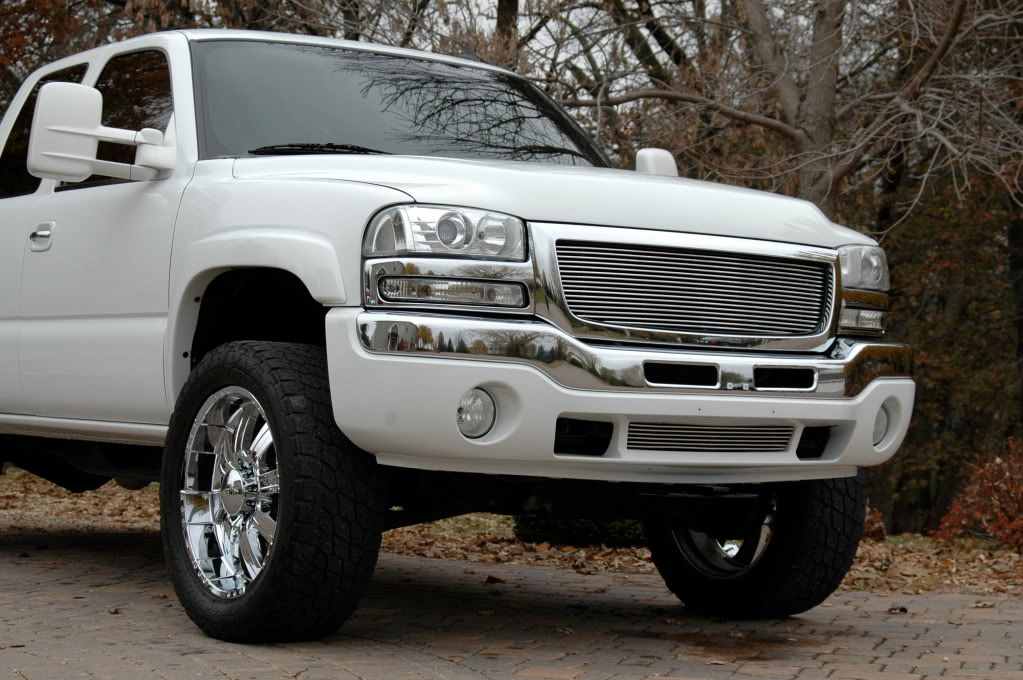
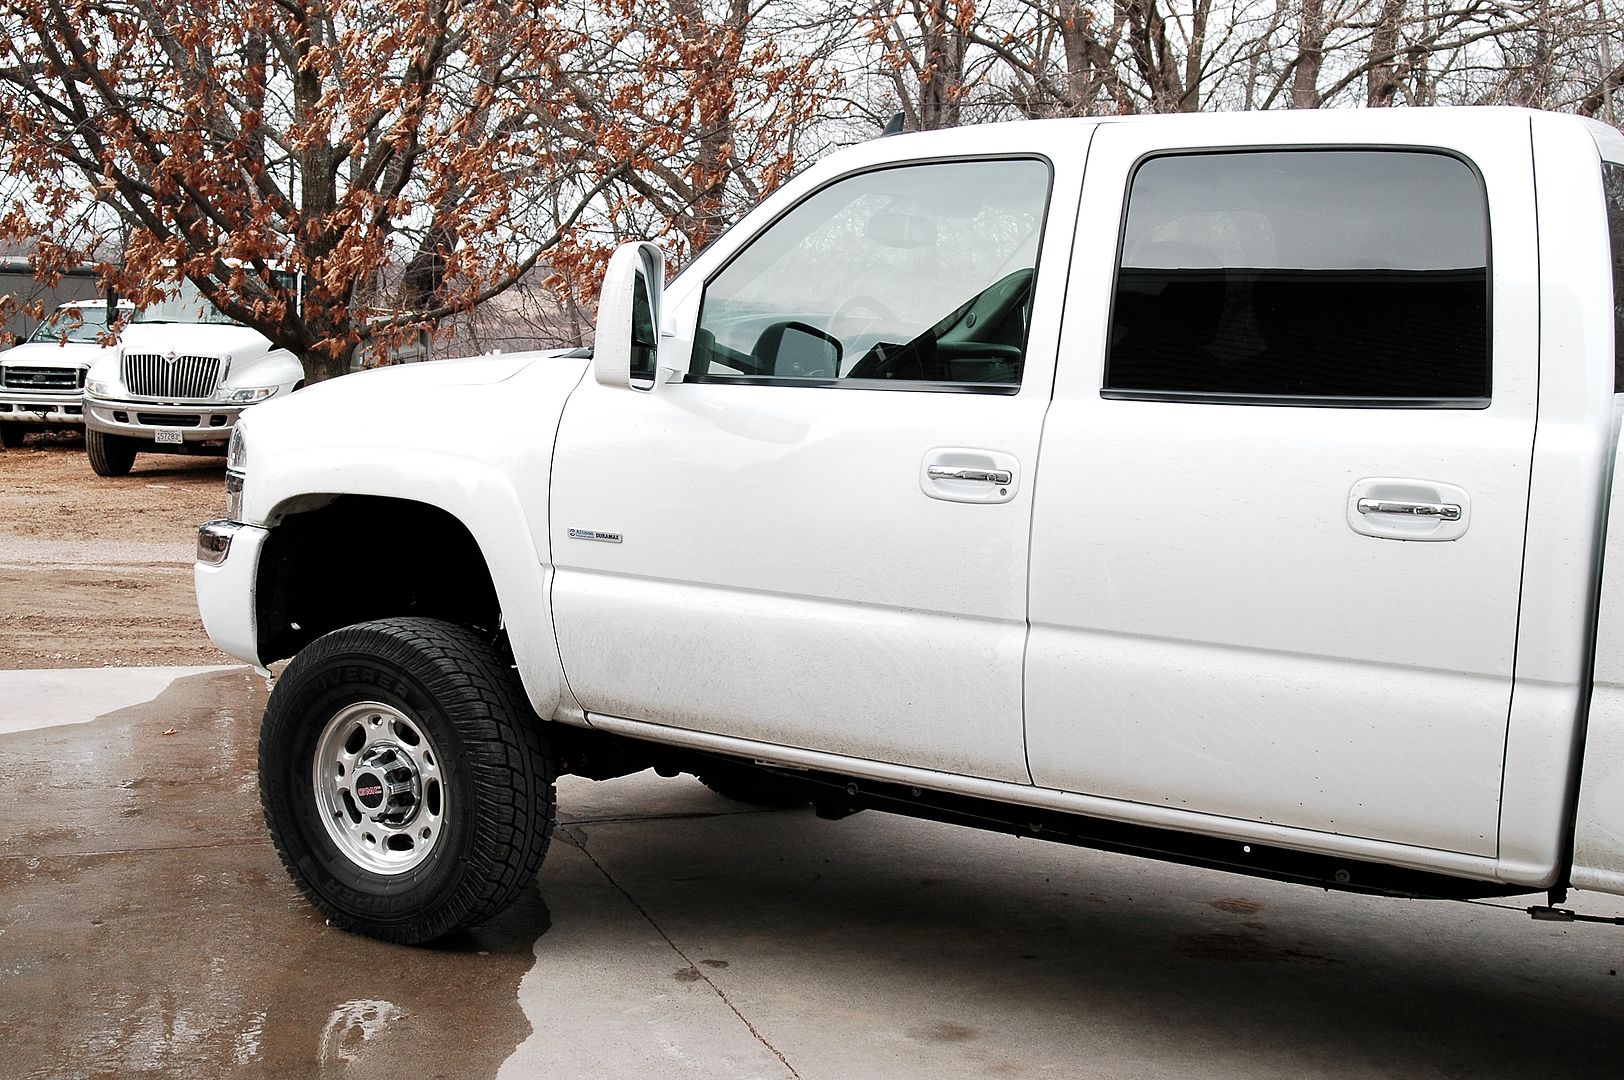
Colormatched mirrors tailgate handle/bezel done
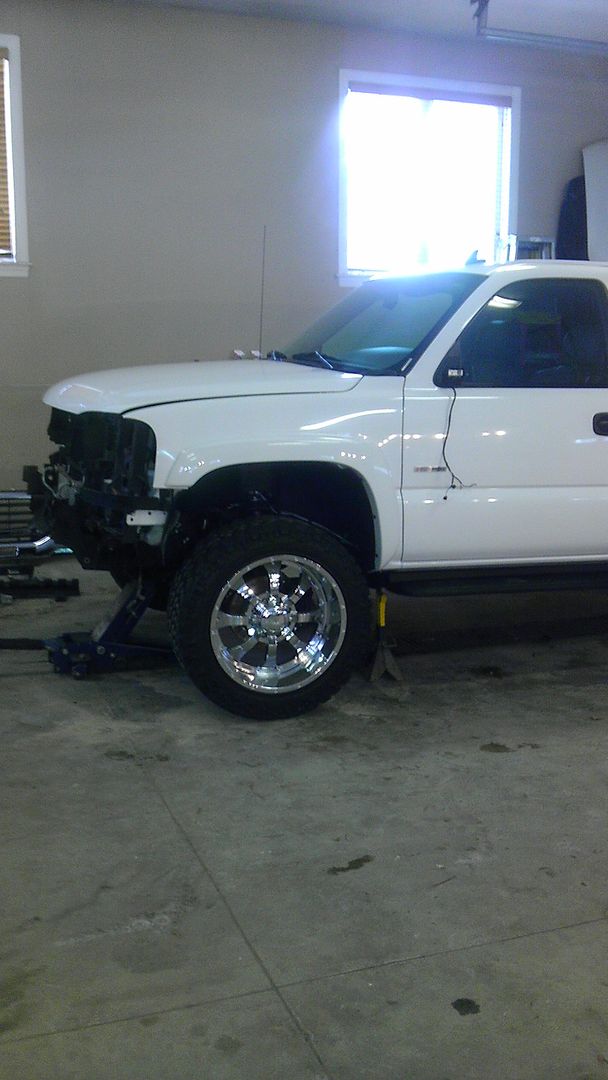
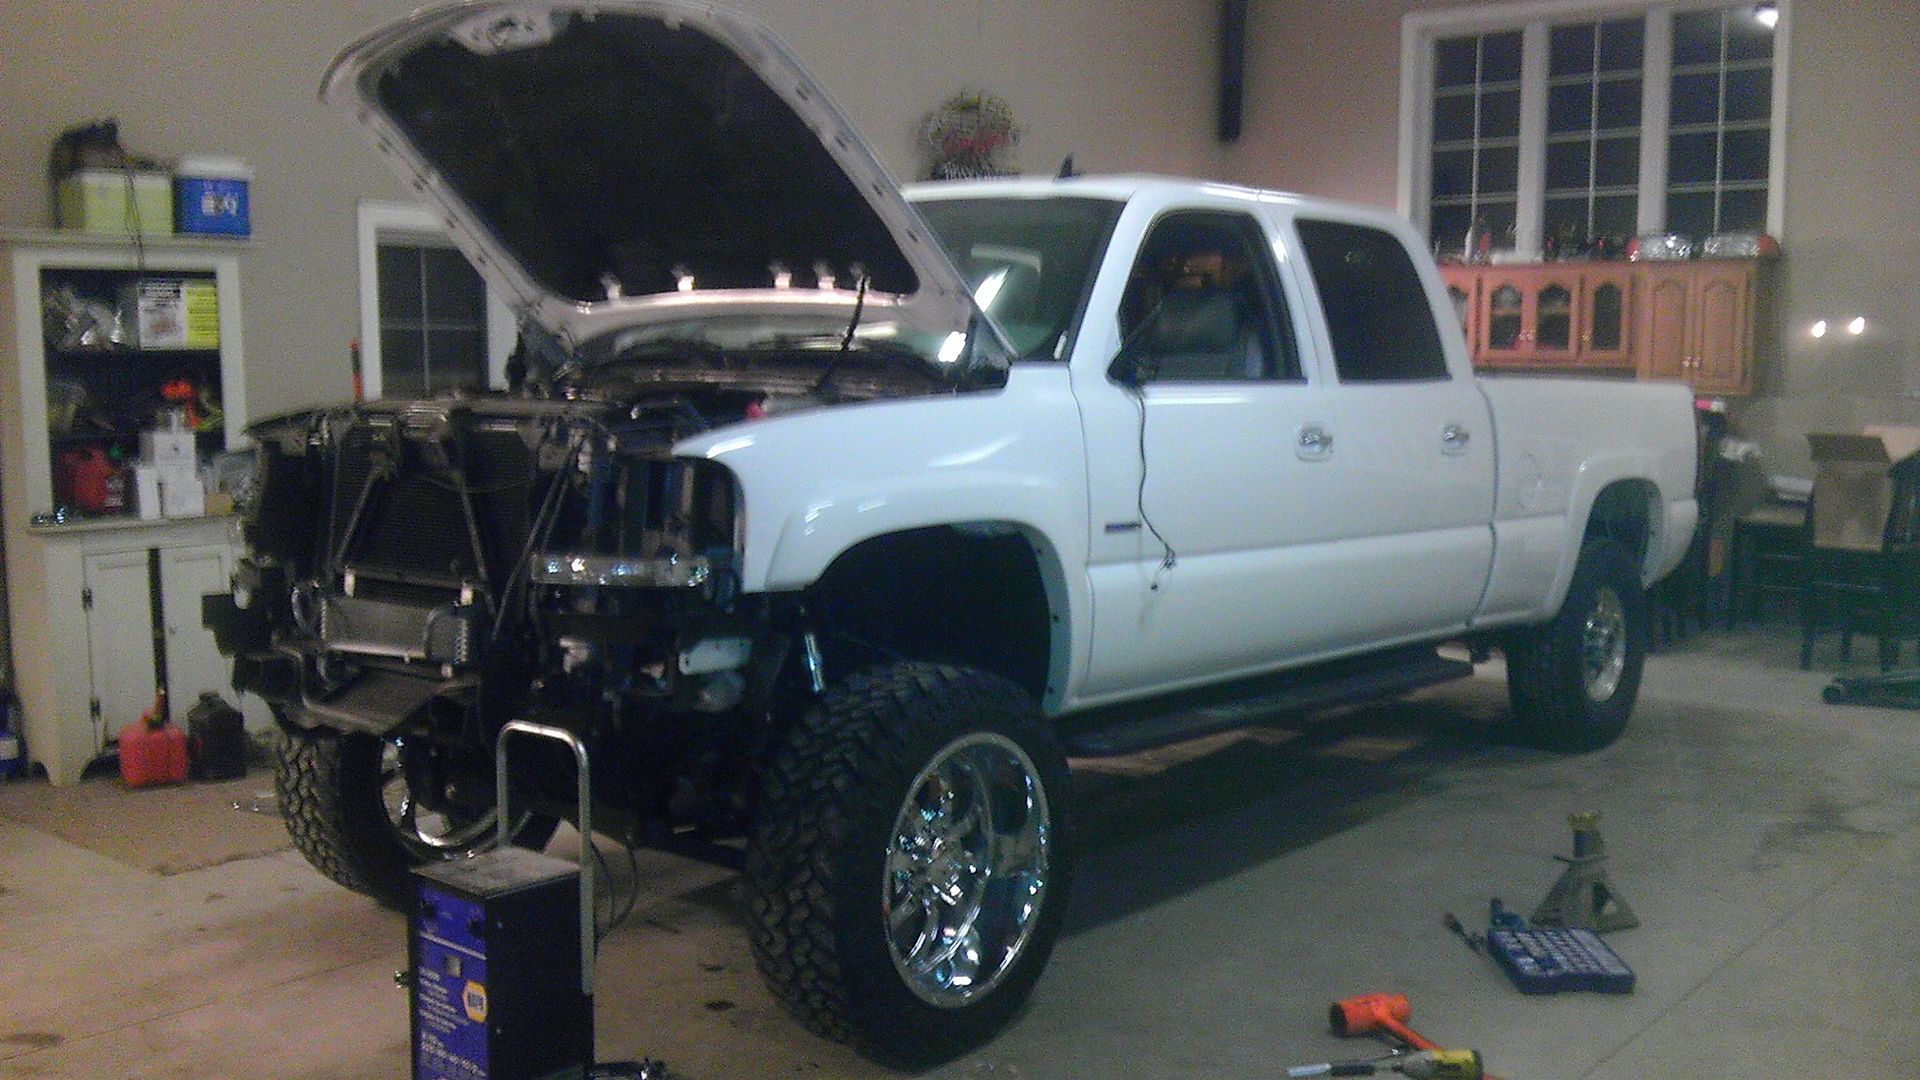
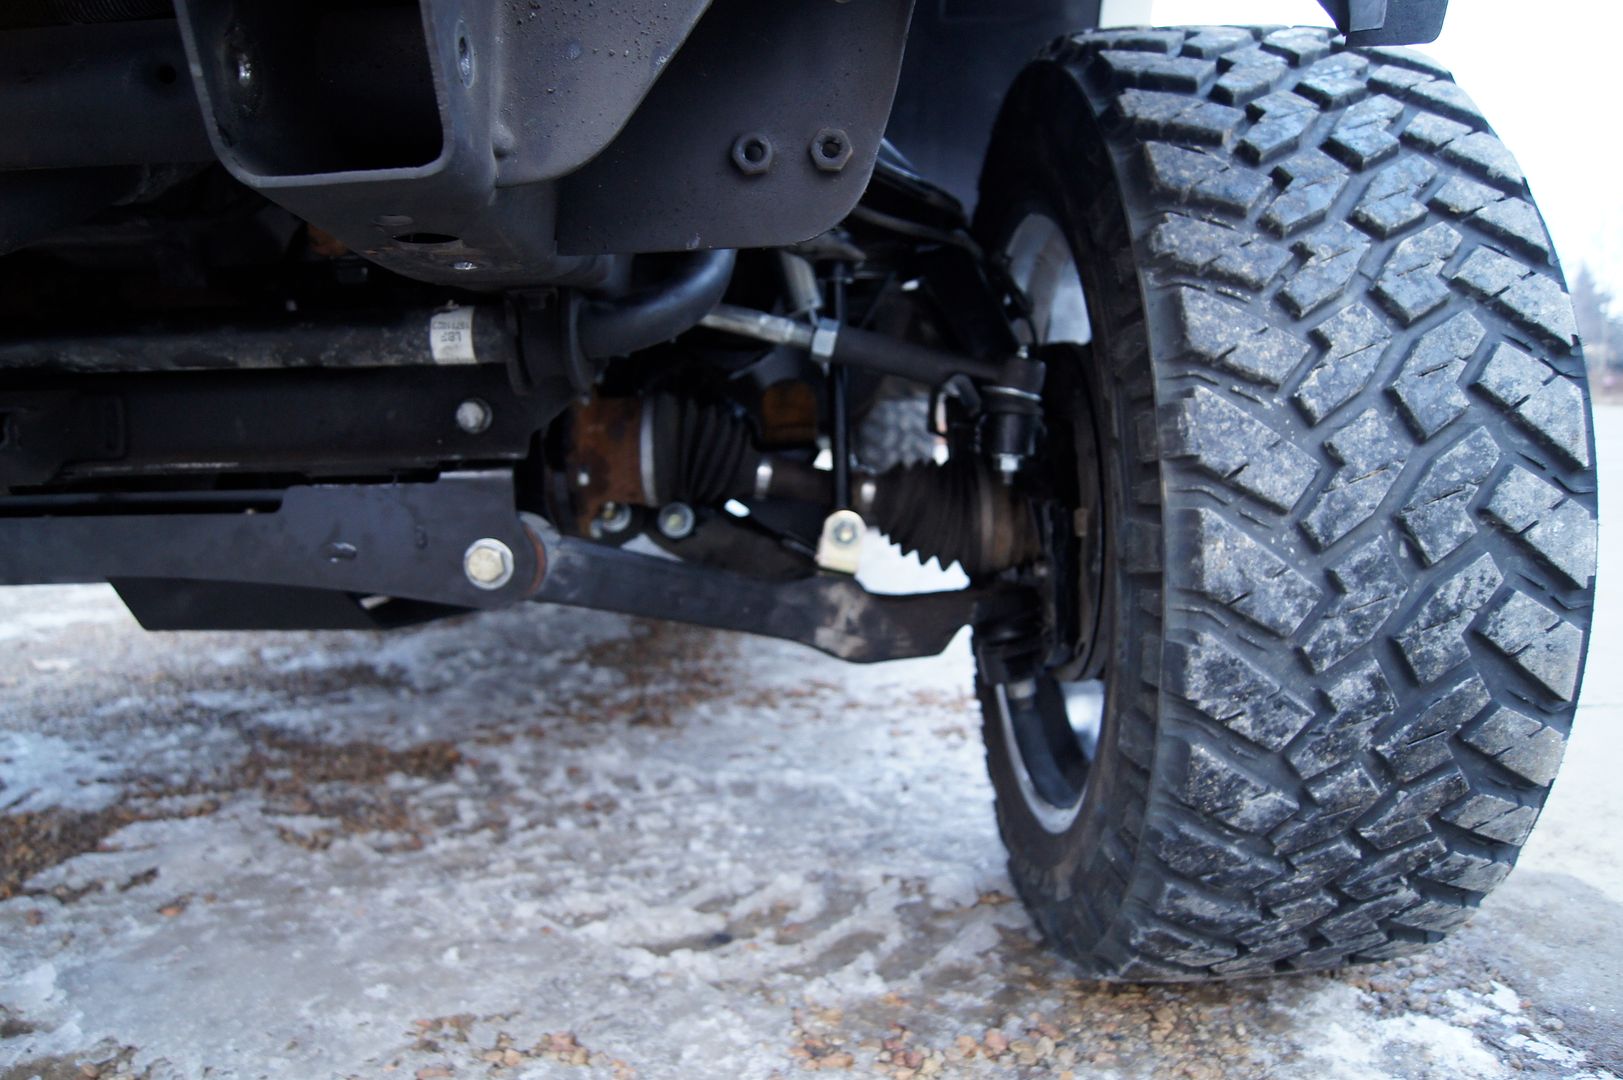
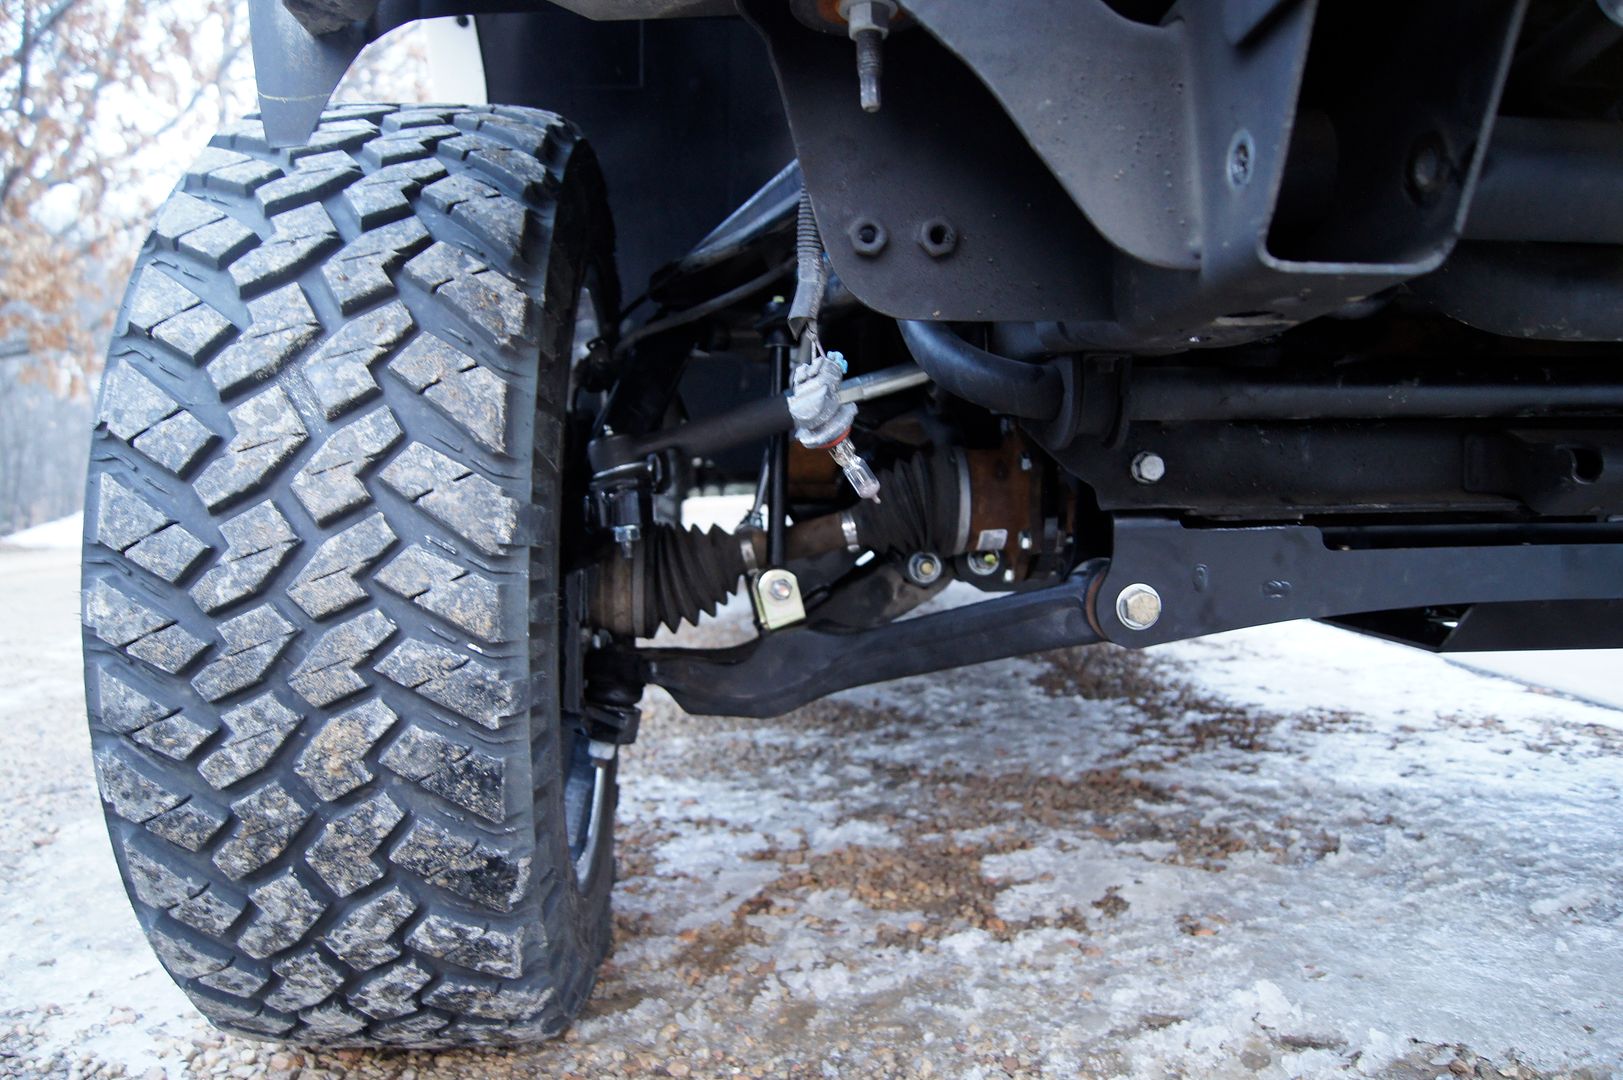
Raise front bumper 2 1/4" done
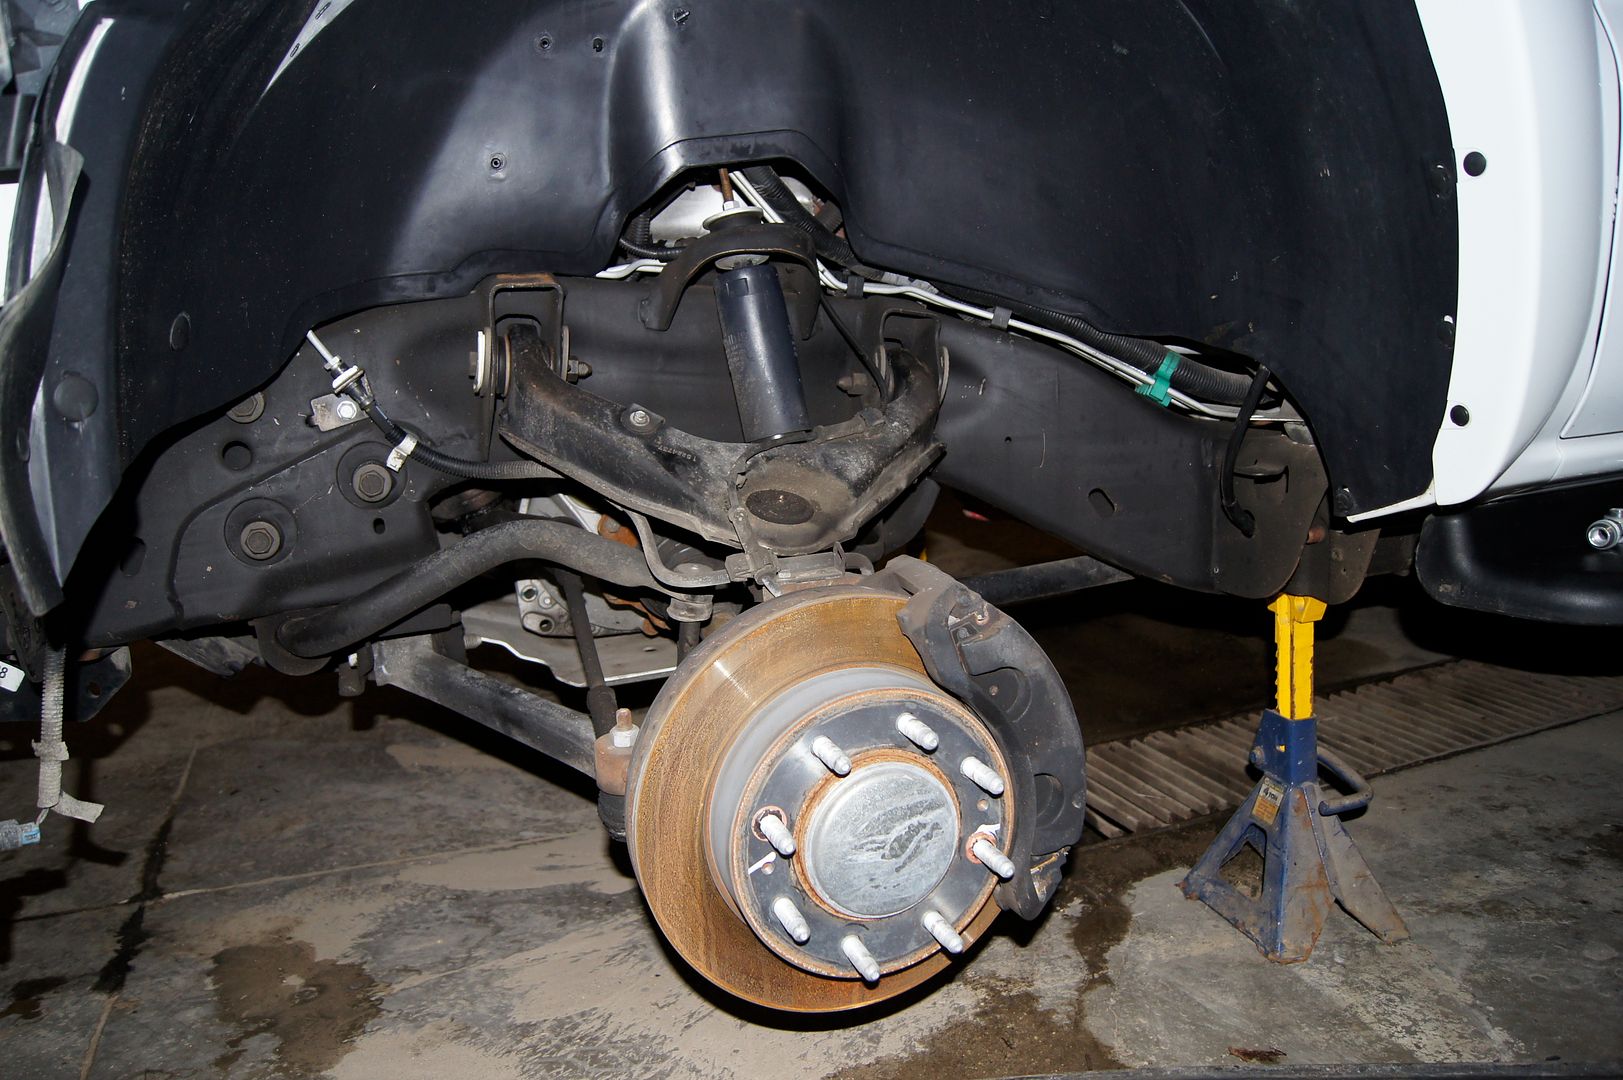
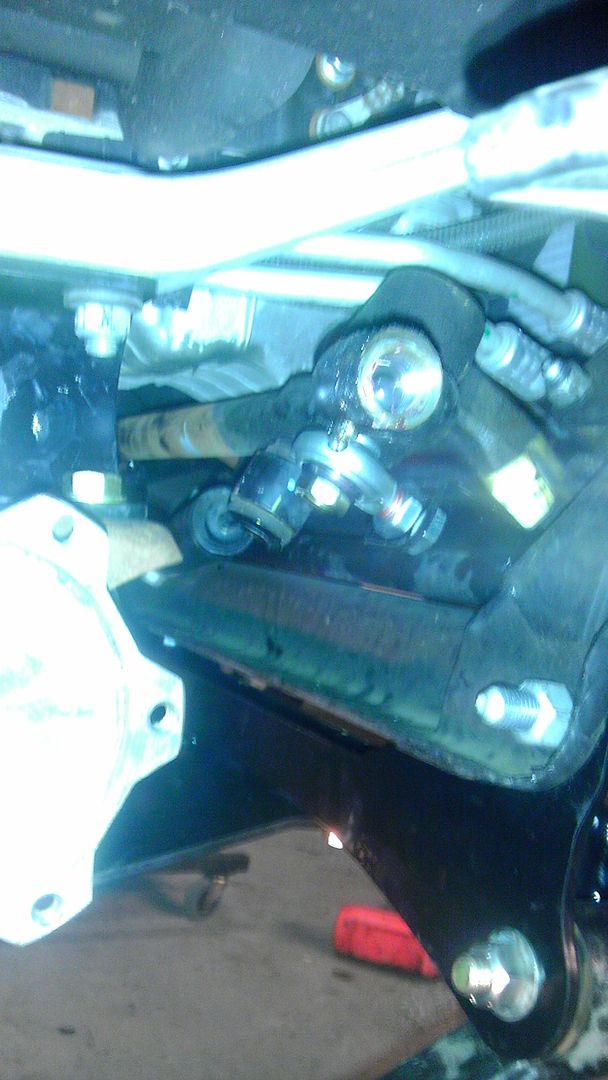
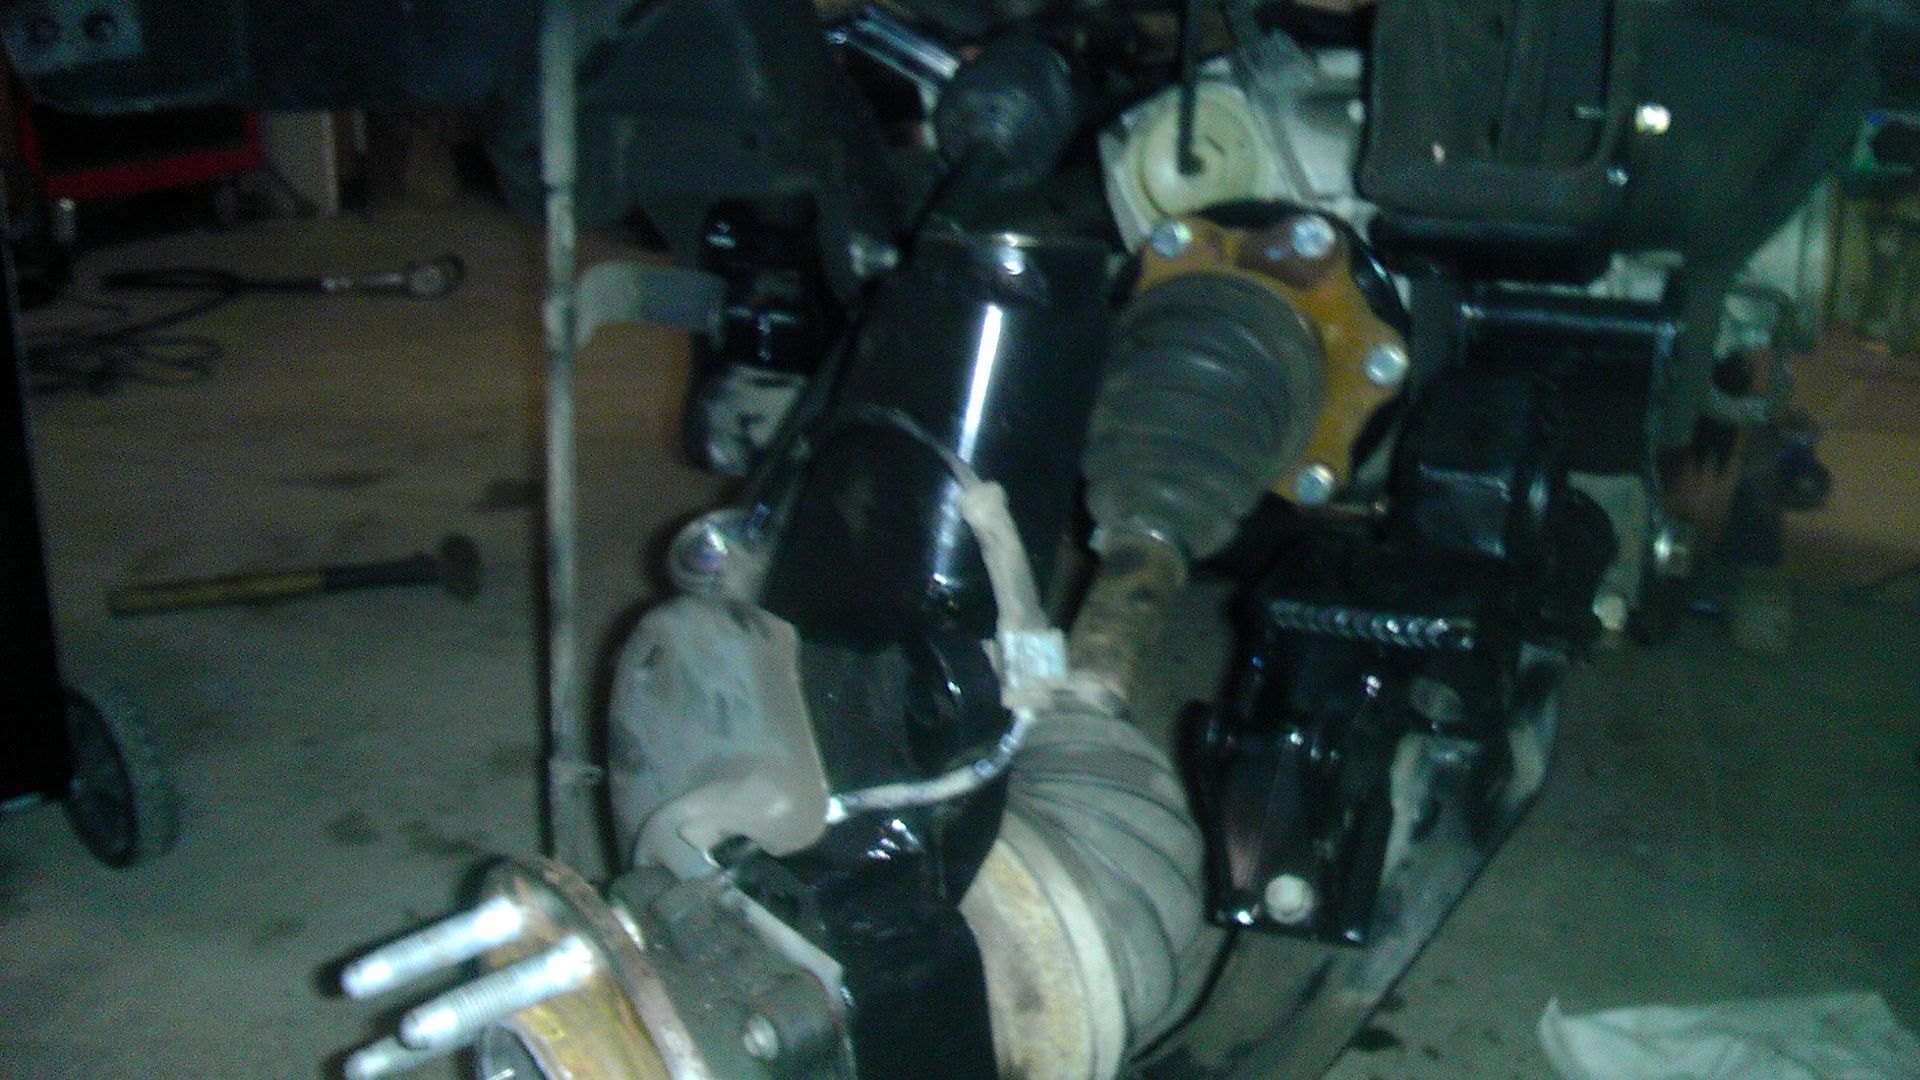
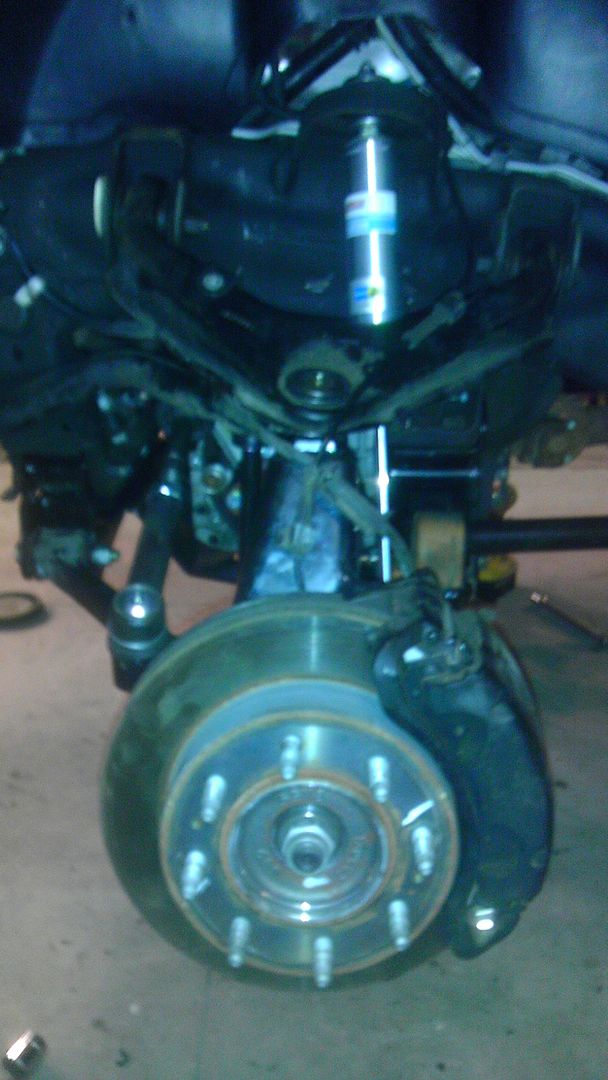
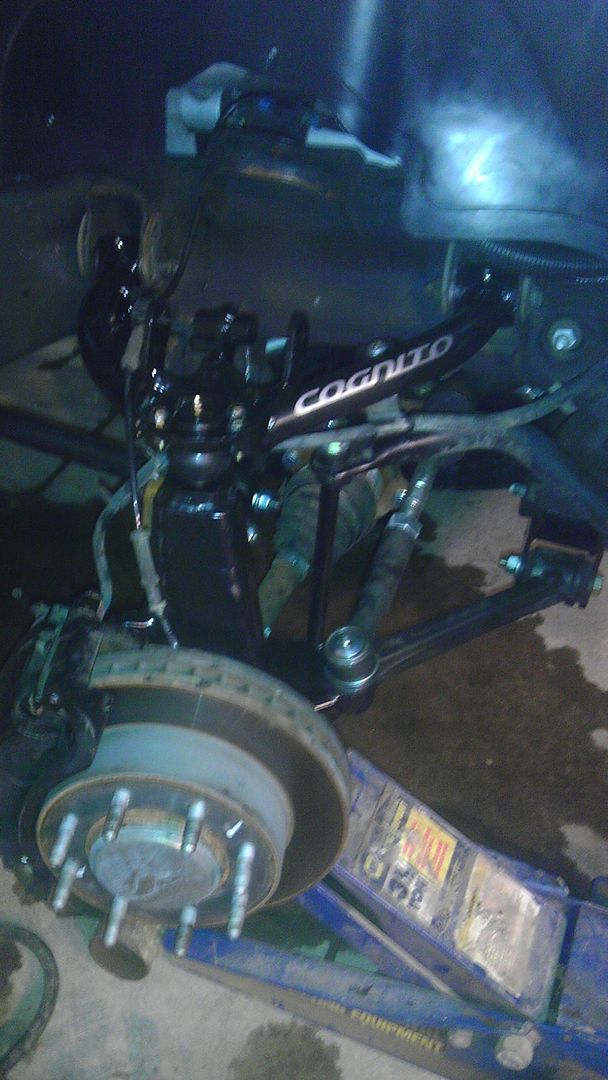
Cognito 4-6" NTBD with Cognito UCA's and Bilstein 5100's done
Cognito support braces done
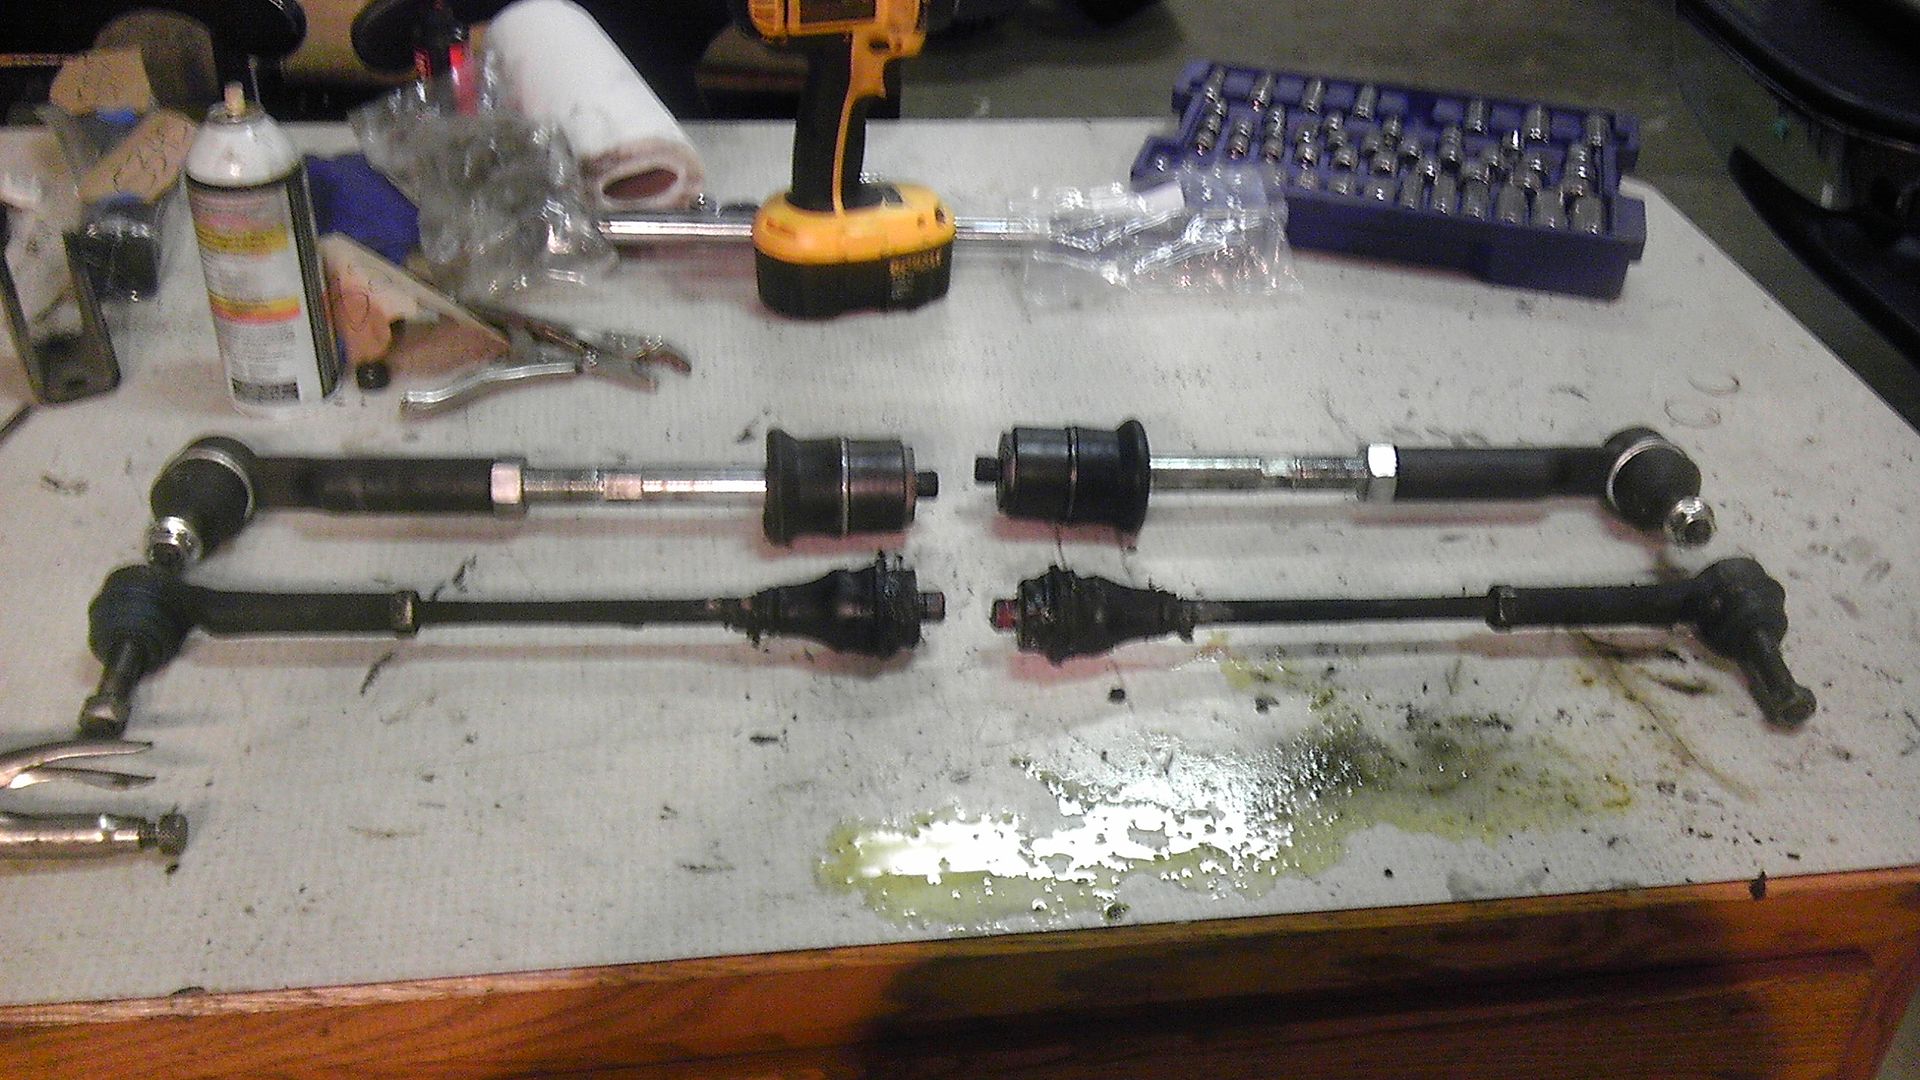
Cognito HD tie rods done
22x10.5" Chrome BMF Novakanes done
285/55/22 Trail Grapplers done
1.5" wheel spacers done - decided to get 2" instead
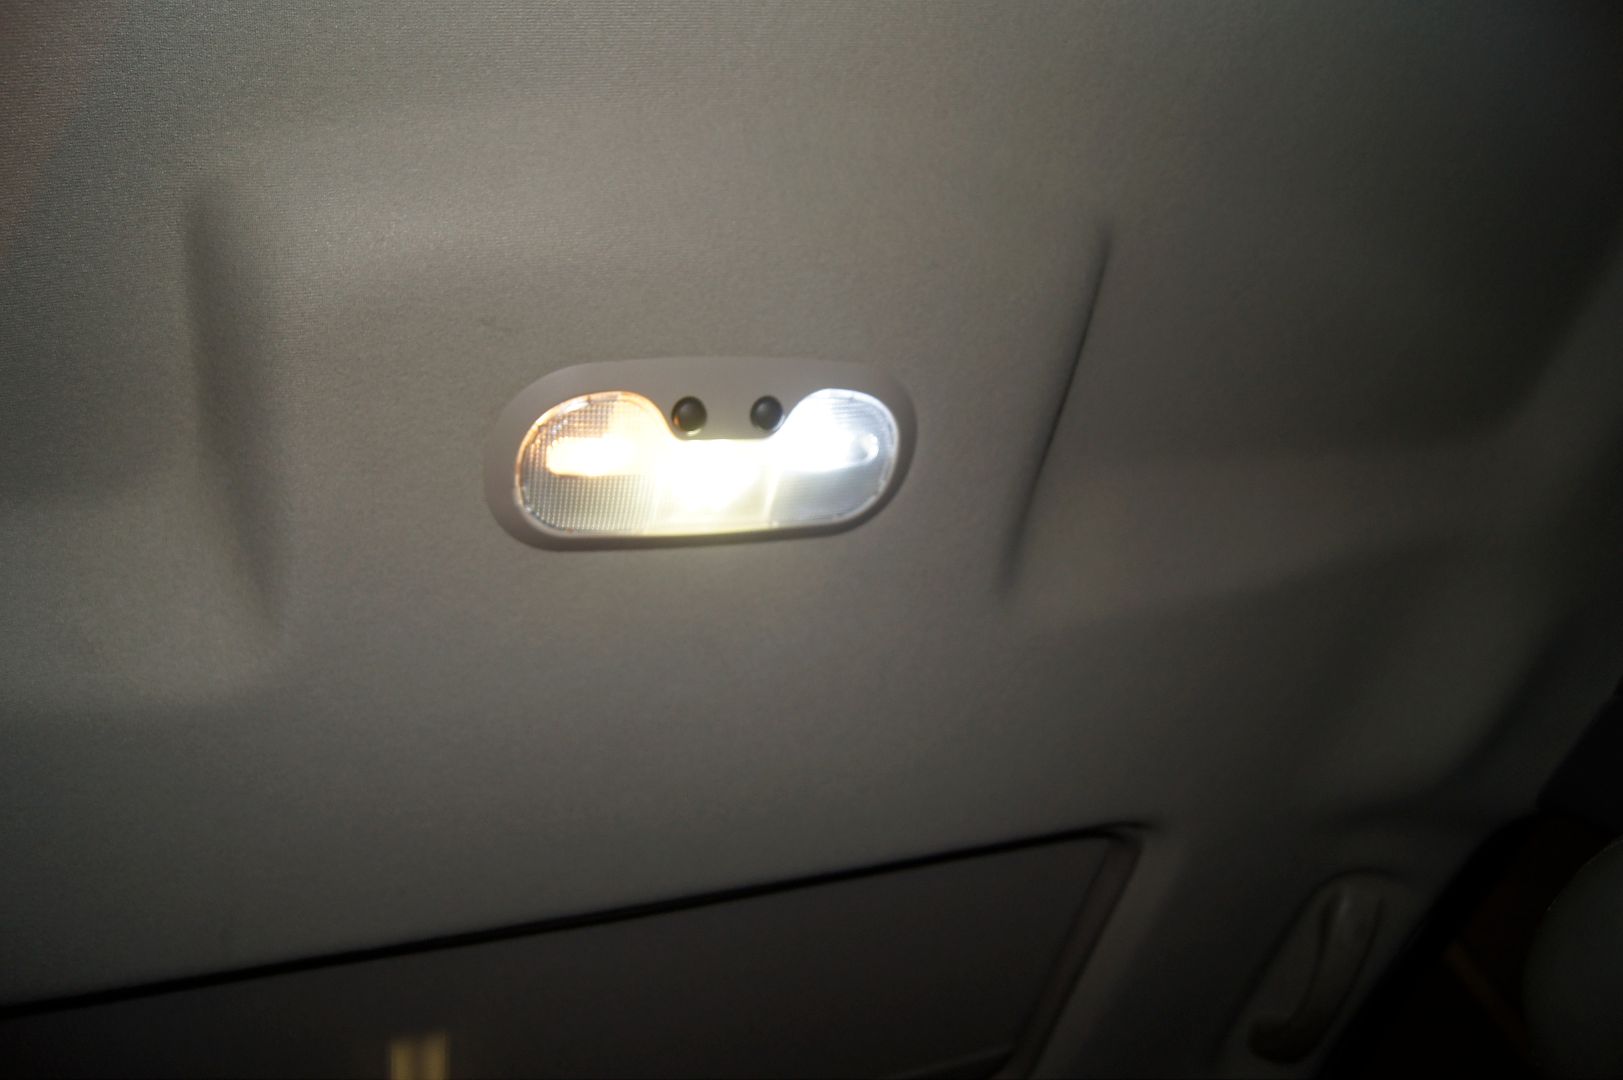
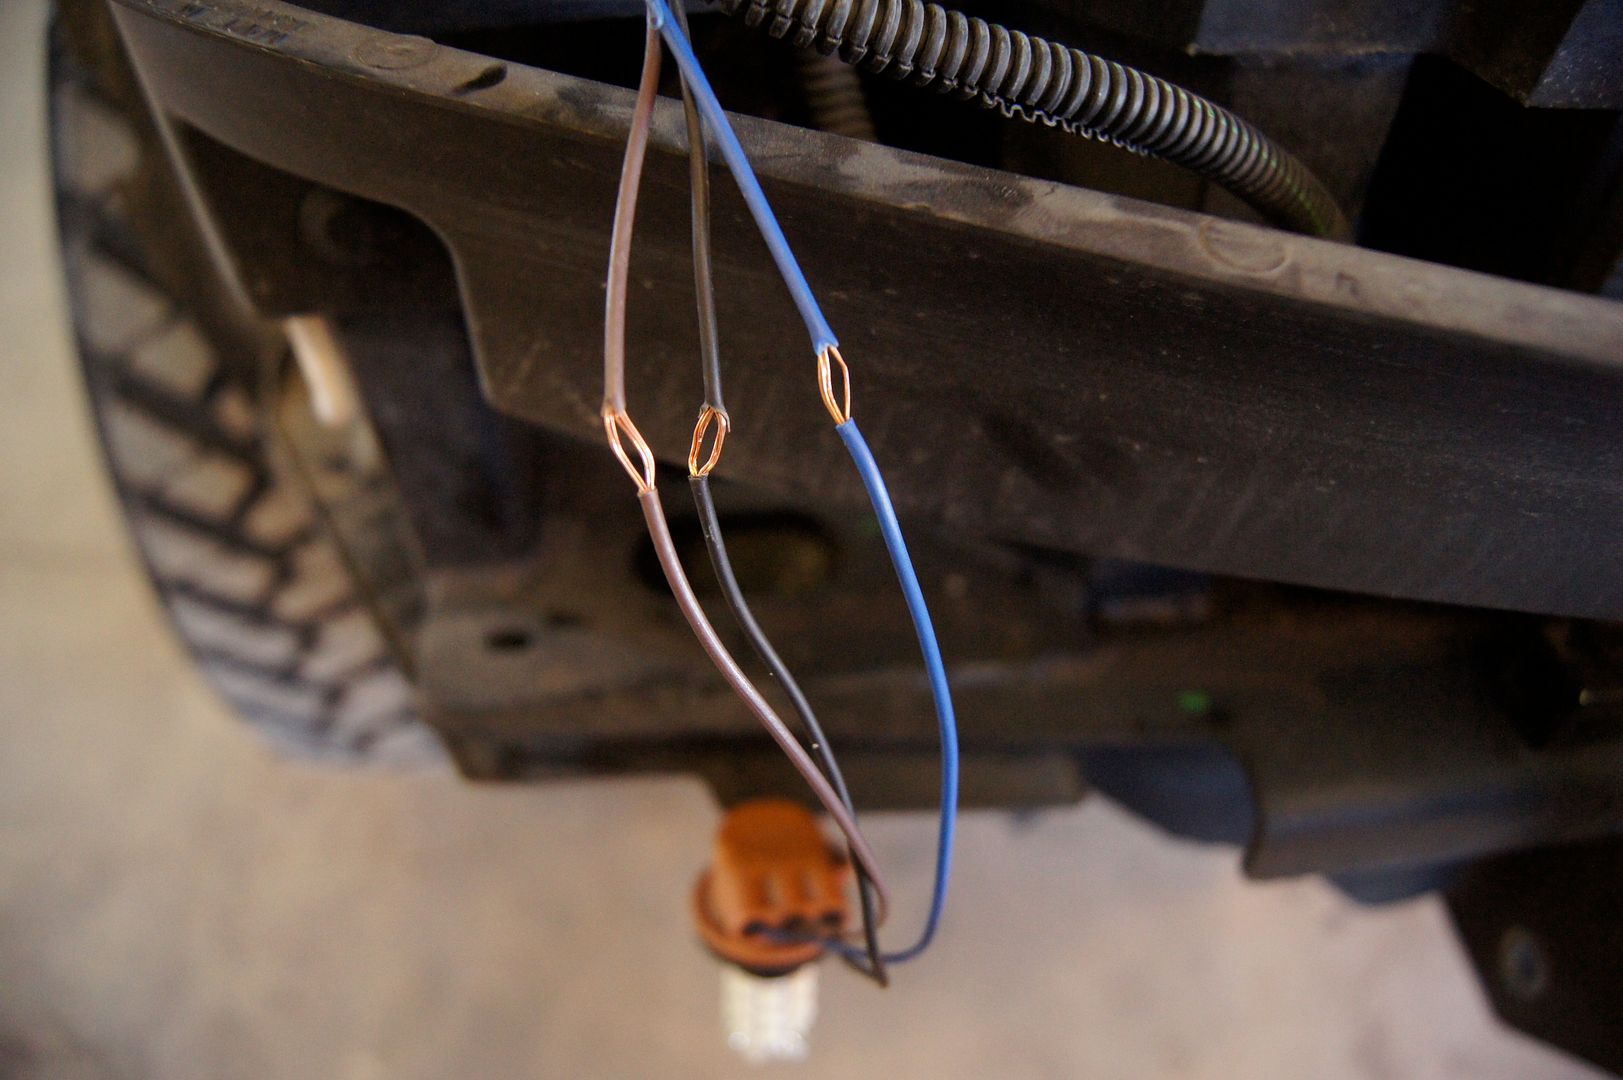
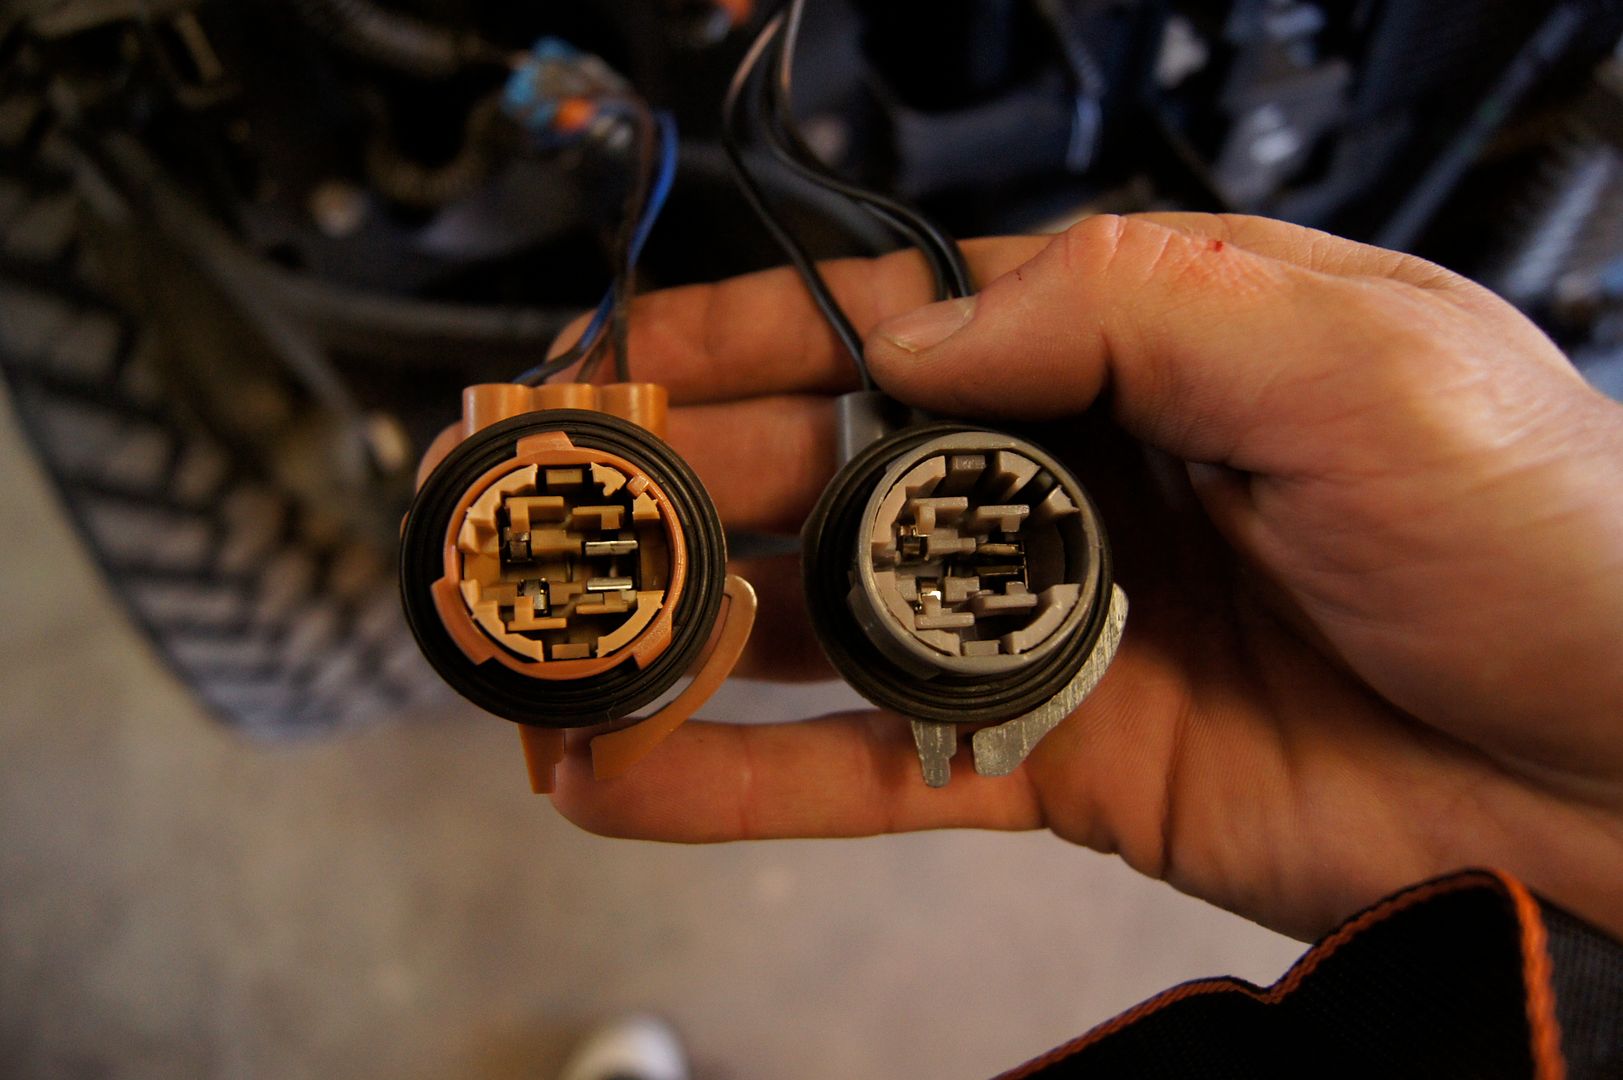
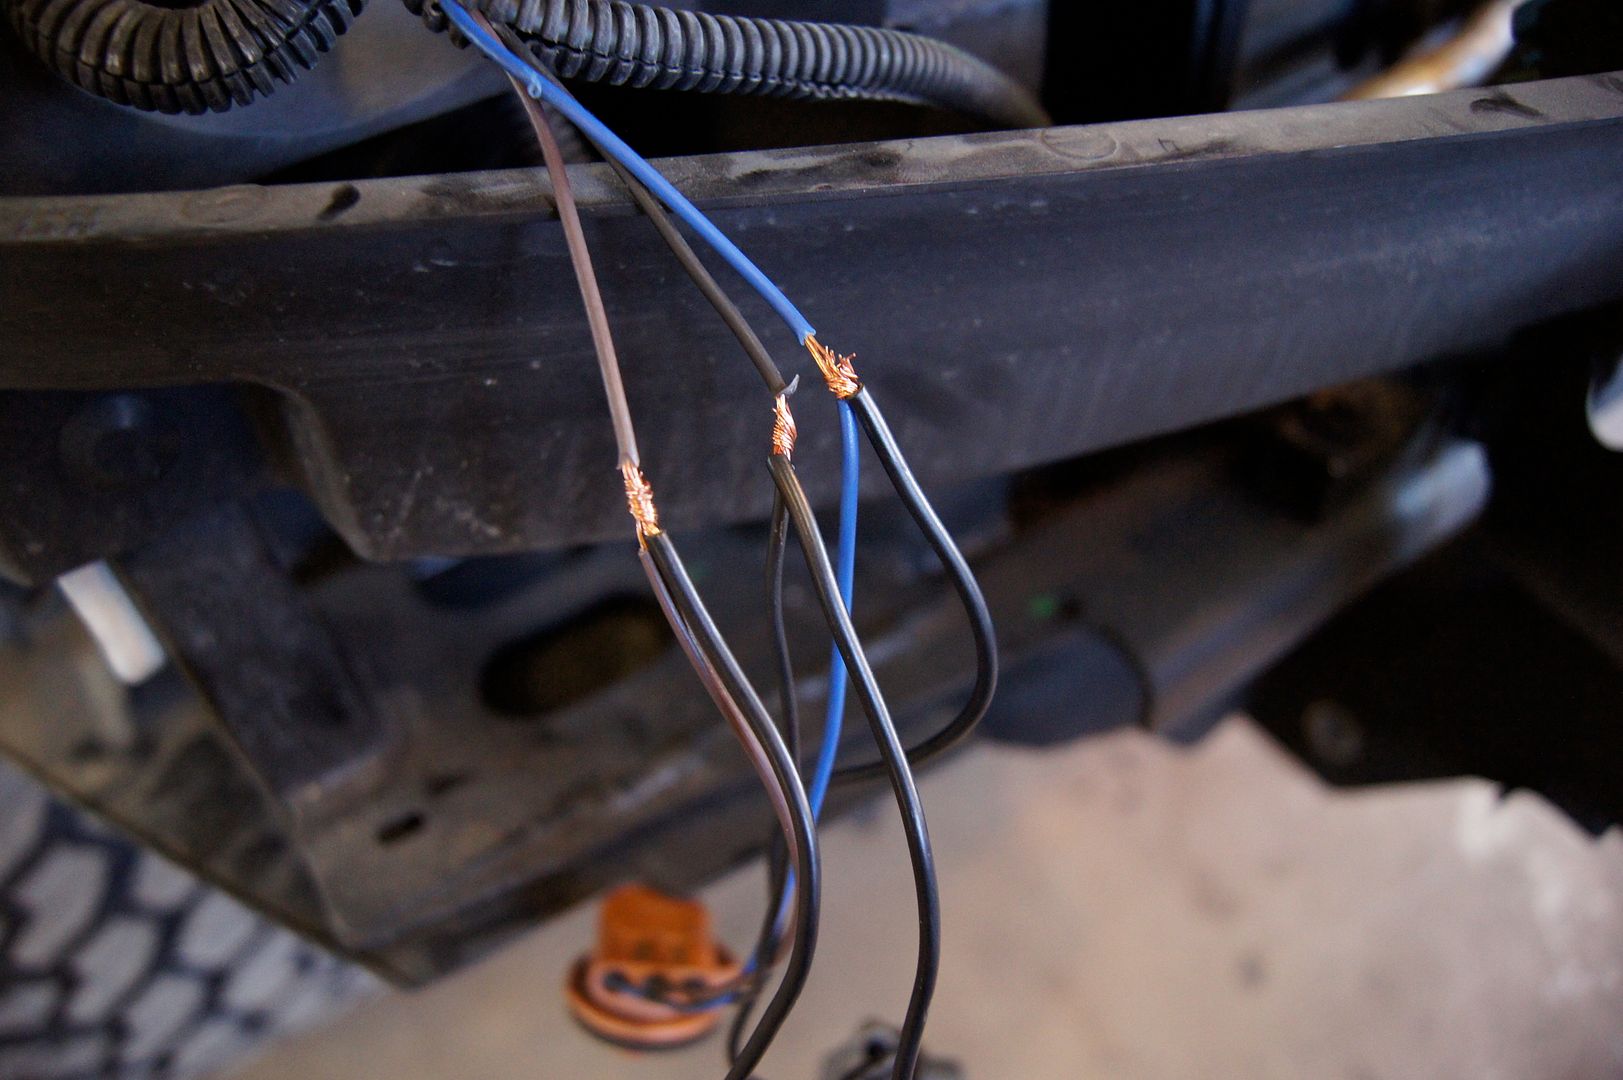
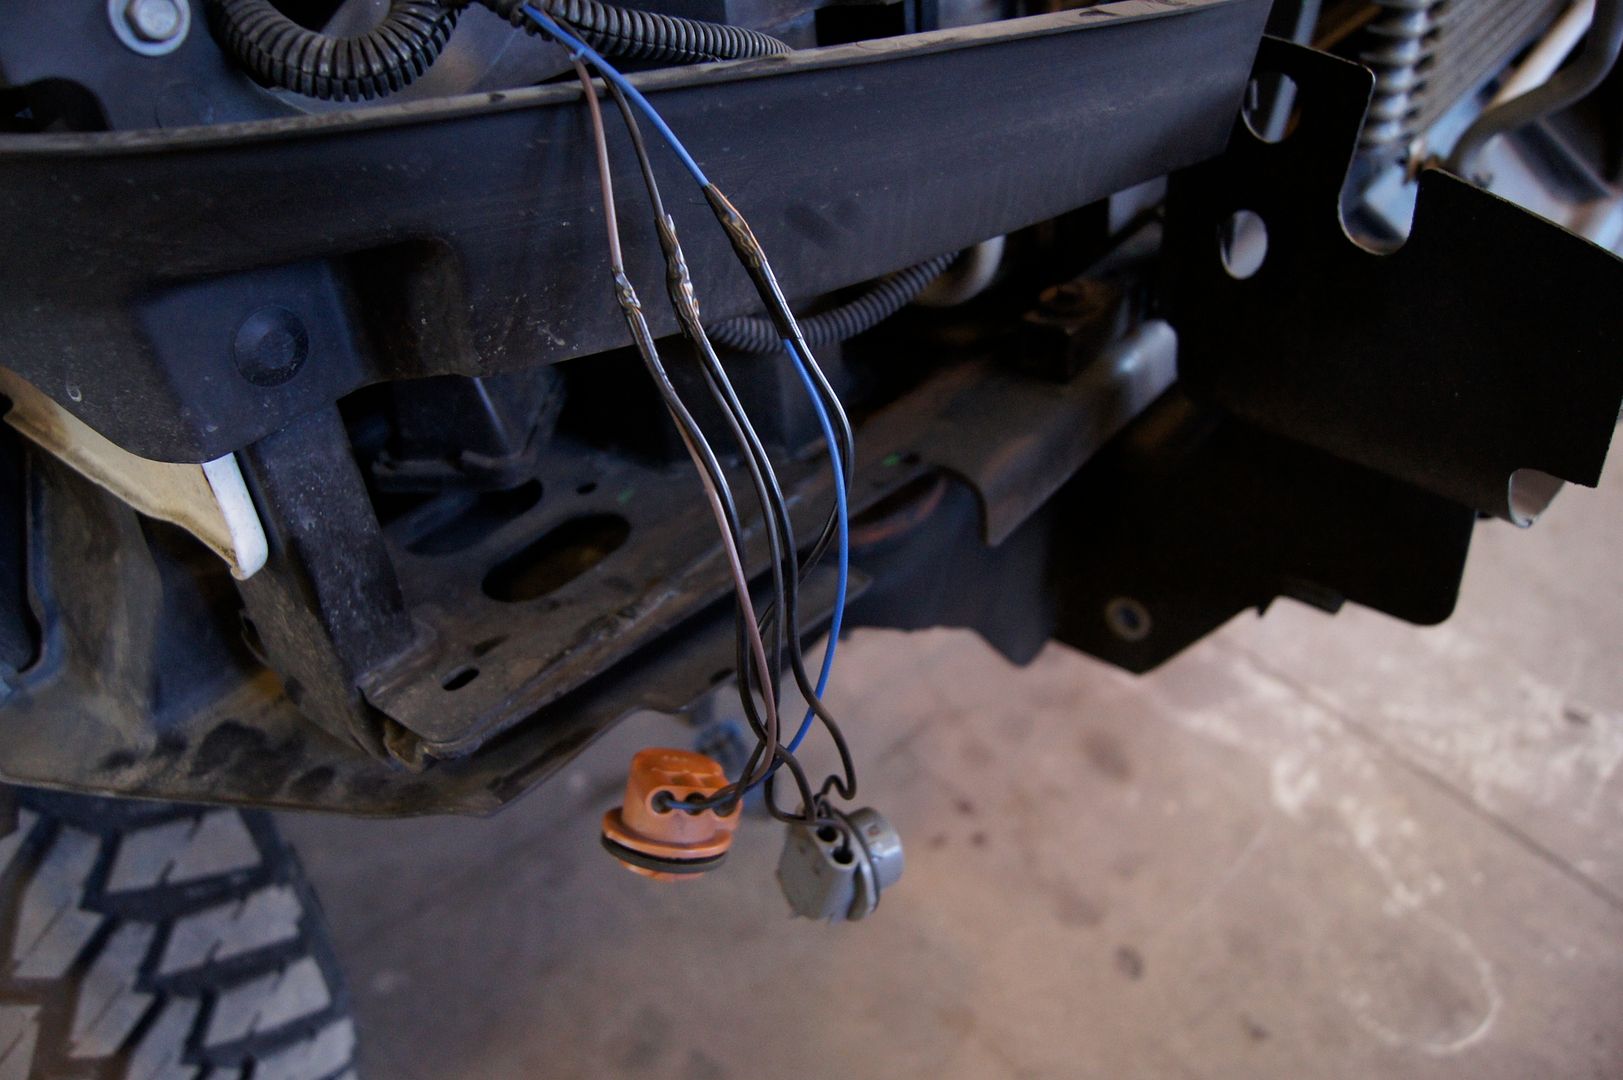
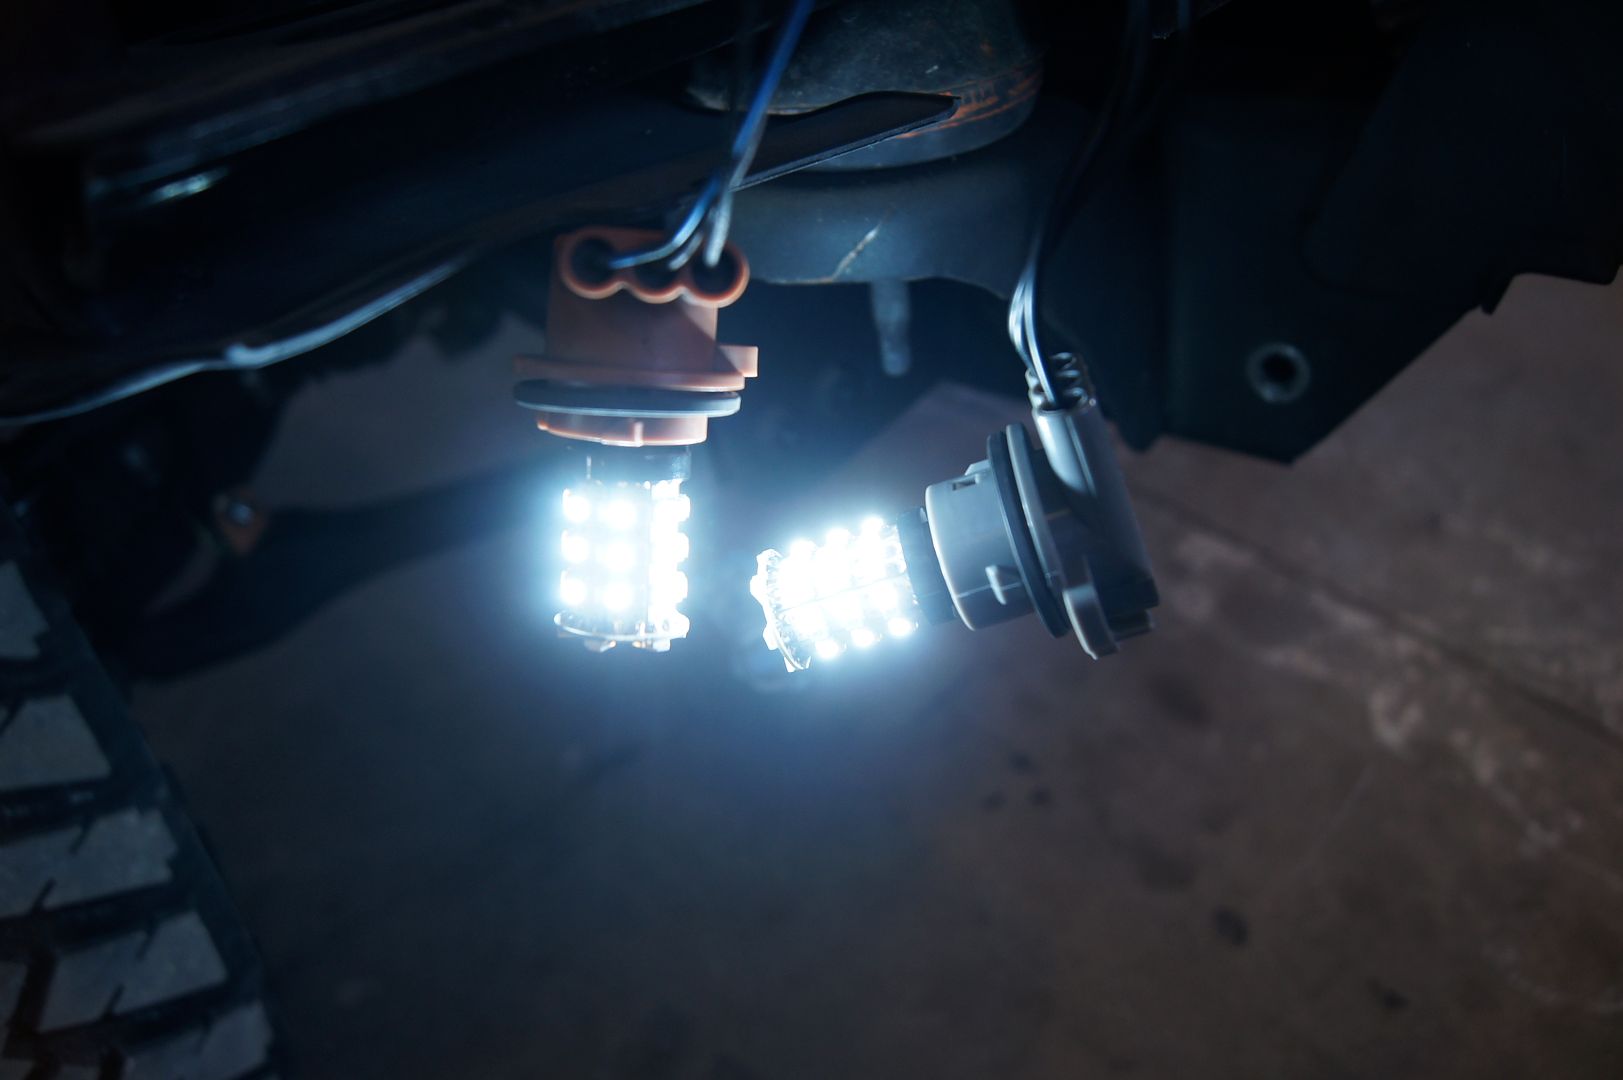
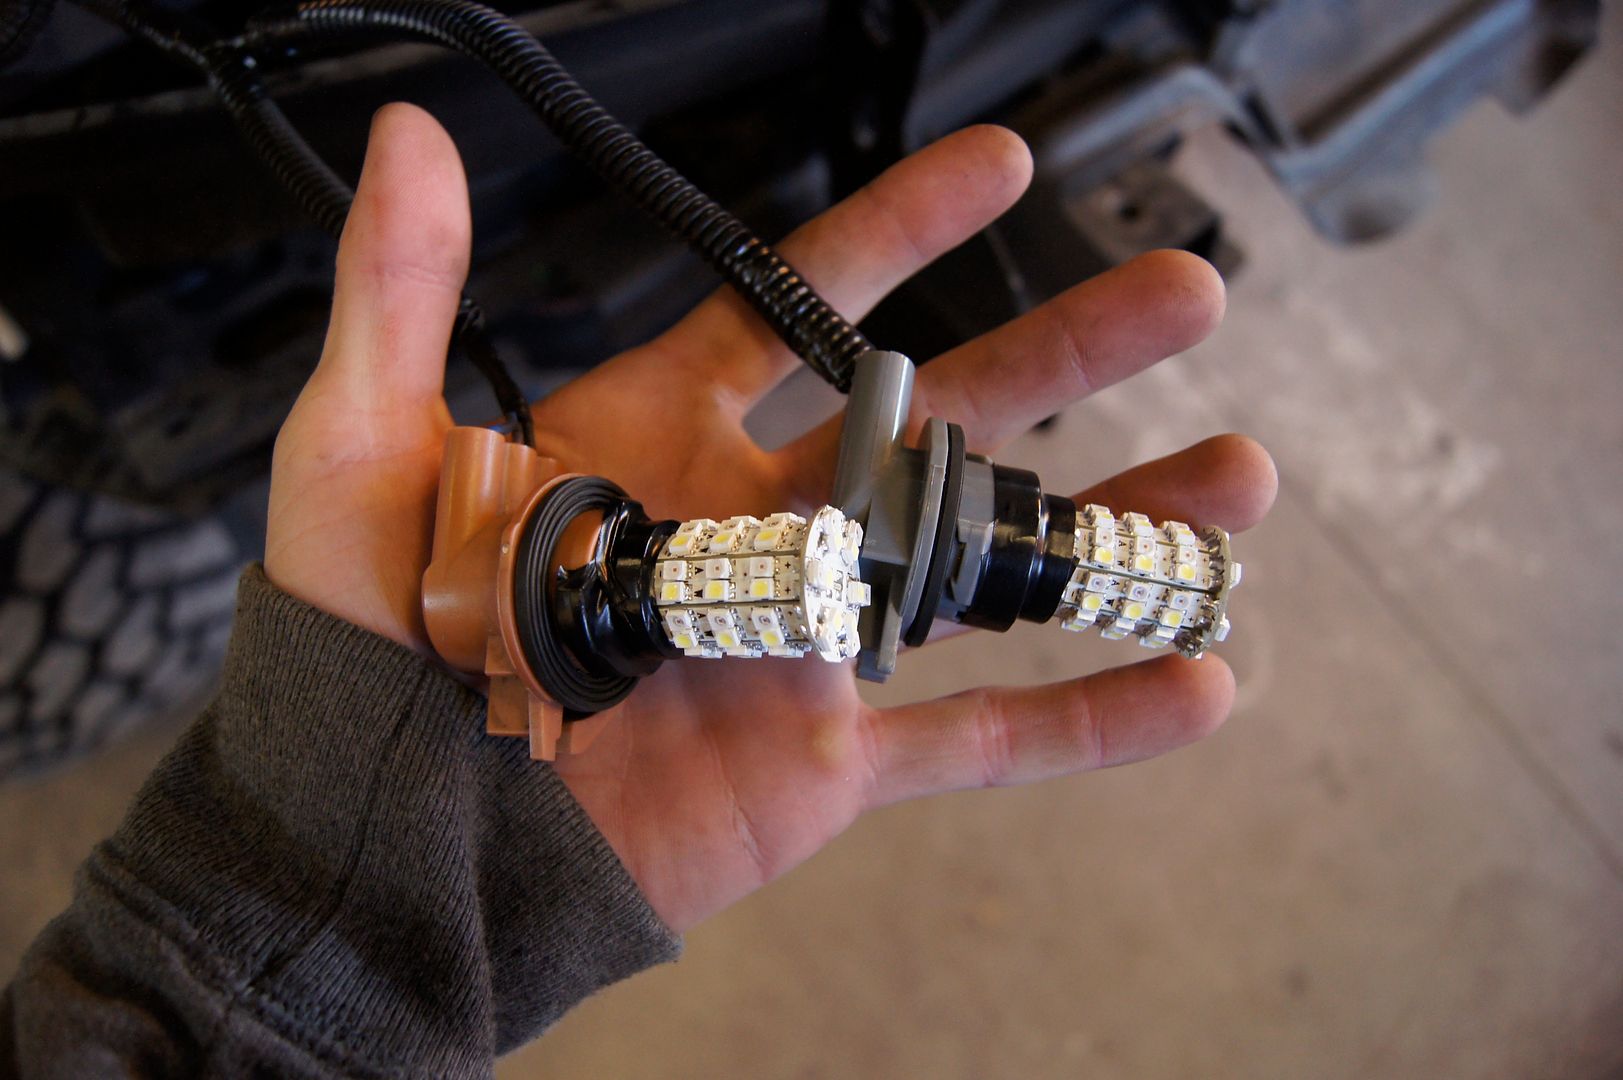
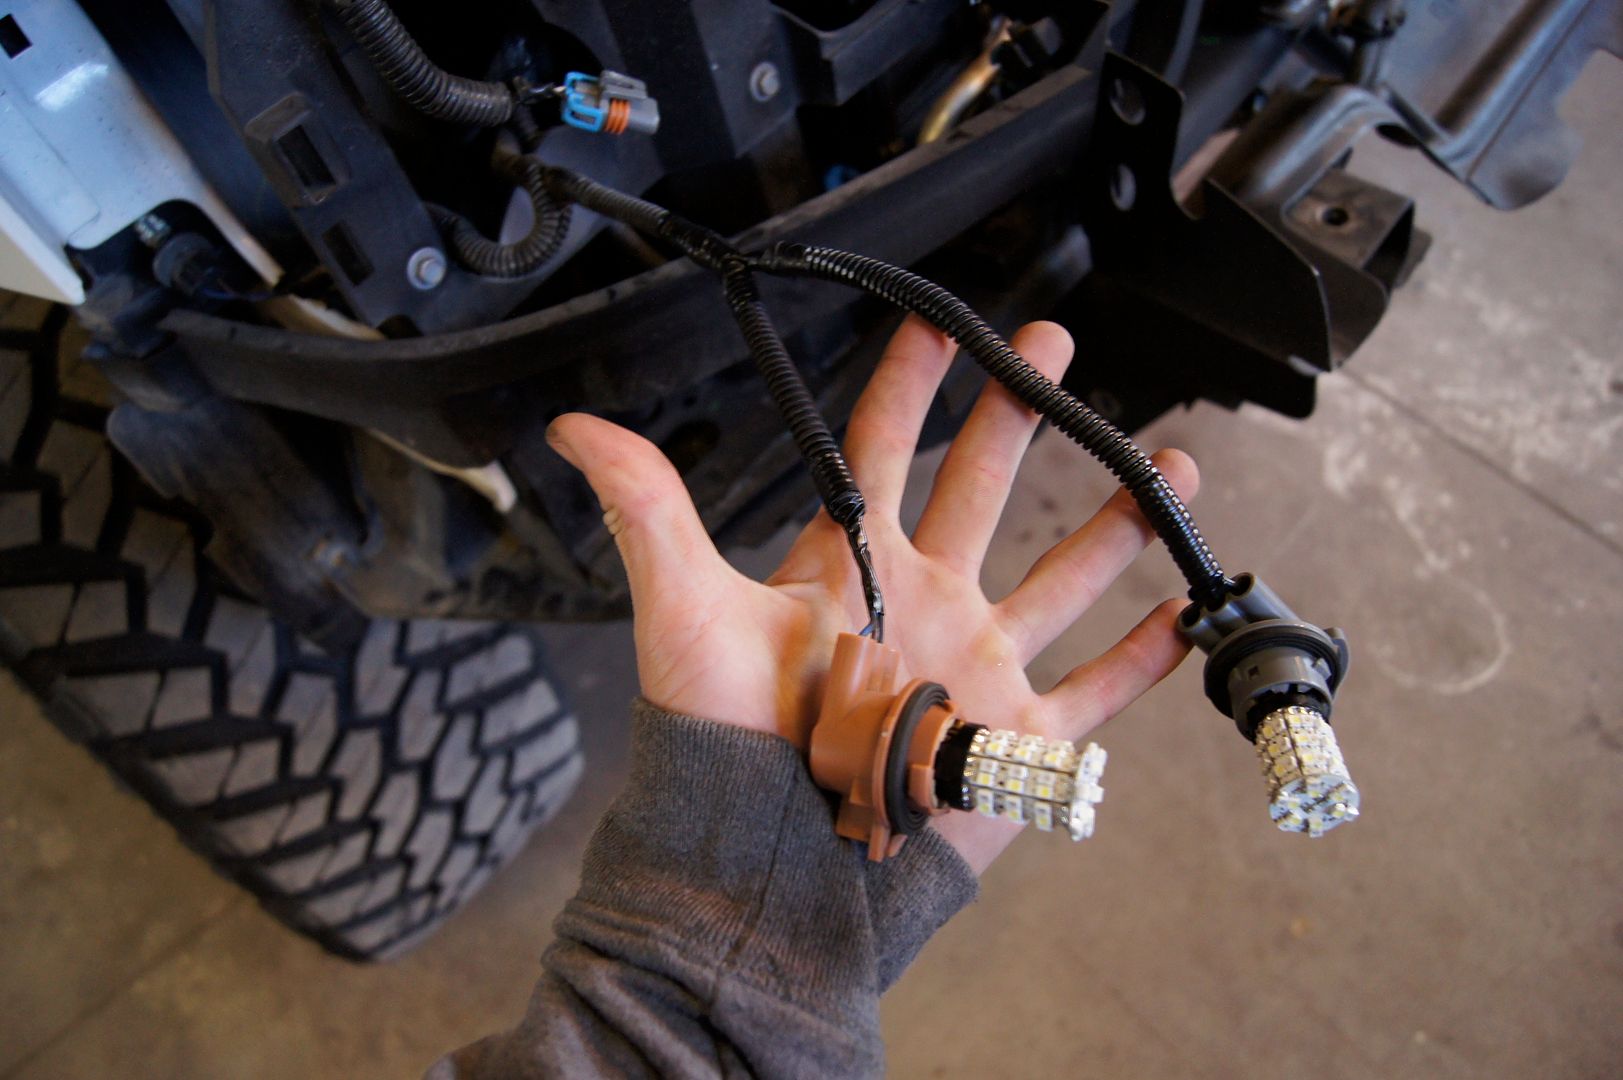
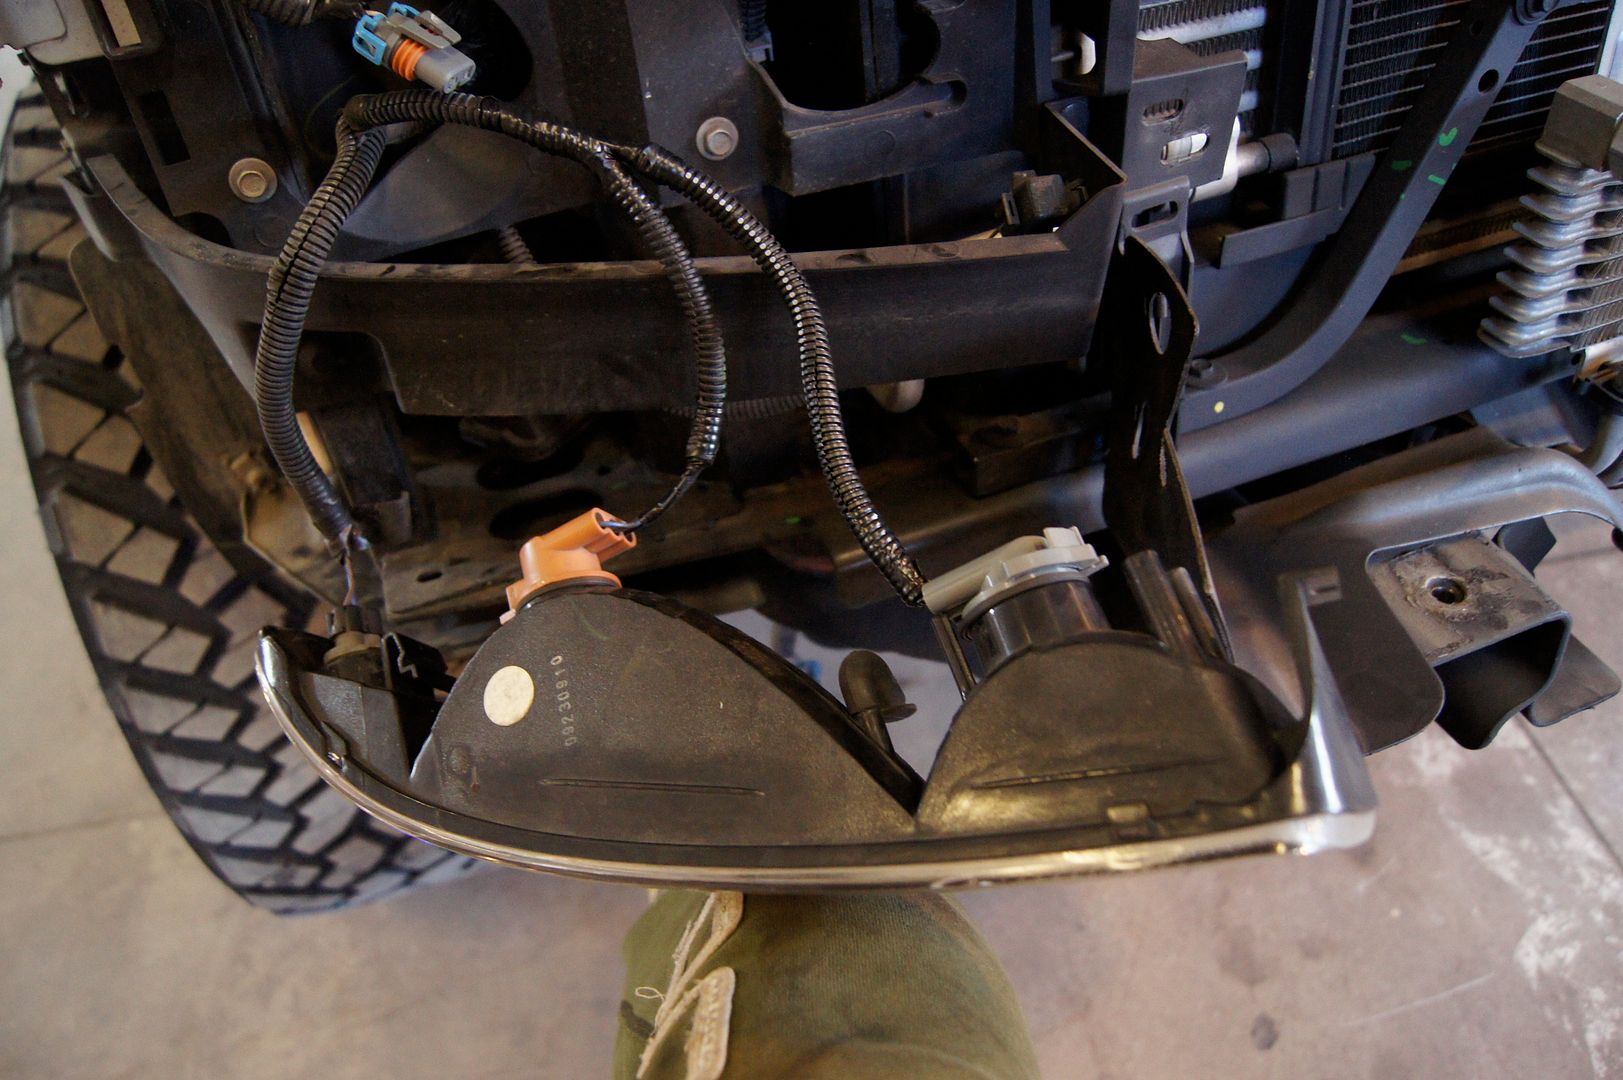
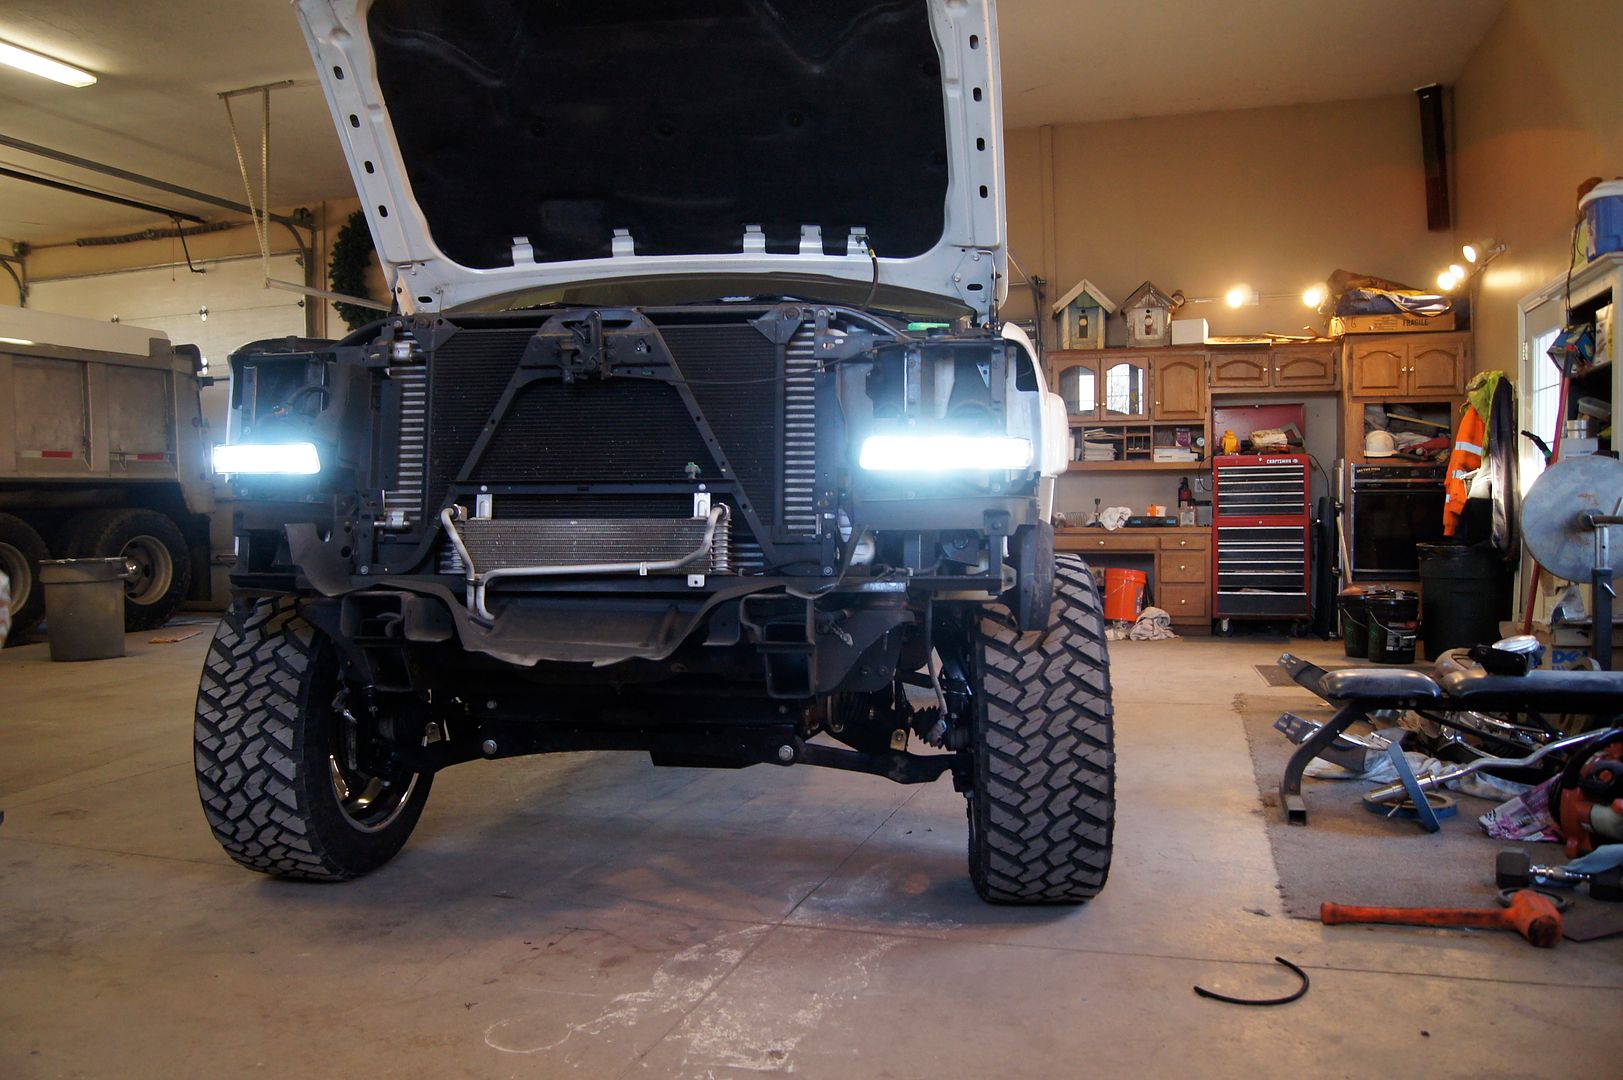
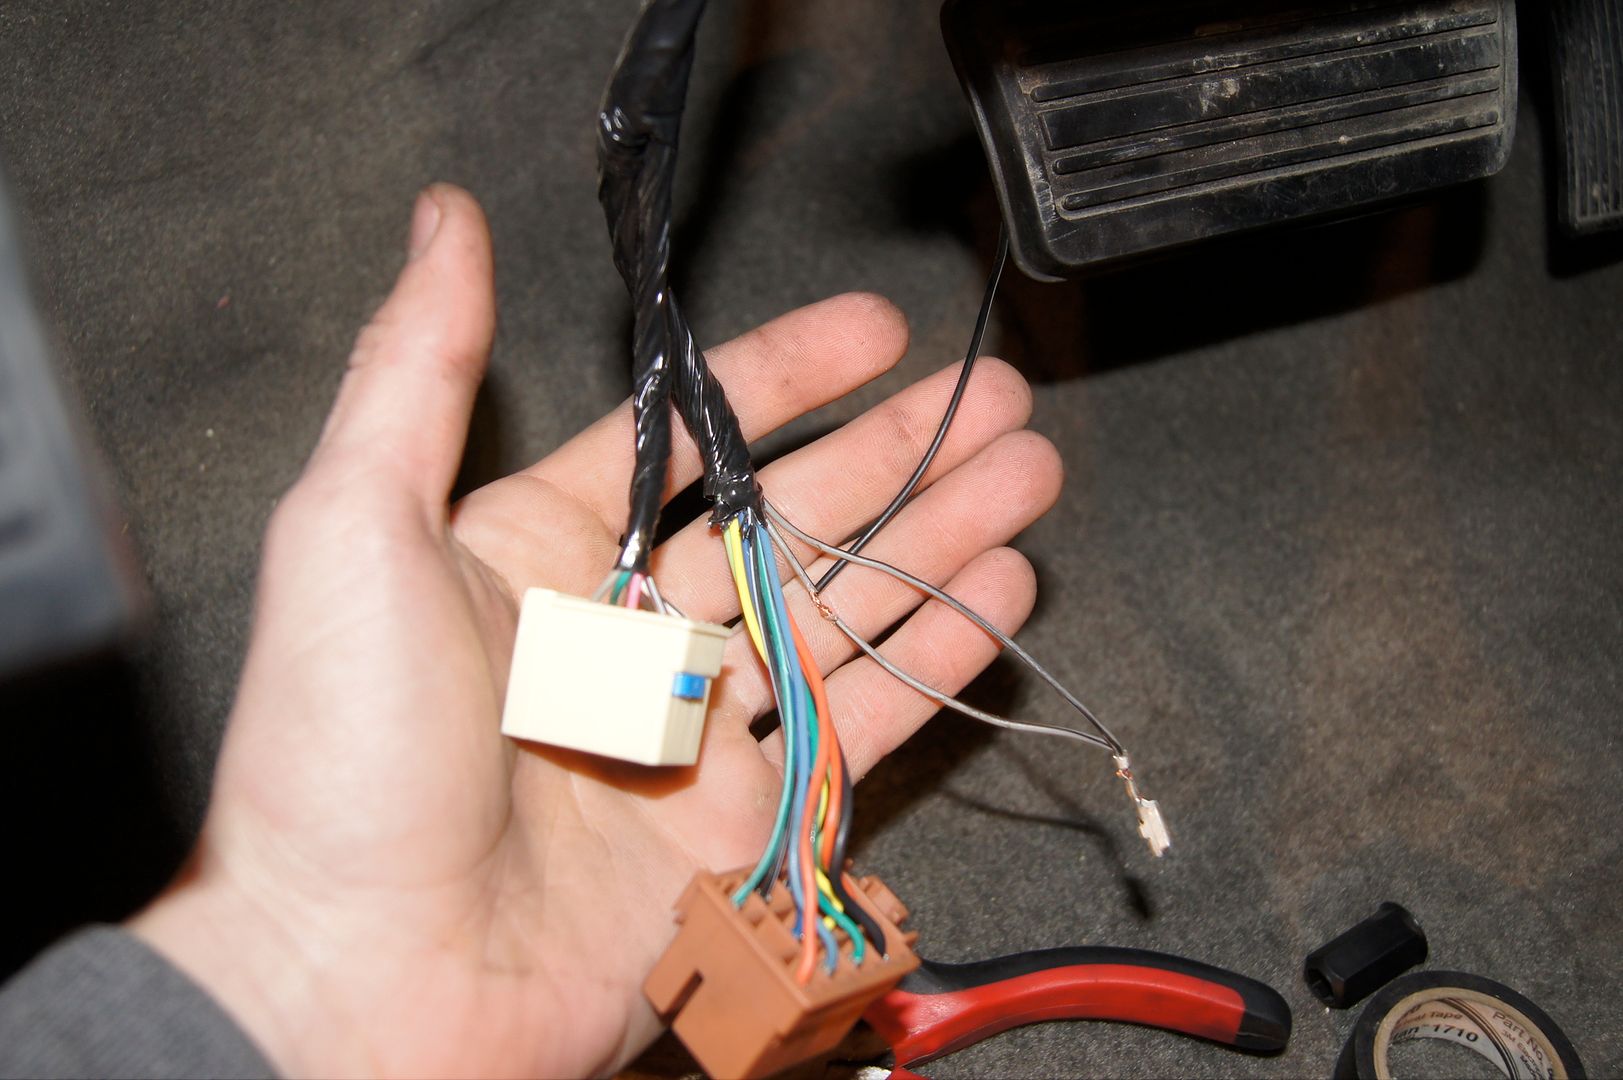
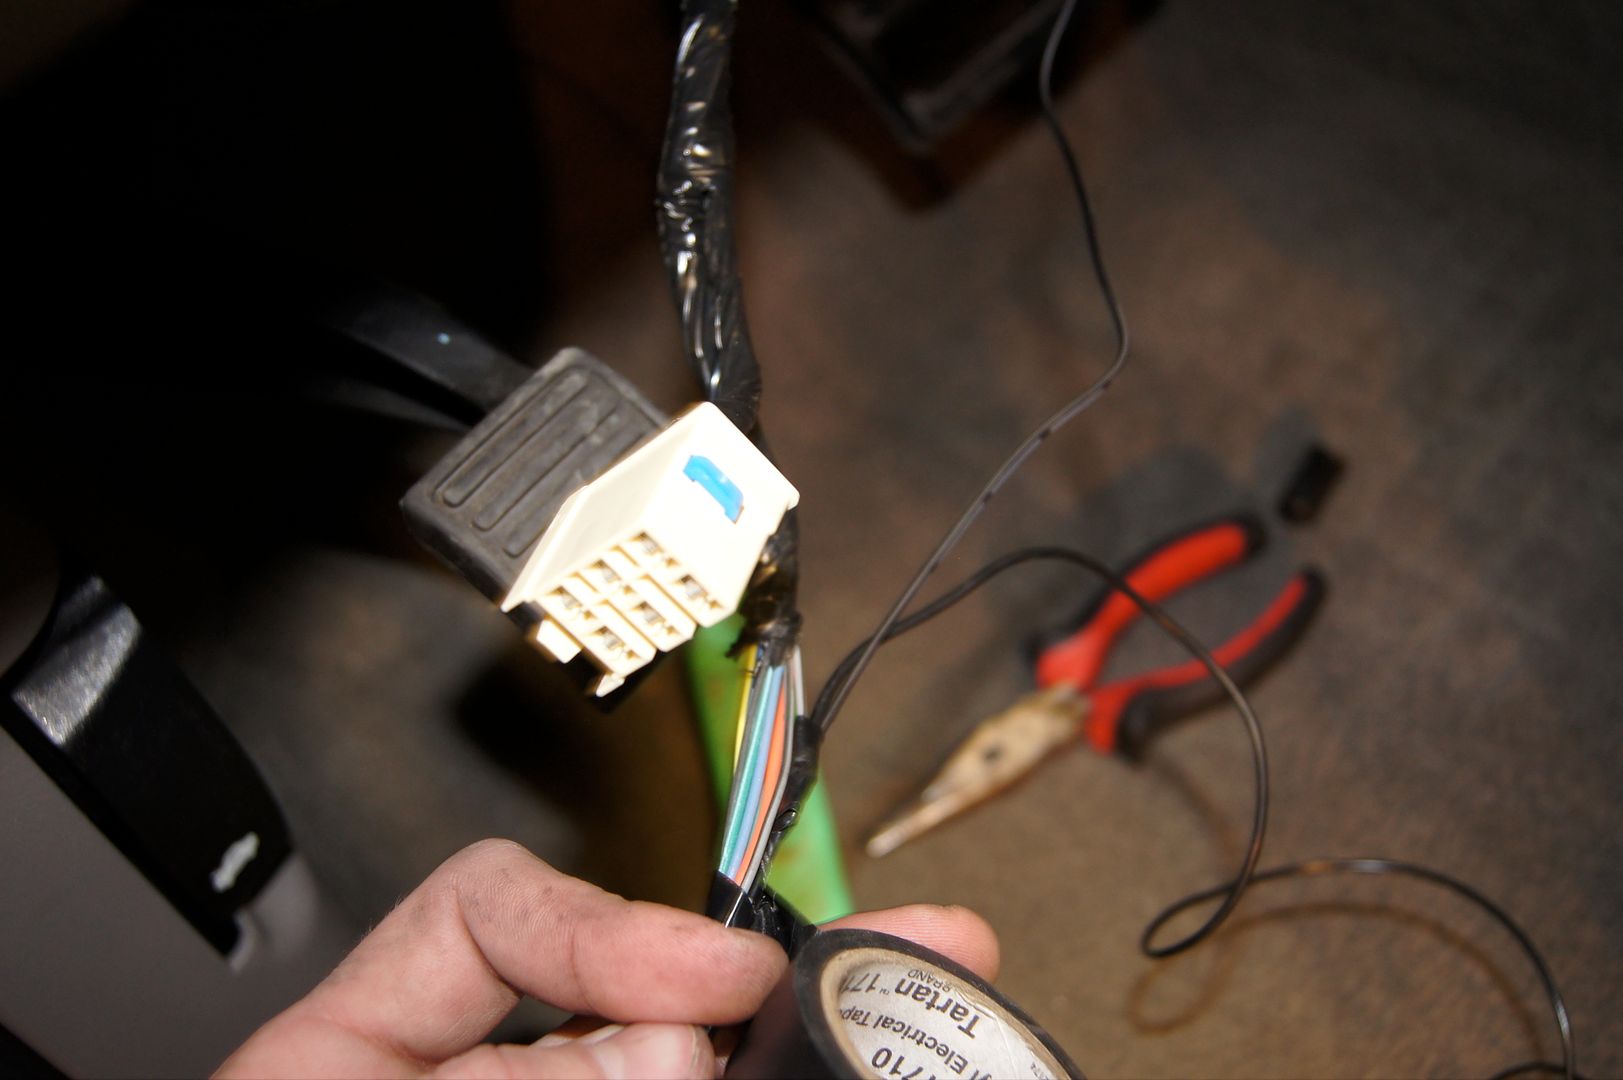
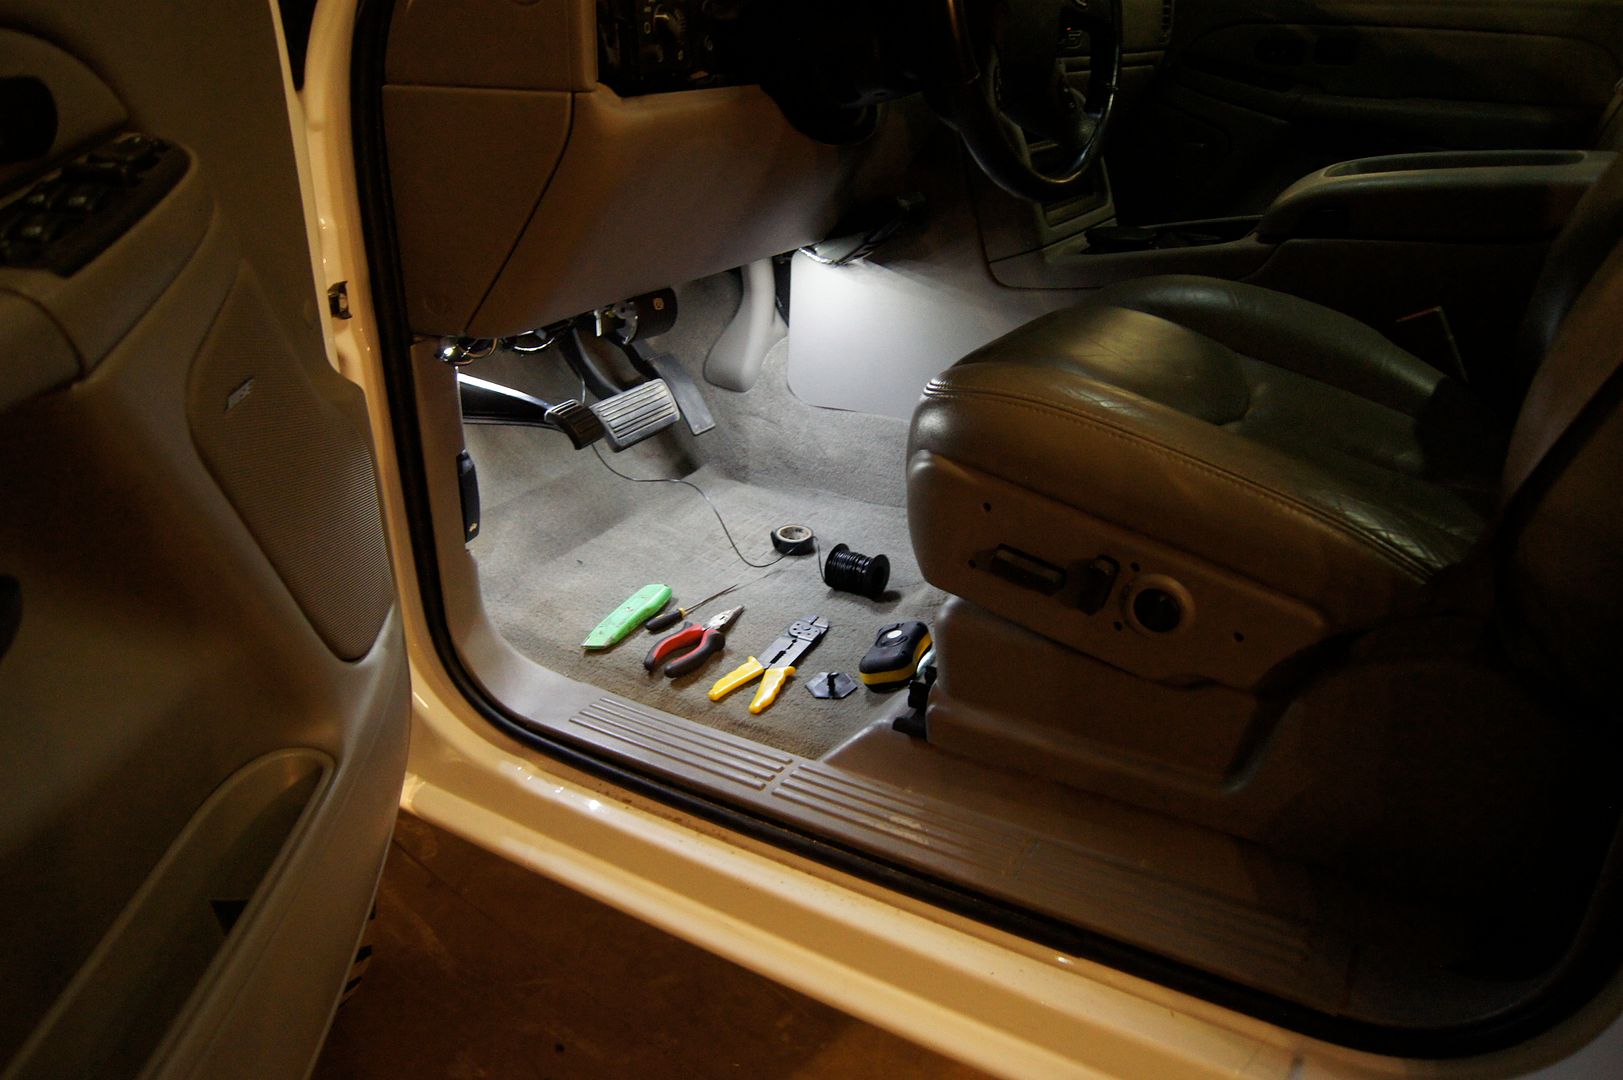
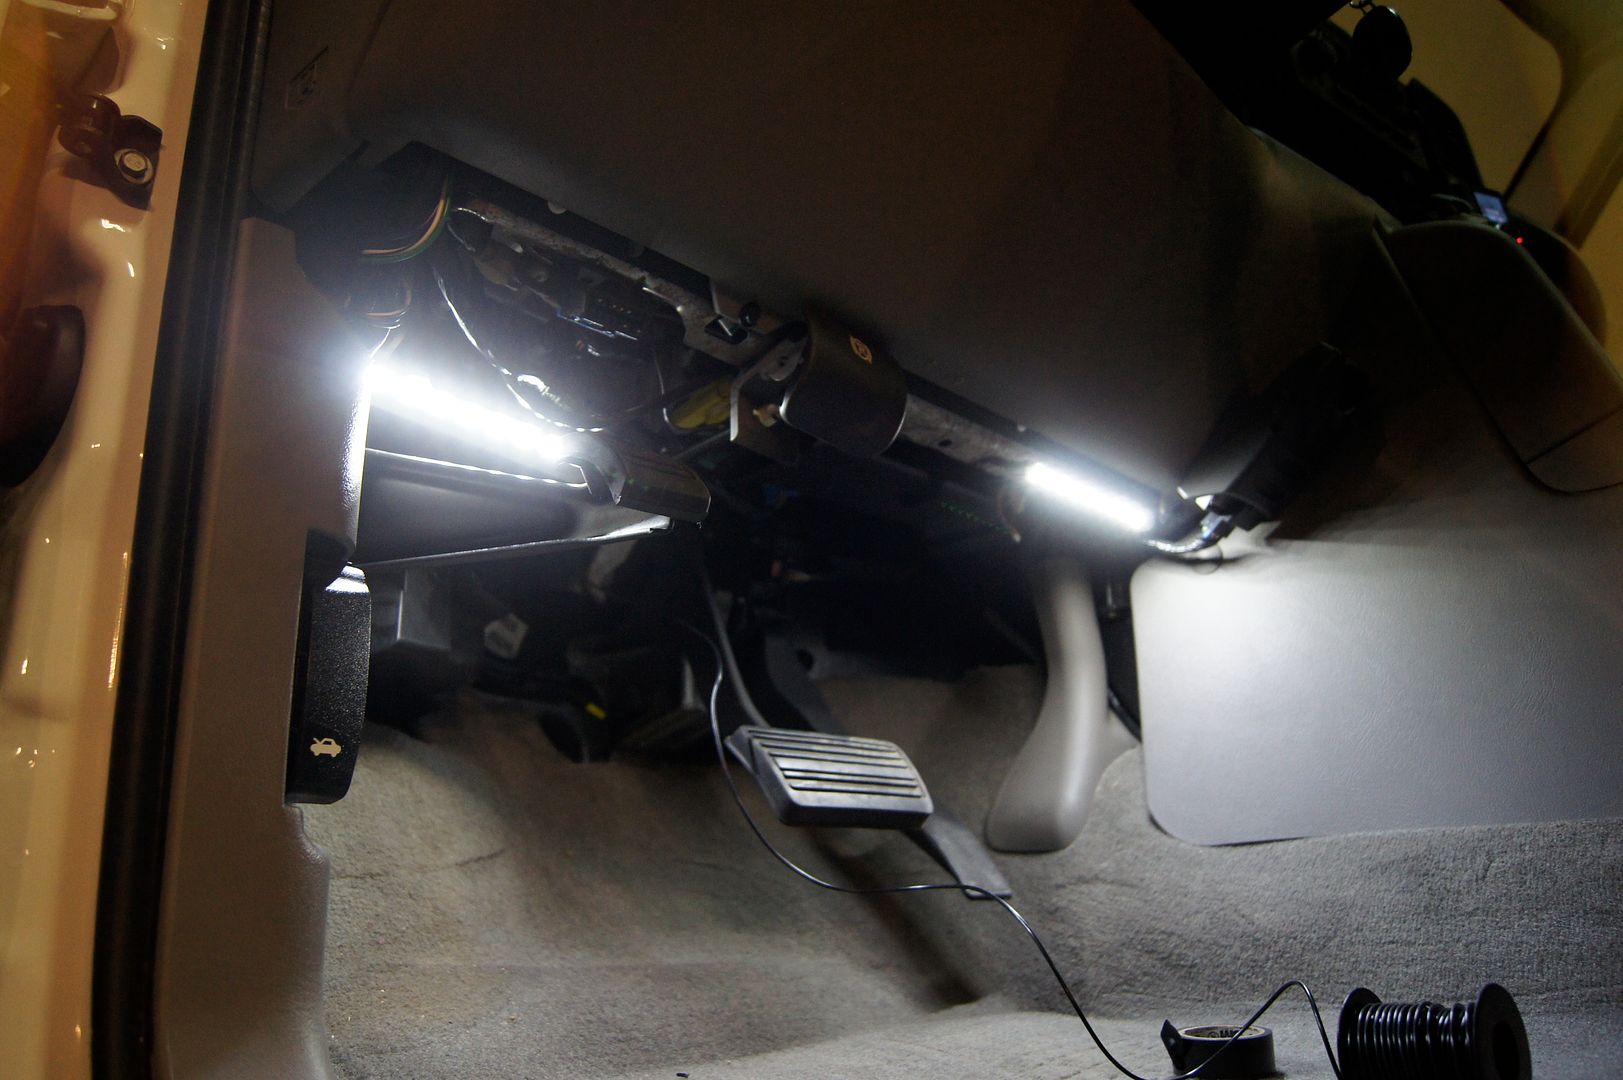
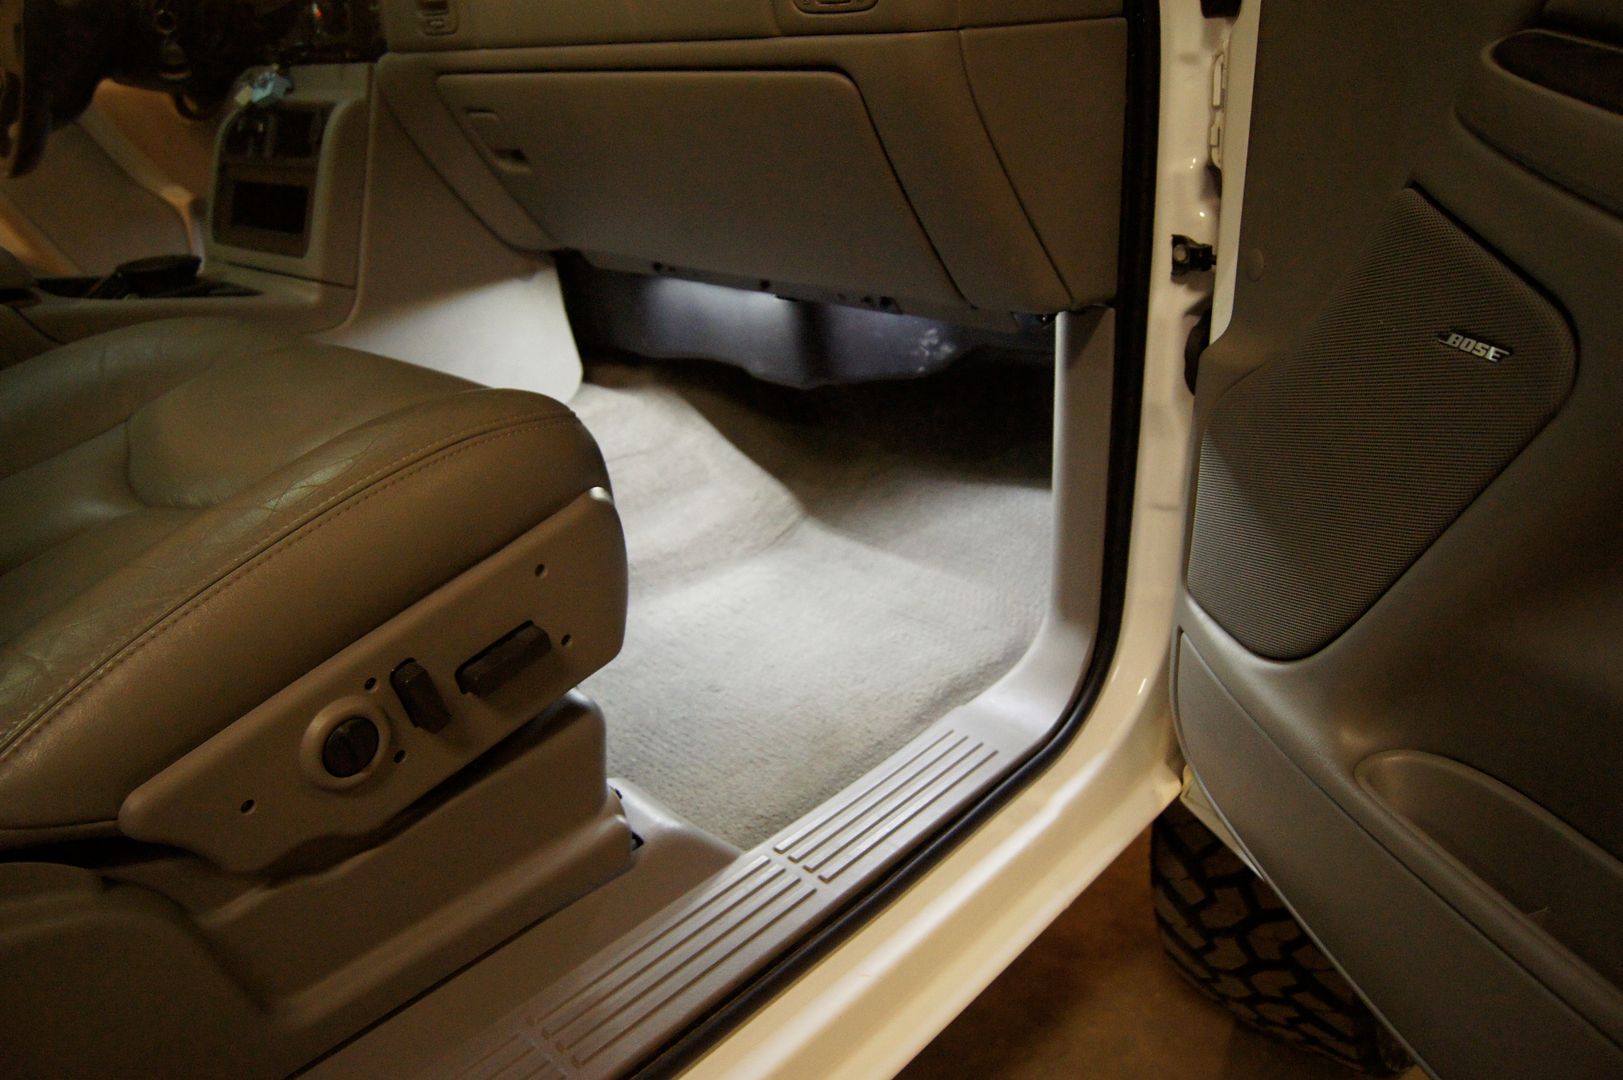
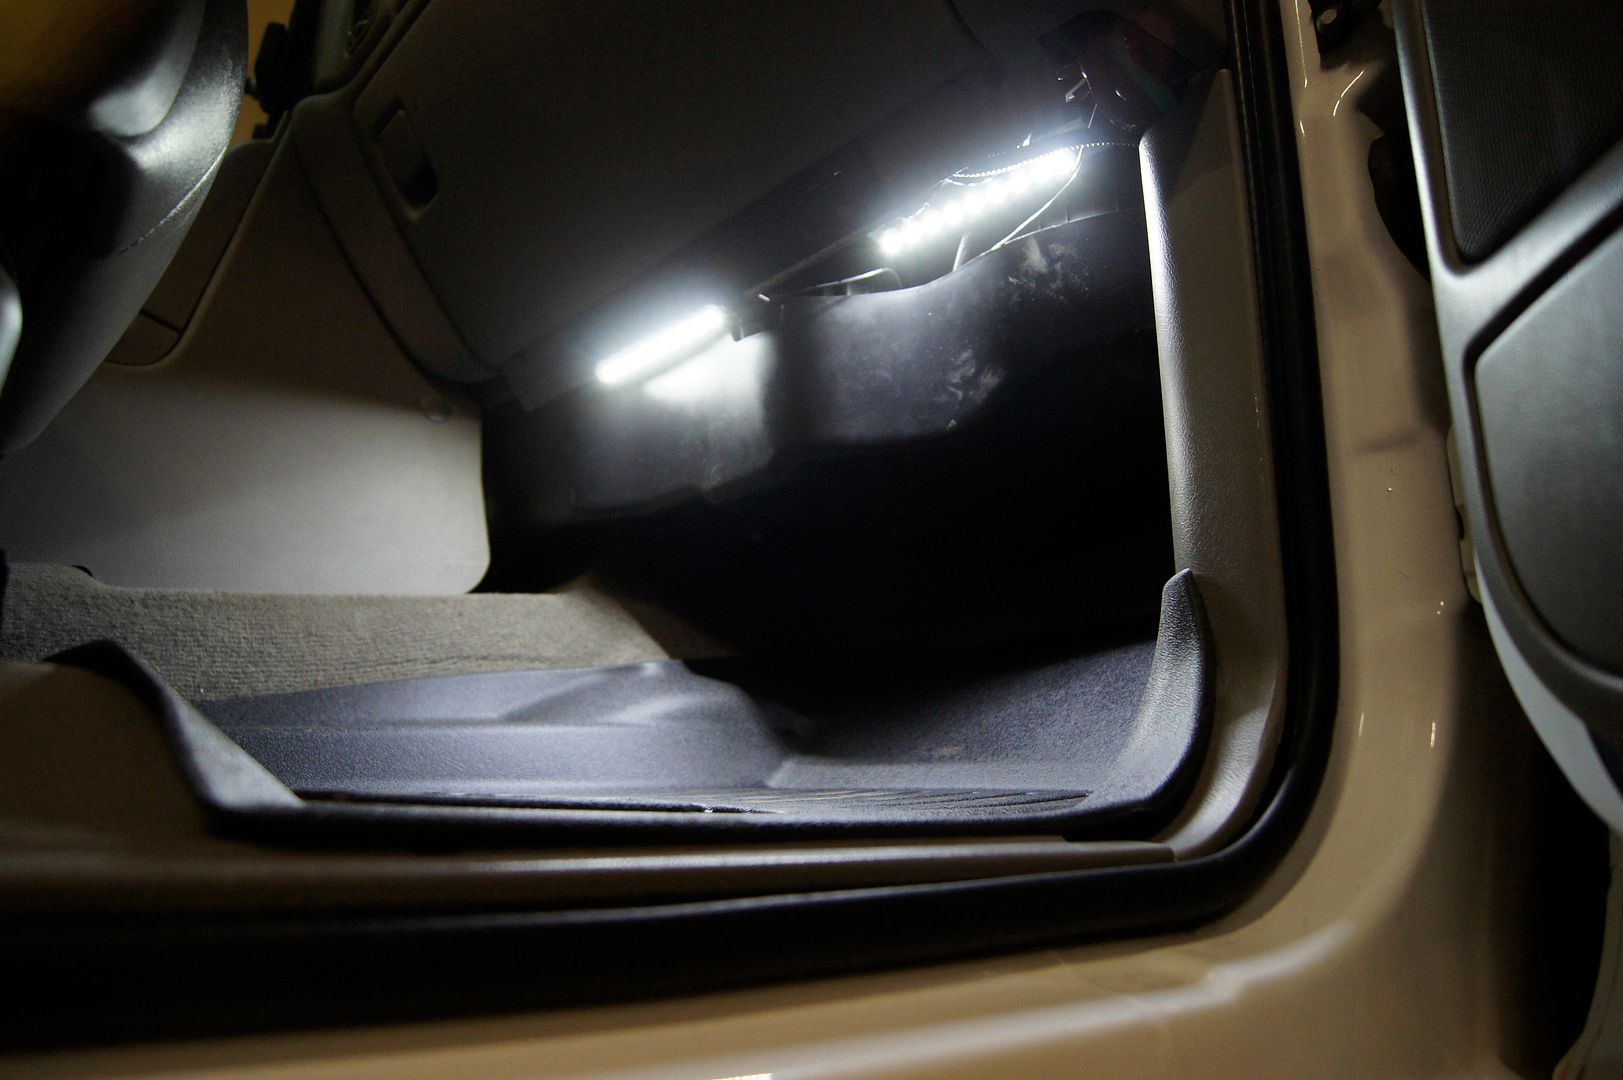
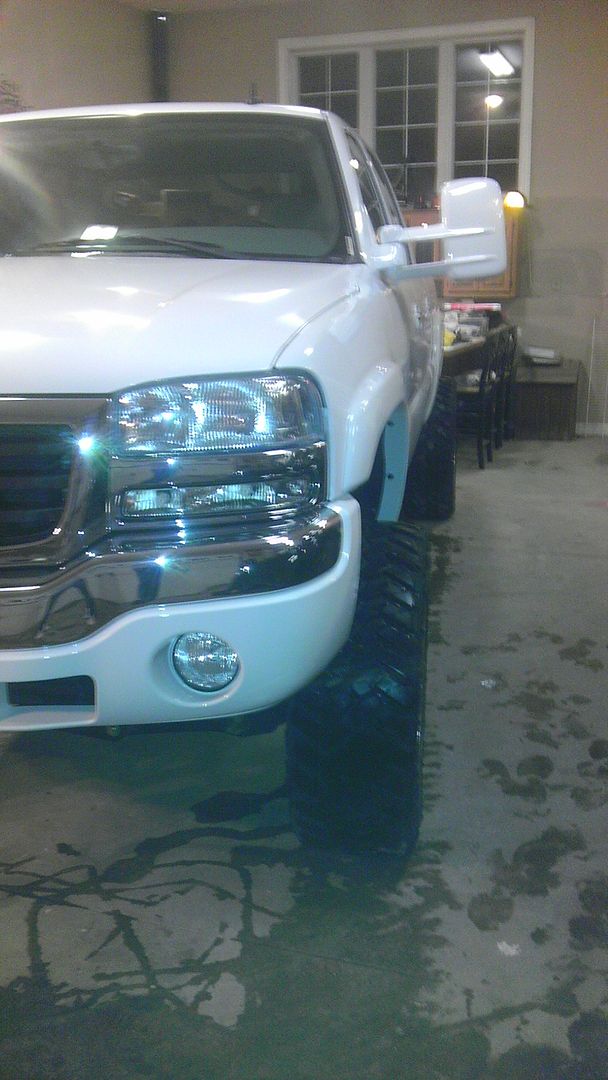
LED's all around inside and out done
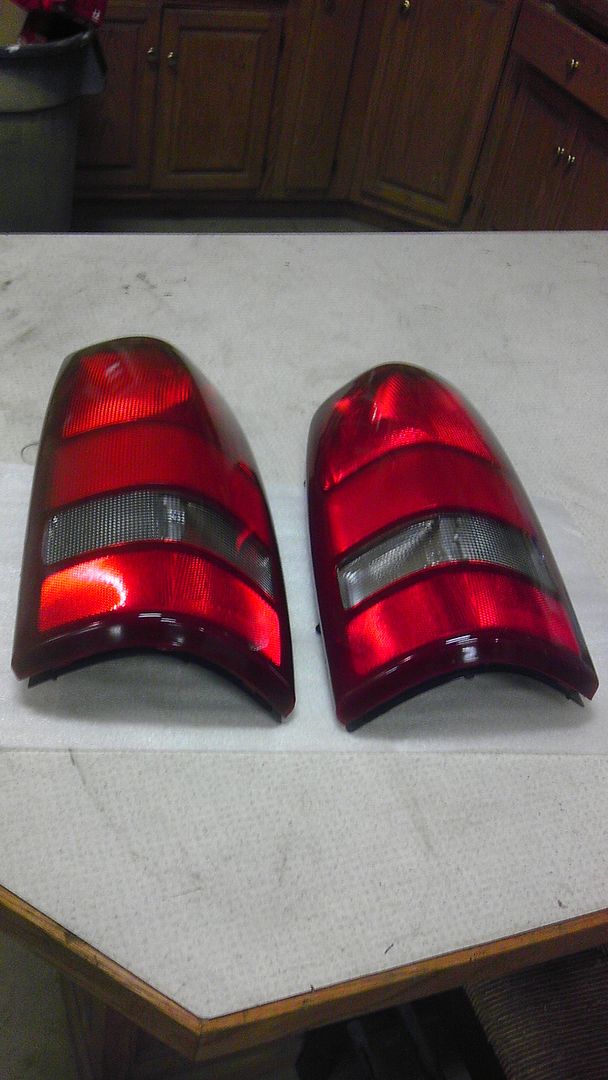
Clear corners and clear stock lights or Denali lights (I have a spare set of non cleared Denali's but am too lazy to open them up) done
Esky/Denali Handles door handles done
02 HD Hood
35% shield with 5% brow, 15% on other 5
Not sure about suede with this interior color
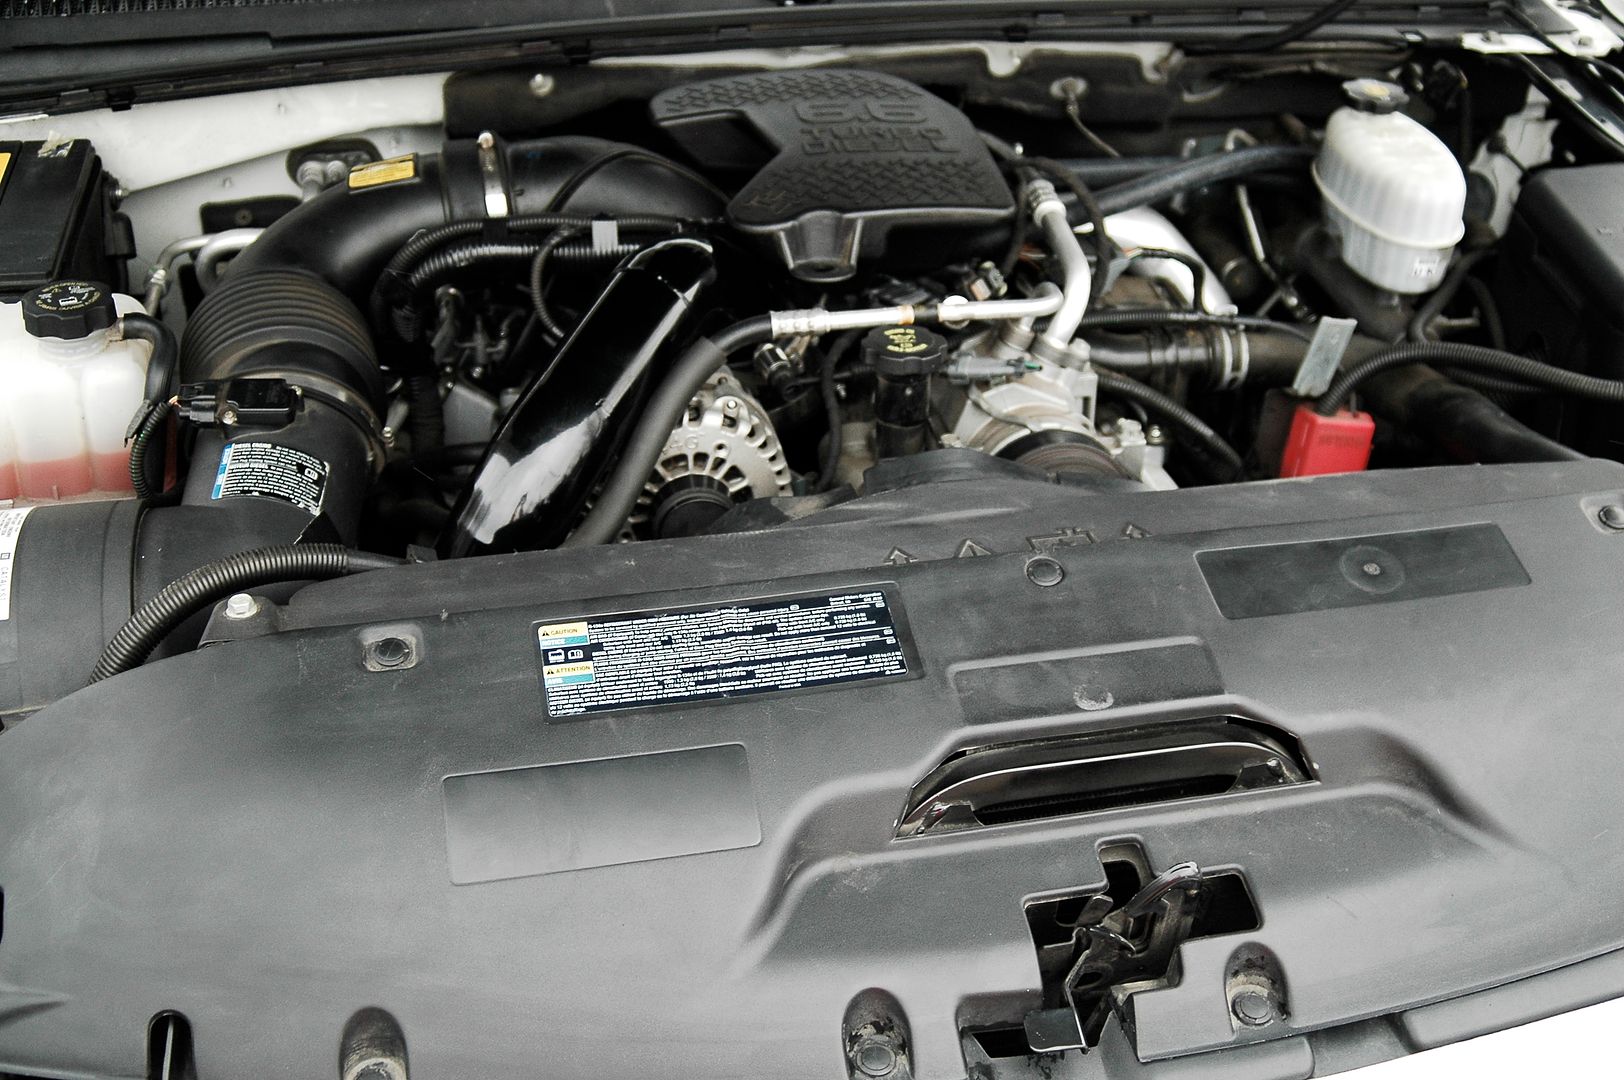
Engine:
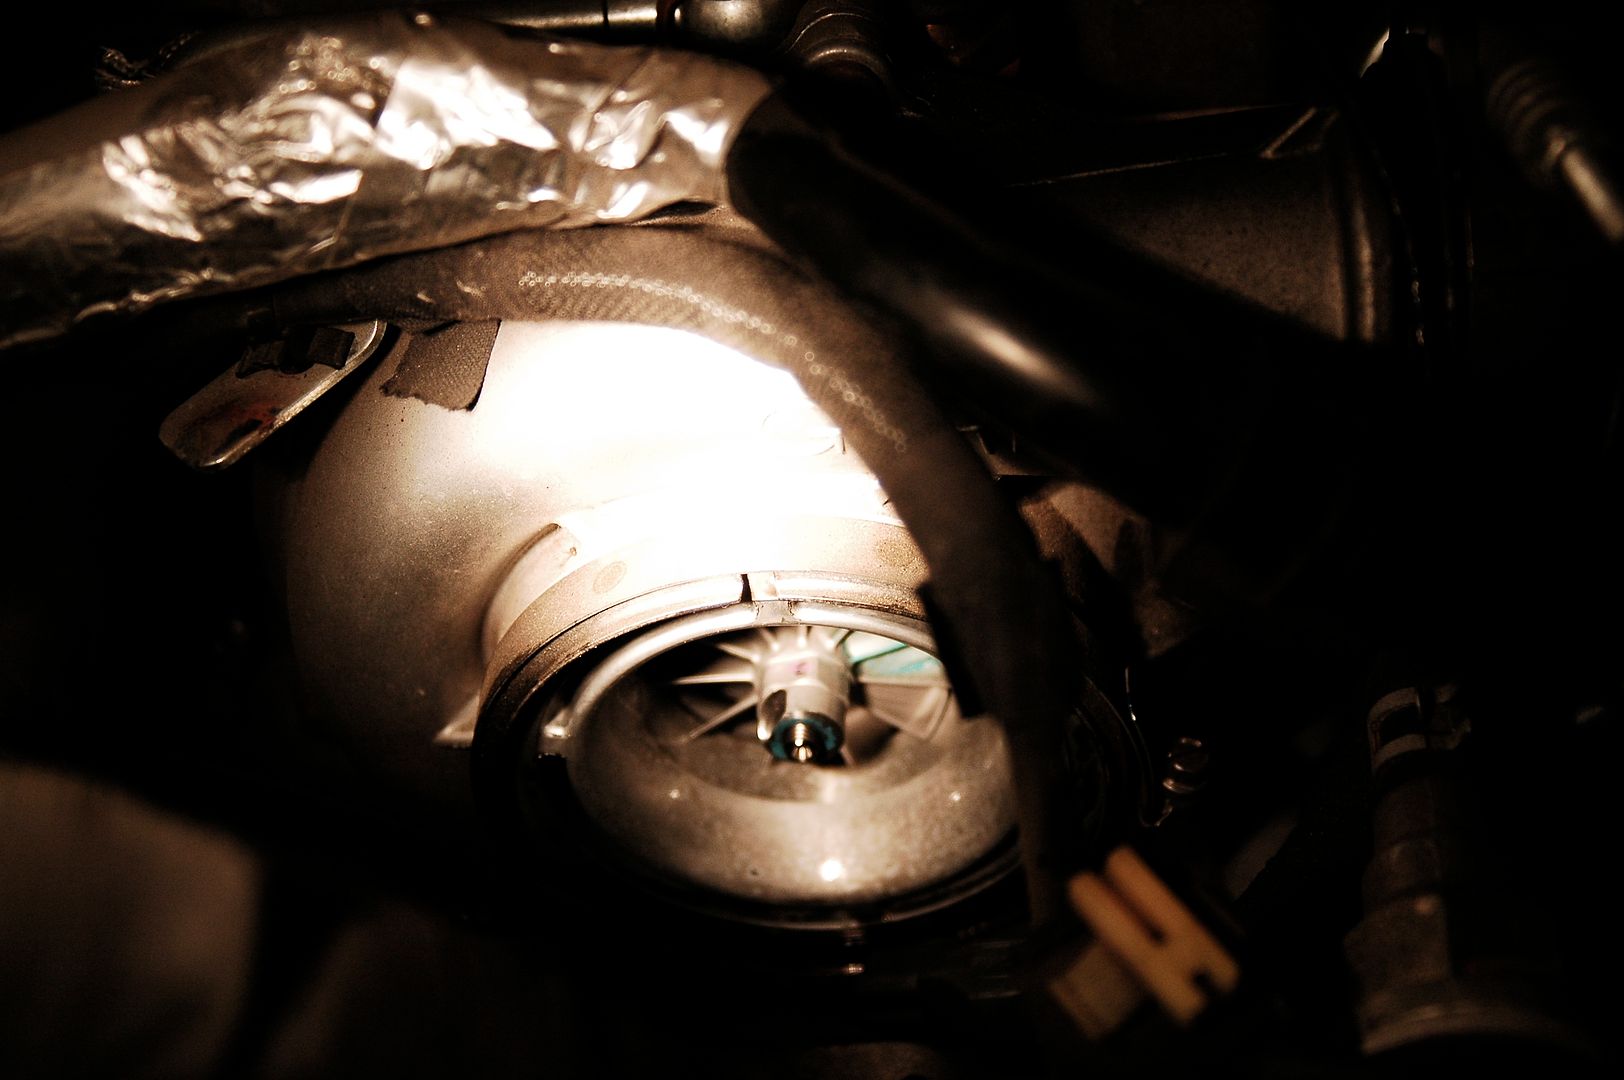
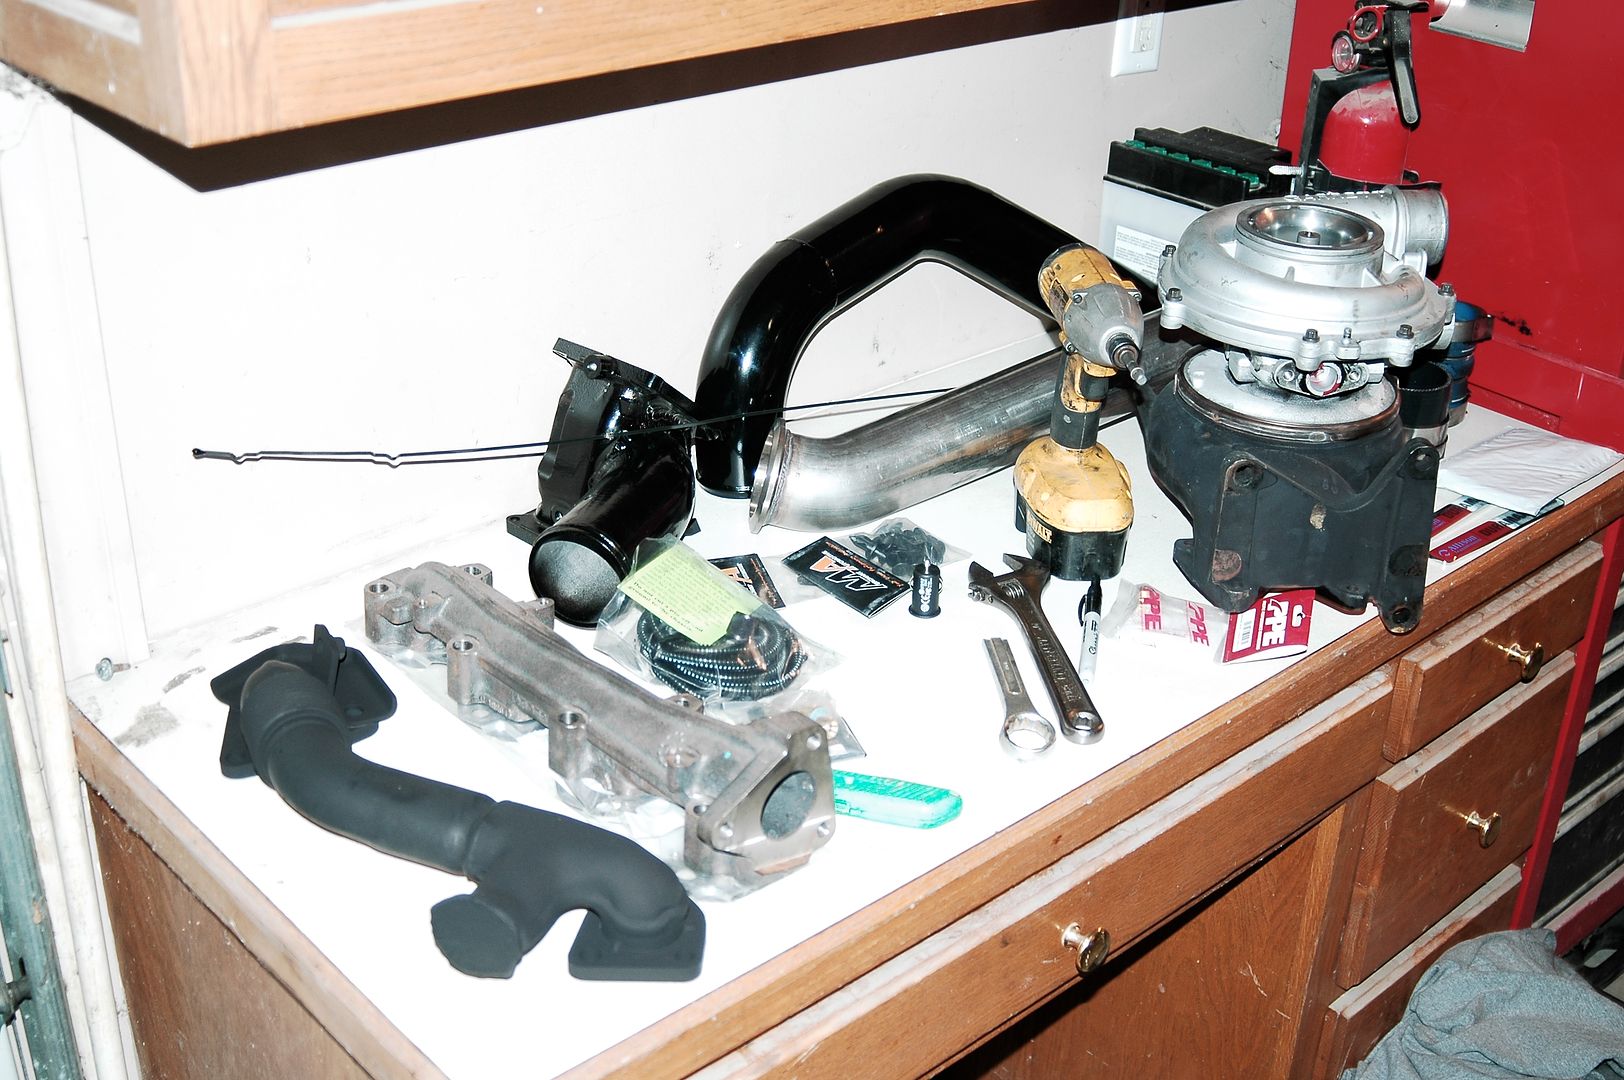
68mm FPE Cheetah
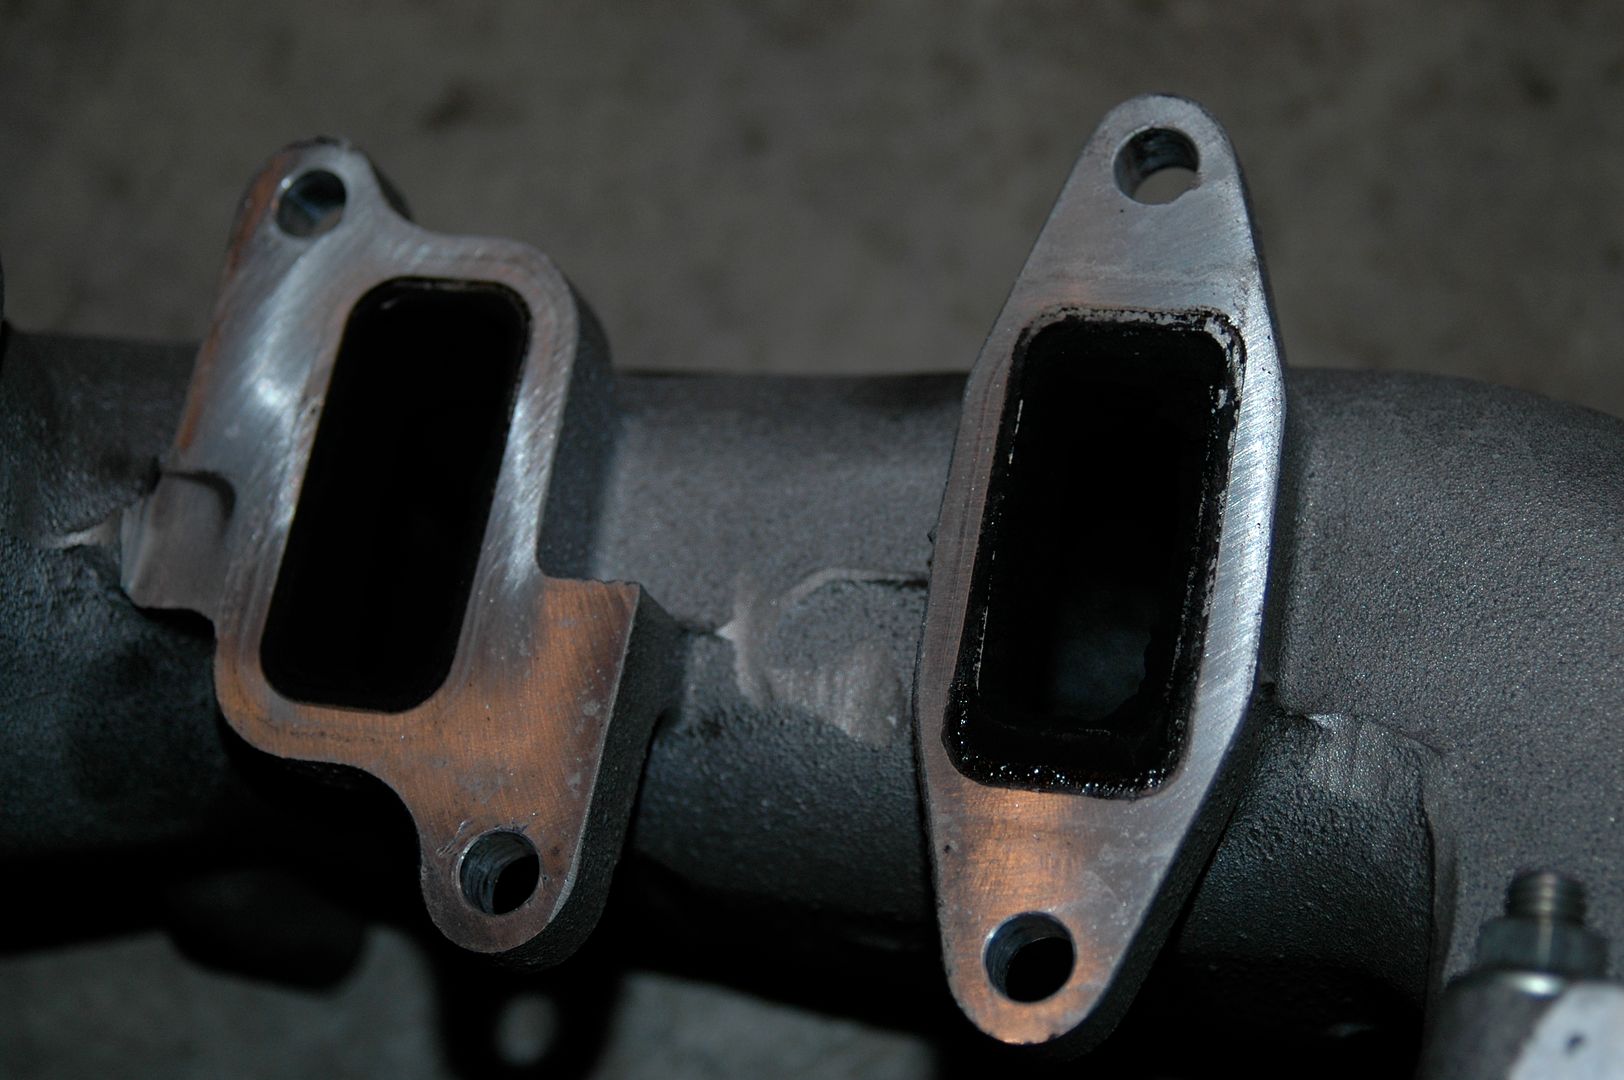
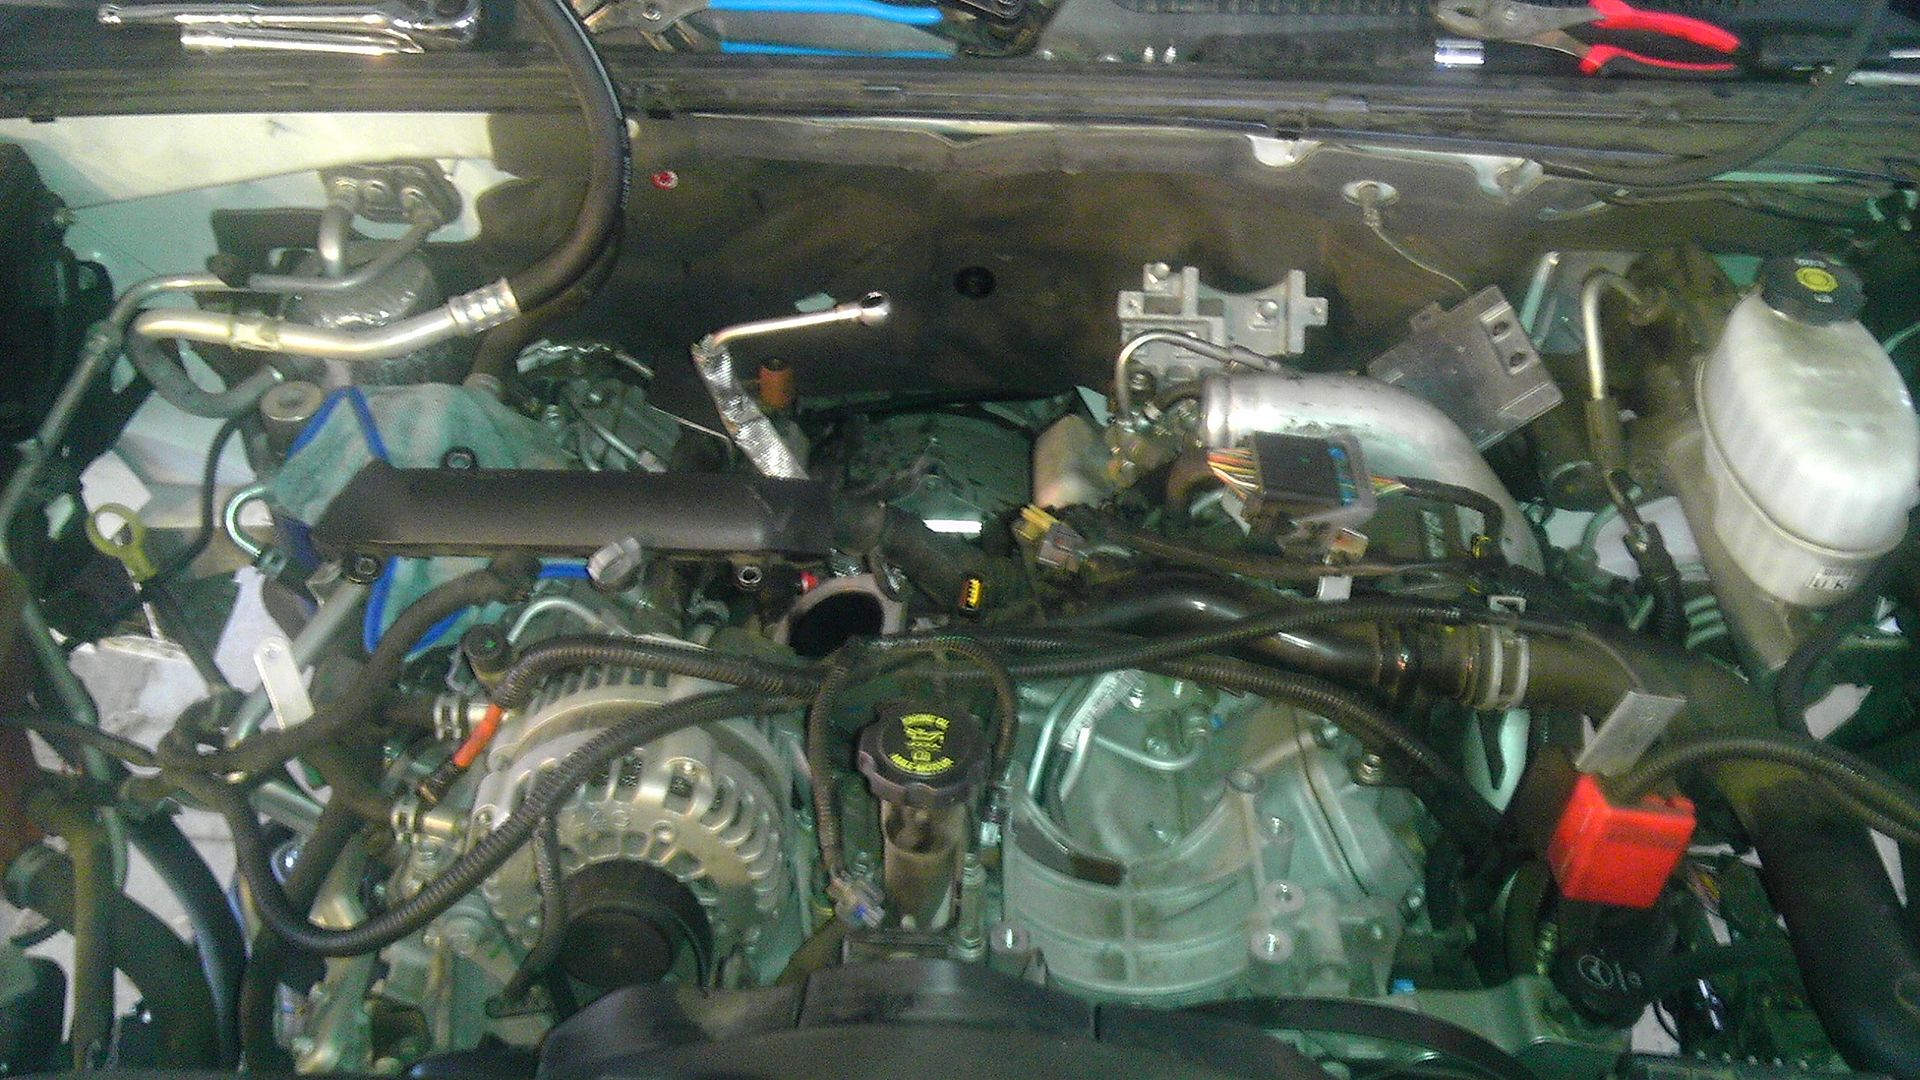
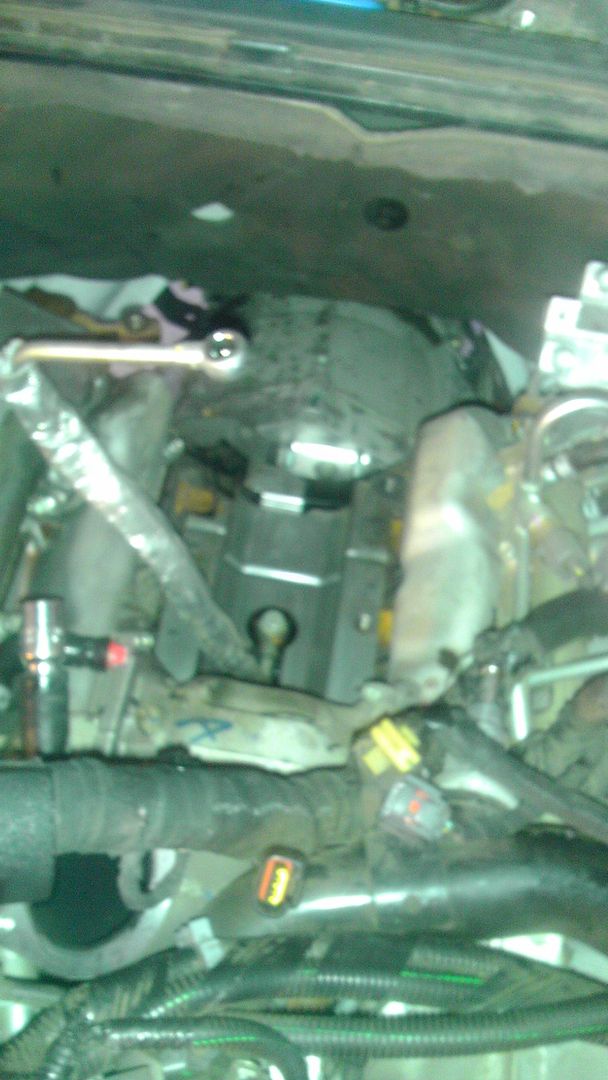
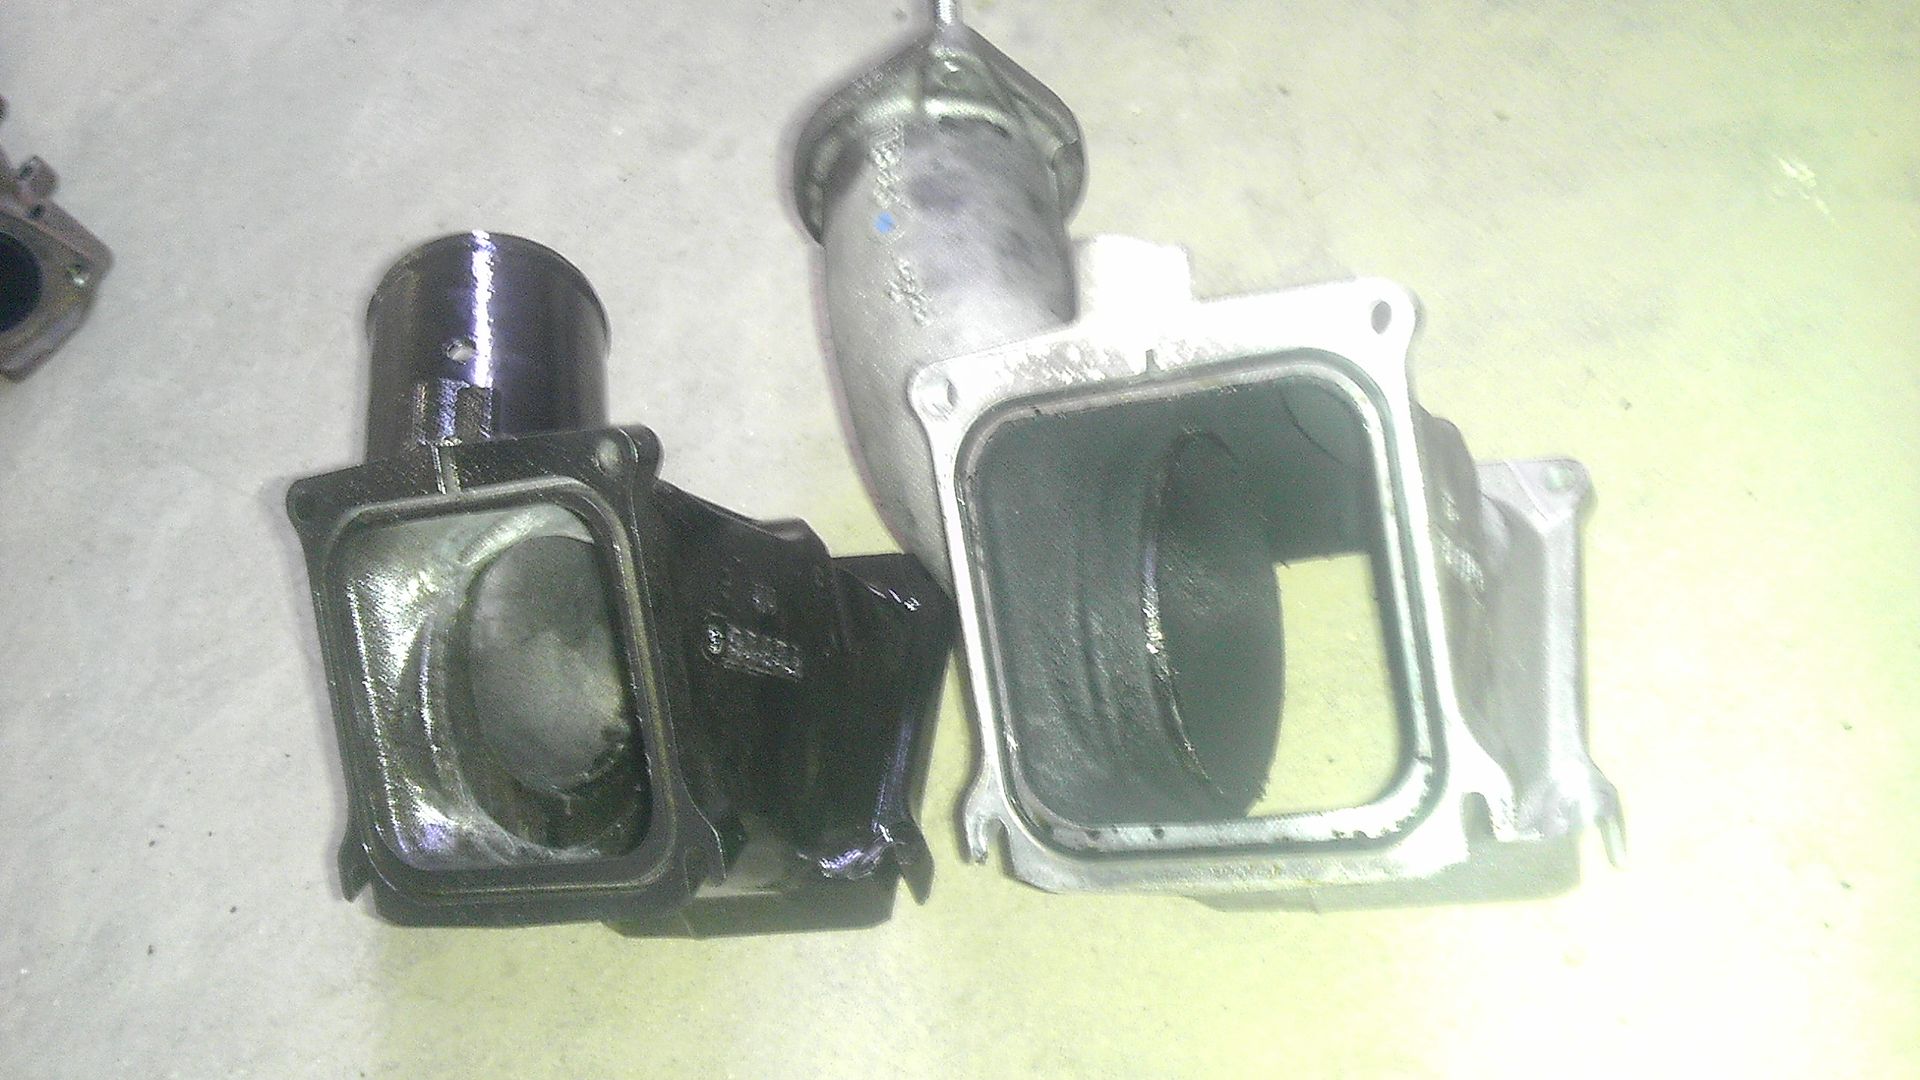
Full EGR Delete
Built trans
lift pump
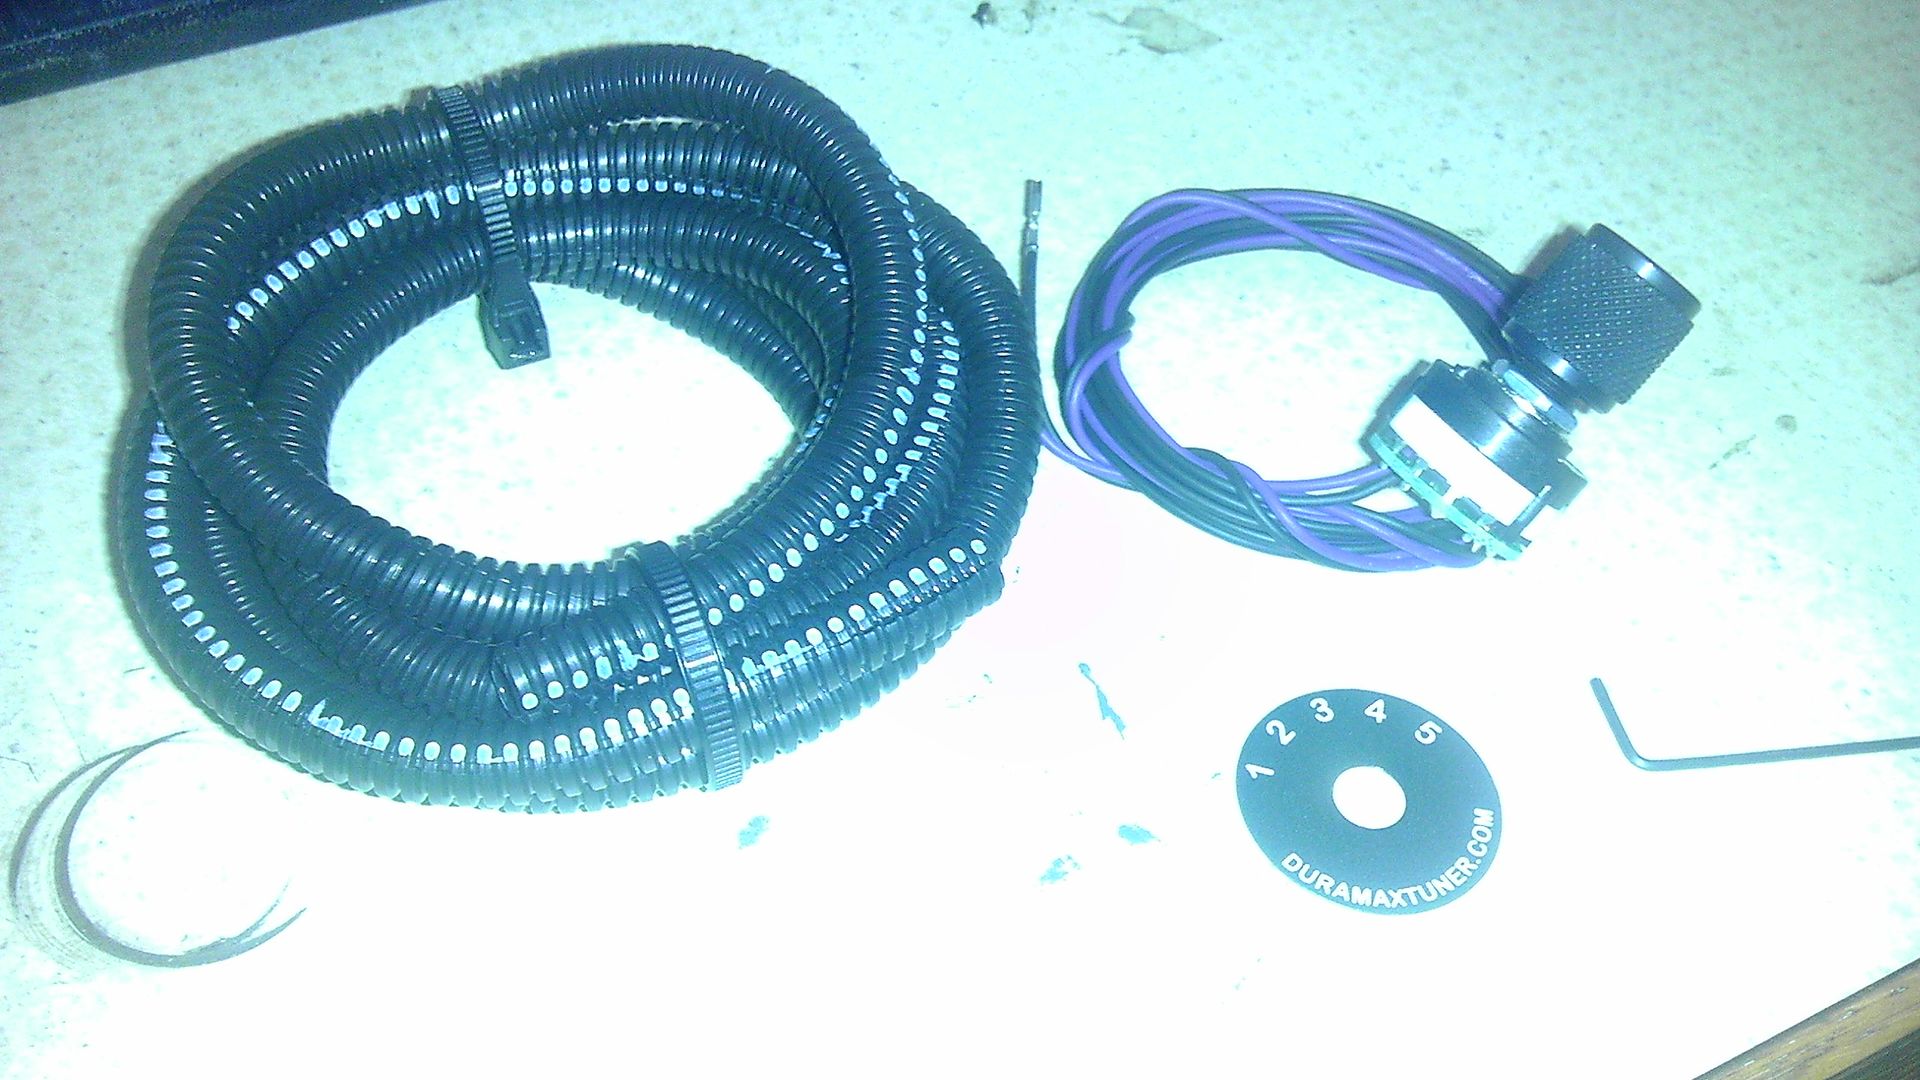
EFILive tuning
injectors/higher flowing CP3 eventually
PCV Reroute
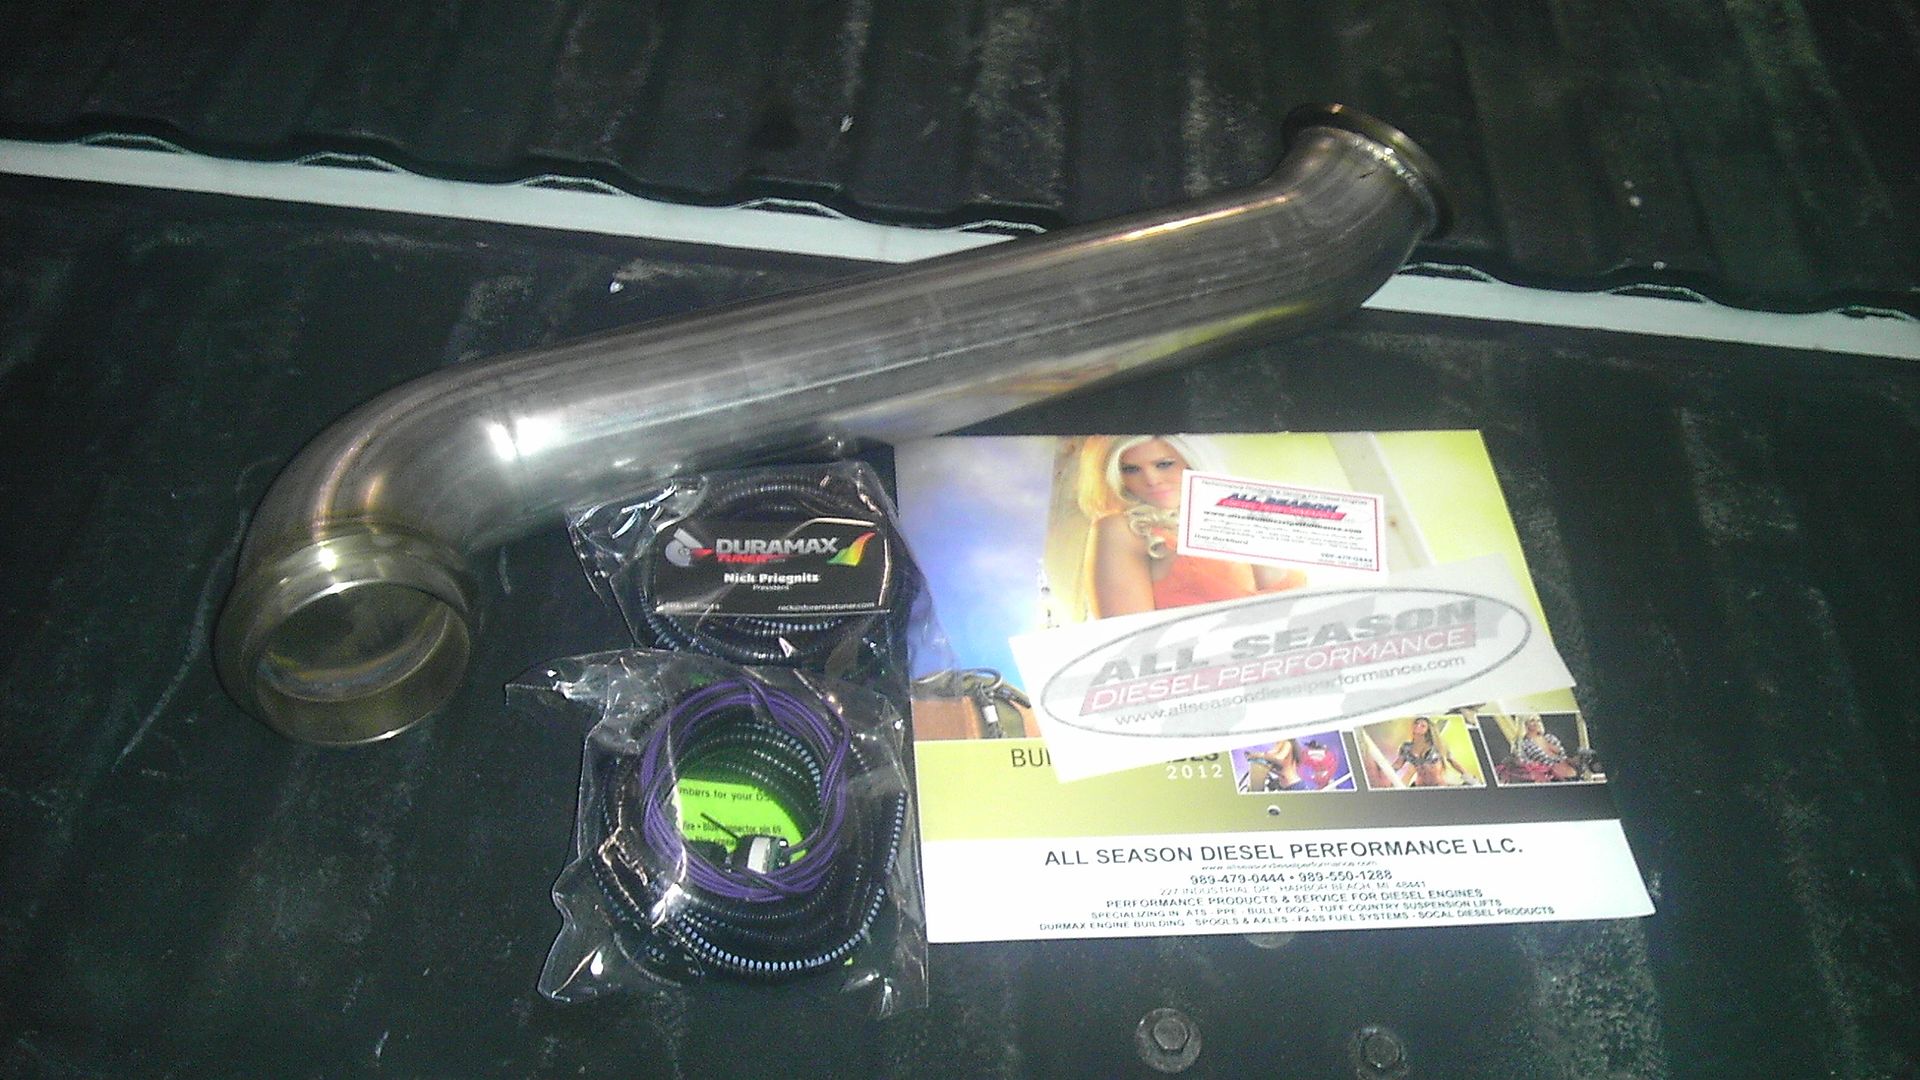
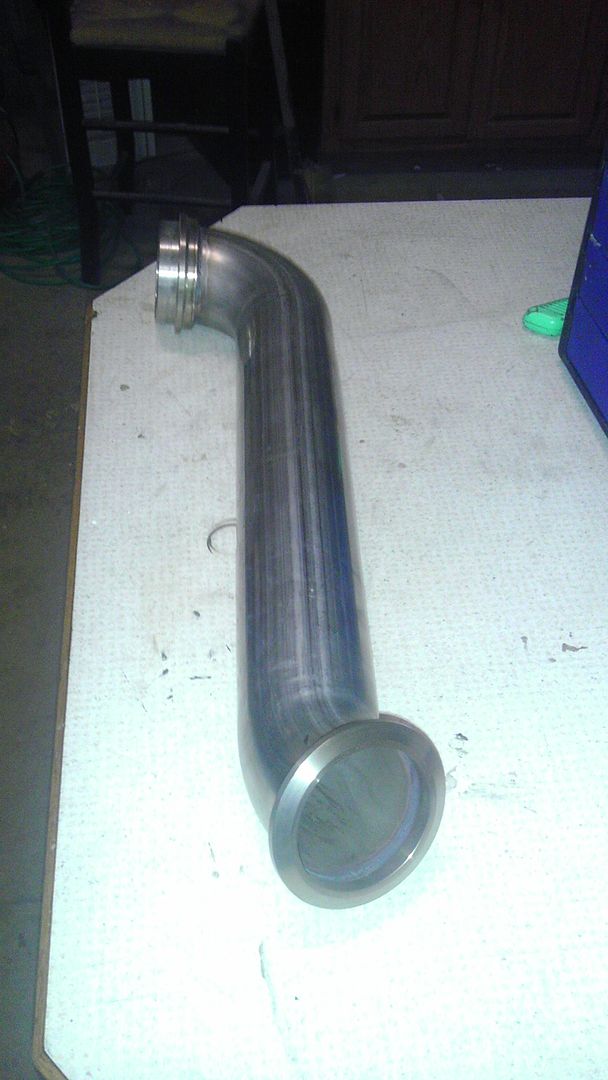
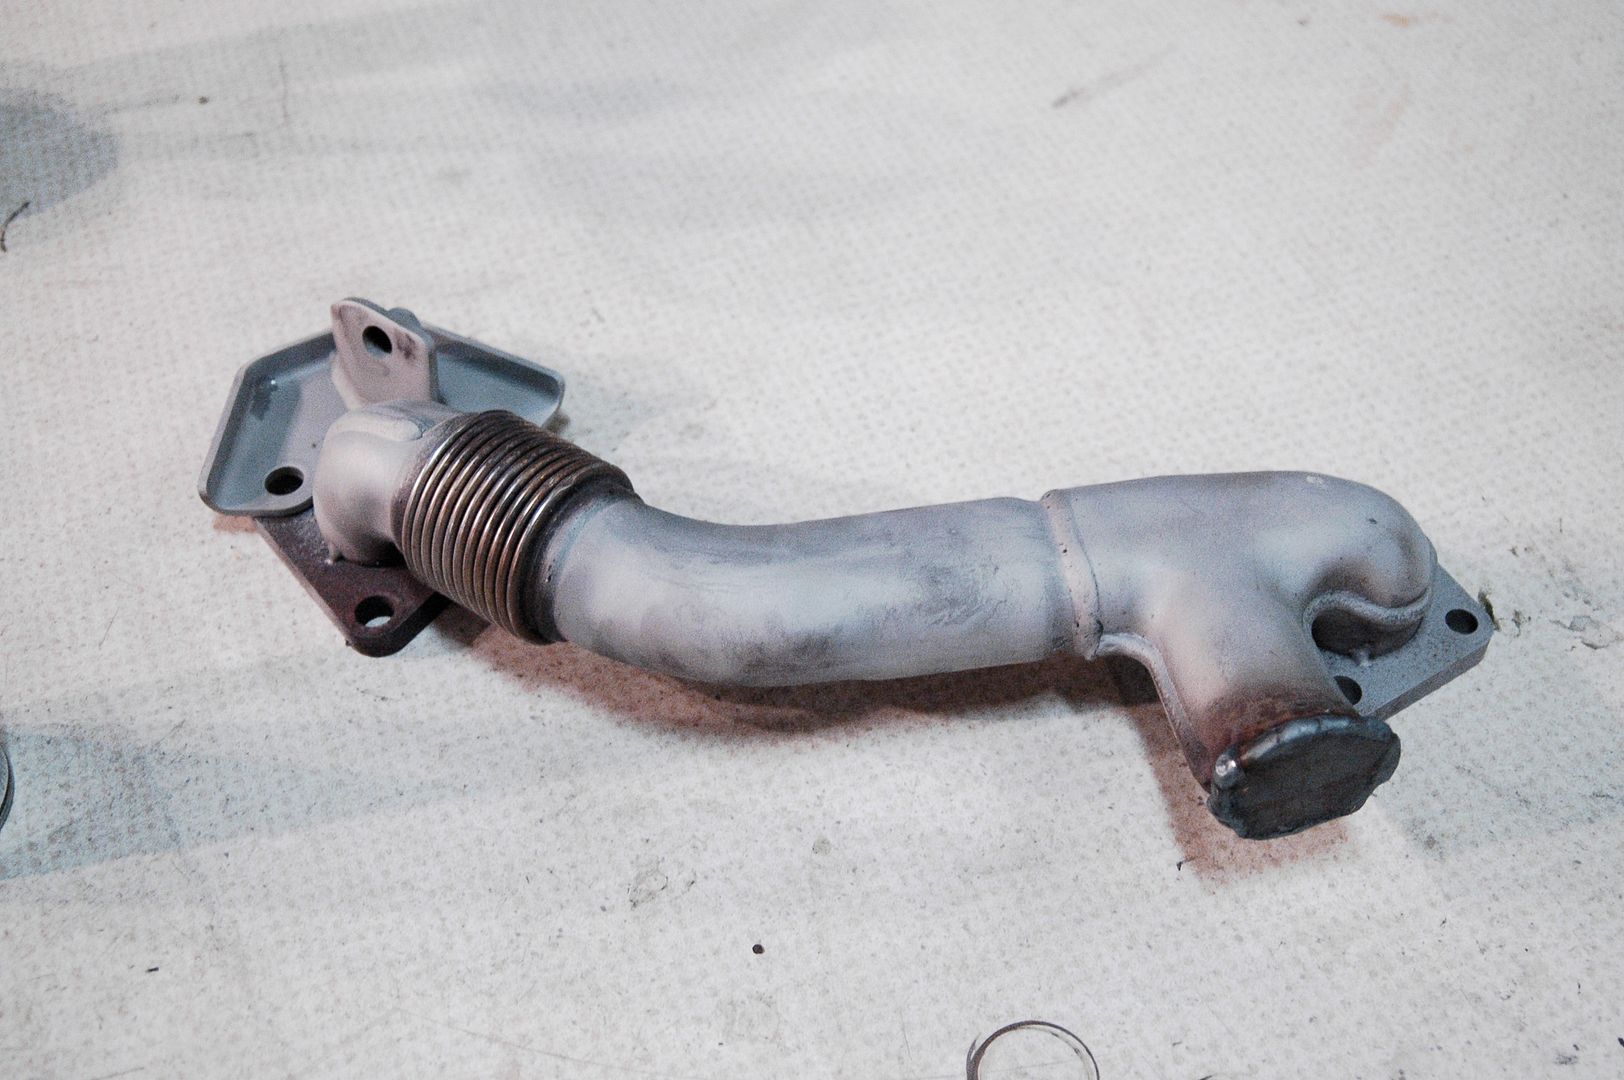
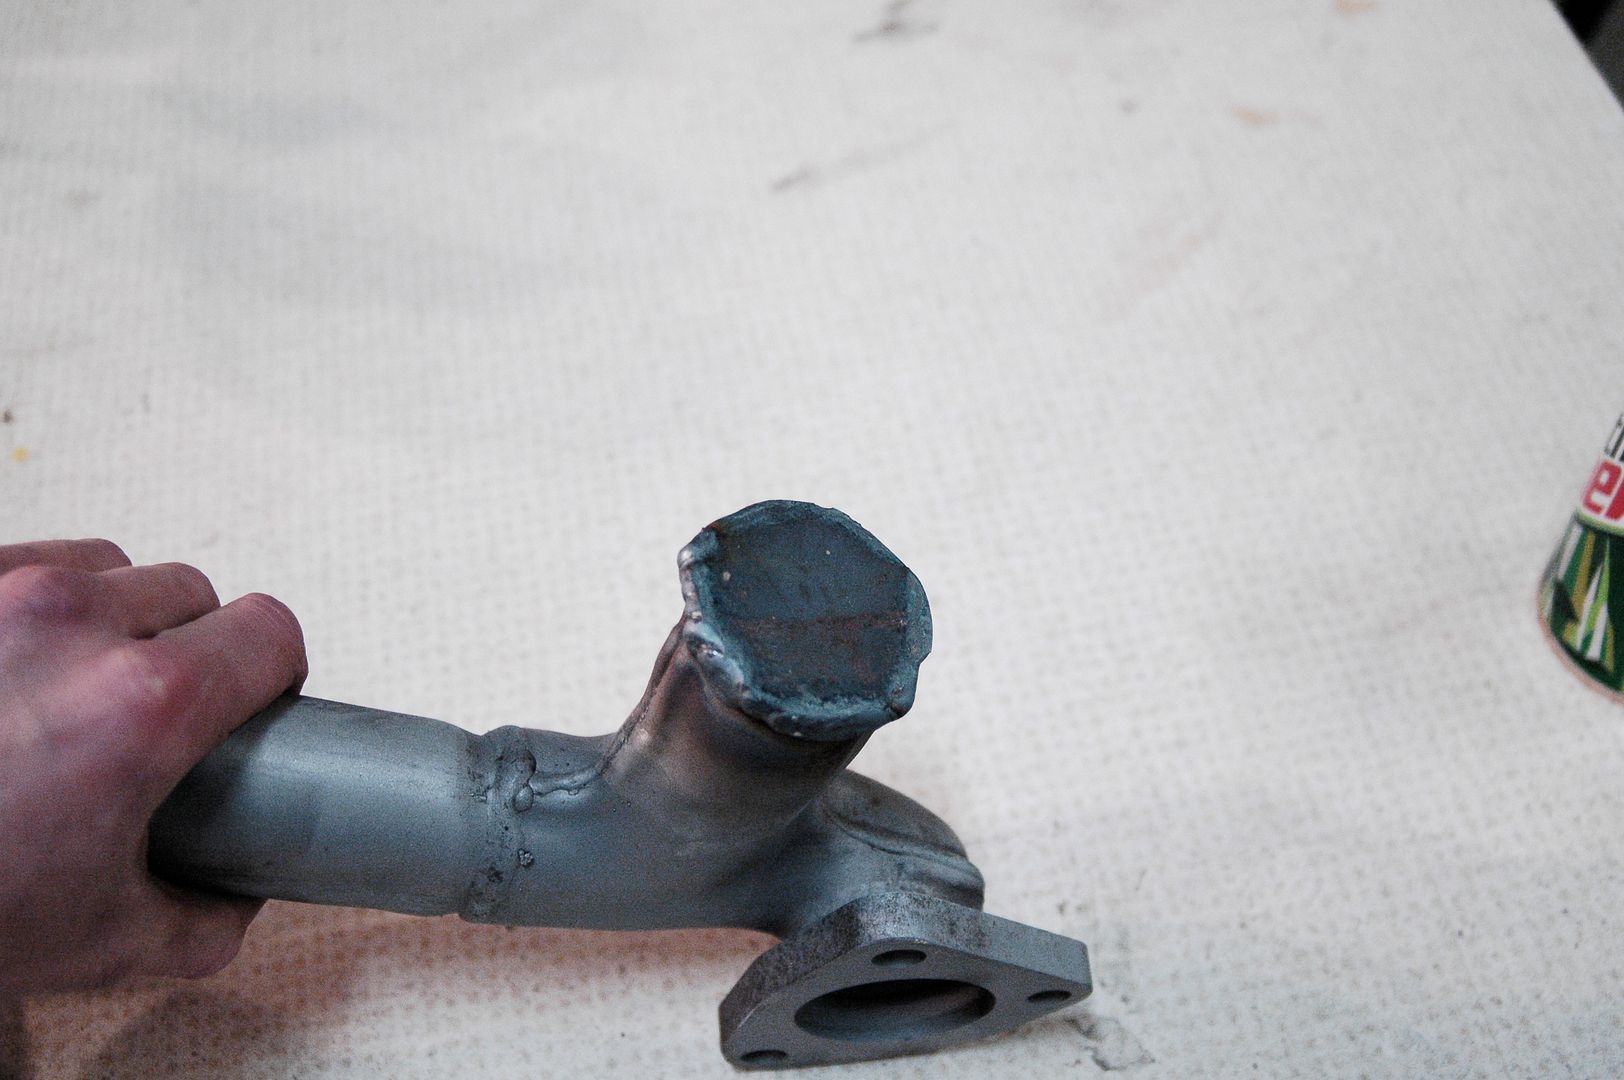
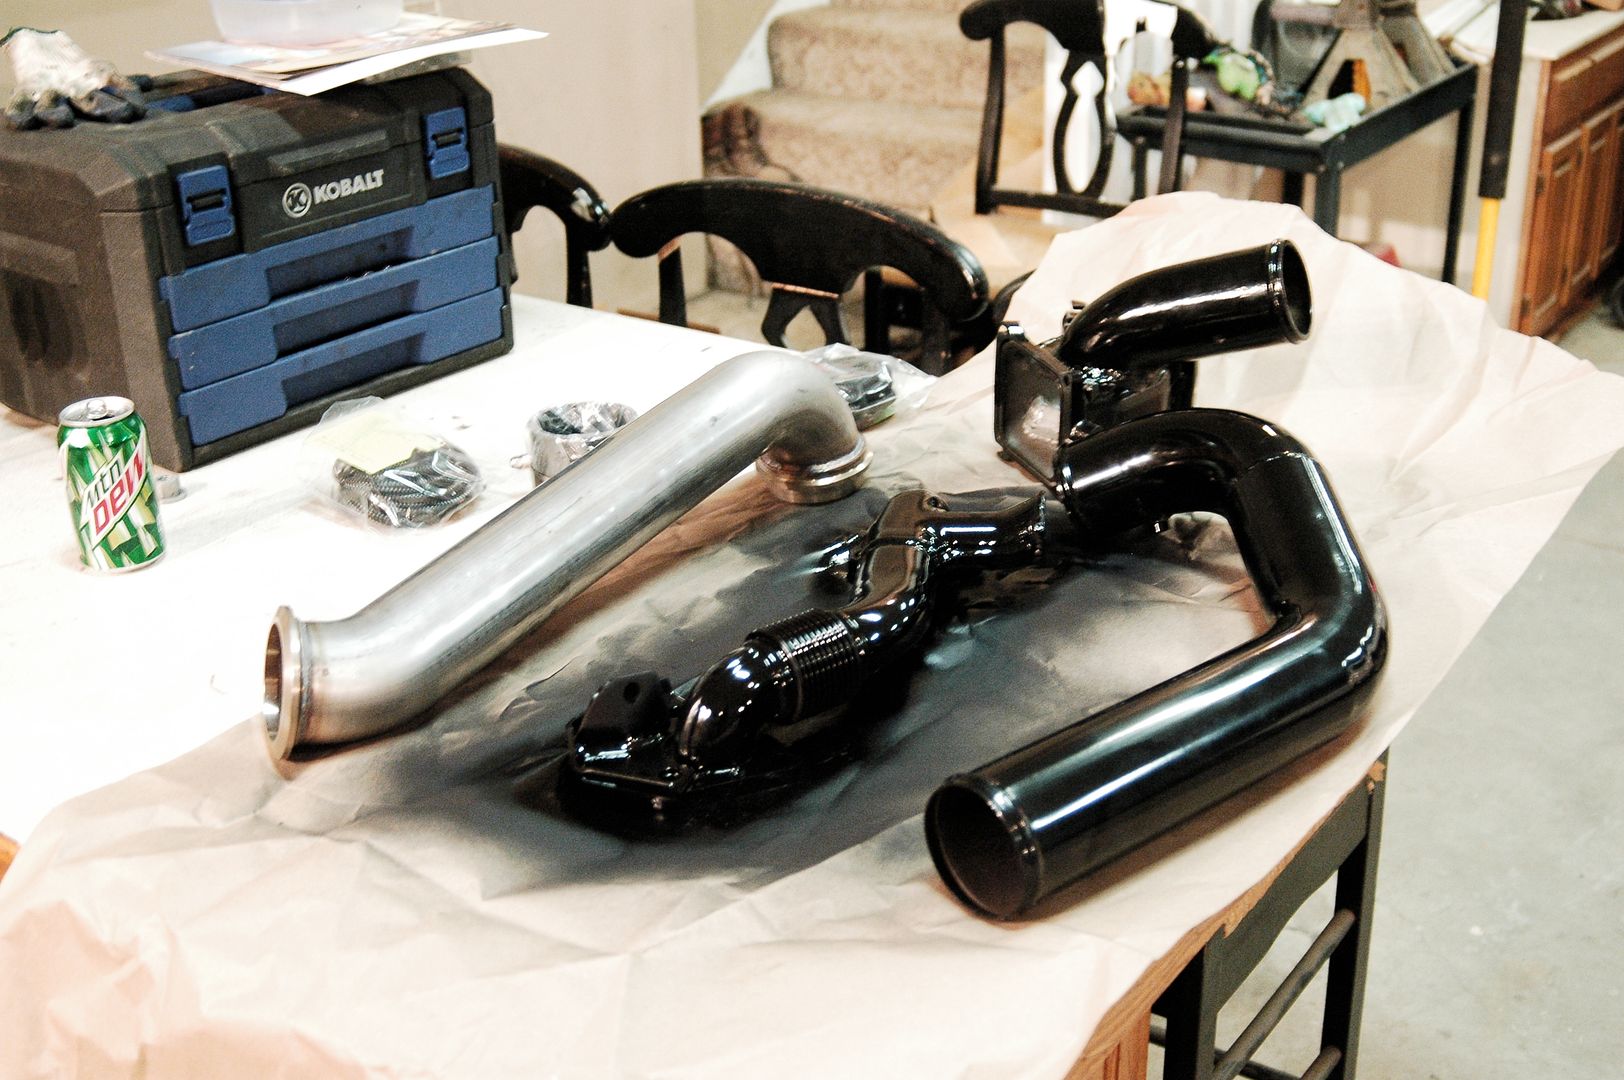
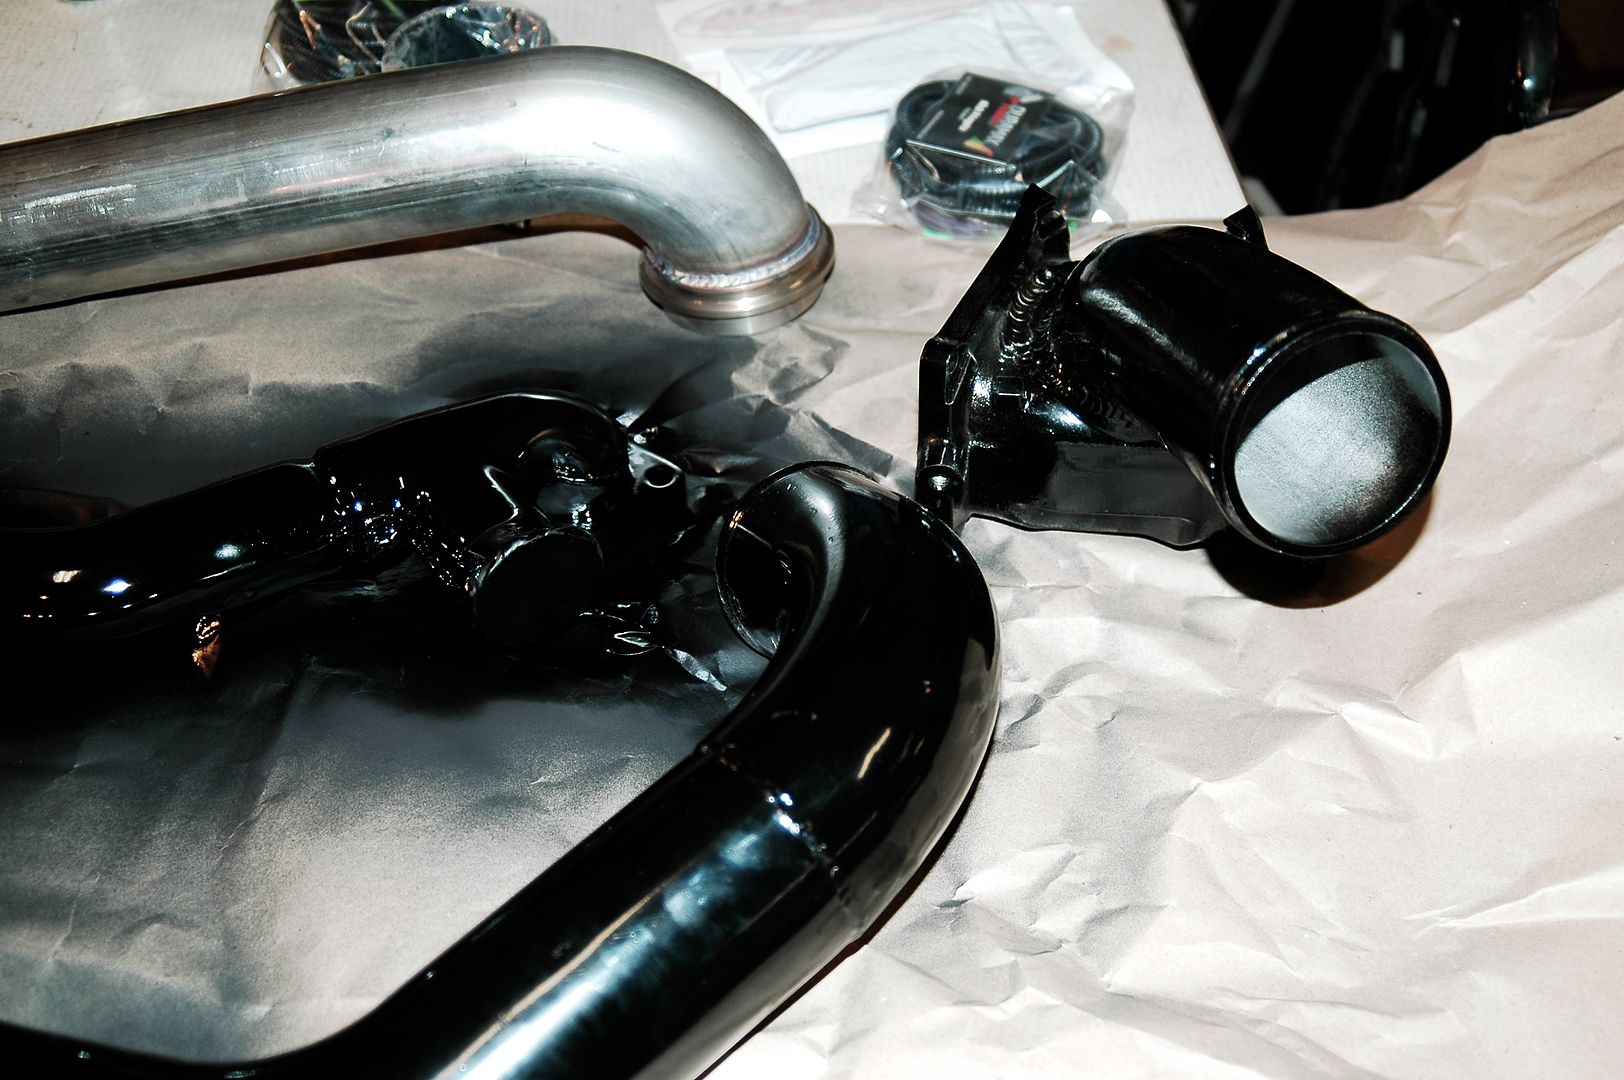
3" Downpipe
5" MBRP exhaust
Sound/Video:
Has a Parrot BT system
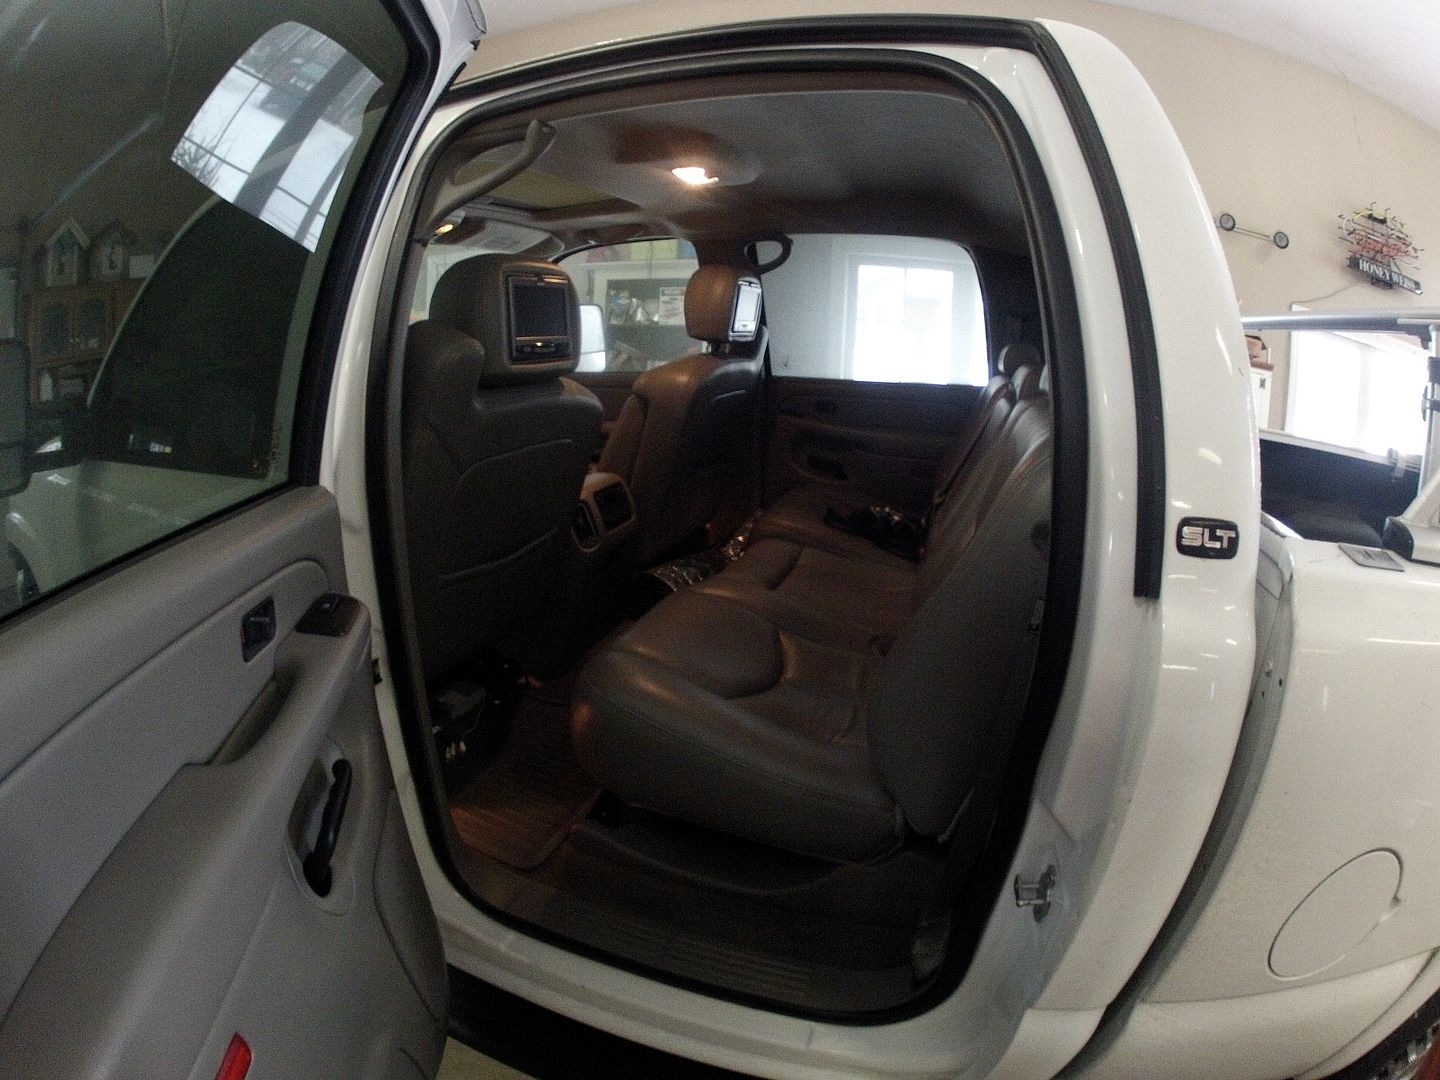
Has screens in the headrests
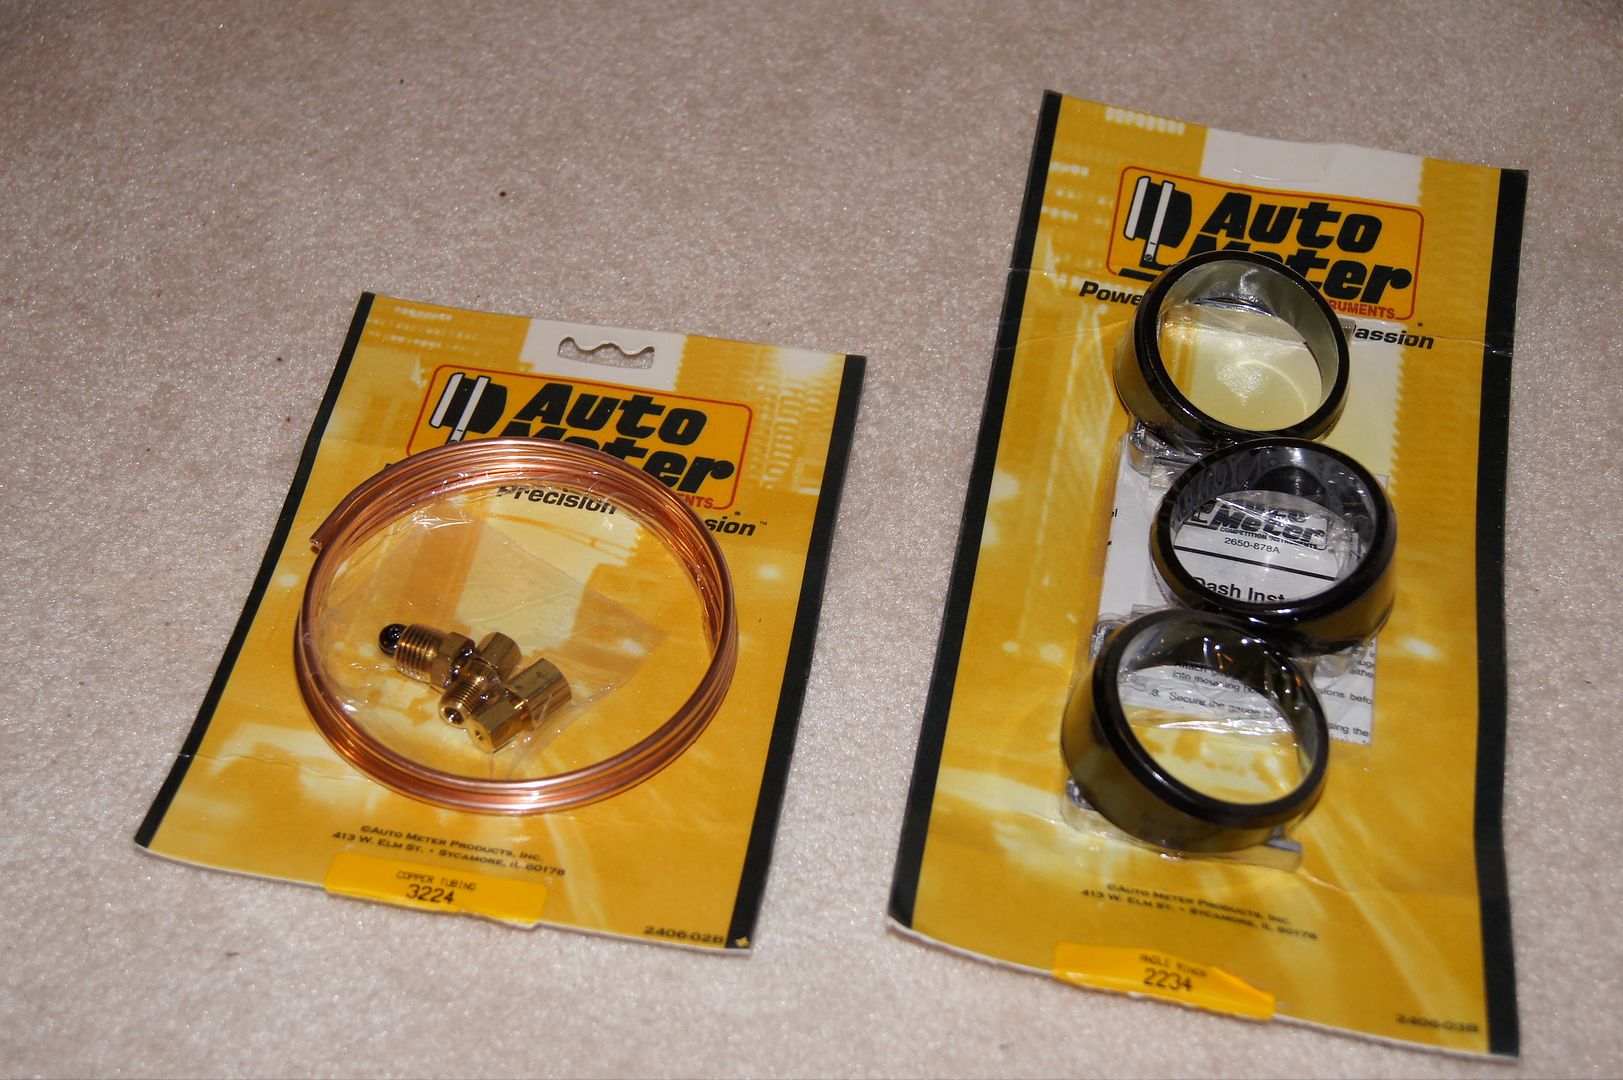
Some Nav unit ...have a Pioneer 910bt in my 06 and really like that, may go with a z11xx series though
Haven't decided which way I want to go for subs.... behind the seat/under the seat or if I should get tahoe buckets and build a rear center console. Most likely 2 10's behind/under or a 12" if I do a center console build. I don't want it to be too bulky
may sound deaden it with mat and foam.
I'll keep this updated

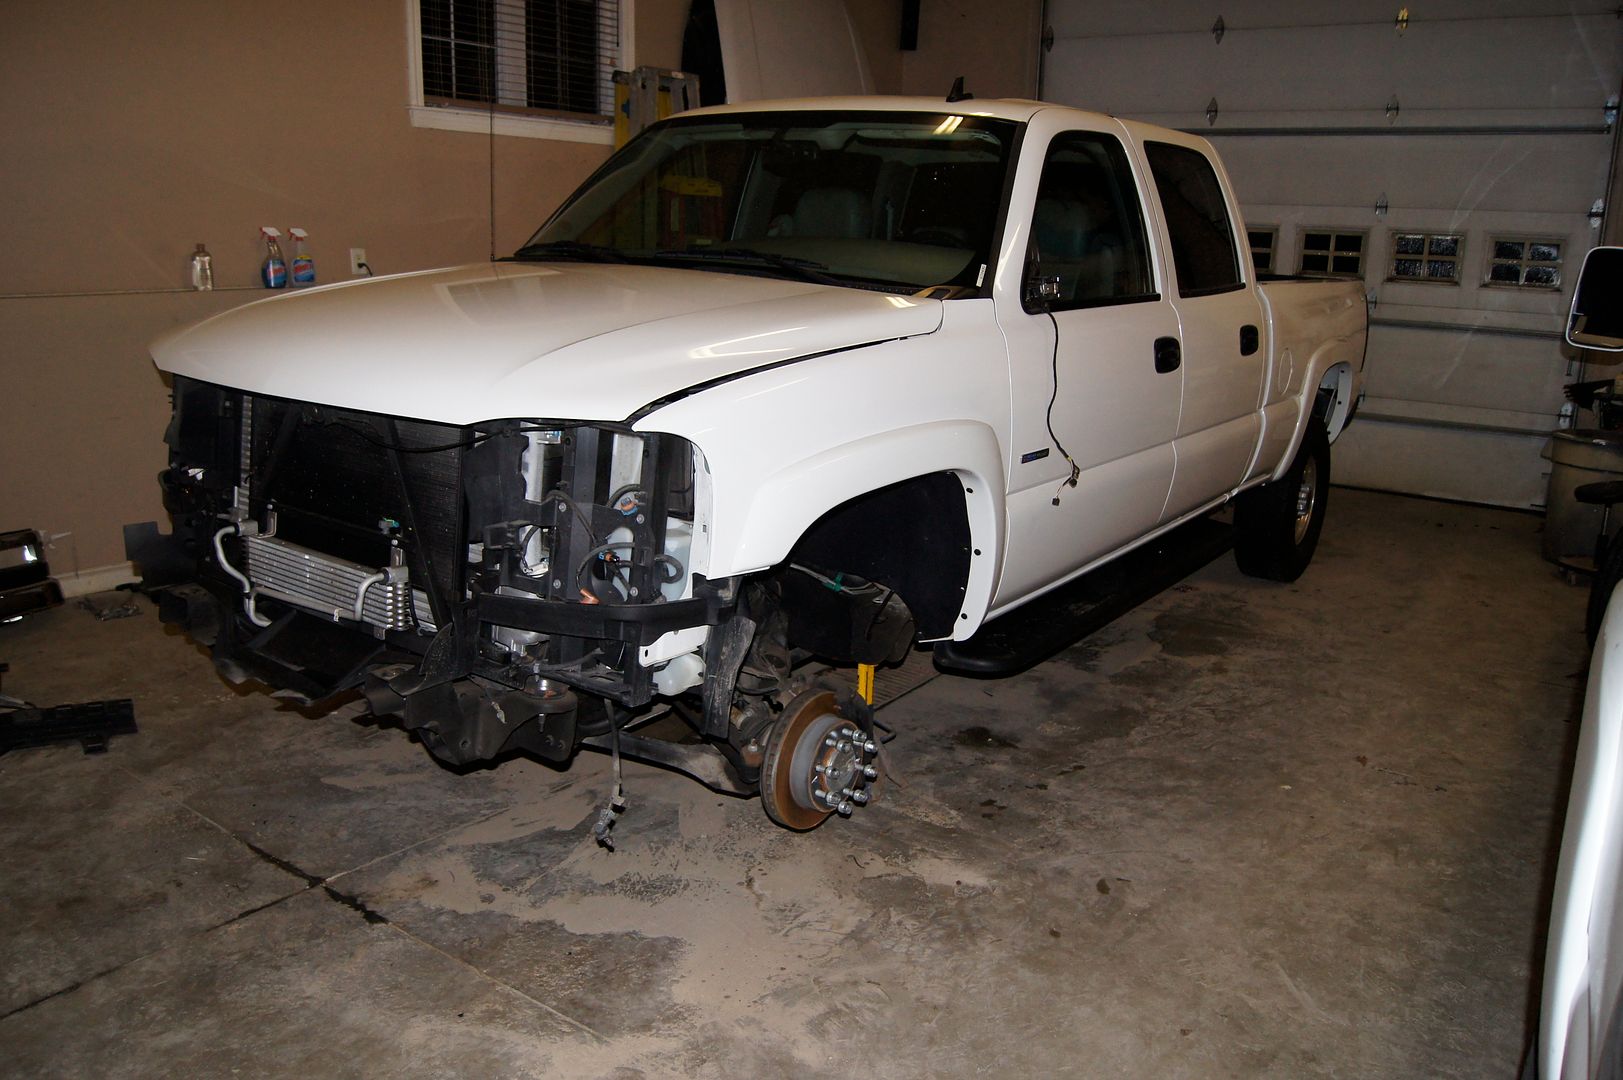
This truck may push me to get a shitbox for the winter. I kept the 06 pretty good. POR15 on the frame and no rust on the body.
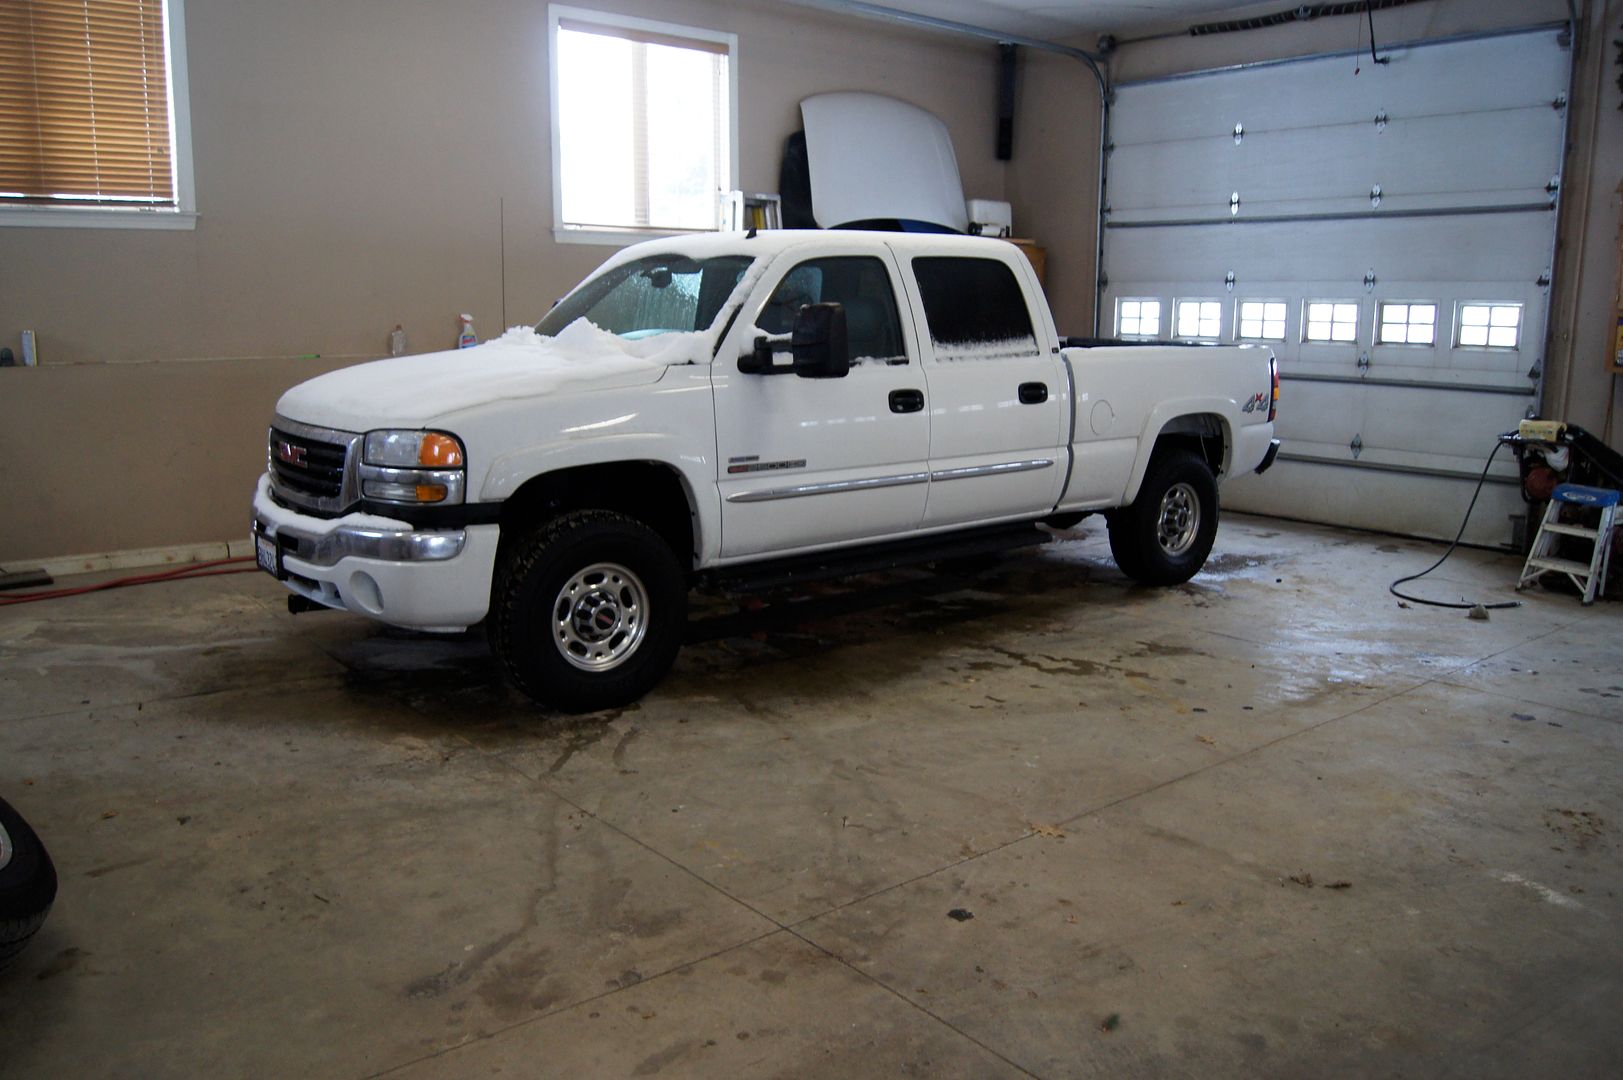
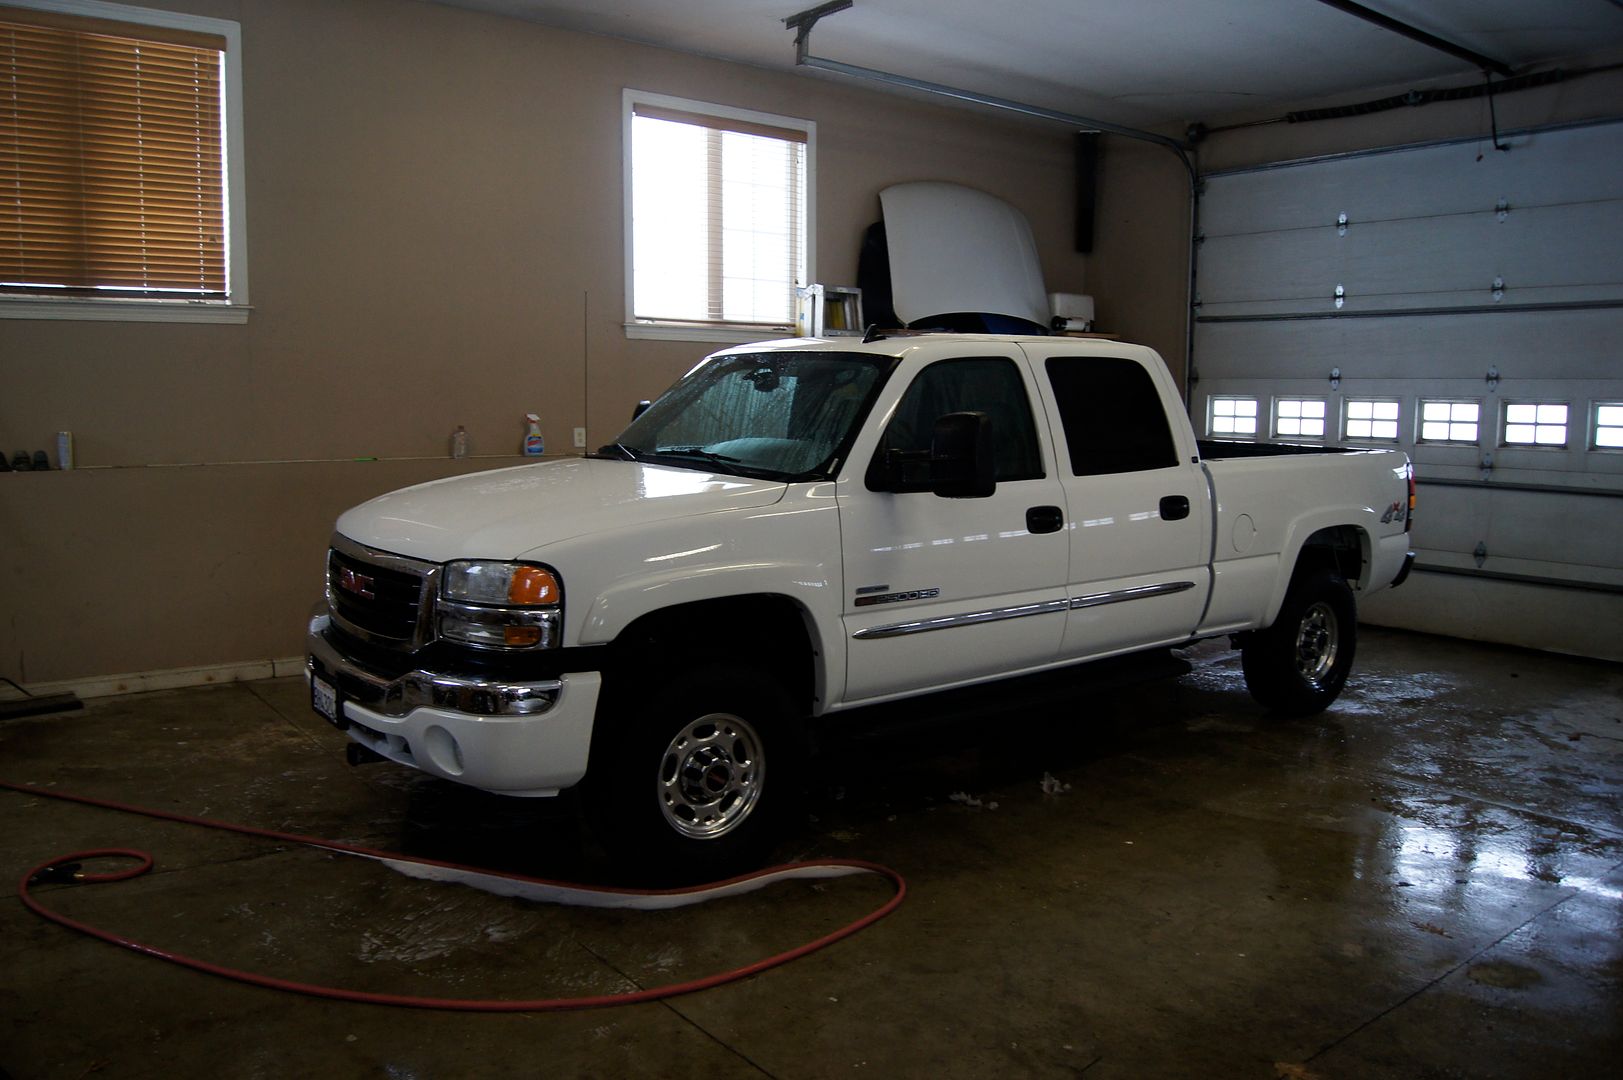
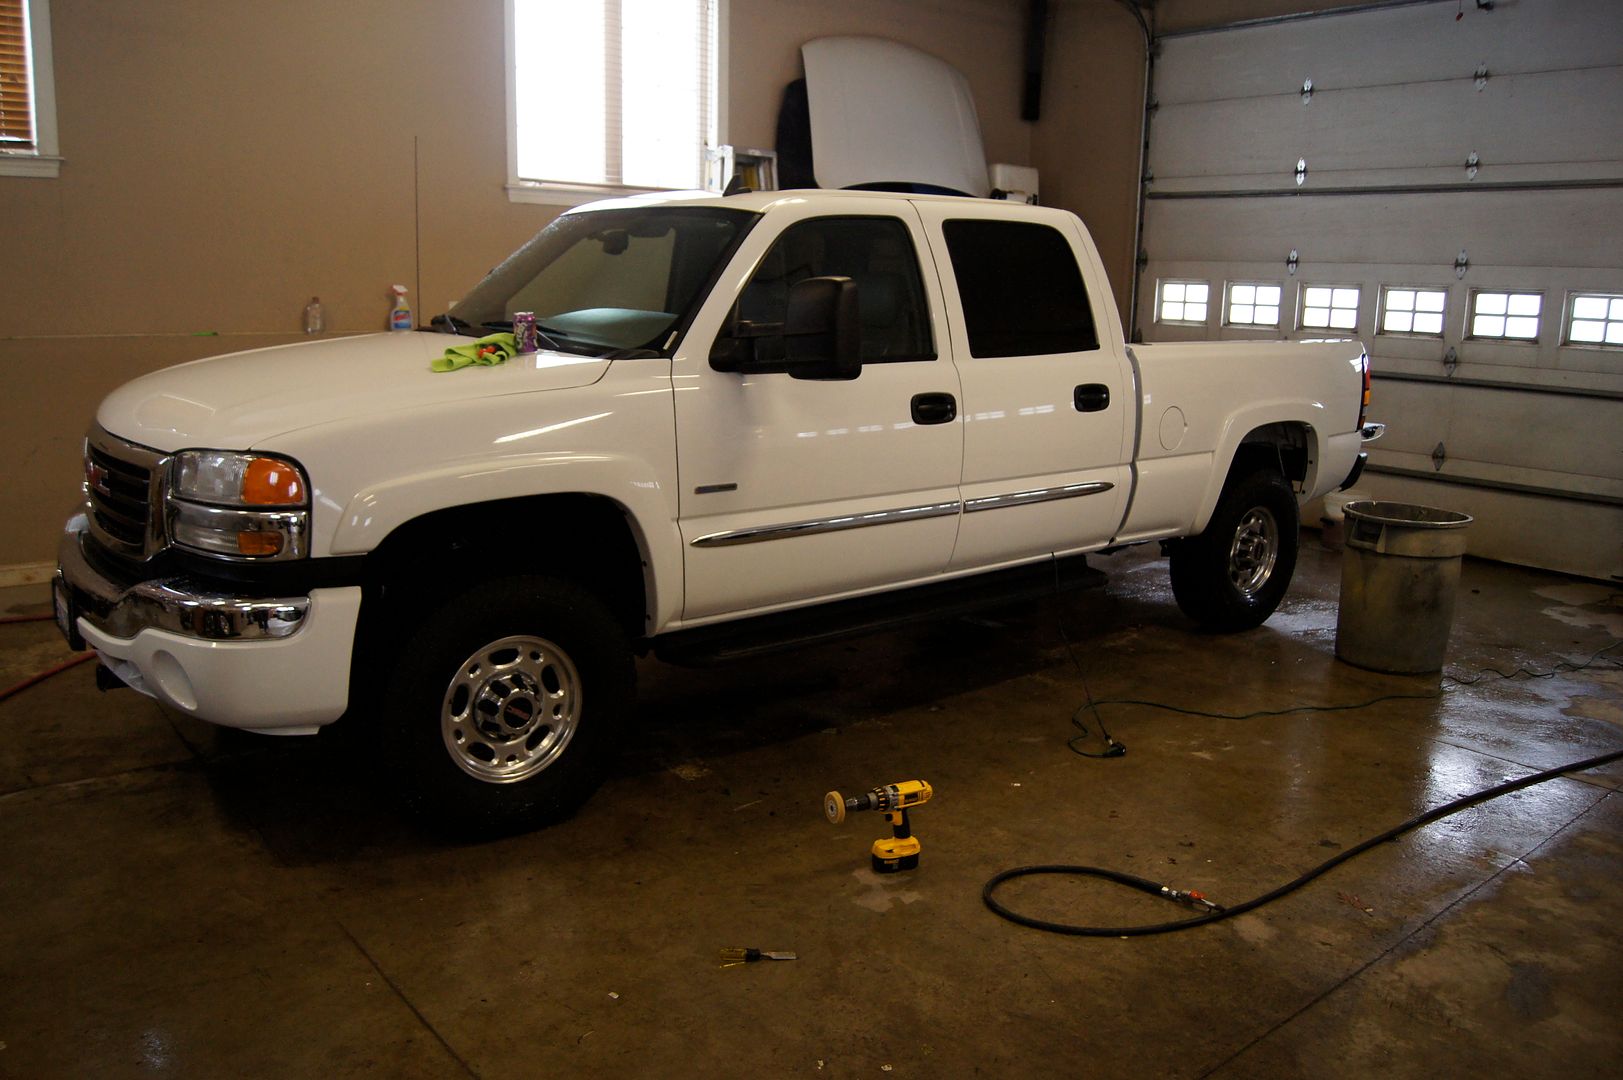
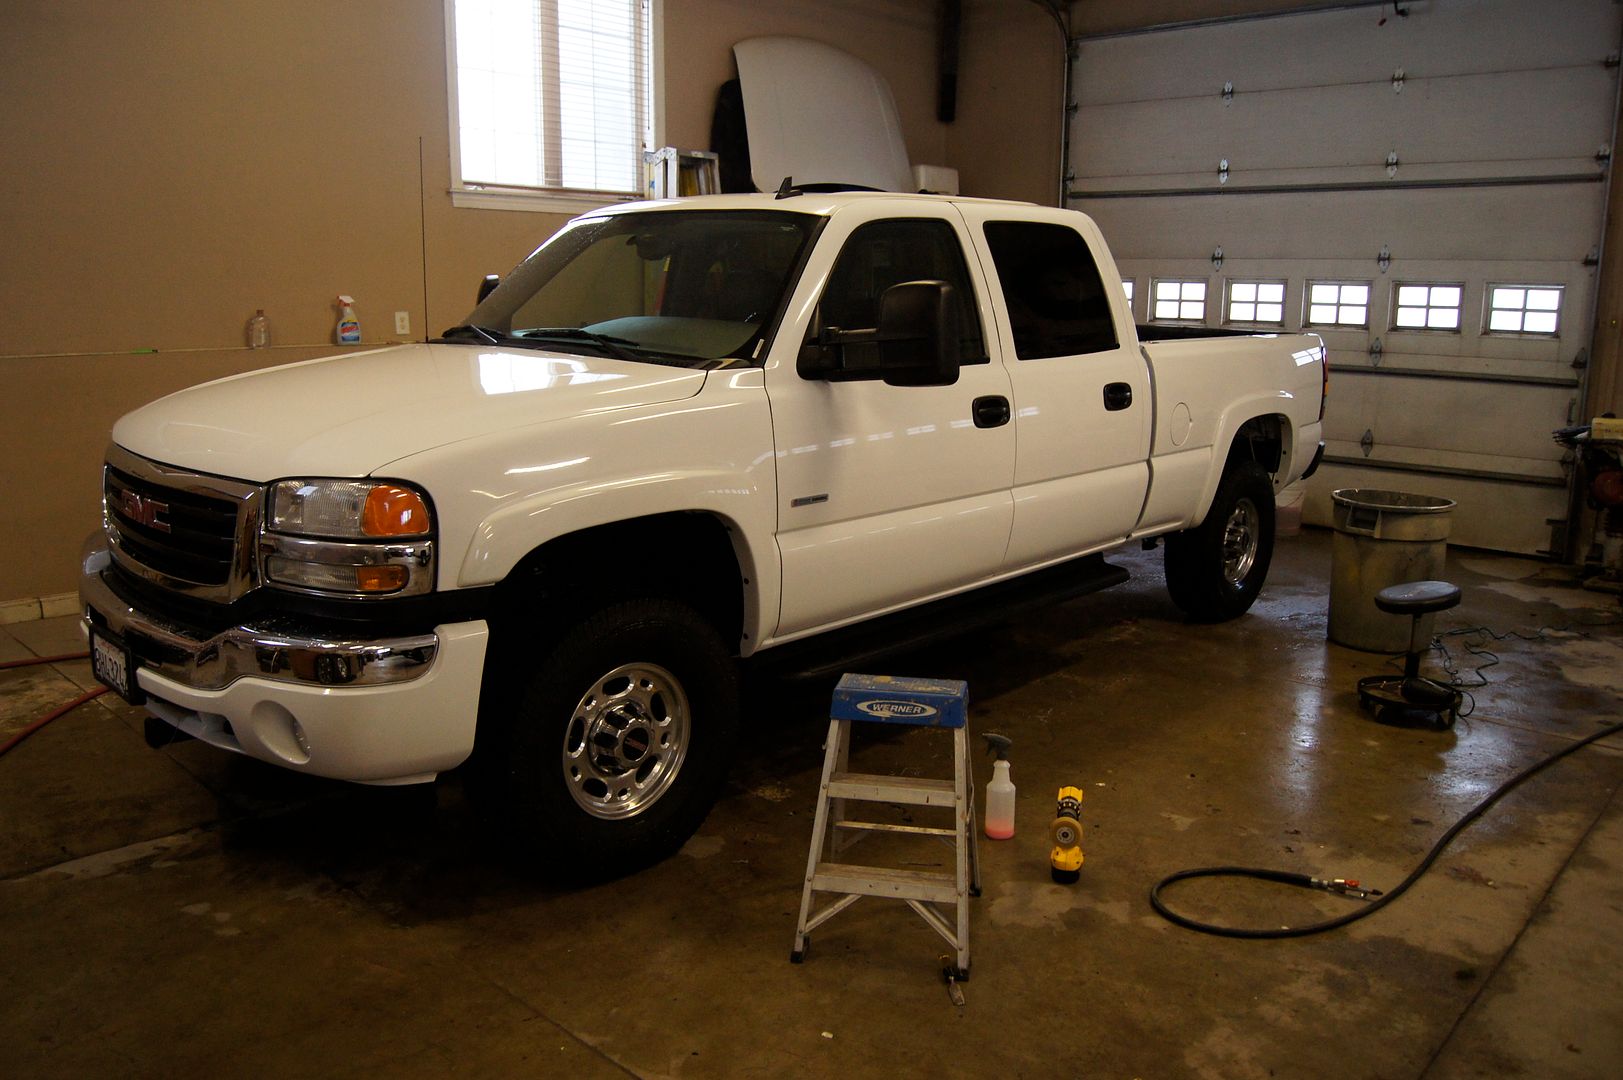
First wash
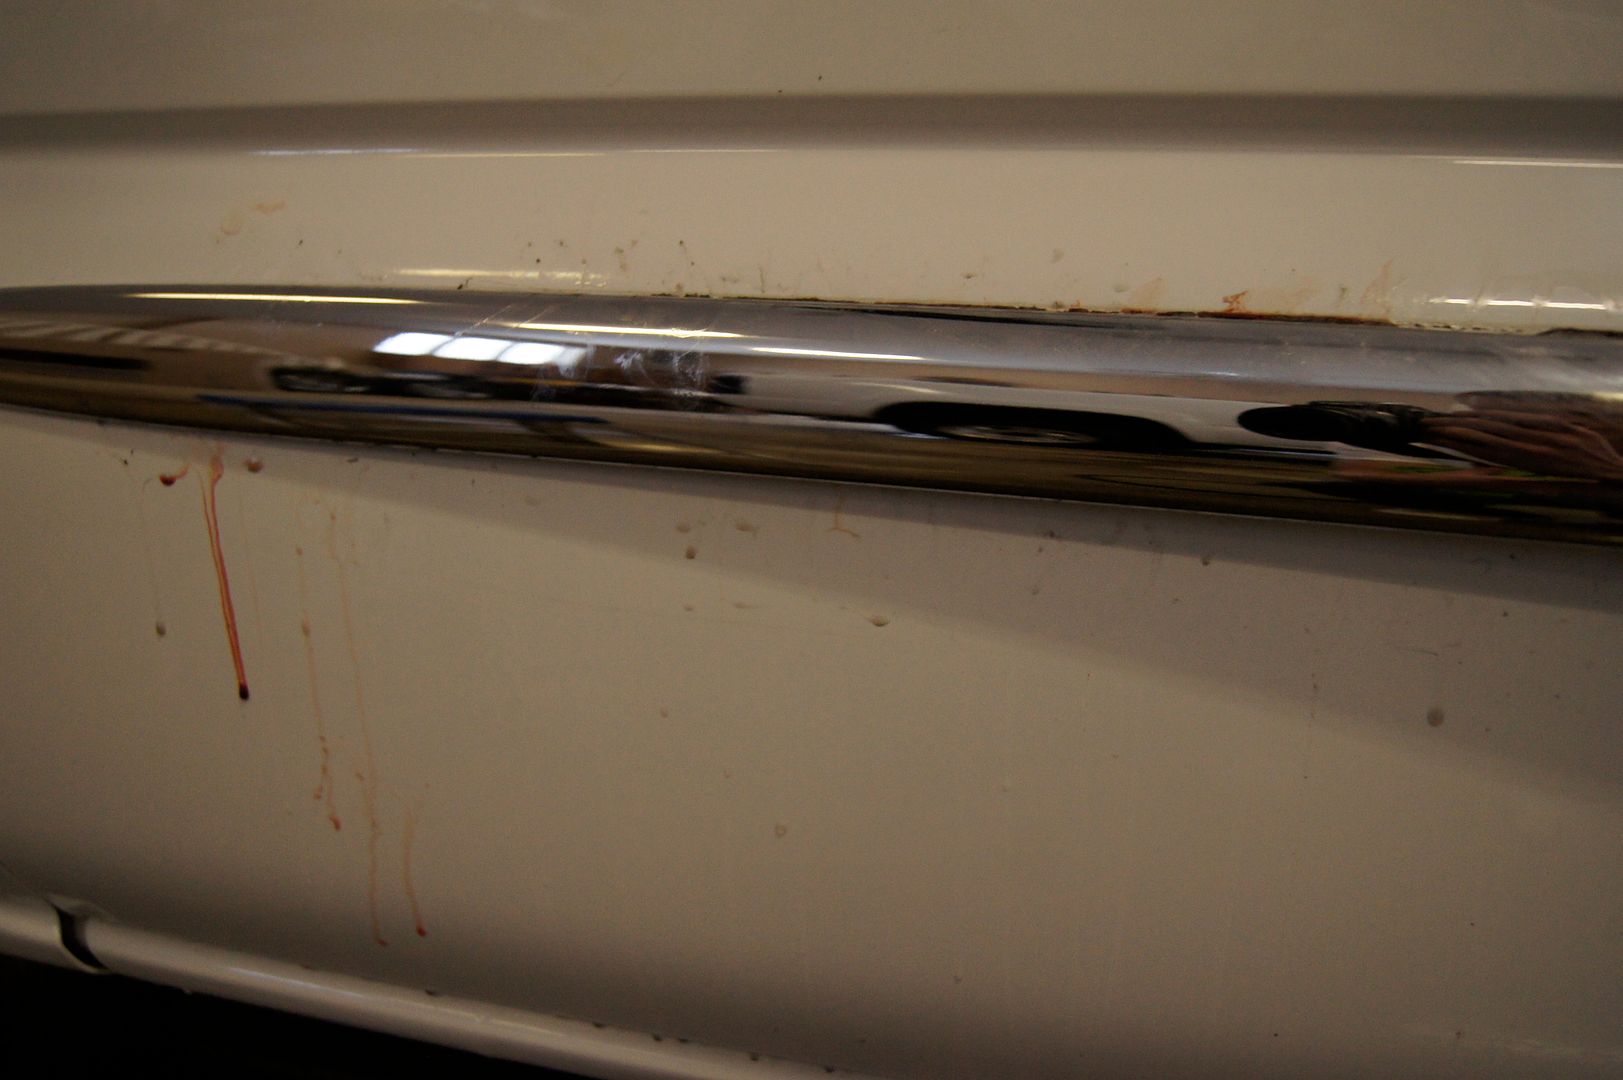
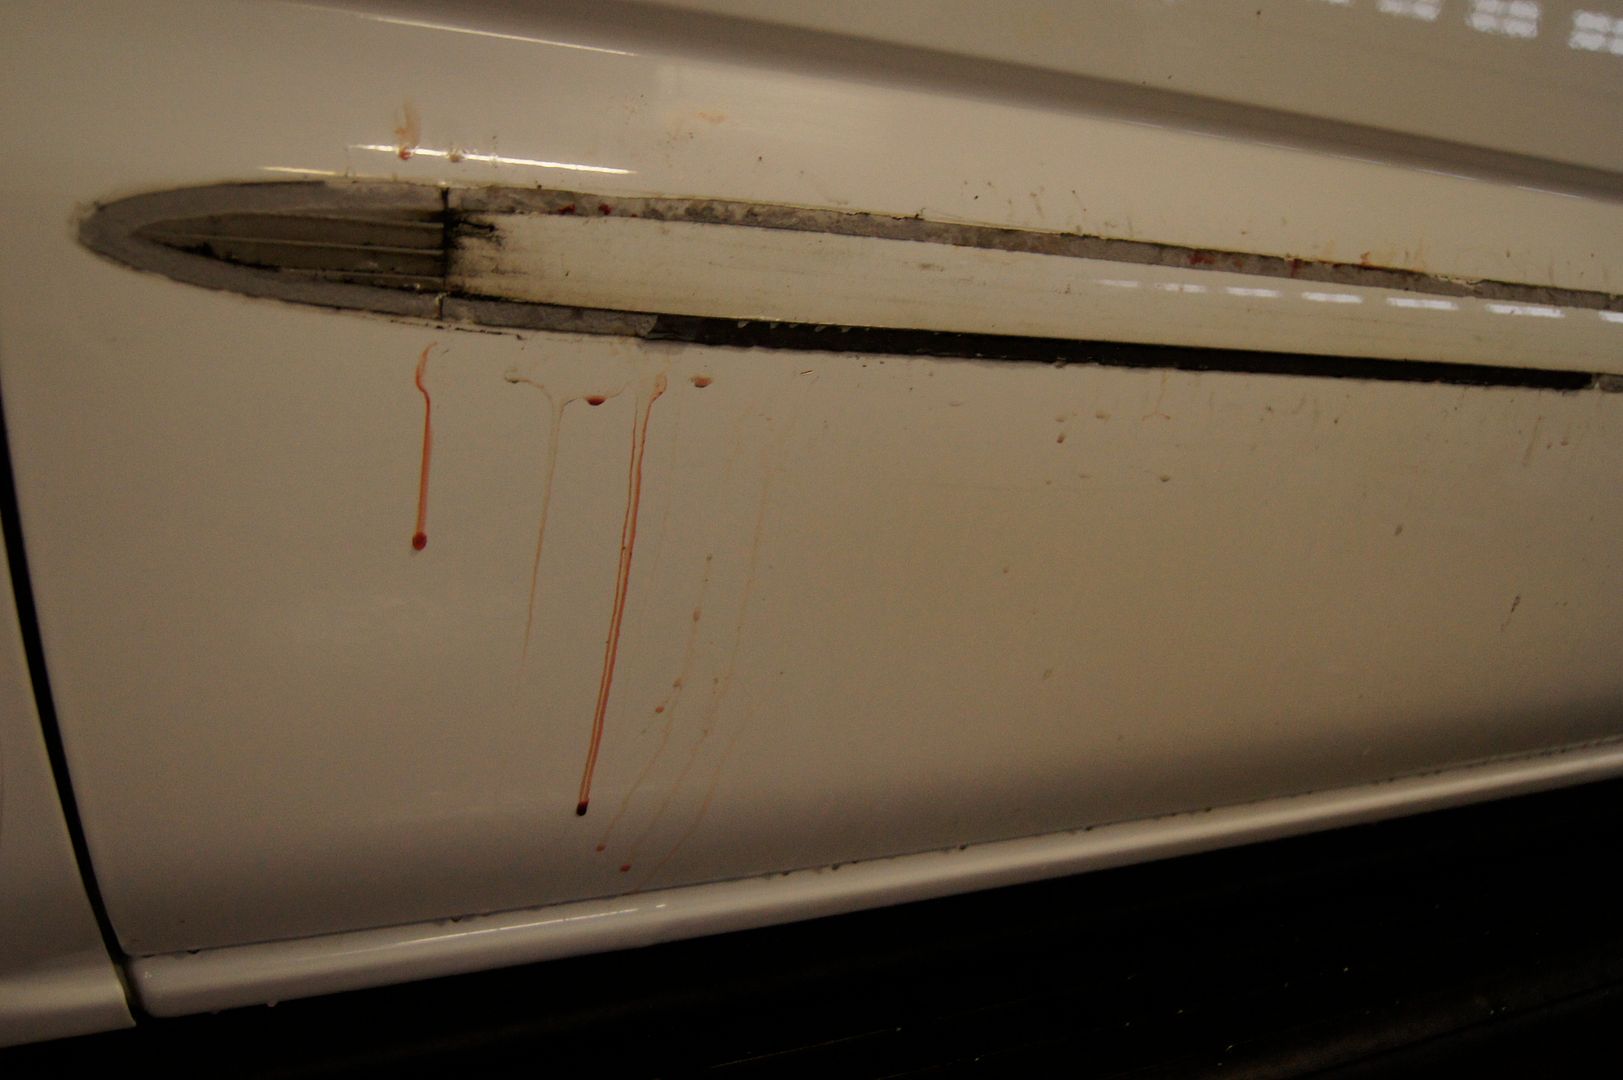
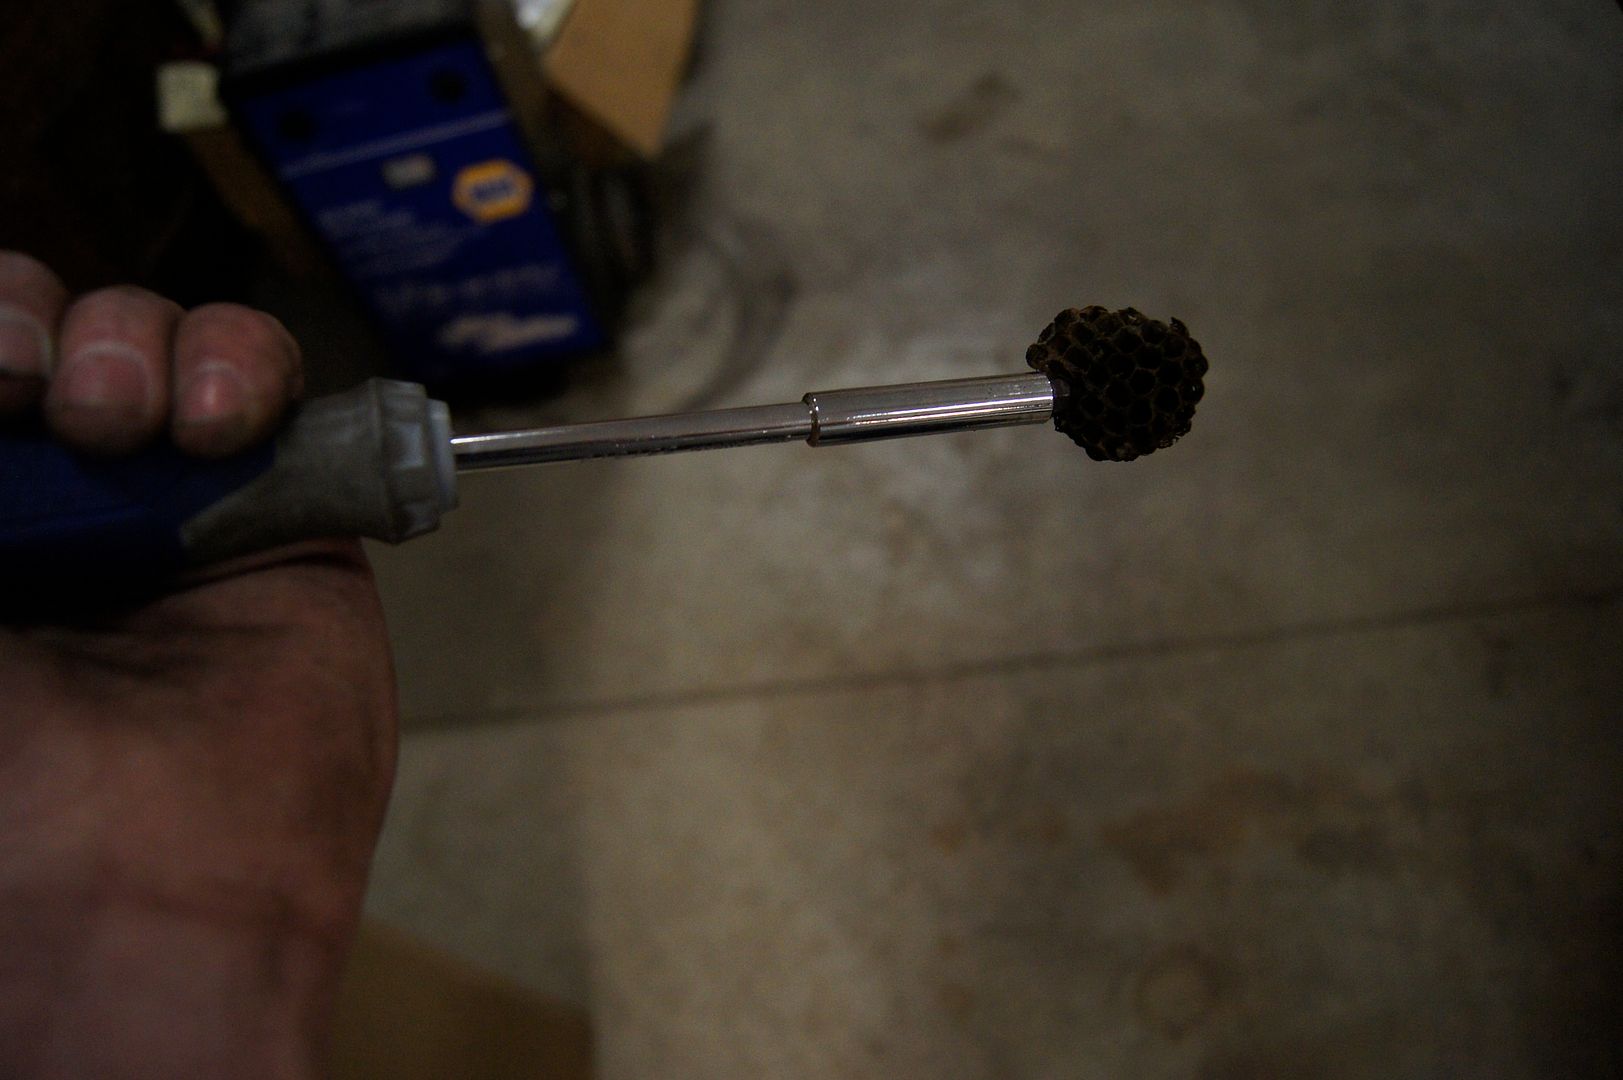
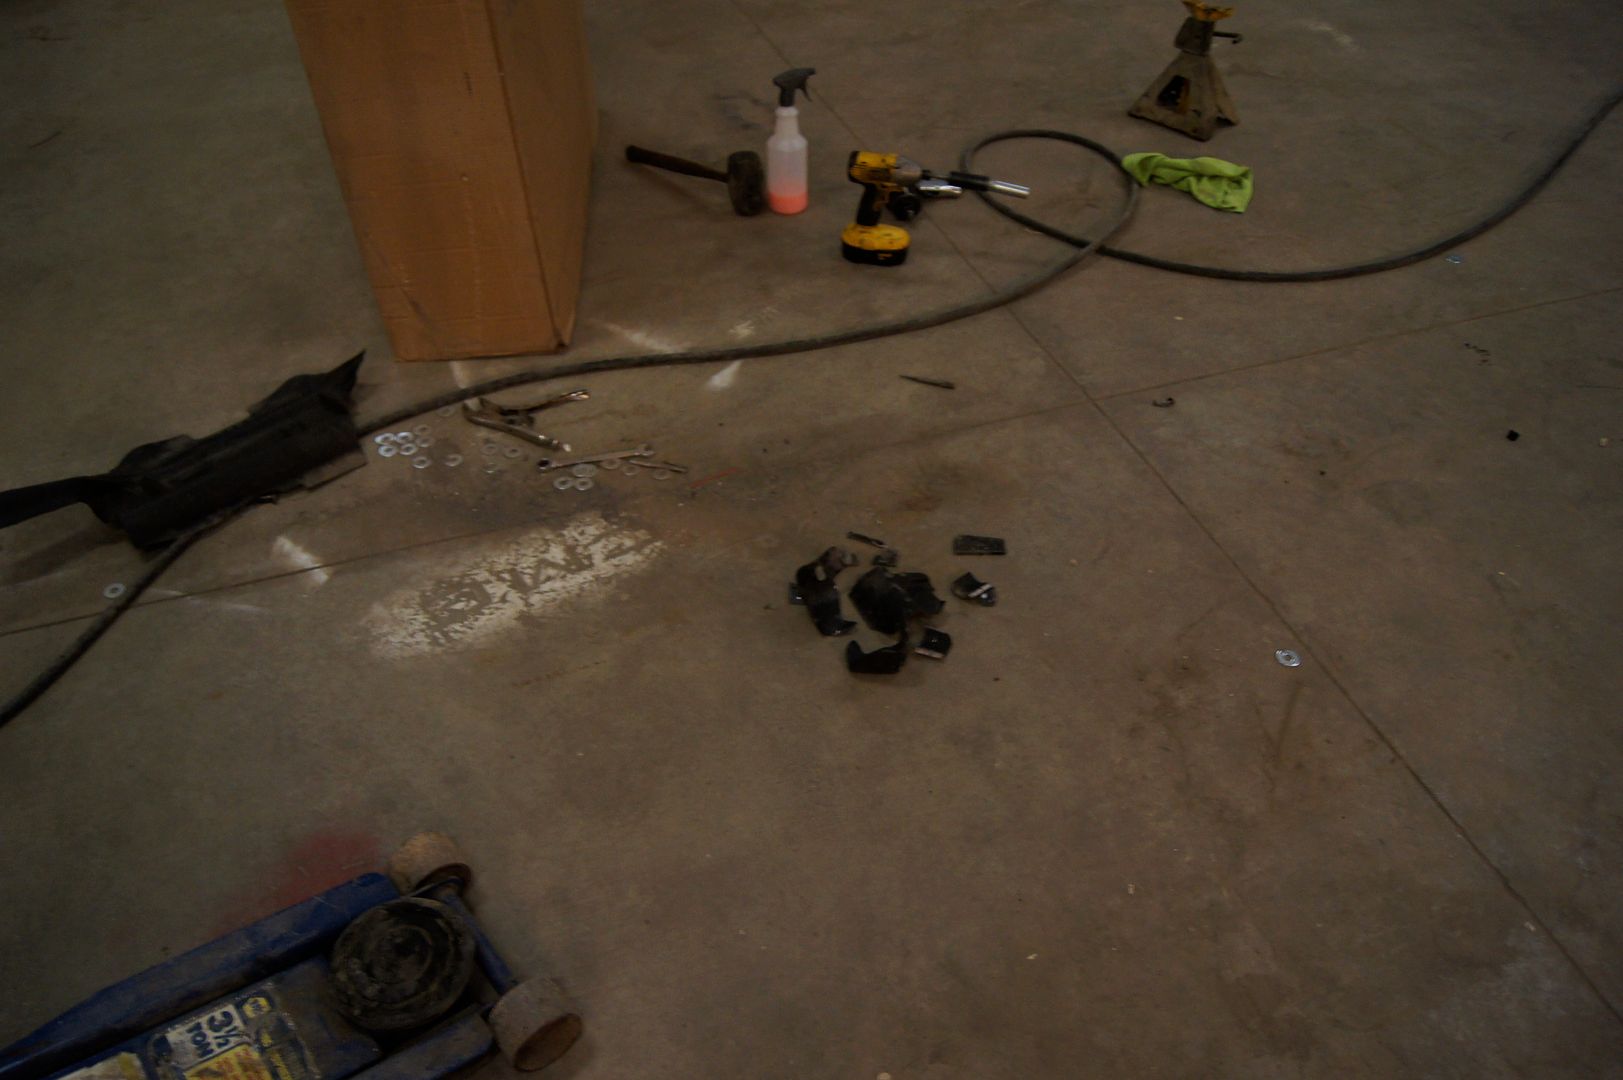
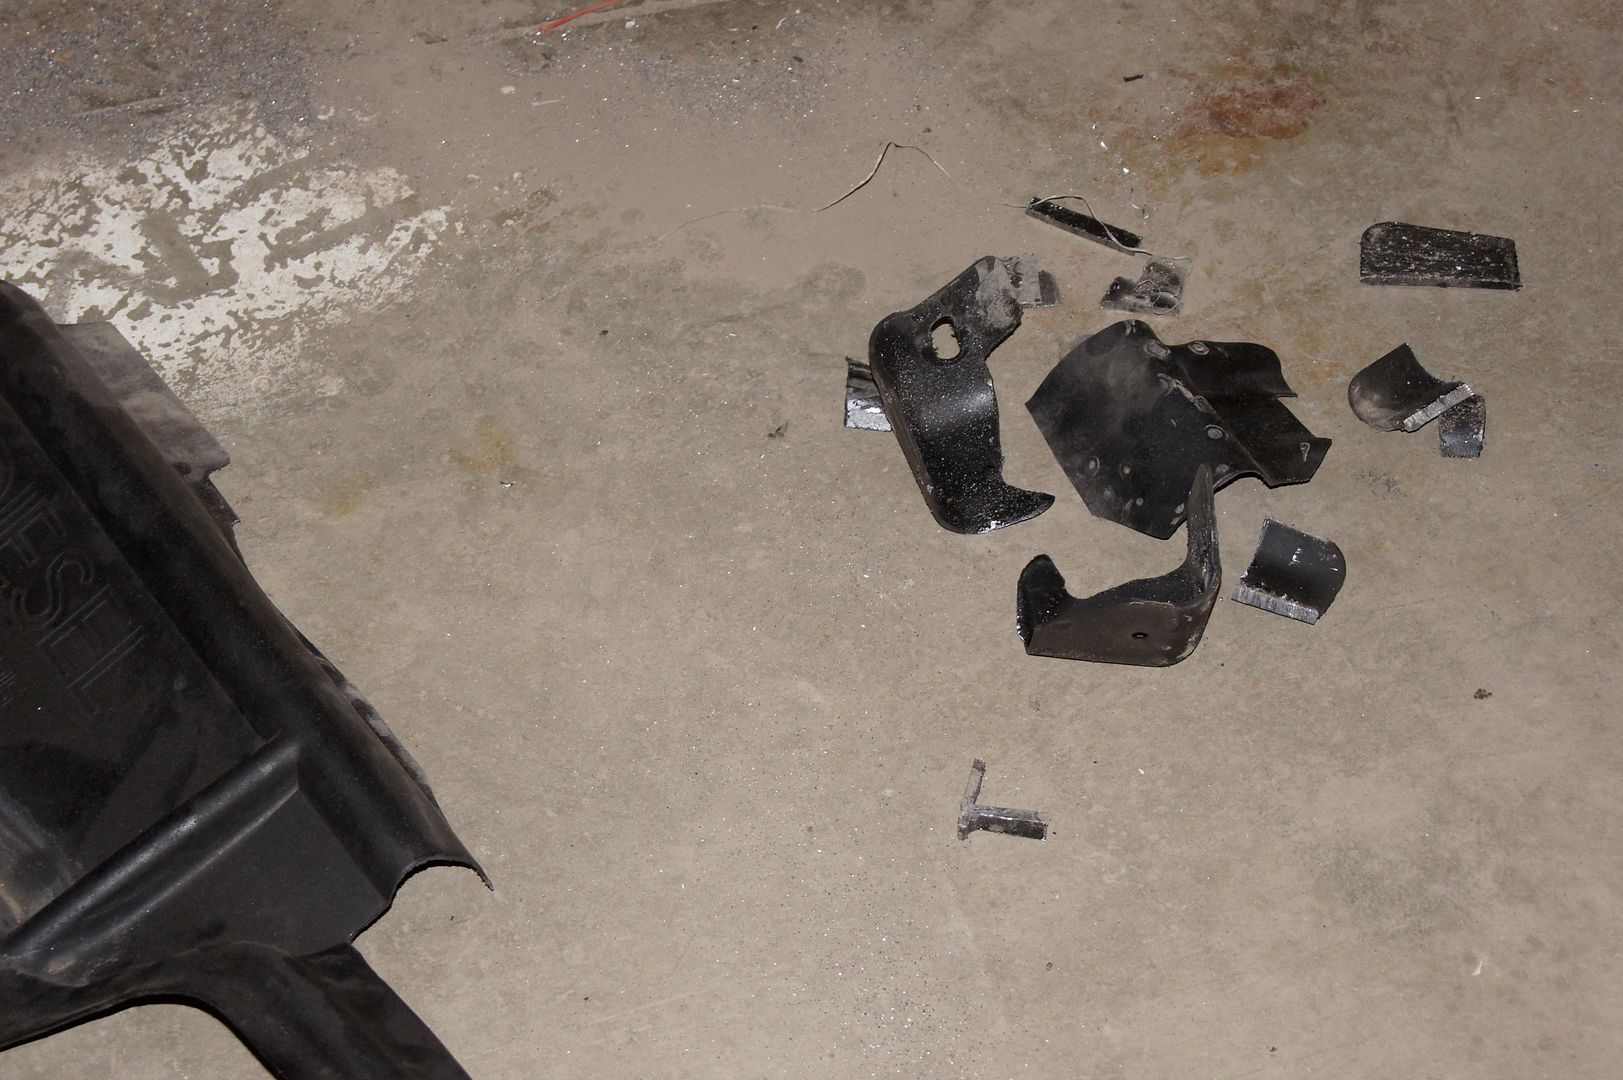
Then I cut the shit out of my fingers somehow
Done
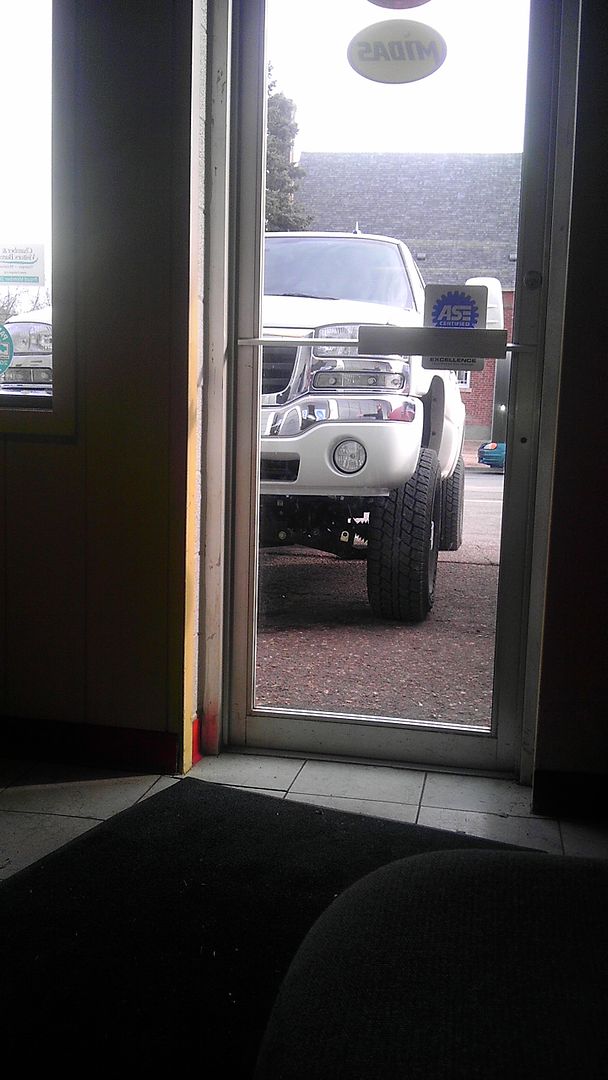
It's been seen a bunch of times, not too excitingkay2:
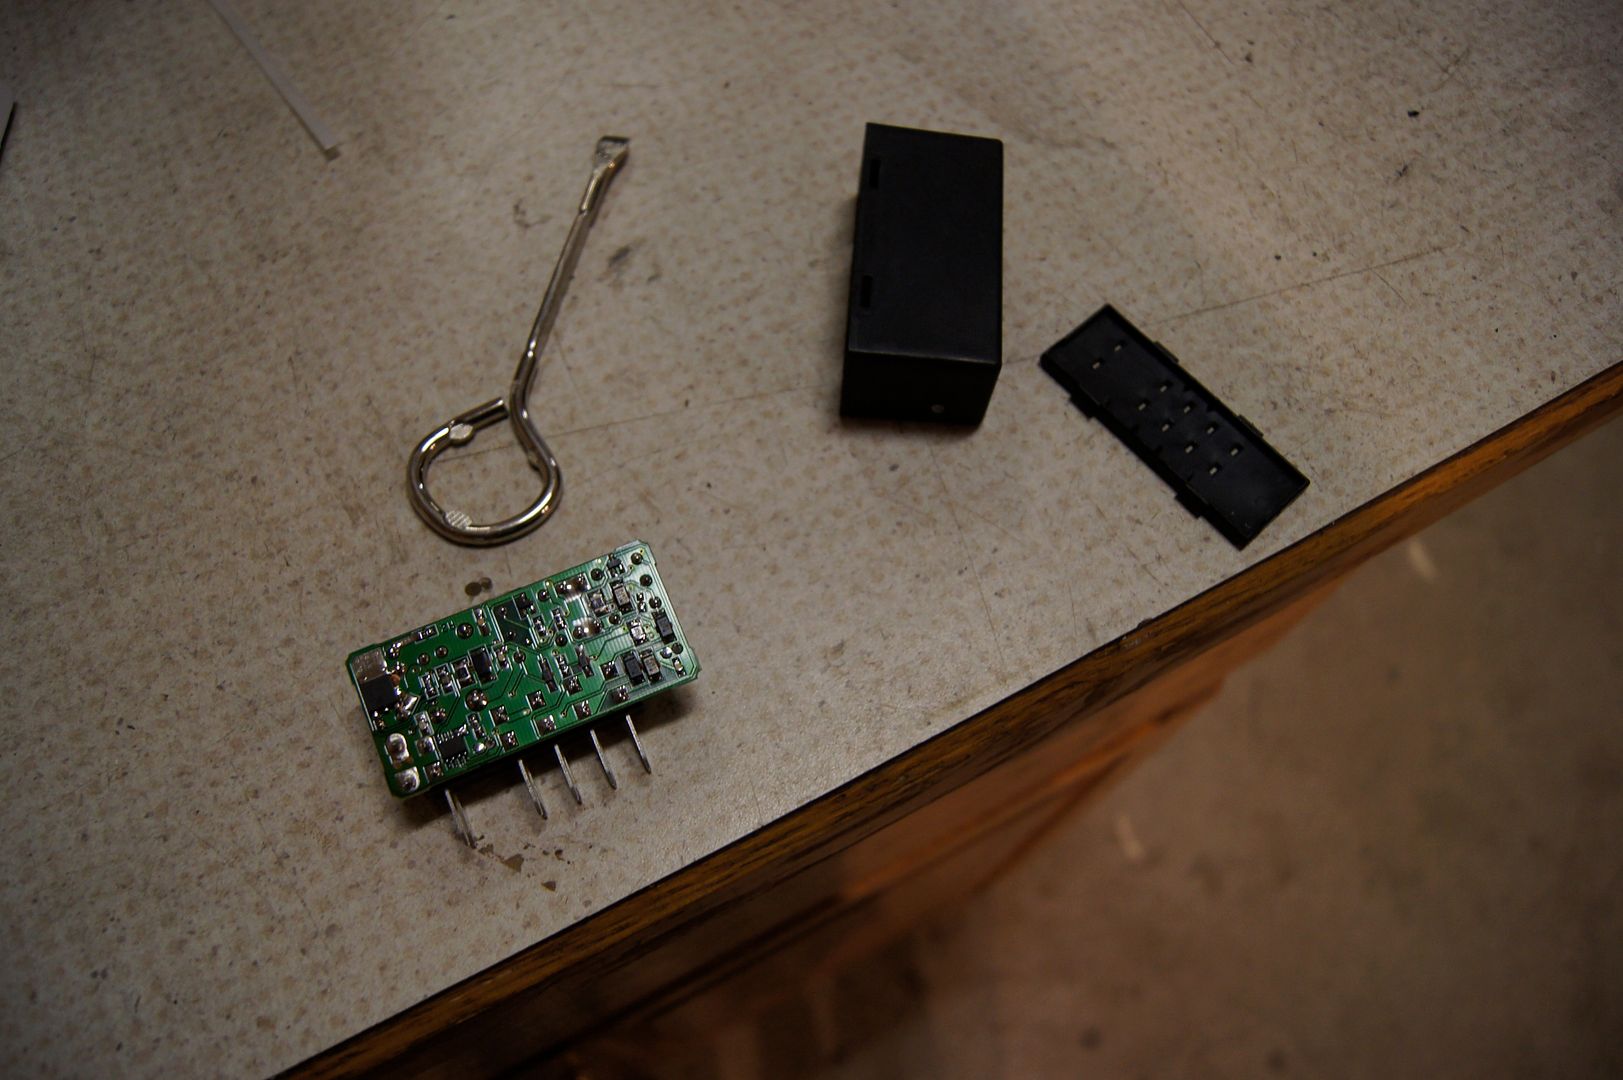
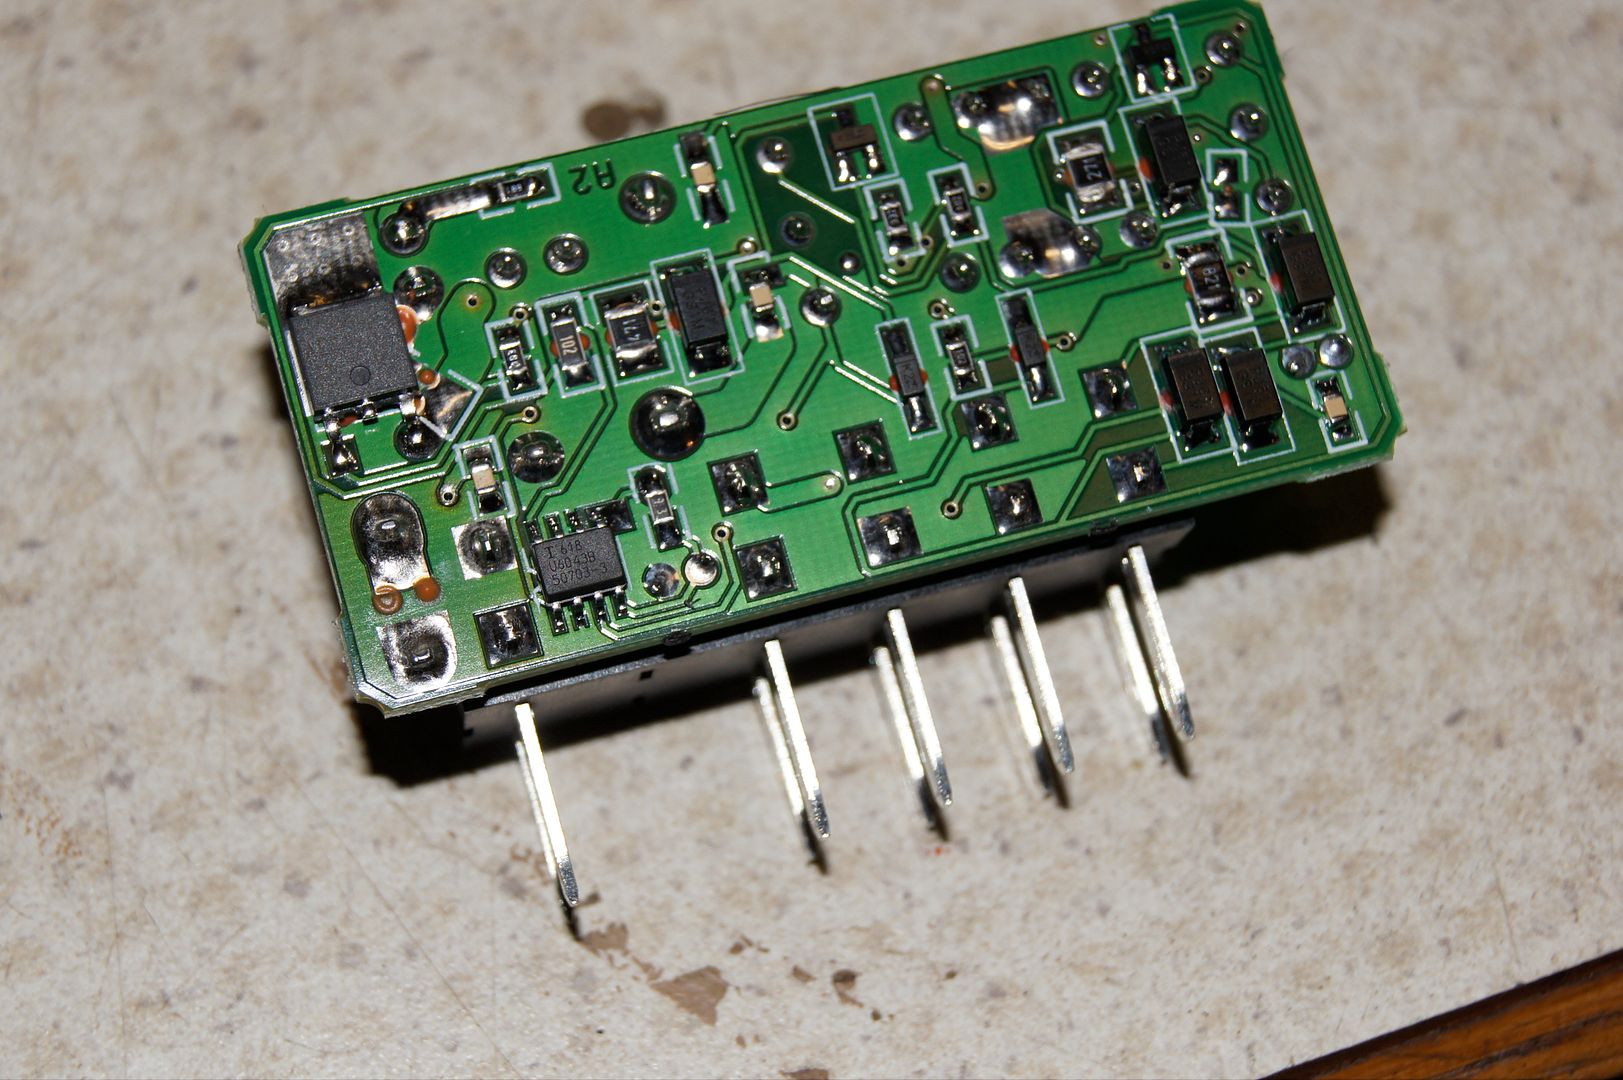
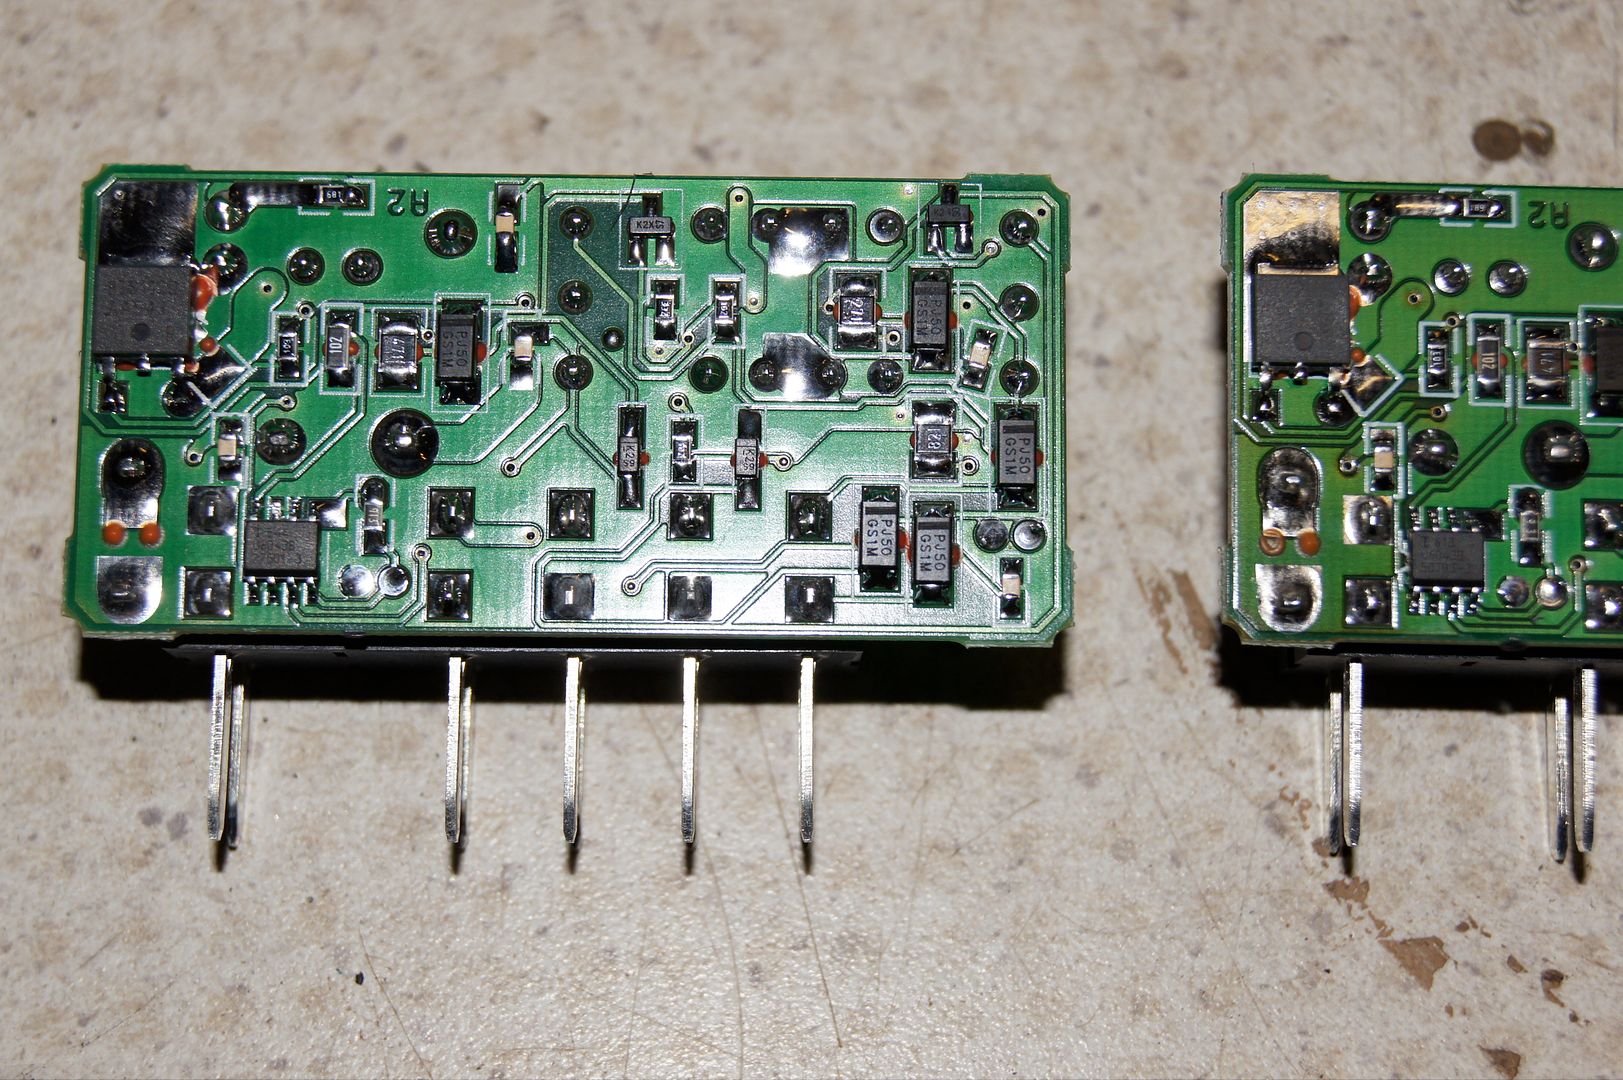
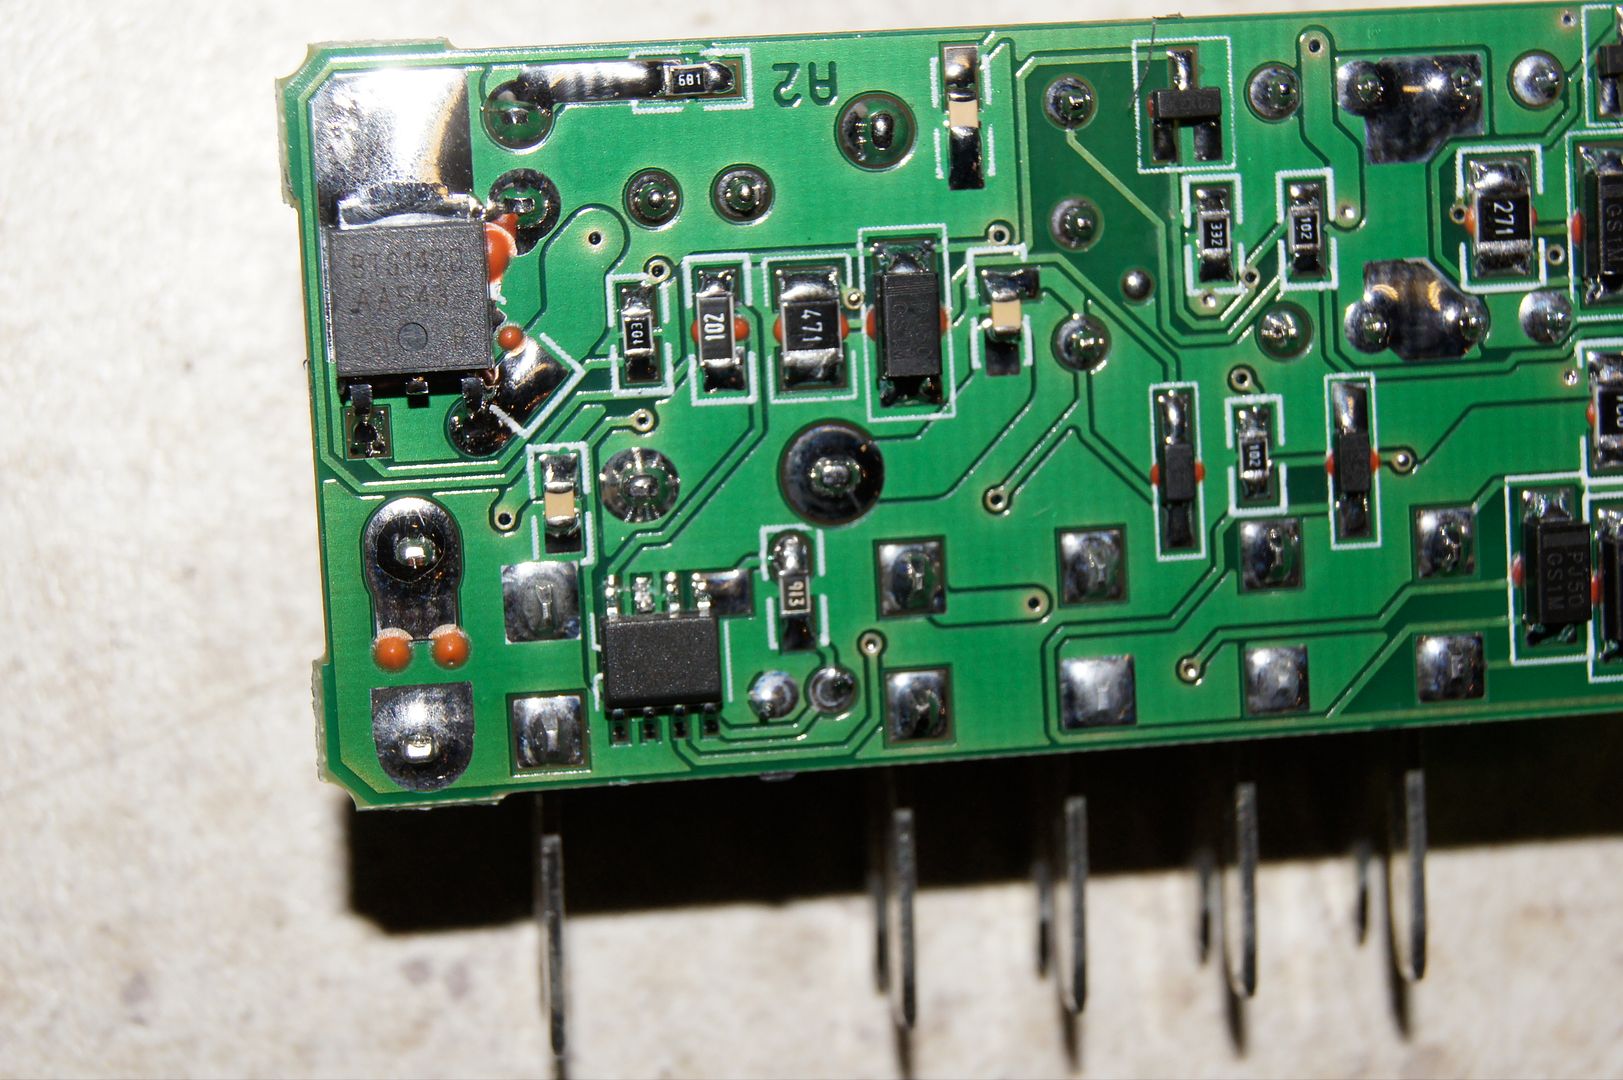
halogen vs. 5k vs 6k leds

:favorites37:
2007 Duramax Delivery - YouTube
Short walk around - YouTube
DSLR was dead so all the pictures/videos are from my GoPro
Easily the cleanest used truck I've ever seen. The frame looks like my Dad's 2012 as far as cleanliness goes.
Plans:
Cosmetic:
Debadge except for duramax/allison badge done
Colormatched mirrors tailgate handle/bezel done
Raise front bumper 2 1/4" done
Cognito 4-6" NTBD with Cognito UCA's and Bilstein 5100's done
Cognito support braces done
Cognito HD tie rods done
22x10.5" Chrome BMF Novakanes done
285/55/22 Trail Grapplers done
1.5" wheel spacers done - decided to get 2" instead
LED's all around inside and out done
Clear corners and clear stock lights or Denali lights (I have a spare set of non cleared Denali's but am too lazy to open them up) done
Esky/Denali Handles door handles done
02 HD Hood
35% shield with 5% brow, 15% on other 5
Not sure about suede with this interior color
Engine:
68mm FPE Cheetah
Full EGR Delete
Built trans
lift pump
EFILive tuning
injectors/higher flowing CP3 eventually
PCV Reroute
3" Downpipe
5" MBRP exhaust
Sound/Video:
Has a Parrot BT system
Has screens in the headrests
Some Nav unit ...have a Pioneer 910bt in my 06 and really like that, may go with a z11xx series though
Haven't decided which way I want to go for subs.... behind the seat/under the seat or if I should get tahoe buckets and build a rear center console. Most likely 2 10's behind/under or a 12" if I do a center console build. I don't want it to be too bulky
may sound deaden it with mat and foam.
I'll keep this updated
This truck may push me to get a shitbox for the winter. I kept the 06 pretty good. POR15 on the frame and no rust on the body.
First wash
Then I cut the shit out of my fingers somehow
Done
It's been seen a bunch of times, not too exciting
kay2:halogen vs. 5k vs 6k leds
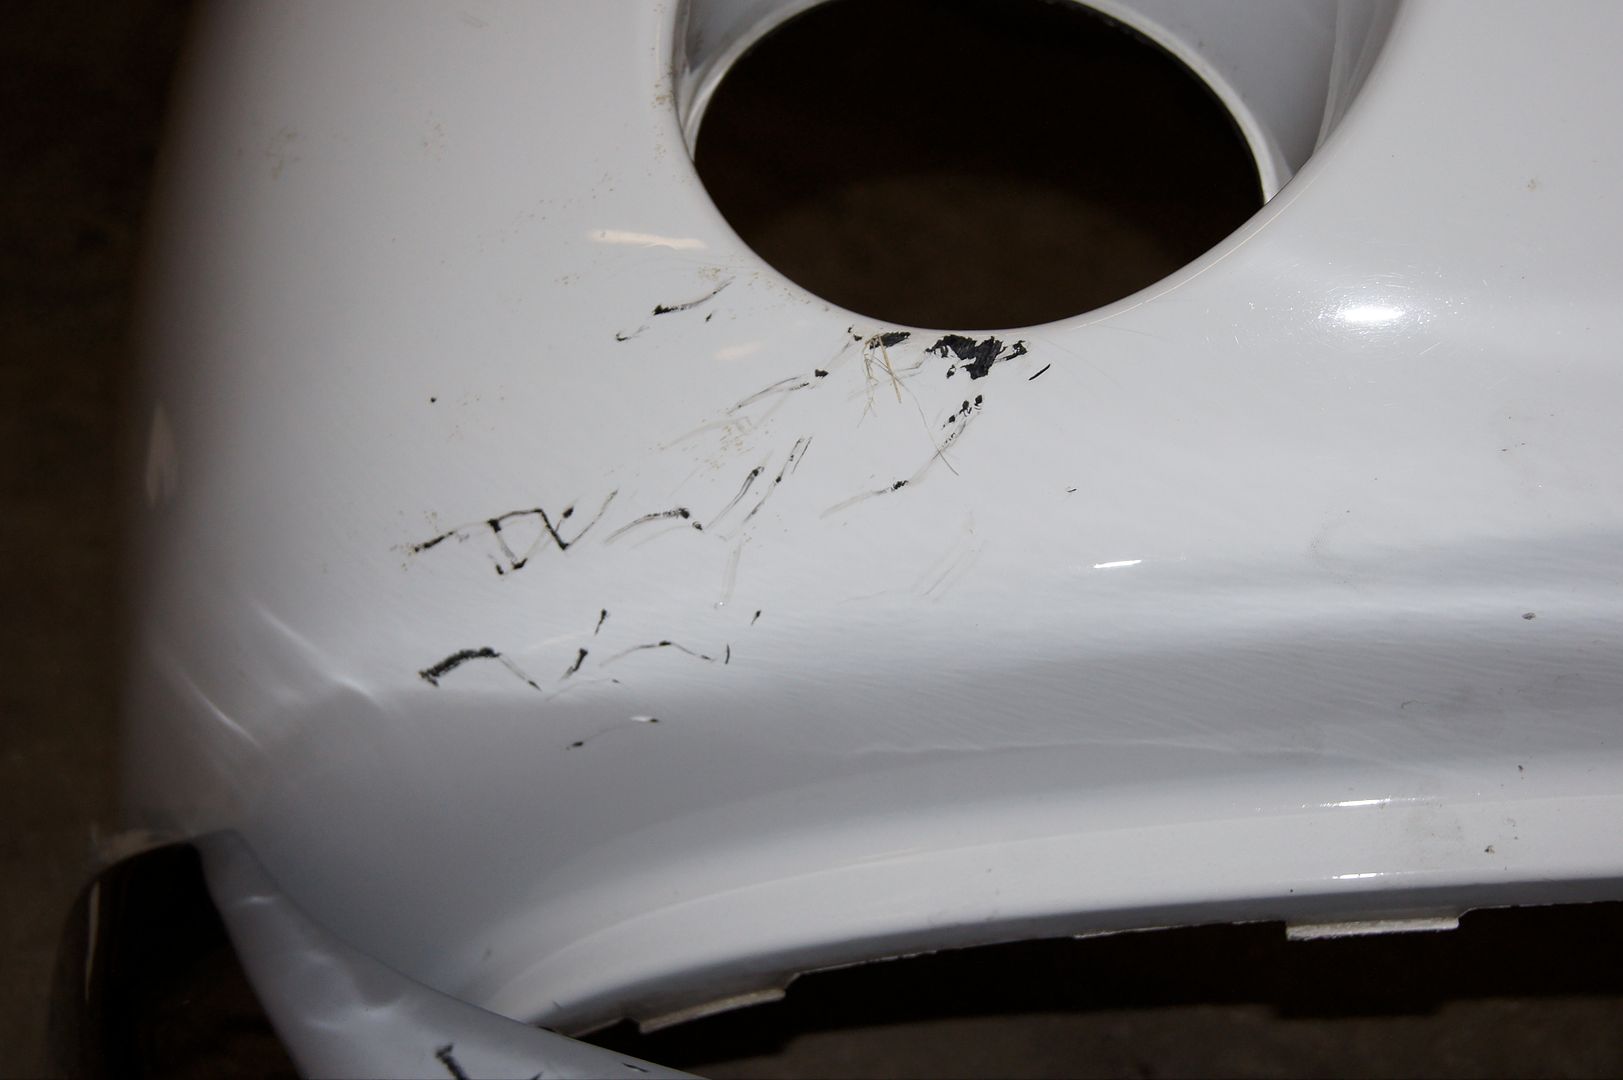


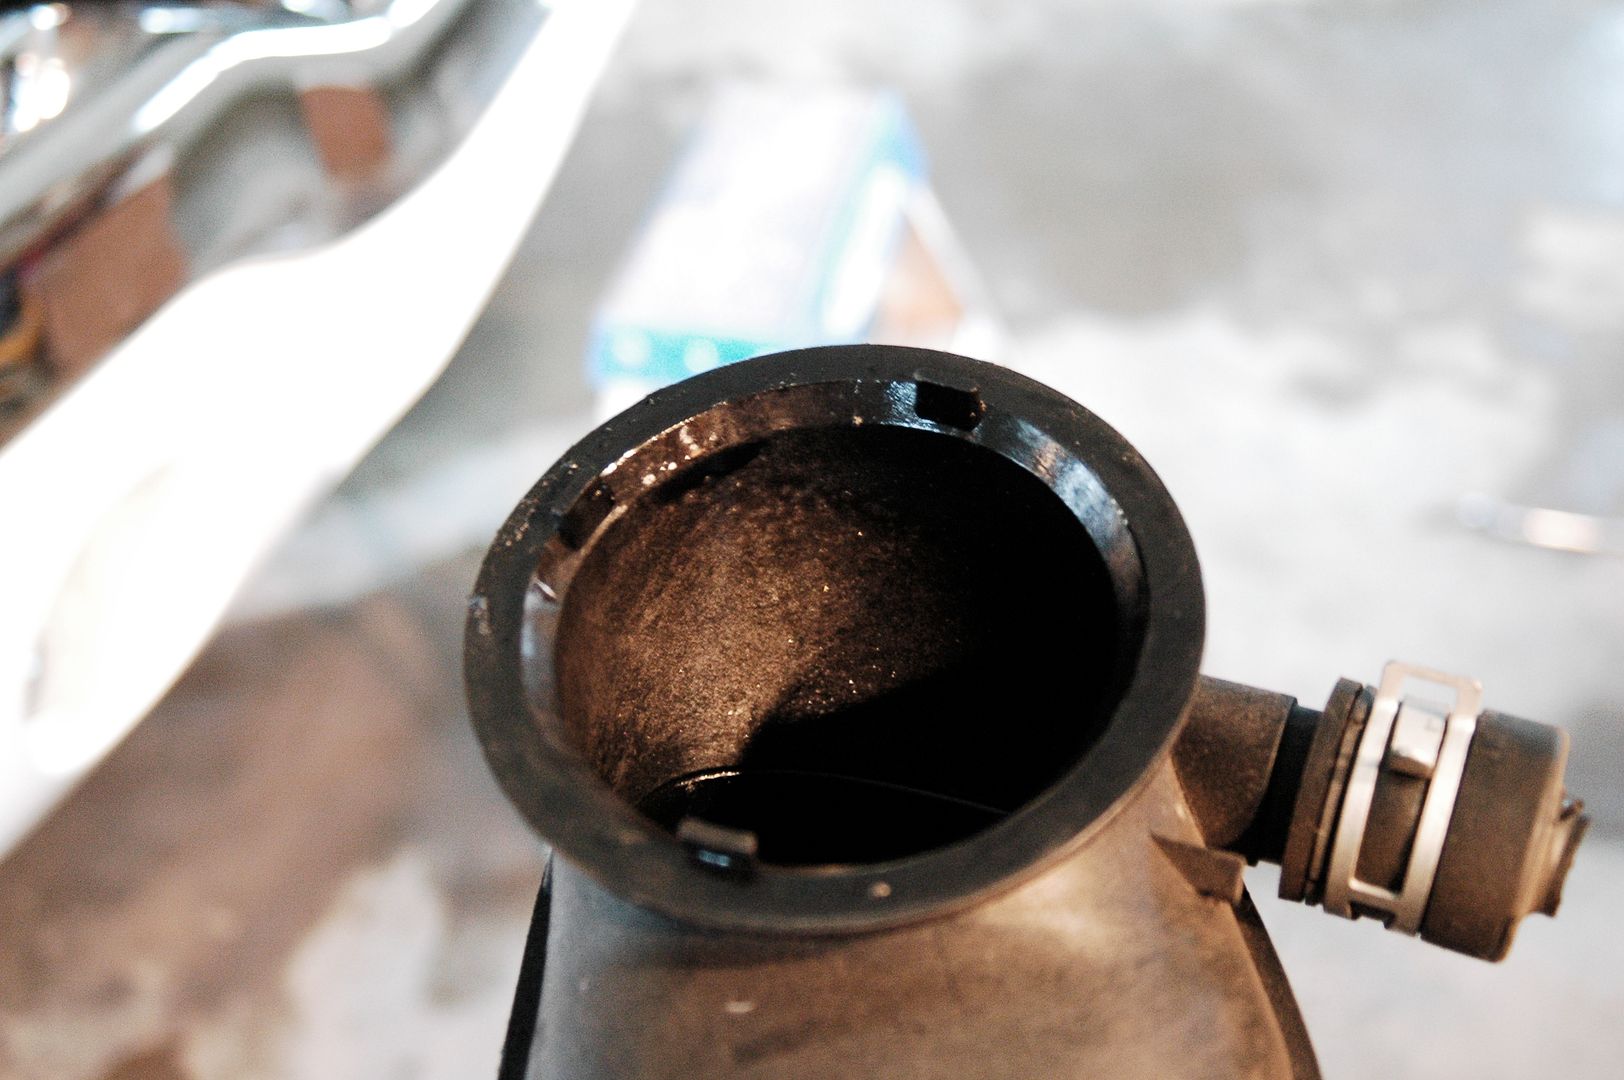
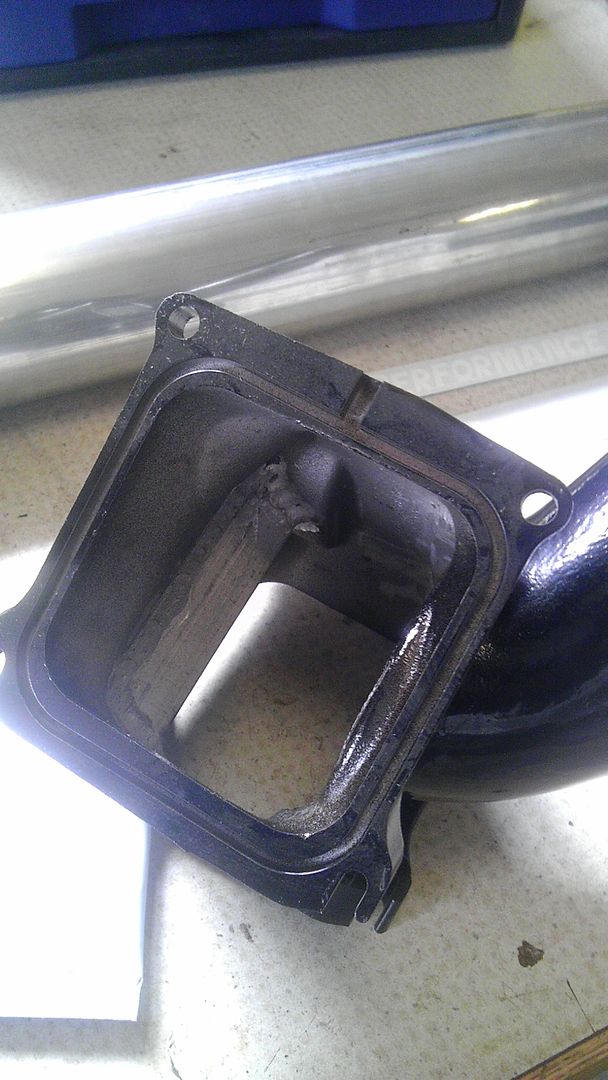
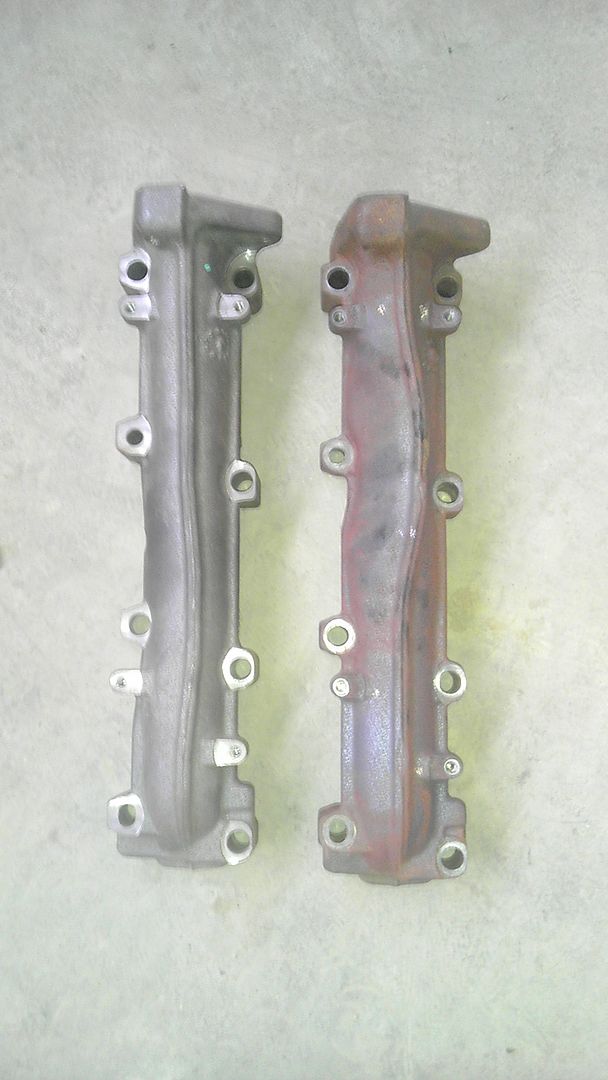
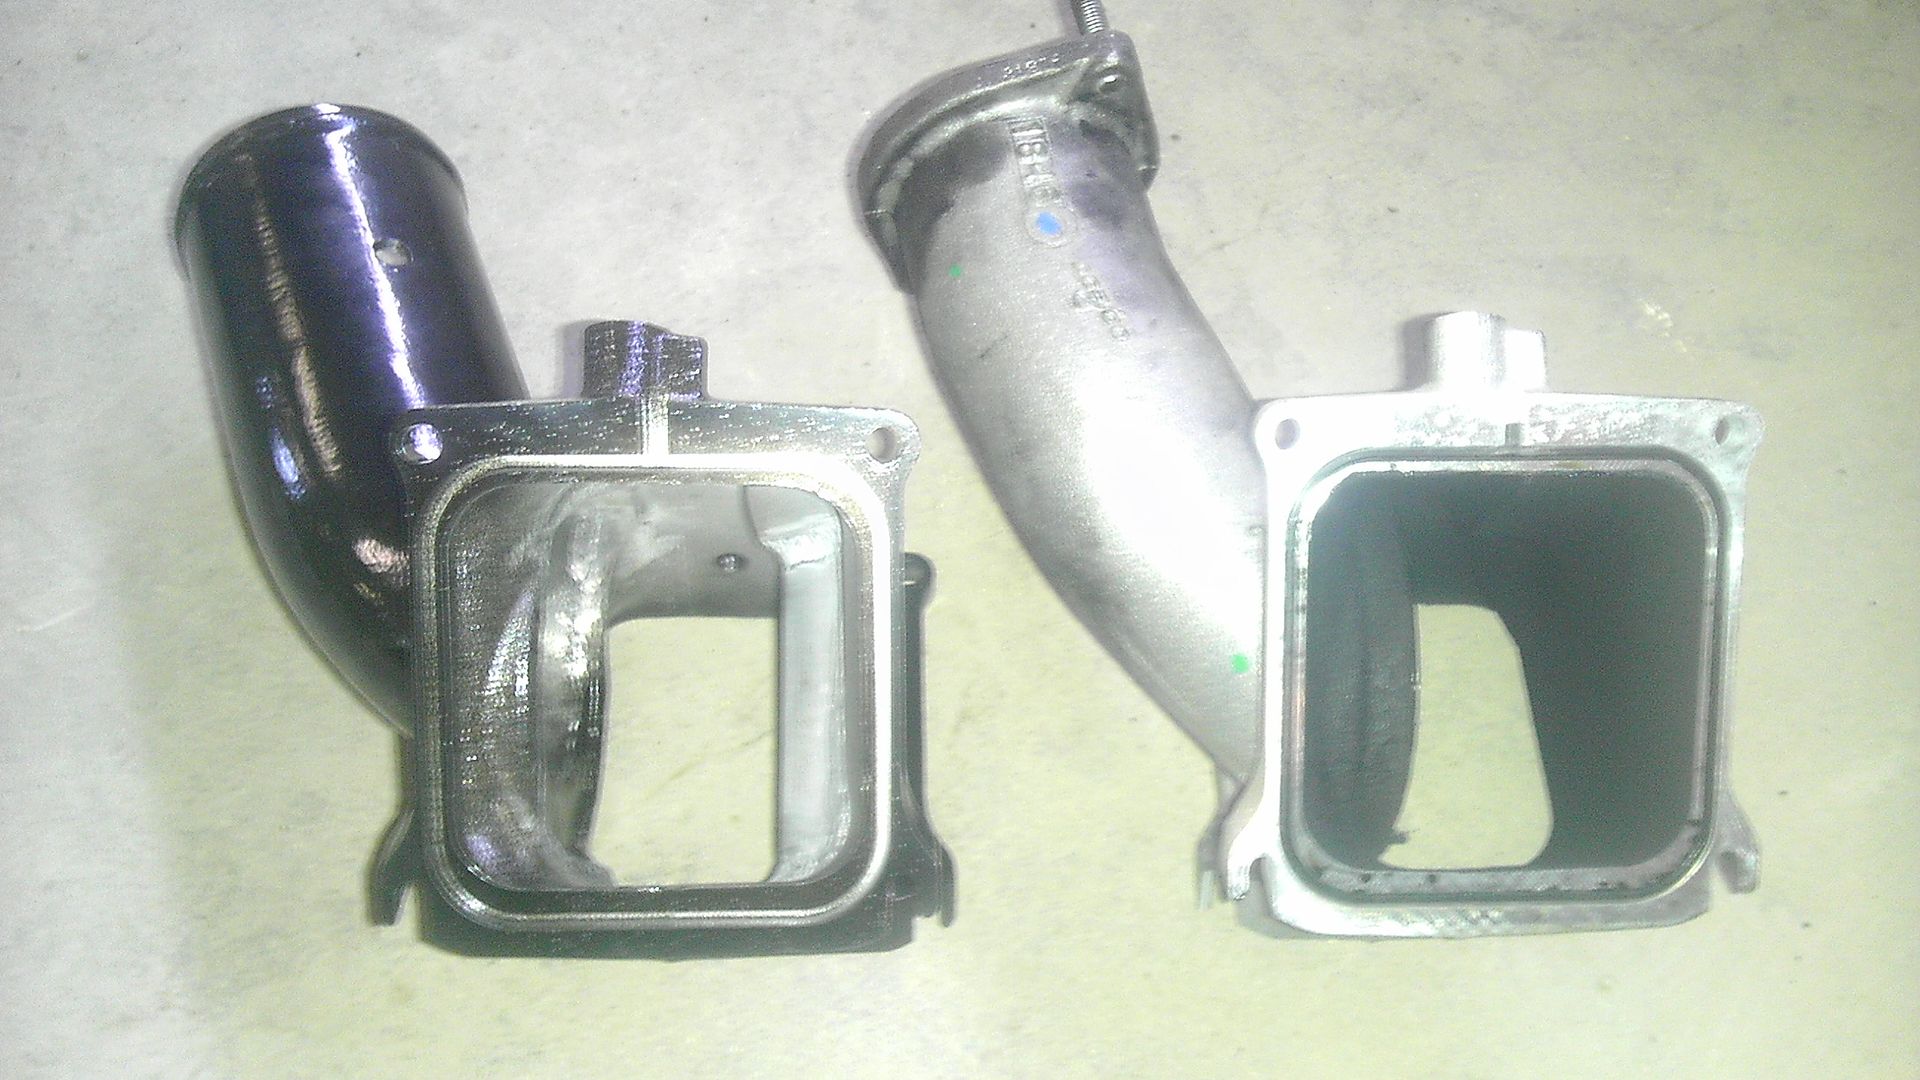

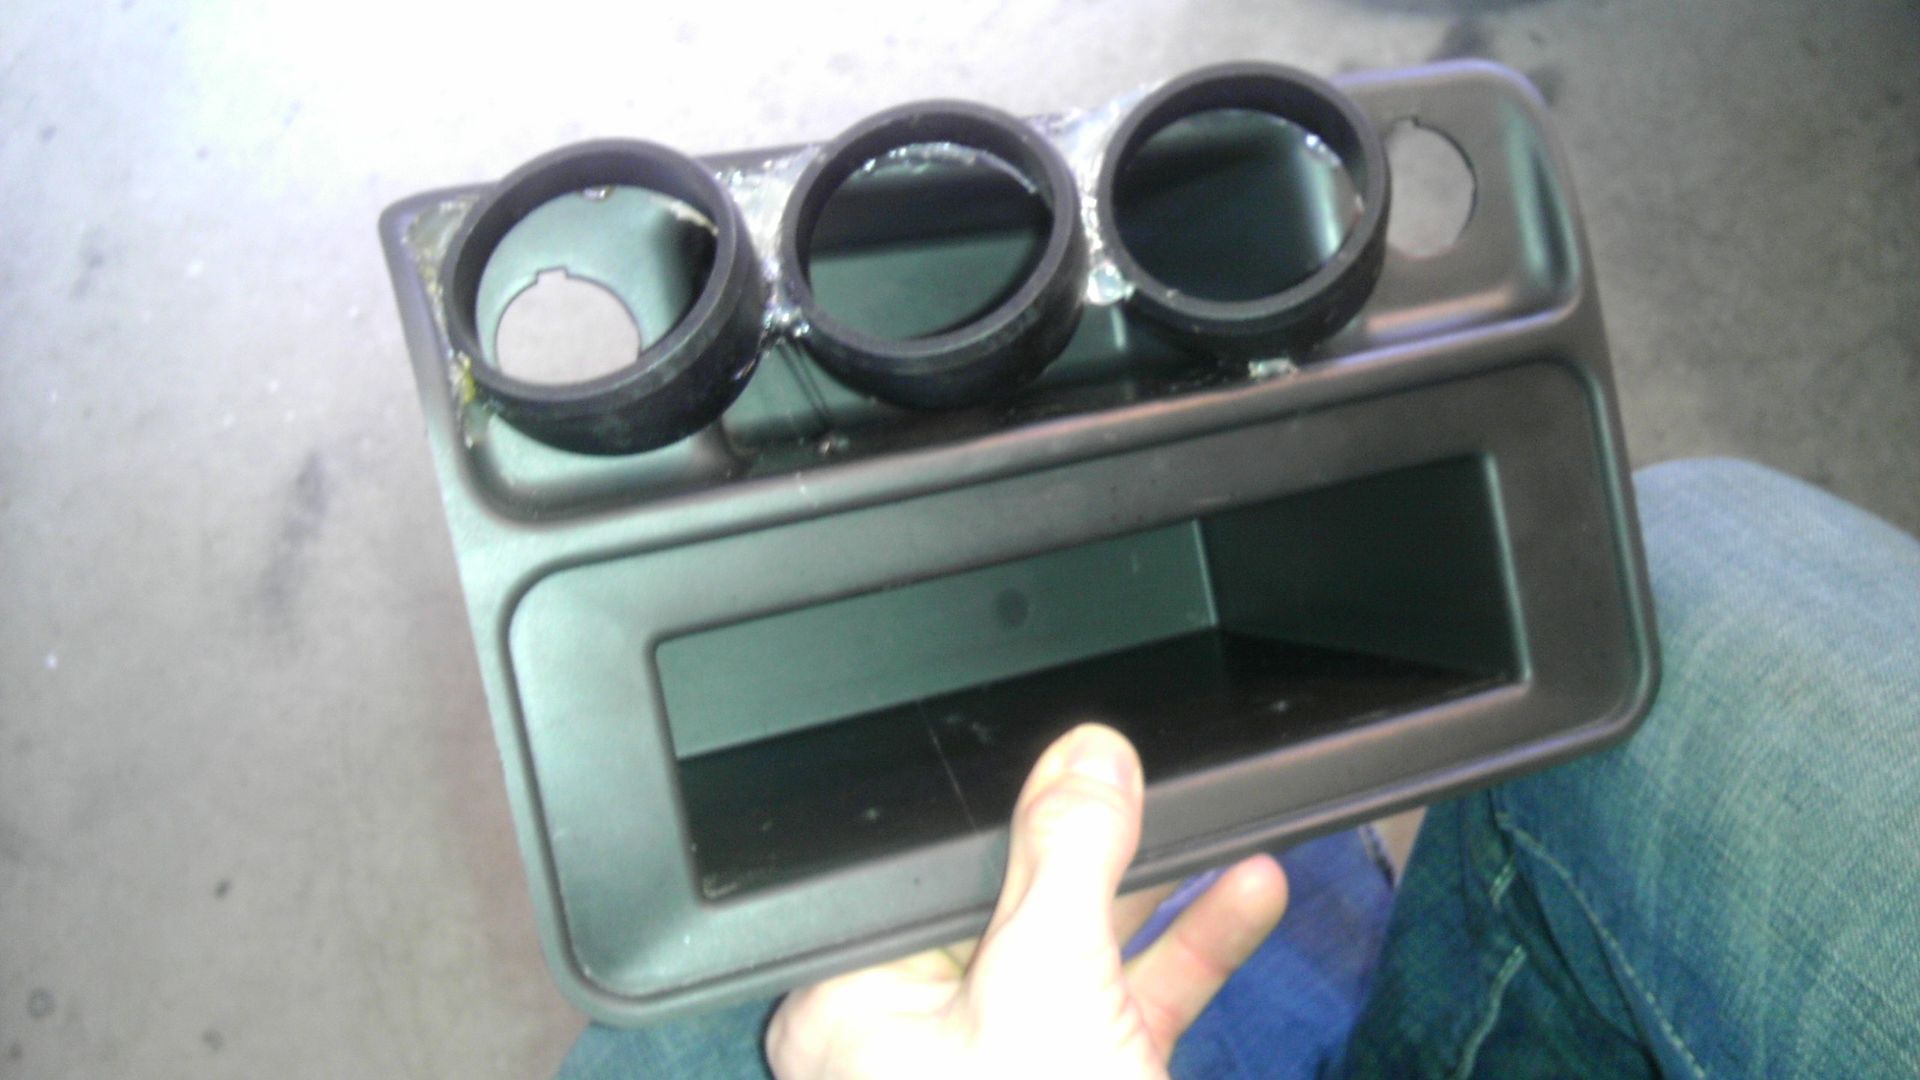
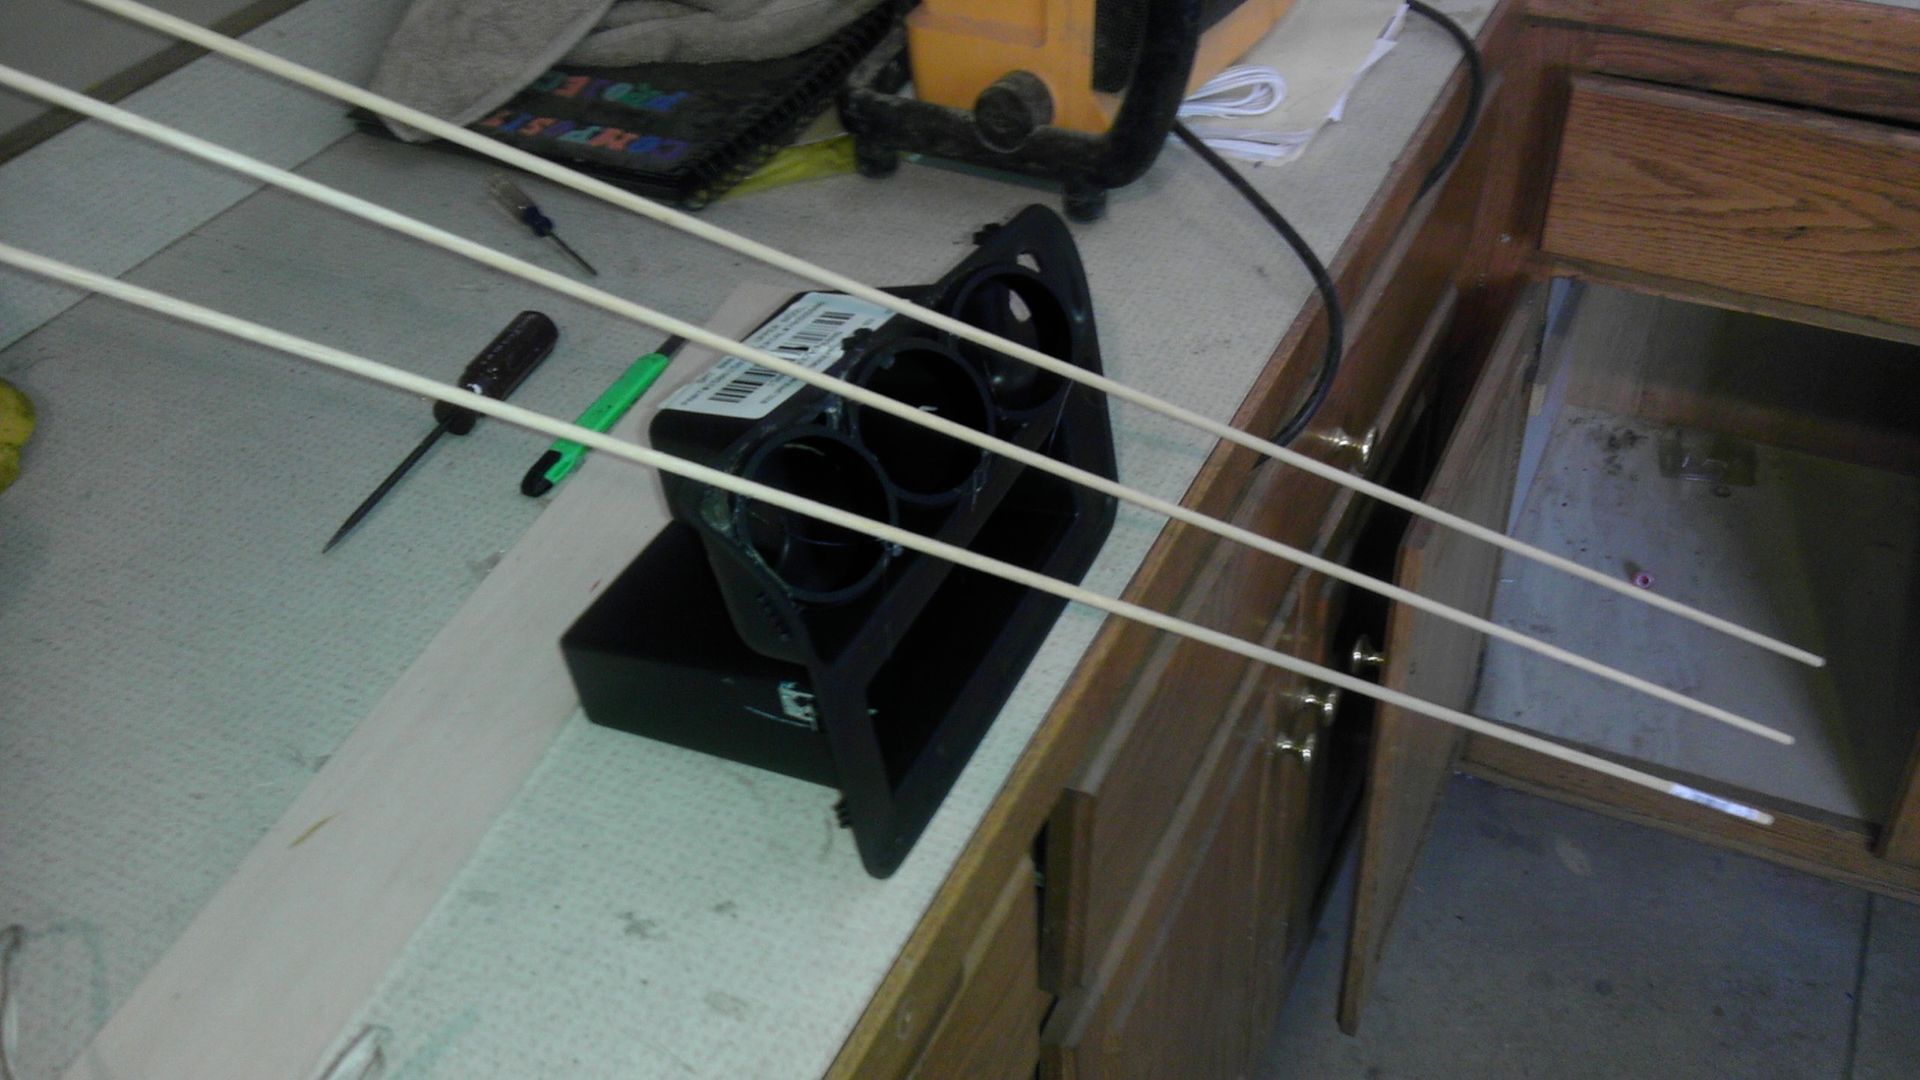
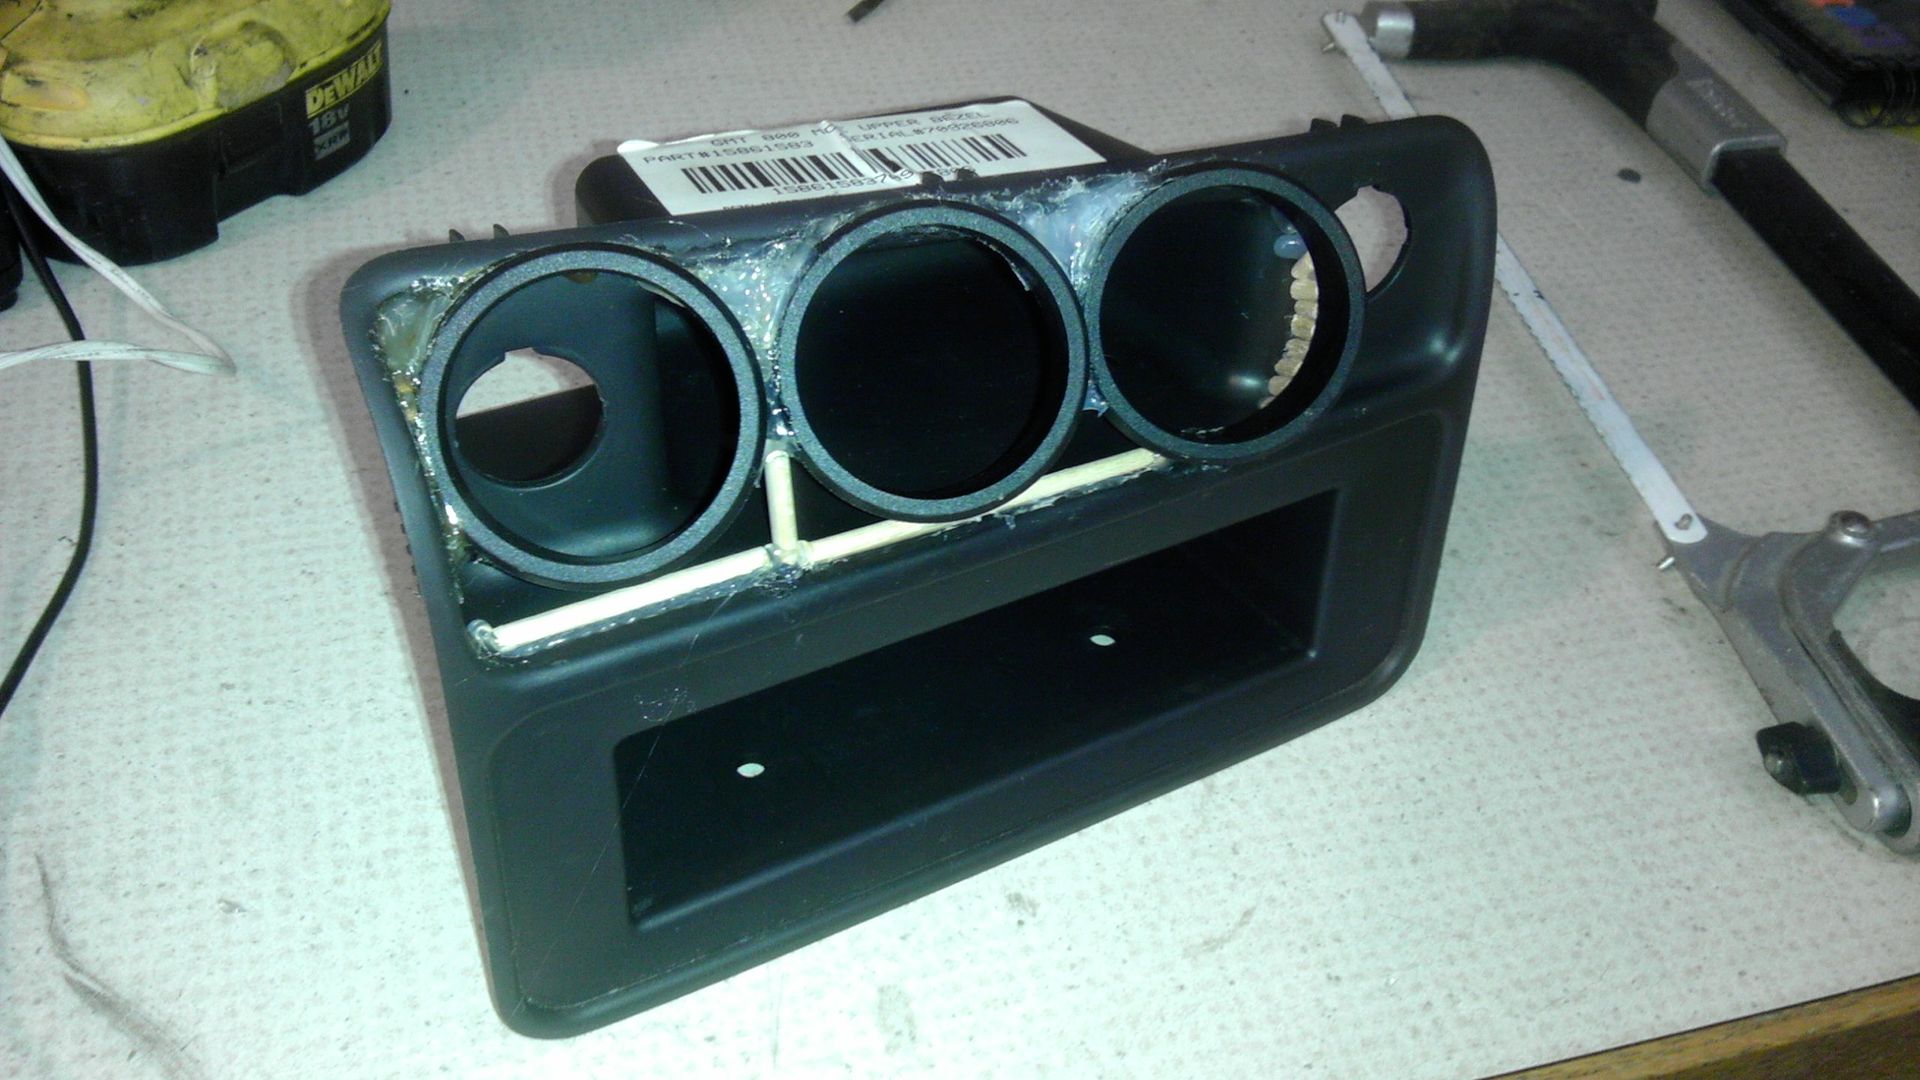
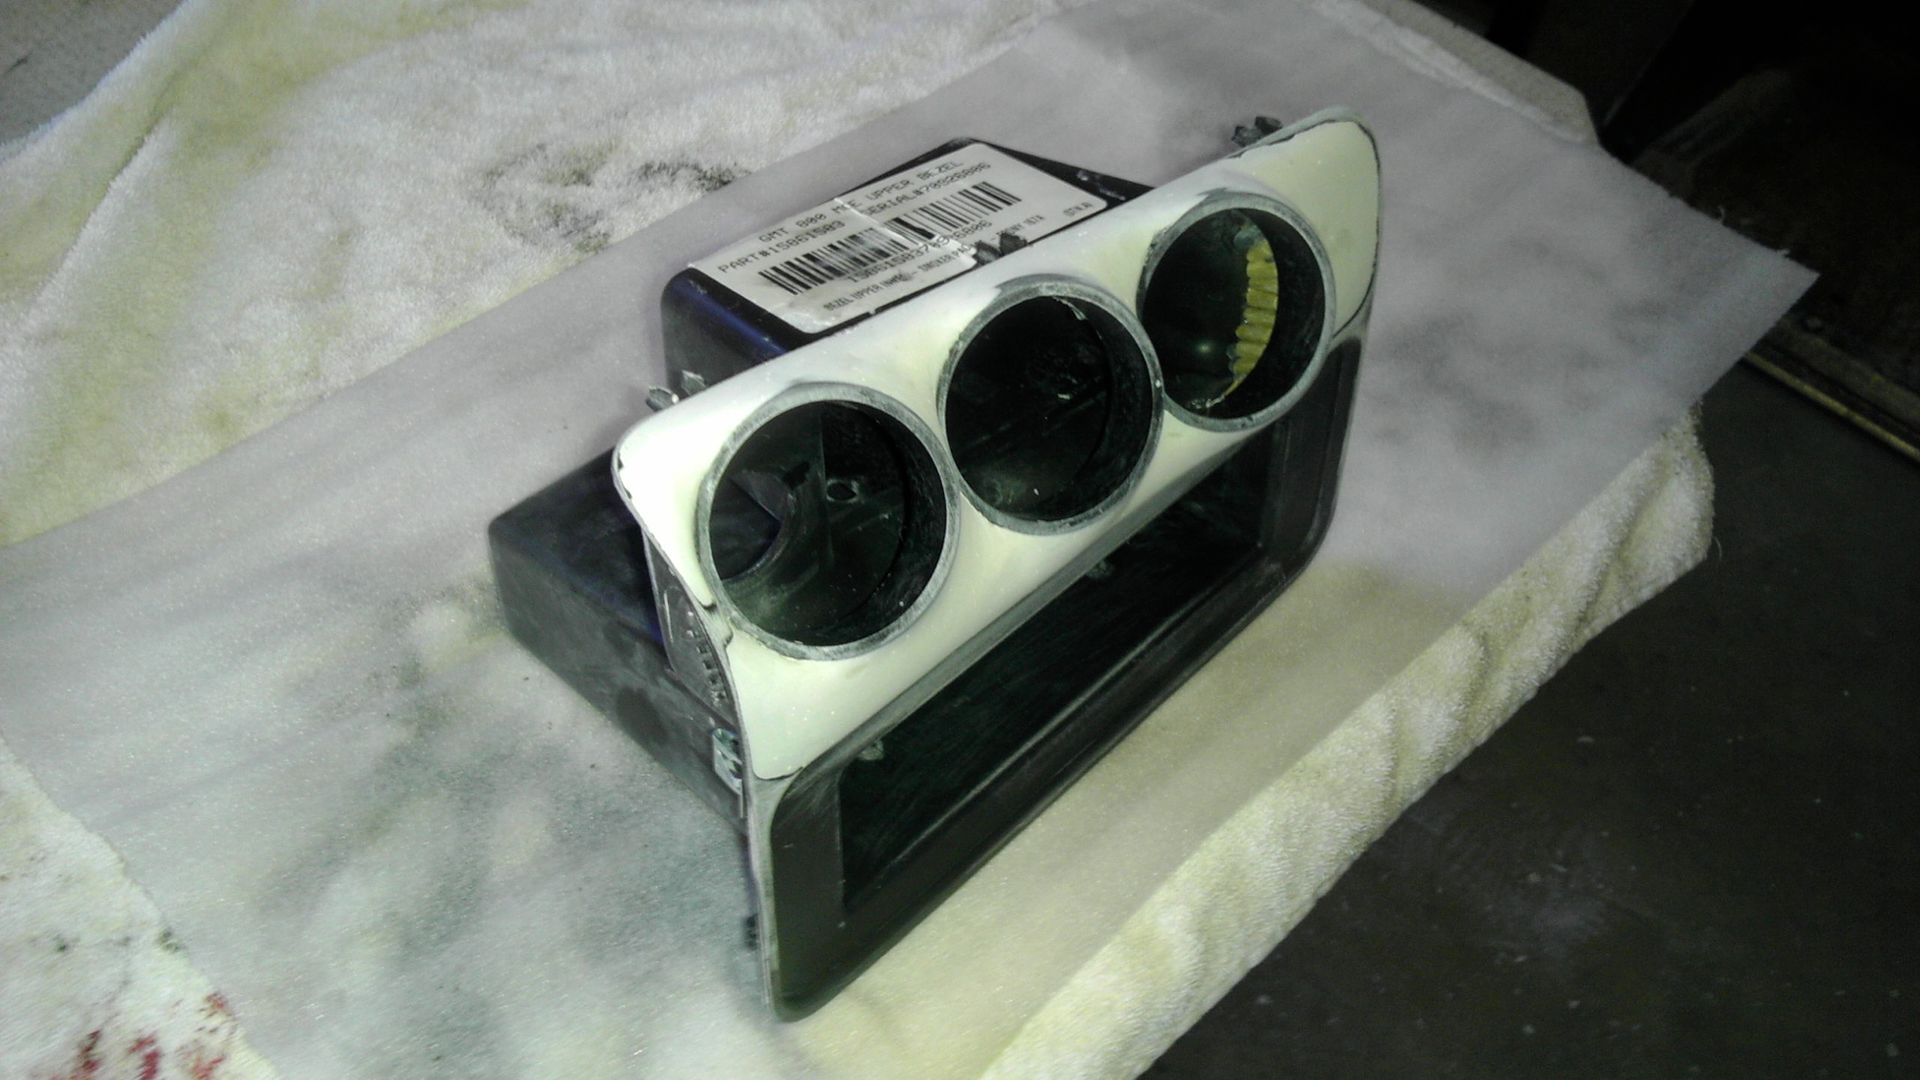
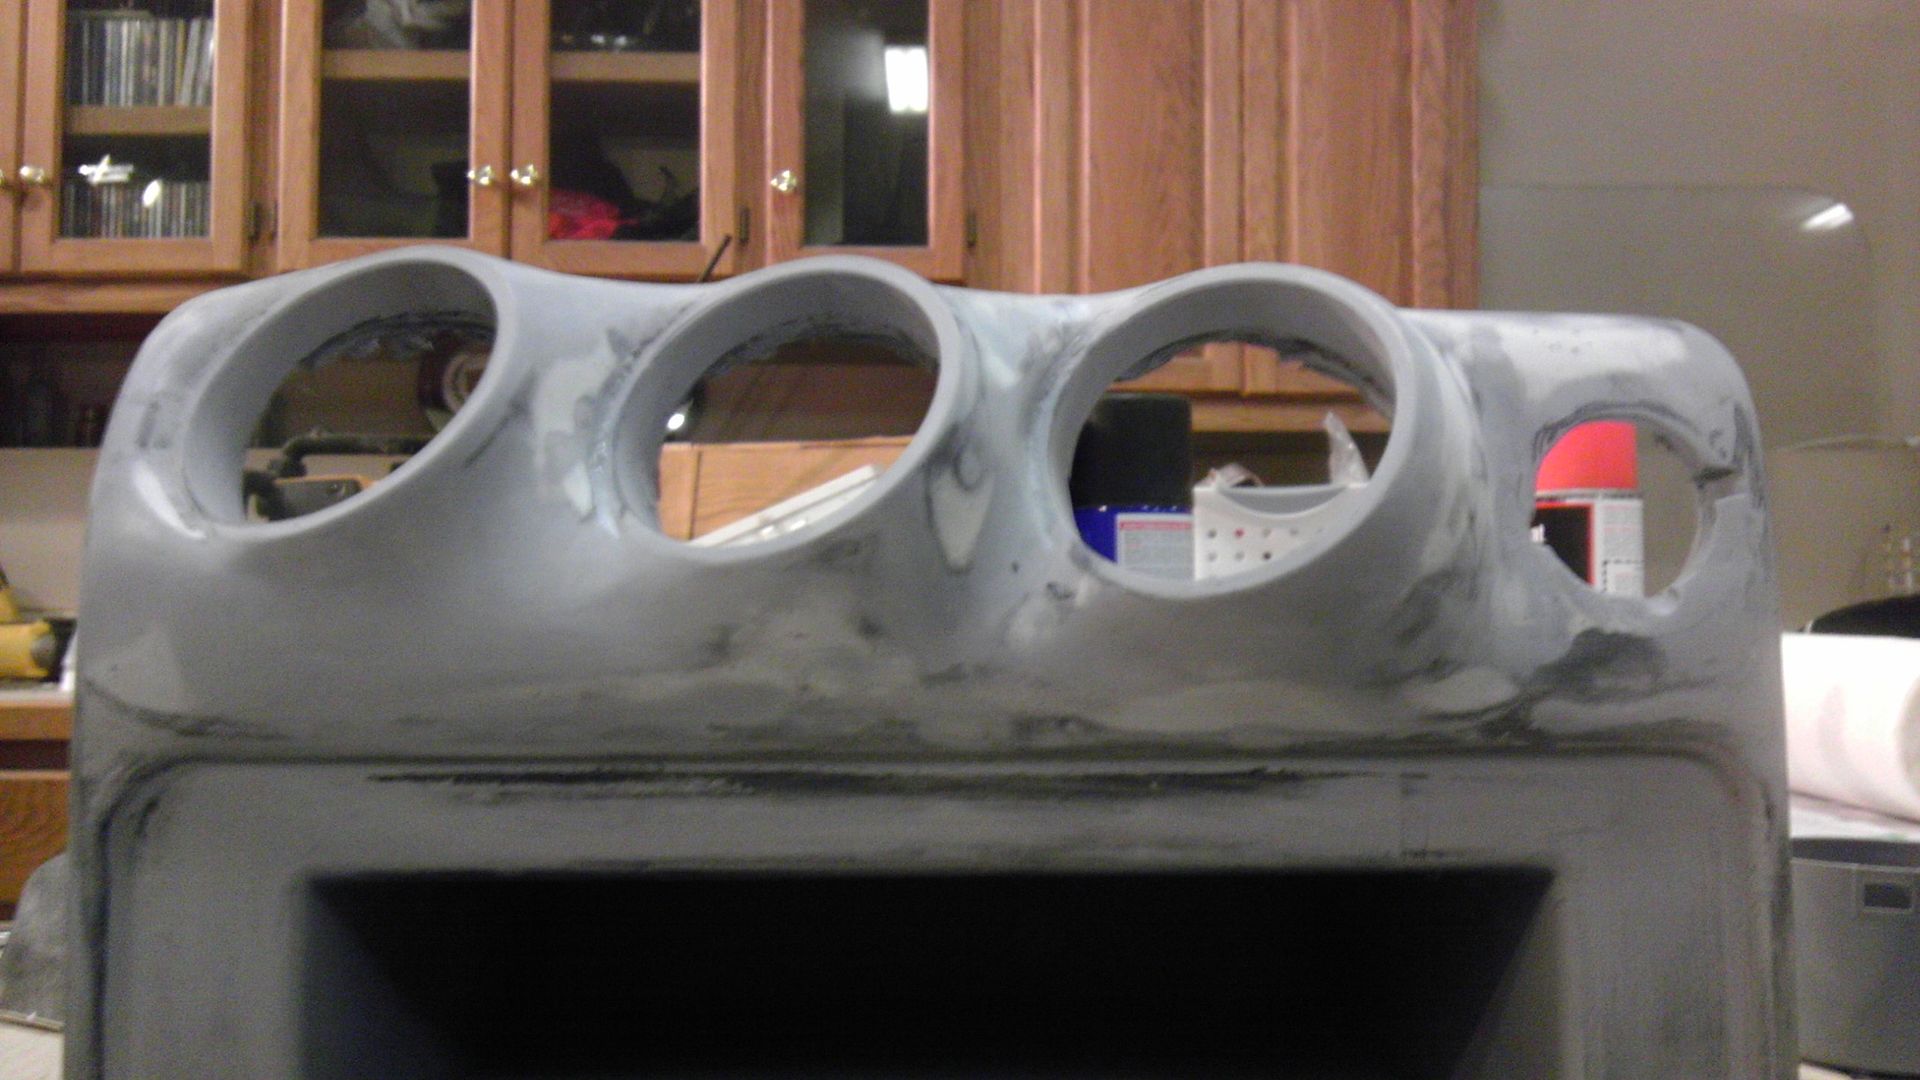
 The cutouts around the hole are so the outlet stays in place. I plati-dipped it and it looks pretty close to factory.
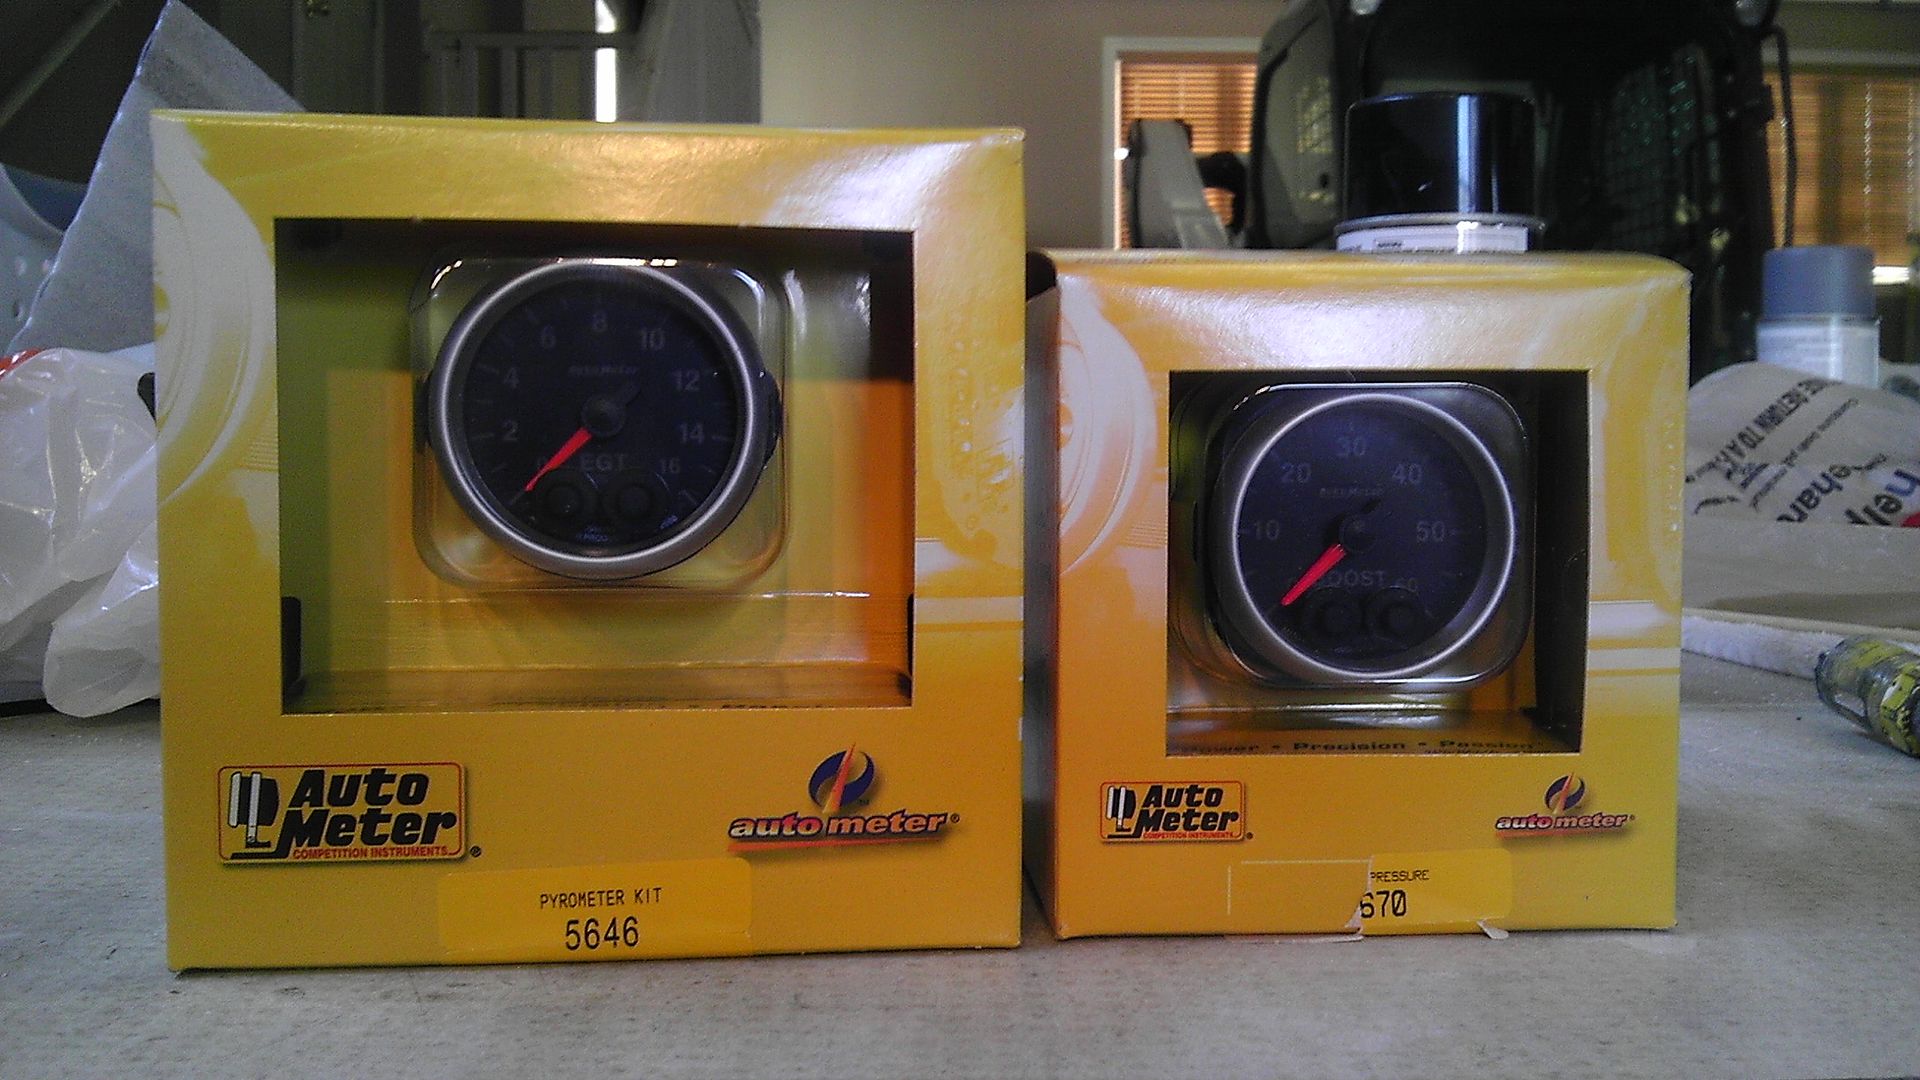
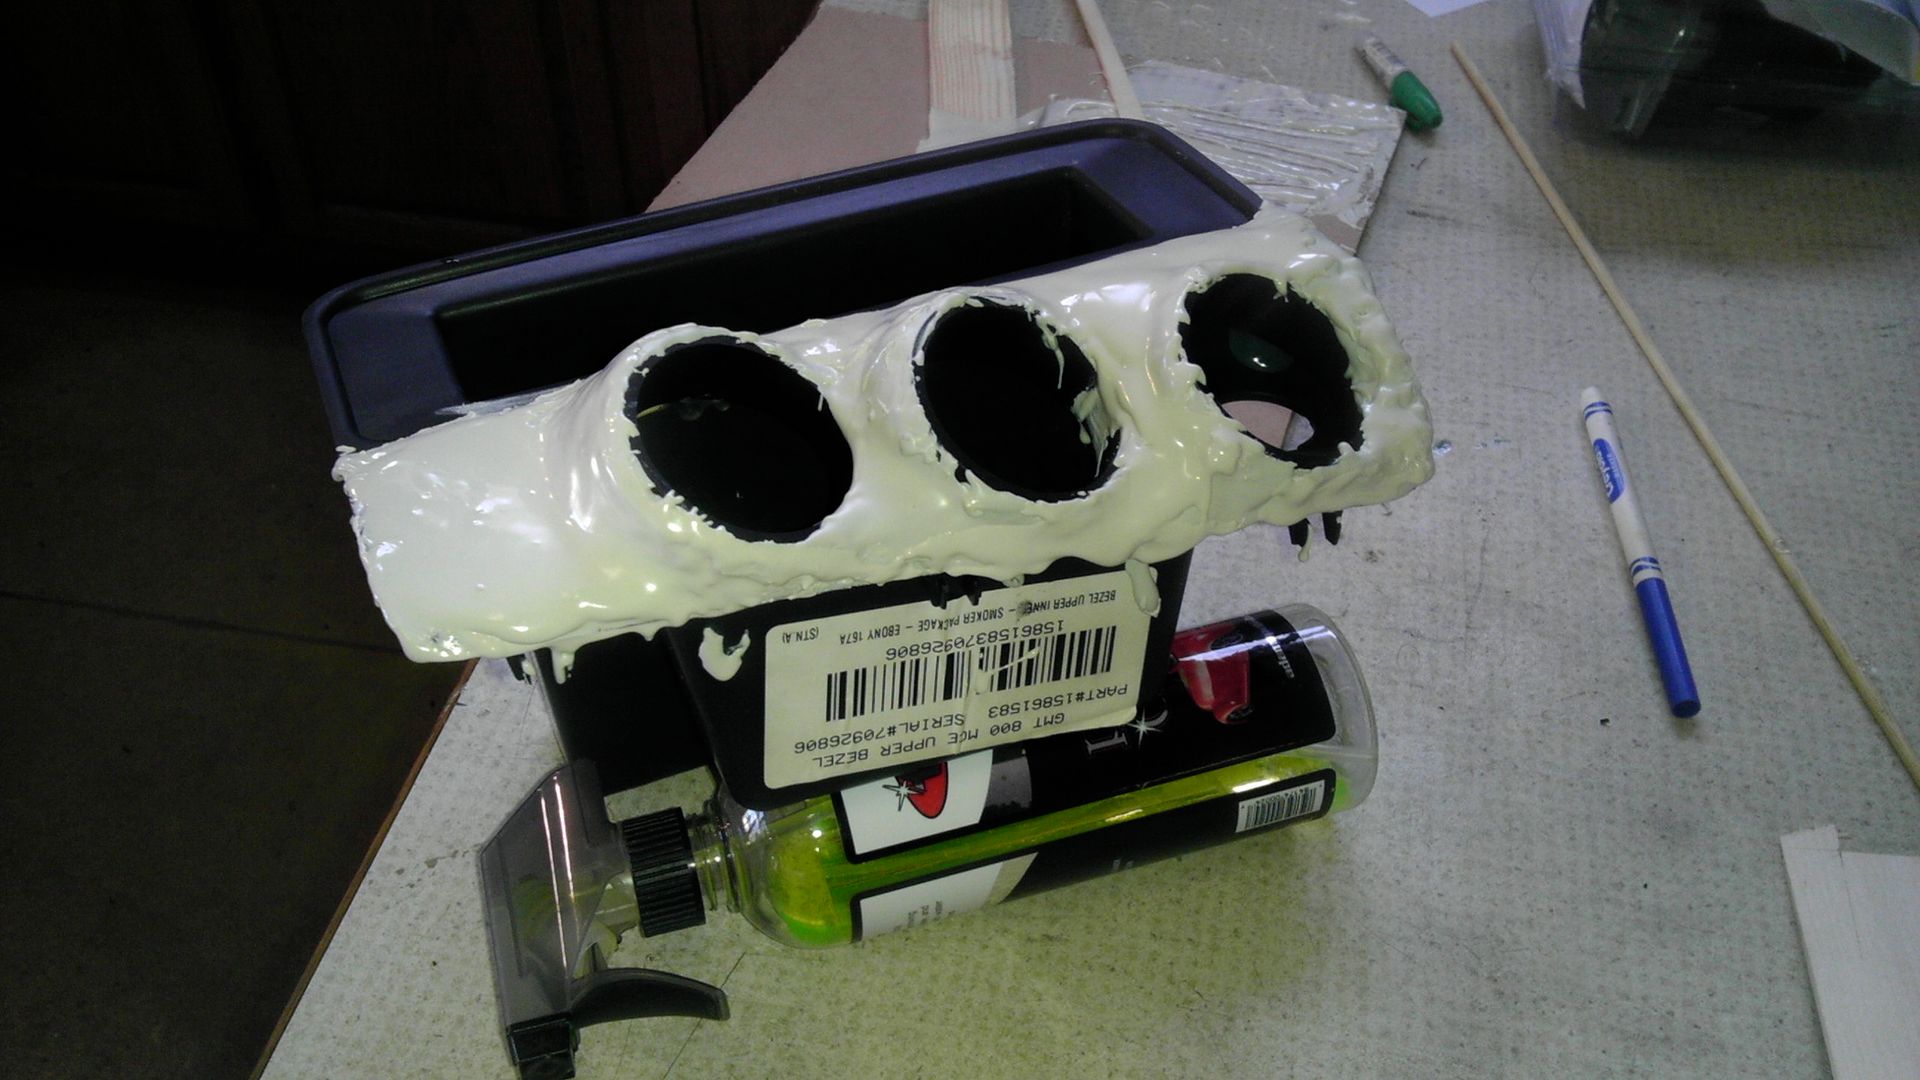
 Strictly VRT, let it sit for a little while then wipe it off.