So last week I had the bright idea of installing a QI wireless smartphone charger in the center console lid of my truck. I have the 40/20/40 split seats with the jump seat. This install is slightly different for trucks with a full console. I'll make note of that in my write up, as the how-to I researched was in fact for a full console truck.
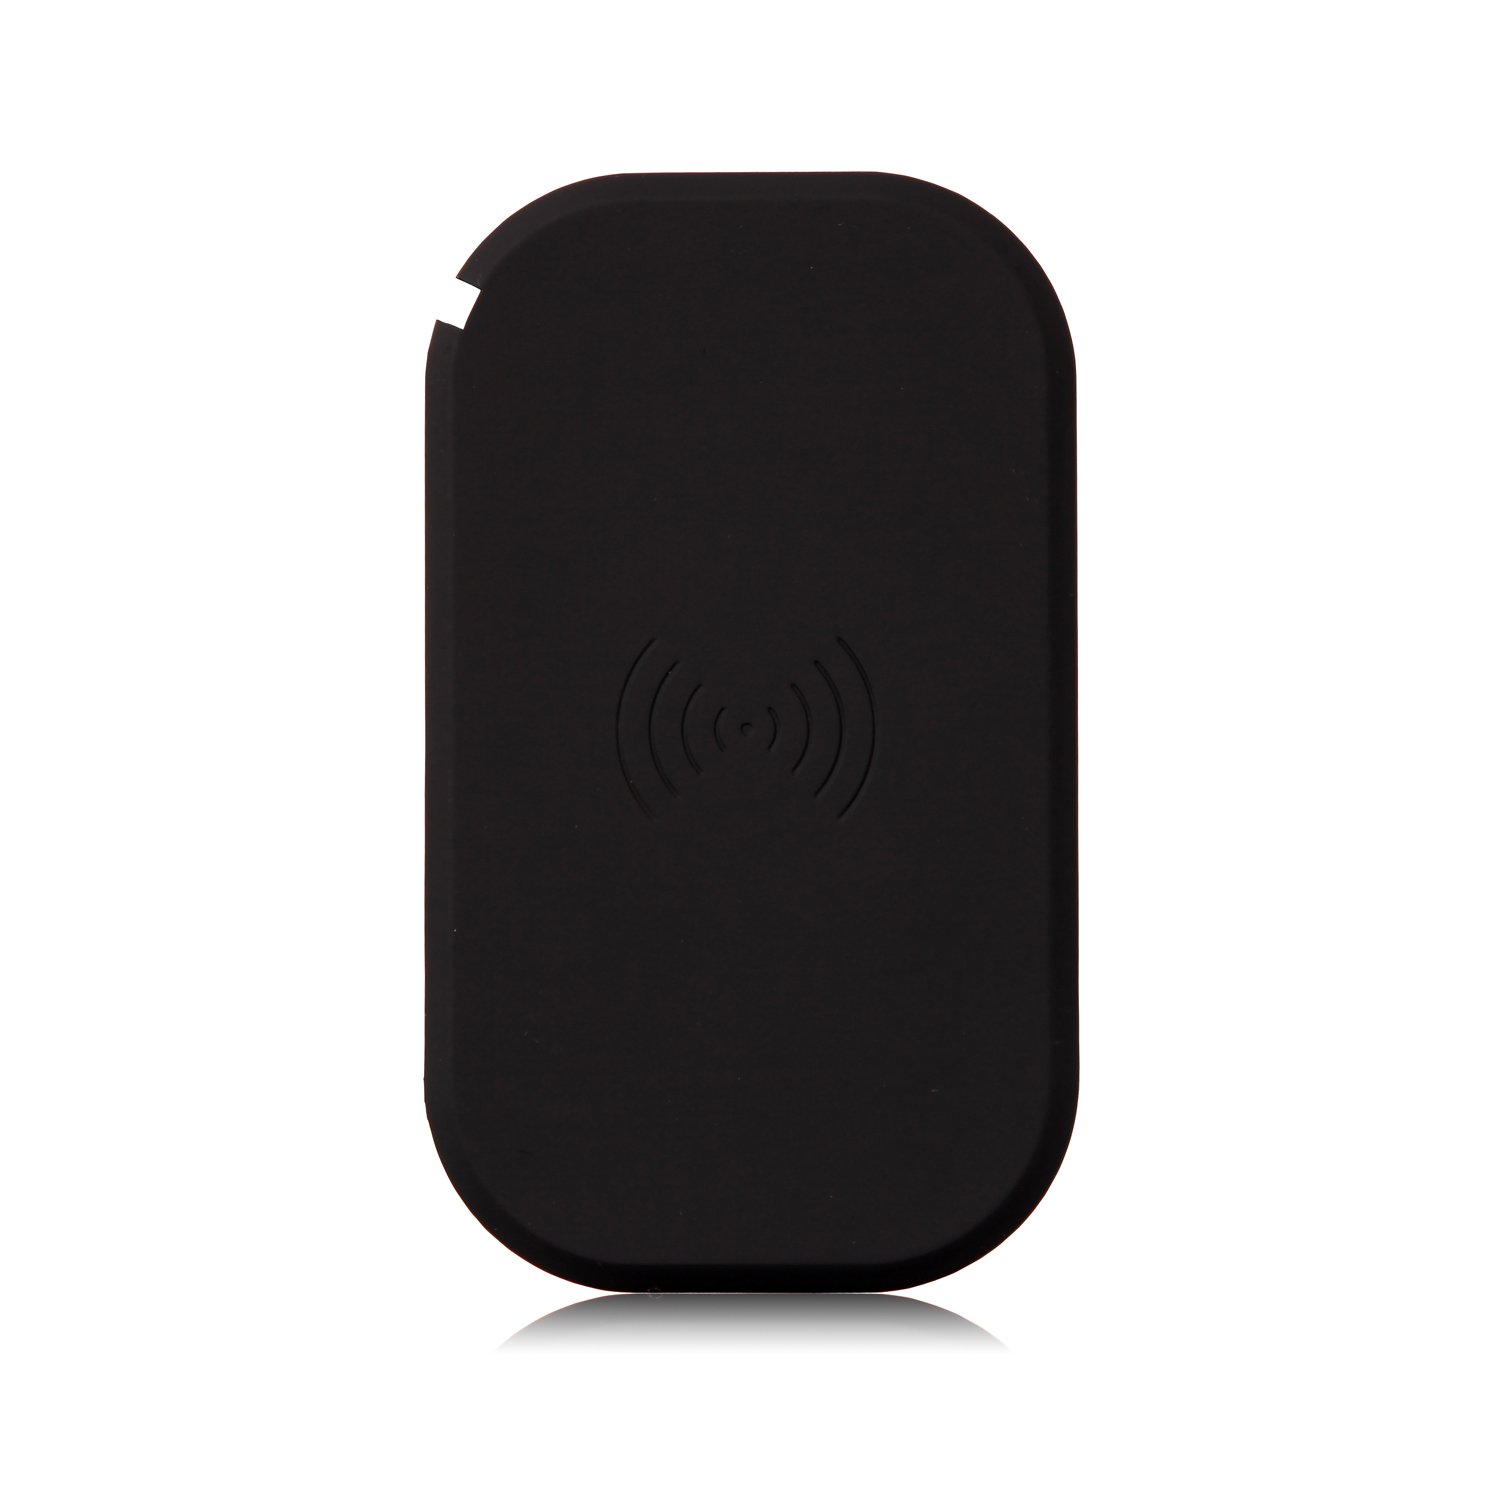
Start by ordering this
3 coil charger:
https://www.amazon.ca/CHOETECH-Stad...=UTF8&qid=1458335825&sr=8-5&keywords=choetech
The reason you want a 3 coil charger, is because you have greater range of motion before the phone loses connection.
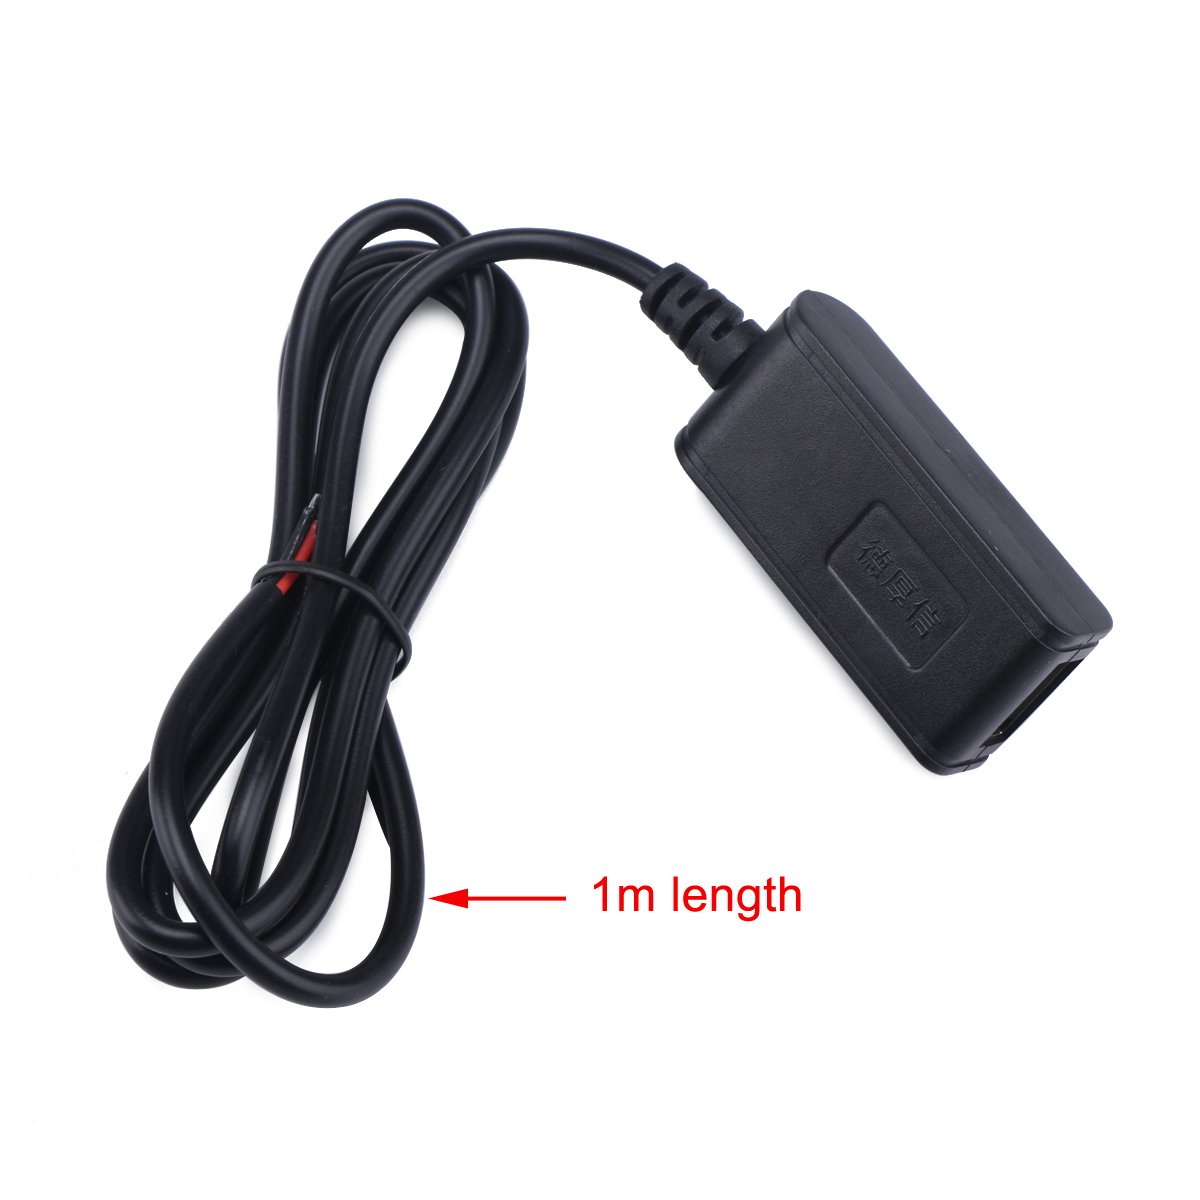
I also needed one of these:
https://www.amazon.ca/DROK-Converte...1458335944&sr=8-2&keywords=12V+to+5V+inverter
It's a 12V to 5V step down transformer. It will be wired to the in-console 12V outlet so that it's switched with the ignition. Wireless chargers constantly draw, so I don't need the extra battery drain when the truck's not moving. OnStar draws enough

Step 1:
Remove all receipts from the center console

Step 2: Gut the charger.
Here's the charger and inverter unpackaged.
The back of the charger. Remove those rubber feet to expose the screws.
And the guts exposed.
I put the board in the anti-static bag that the inverter was shipped in. Just extra protection from static discharge... Habit I've gained working for a telecommunications company.
Step 3: Remove your console lid. When it's open, push the latch in, and peel the plastic cover off of the bottom to expose the mounting hardware. 6 screws are holding the lid to the console.
Step 4: Remove the center "pad", there are 4 screws underneath
ON FULL CONSOLE MODELS, REMOVE THE RUBBER PAD, the screws are under the pad.
I took a razor blade and cut these "nubs" off, so they don't act as pressure points and break anything off of the charger.
The plastic under the center pad was harder, so I used some flush cut wire cutters.
Step 5: test your charger. I just placed it here, and put the center pad back on. Plugged it in to a wall charger and made sure it would charge the phone.
Step 6: Run your USB cable out of one of the holes here. I used a 7/16 bit, and drilled with the drill in REVERSE so it didn't pull through the existing slot and tear the bejeesus out of my upholstery.
And then notched it so it would sit flush.
Step 7: Mount the charger. Don't need to get fancy lol.
Step 8: Start reassembly of the lid.
PEEKABOO
To get the rubber pad to sit flush again, you'll need to trim the tabs a little. Don't cut them off, or you'll be looking for the pad every time you tilt your console up (which is often for me... #becausefamilytruck)
BEFORE:
AFTER:
Step 9: Go disassemble your center console.
Yank (and I mean YANK) the cupholder rubber out.
Remove the 4 screws holding the holders down. If you can't find the 4 screws, may god have mercy on your soul.
Once you have the cupholder out you'll see the plugs. The brown unit is the 12V outlet feed. It's switched with ignition.
Disconnect it and check for polarity. Purple/Yellow tracer should be the positive lead, but just double check.
Tap into the power with your inverter. Obviously Red is positive, black is ground.
I suggest you strip back the wire on the transformer, just plug the wires into the plug and test to make sure your charger WORKS before splicing in. It's still not too late to simply feed the USB cable going to the charger, into the center console, and plug into a USB port directly to get you out of trouble.
If your inverter works, you're good. I cut and crimped some connectors on. Not a fan of taps, especially with the tiny gauge of wire on the Chinese transformer I used.
I also taped the shit out of it to stop any wires from breaking.
Step 10: Run your wire from the lid to your transformer.
Remove the 2 screws holding the console tray in
Now you'll be able to run your wire all hidden and neat.
NOTE the zip tie at the hinge. Keeps the wire out of pinch points. Also, make sure the square end of the zip tie is pointing DOWN, to not interfere with the bottom cover for the lid.
Plug everything in and tape it to keep it from disconnecting from any vibrations in the truck (you never know)
Step 11: Stoosh the wires away so they don't interfere with the covers, I ziptied the wiring harness to the metal support brace just to avoid any movement in the wires, and put the console back together.
Step 12: Turn the key to ACC power.
Step 13: ?????
Step 14: PRAWFIT
(picture from my Galaxy Note 3 work phone... Shitty camera is shitty. Galaxy S7 FTW)