
How to remove and paint NNBS bowties
Items needed
-Long flathead screwdriver
-Heatgun or hair dryer
-fishing line
-Painters tape (3m or PPG)
-Razor blade
-1000 grit (and up) sandpaper or scuff pad
-Paint and clear coat
-3m double sided tape
Step 1-remove the bowties from the front and back
Items needed
-Long flathead screwdriver (to push clips in if you can't do it with your hands)
-Heatgun (hair dryer)
-Fishing line (should be somewhat strong test or you will find your self breaking a lot)
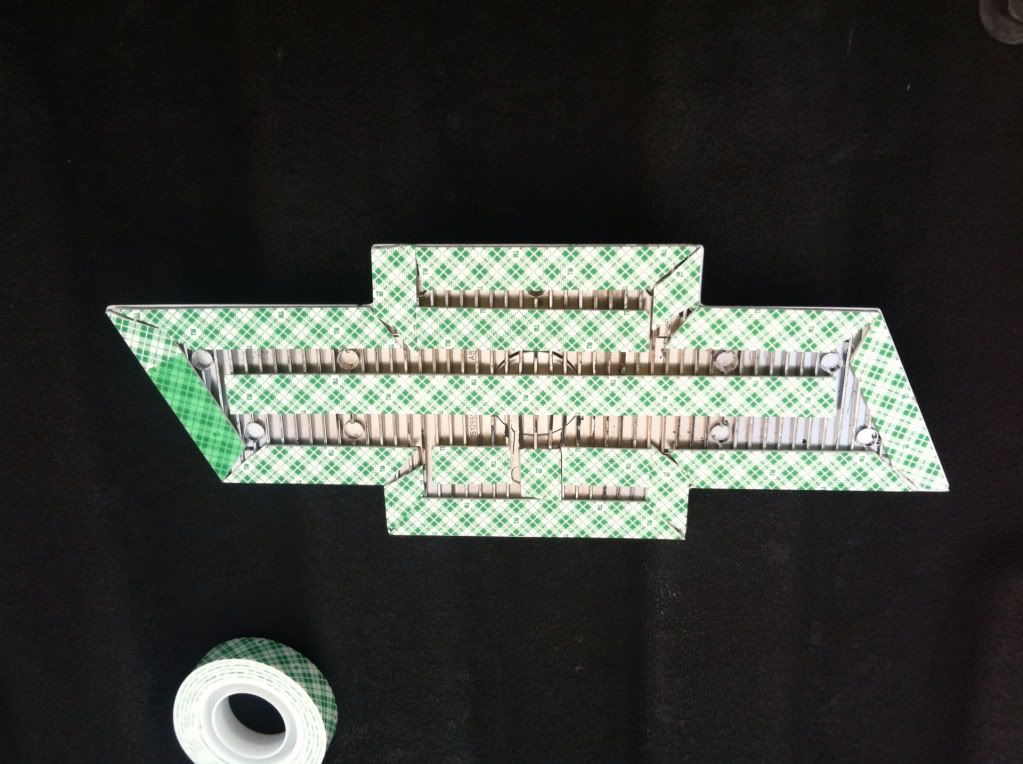
-Front is easy to remove, just two clips on the backside of the emblem kinda like [ ] << push together and it should pop off
Bad picture of said clip

-Rear was a little more difficult but nothing a heat gun and some fishing string couldn't handle
Just heat up around the emblem and use fishing string in a sawing motion in behind emblem to detach the tape from the back. Once the rear emblem is removed make sure to get all of the excess tape from behing the emblem as well as the tailgate. (I chose to leave the outline on the tailgate to line up the emblem for when I put it back on)
Step 2- tape off emblems to paint
Items needed
-Good tape (3m or PPG)
-Razor blade
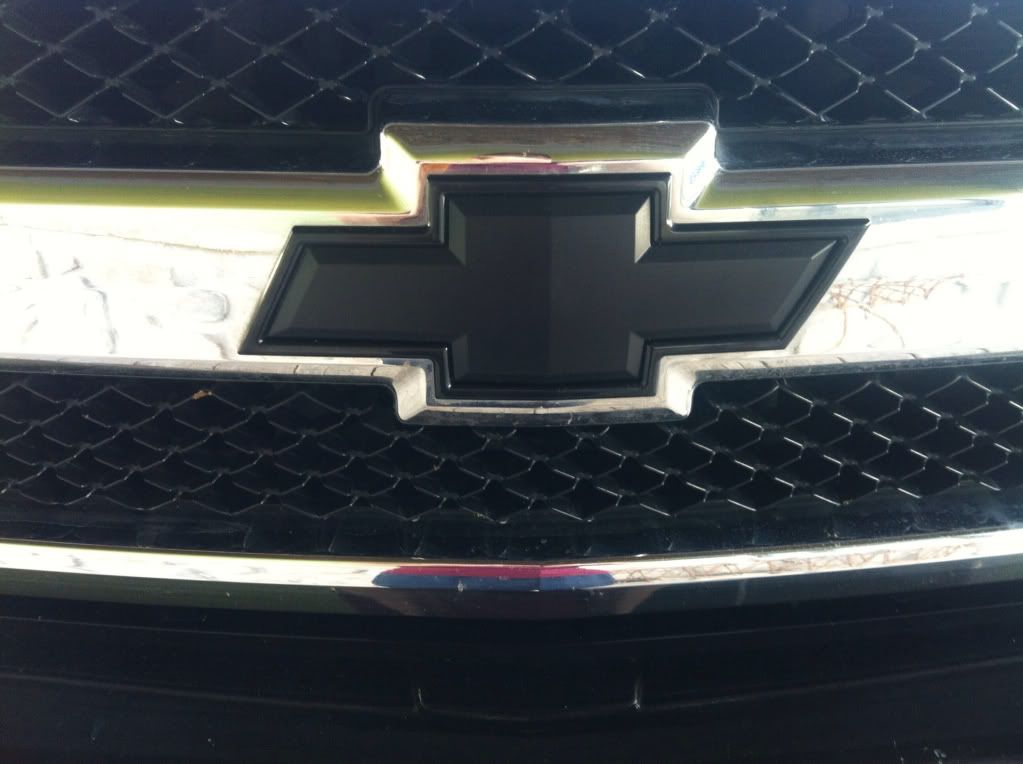
-Front was easy to tape off where as you can see the housing around the emblem leaves a quite large gap, enough to slide the tape down into the crack and tape off the whole housing part of the emblem. Make sure to use good tape that will stay through painting and scuffing. I used a razorblade to get in the cracks to make sure tape was deep into the housing for a good painting result.
-Rear wasn't much harder than the front but the chrome front the rear emblem doesn't leave as much of a gap between itself and the gold part of the bowtie. The razorblade came in handy here and made it way easier to stuff the tap into the gap
Step 3-scuff emblems
Items needed
-1000 grit and up sand paper of a scuff pad
Scuffing the emblem allows the paint to have a surface to adhere to. Make sure you scuff up as much as you can of each emblem but be care not to tear your tape off while you do. Nothing hard about this step
Step 4-paint emblems
Items needed
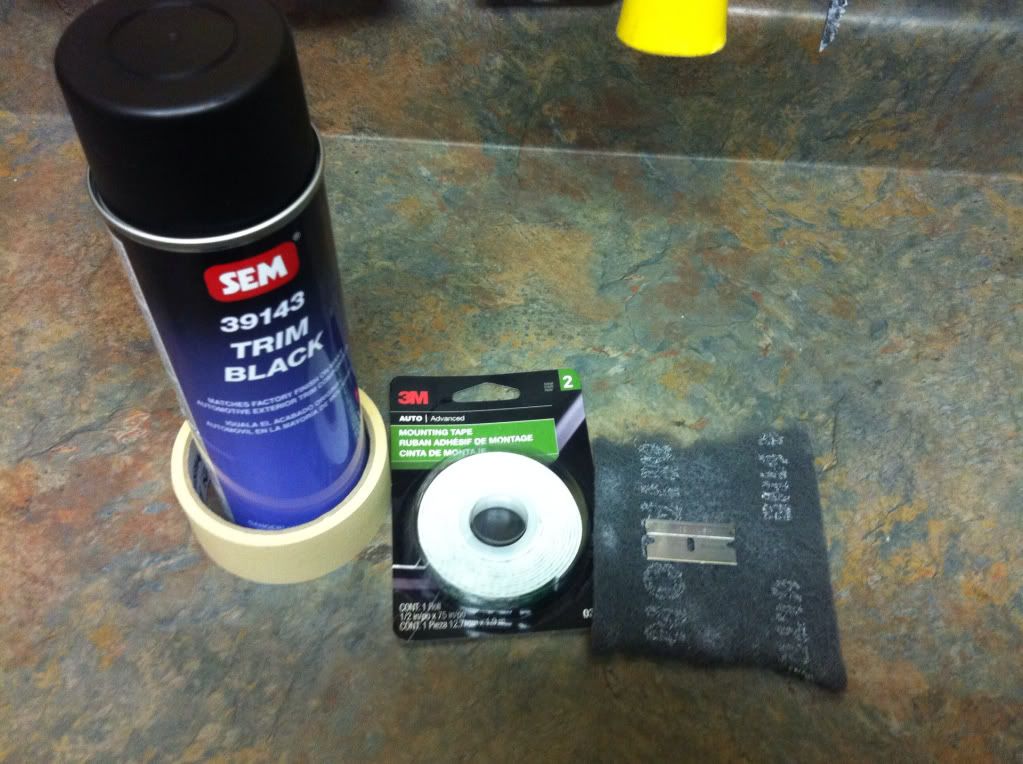
-Paint (of course) any color you choose
-I chose SEM trim paint to match matte black trim pieces of my truck like the paint on my tow mirrors.
Make sure you use a good paint I believe a lot of members use duplicator brand but they didn't have what is was looking for and also use a good clear coat to finish so it can withstand rocks and weather on the road.
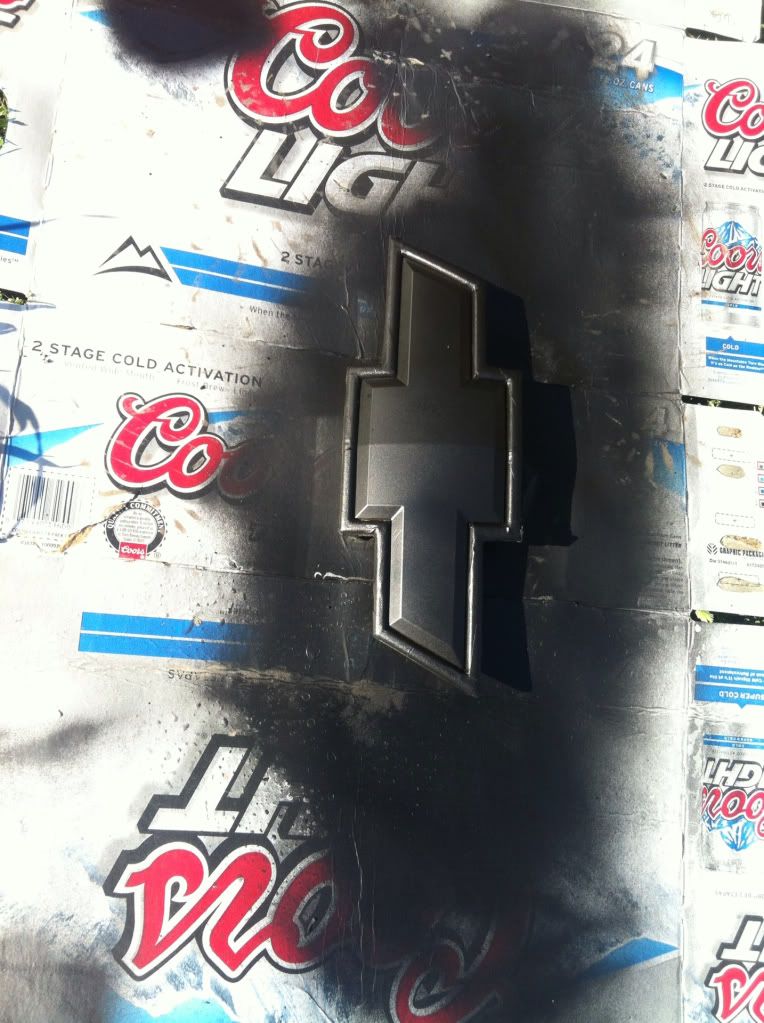
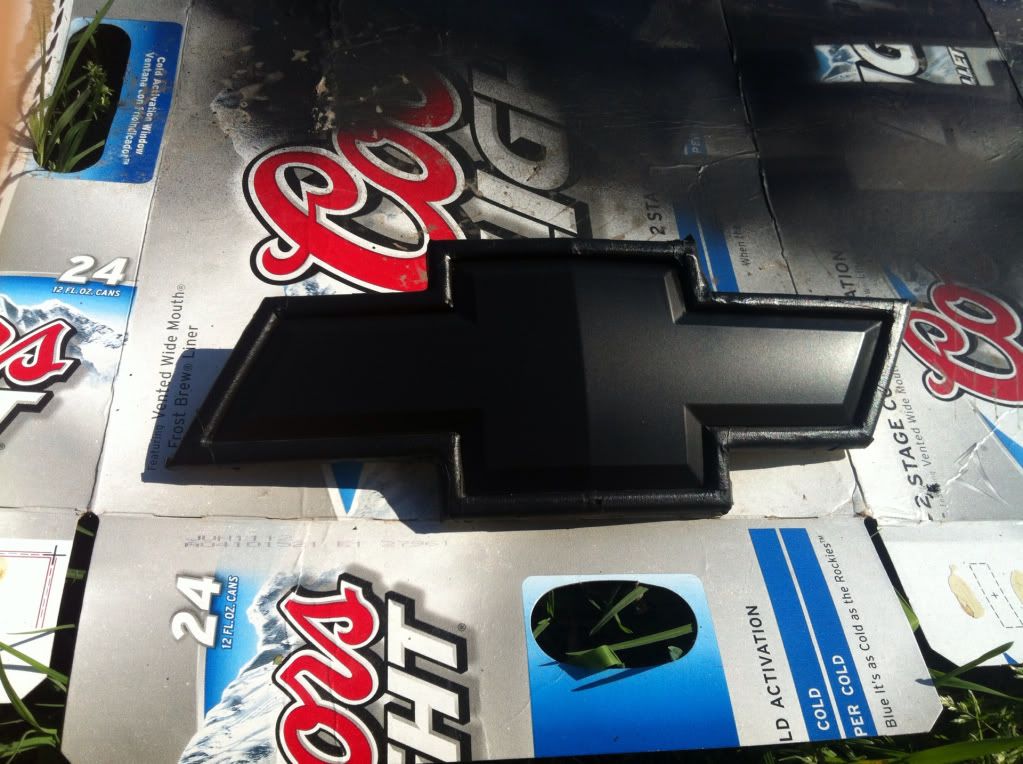
-Do many layers of light coats until your comfortable with the look of the emblem. DO NOT SPRAY TO MUCH AT A TIME. This will leave all kinds of streaks and things like that in your emblems. Same rule apples to the clear coat.
(painting on coors box FTW)
Step 5-put emblems back on
Items needed
-3m double sided tape
-Razor blade
-Front (as you know) snaps right back into place the same way you got it out. Line up the plastic pins to their holes and it will pop back into place
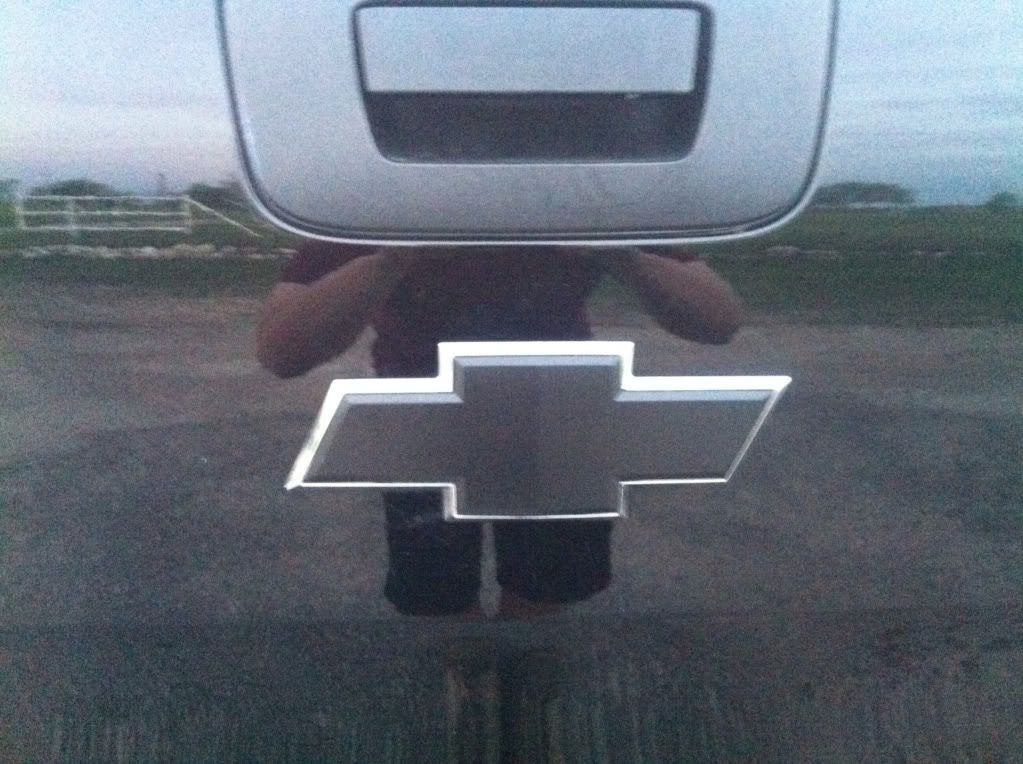
-Rear is a bit trickier but all you need is some 3m double sided tape and it's easy. Use the tape to line all the outside edges making sure the tape goes around the whole backside of the emblem.
Tape on back of emblem
Make sure to push the tape down pretty hard when sticking it to the back of the emblem to make sure it stays. Then remove paper on top of the tape and stick to the truck.
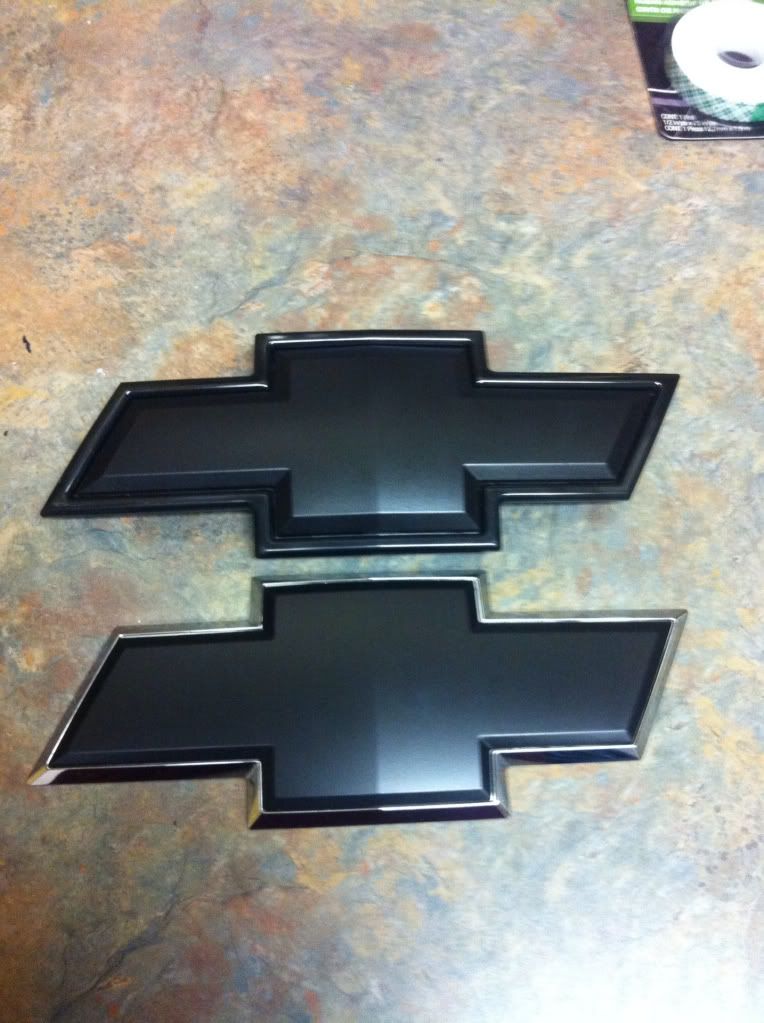
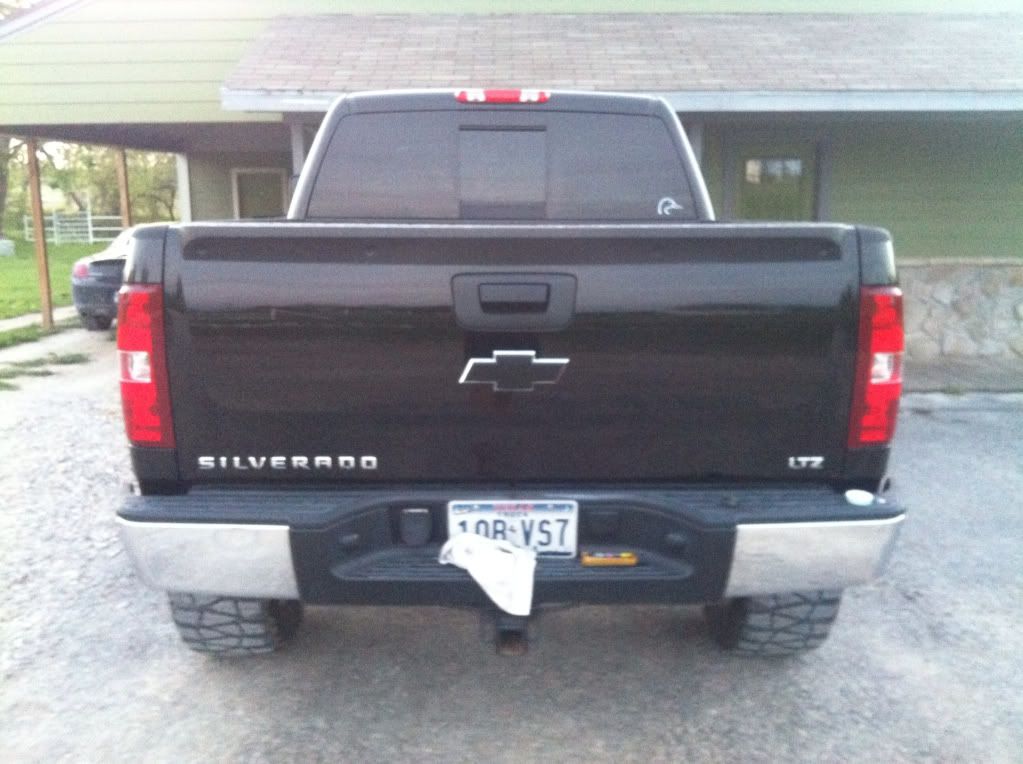
Step 6-step back and enjoy your new bowties
:fuckyeah:
Front
Back
Hope this helps some of y'all!!
Items needed
-Long flathead screwdriver
-Heatgun or hair dryer
-fishing line
-Painters tape (3m or PPG)
-Razor blade
-1000 grit (and up) sandpaper or scuff pad
-Paint and clear coat
-3m double sided tape
Step 1-remove the bowties from the front and back
Items needed
-Long flathead screwdriver (to push clips in if you can't do it with your hands)
-Heatgun (hair dryer)
-Fishing line (should be somewhat strong test or you will find your self breaking a lot)
-Front is easy to remove, just two clips on the backside of the emblem kinda like [ ] << push together and it should pop off
Bad picture of said clip
-Rear was a little more difficult but nothing a heat gun and some fishing string couldn't handle
Just heat up around the emblem and use fishing string in a sawing motion in behind emblem to detach the tape from the back. Once the rear emblem is removed make sure to get all of the excess tape from behing the emblem as well as the tailgate. (I chose to leave the outline on the tailgate to line up the emblem for when I put it back on)
Step 2- tape off emblems to paint
Items needed
-Good tape (3m or PPG)
-Razor blade
-Front was easy to tape off where as you can see the housing around the emblem leaves a quite large gap, enough to slide the tape down into the crack and tape off the whole housing part of the emblem. Make sure to use good tape that will stay through painting and scuffing. I used a razorblade to get in the cracks to make sure tape was deep into the housing for a good painting result.
-Rear wasn't much harder than the front but the chrome front the rear emblem doesn't leave as much of a gap between itself and the gold part of the bowtie. The razorblade came in handy here and made it way easier to stuff the tap into the gap
Step 3-scuff emblems
Items needed
-1000 grit and up sand paper of a scuff pad
Scuffing the emblem allows the paint to have a surface to adhere to. Make sure you scuff up as much as you can of each emblem but be care not to tear your tape off while you do. Nothing hard about this step
Step 4-paint emblems
Items needed
-Paint (of course) any color you choose
-I chose SEM trim paint to match matte black trim pieces of my truck like the paint on my tow mirrors.
Make sure you use a good paint I believe a lot of members use duplicator brand but they didn't have what is was looking for and also use a good clear coat to finish so it can withstand rocks and weather on the road.
-Do many layers of light coats until your comfortable with the look of the emblem. DO NOT SPRAY TO MUCH AT A TIME. This will leave all kinds of streaks and things like that in your emblems. Same rule apples to the clear coat.
(painting on coors box FTW)
Step 5-put emblems back on
Items needed
-3m double sided tape
-Razor blade
-Front (as you know) snaps right back into place the same way you got it out. Line up the plastic pins to their holes and it will pop back into place
-Rear is a bit trickier but all you need is some 3m double sided tape and it's easy. Use the tape to line all the outside edges making sure the tape goes around the whole backside of the emblem.
Tape on back of emblem
Make sure to push the tape down pretty hard when sticking it to the back of the emblem to make sure it stays. Then remove paper on top of the tape and stick to the truck.
Step 6-step back and enjoy your new bowties
:fuckyeah:
Front
Back
Hope this helps some of y'all!!
Last edited: